Showing posts with label Arched Window Shape Set. Show all posts

Tuesday, August 4, 2020

Sweet Little Summer Tag

One of the things that has sustained me in this crazy time we are living in is my garden. No matter how nuts and turned upside down things are in the world, things are as they should be when I am working in my garden.
This little tag is a small token that reminds me of what a special place a garden is and what peace and solace we can derive from them.
Perhaps you have a garden of some kind that has helped you as well. Make a little tag like this and stick it in your book or in your car our hang it near your desk to remind you that the garden will always be waiting for you.

In this piece I used four elements from Gypsy Soul Laser Cuts:

Here is where I began...
I glued the Tiny Bird House together and gave it a coat of white primer.

Using the smallest tag from the Stagger Tags set as a template, I cut the paper for the front and back and glued them on. I sanded the edges and inked them up with a little gold ink and a little Ranger Vintage Photo ink to give the piece a little bit of age.
I cut out the elements that I wanted to use in the collage composition.
Often these bits and pieces change as I go along, but this time they stayed pretty consistent.

I glued the portion of the Wrought Iron Set I wanted to use to the tag. (see above photo)
I then aligned the center of the window with the larger bit of the center of the scroll, which is to the right of the tag and glued it down. The flowers I butted directly against the window and glued them down.
I decided to paint the birdhouse green and after giving it about thirty seconds to dry (I hate waiting) I glued that at the bottom center of the window.
After the main elements were in, it was a matter of adding extras like the blue floral banner (which I glued on next) and the tiny paper flower buds.
I added little details to the bird house and dots of white acrylic paint.
I do love dots.
I also added micro beads by using white glue and a needle to guide the glue where I wanted it to go and then gently shaking the beads on the piece, thus allowing them to stick only where the glue was placed.
A pretty white paper flower and a bright green ribbon are the final touches to this cheerful little thing!
Hope you enjoy making your own!
Thank you for stopping by!
Additional Supplies:
Bits of scrap from Stamperia's Glory of the Garden
Grass Green Mocro Beads
White Acrylic paint Pen (I used a Sharpie Poster Paint Pen)
Paper Flowers
Ribbon


Sunday, November 3, 2019

Christmas Lamp Post Greeting Card

Hello there friend and crafty peeps! Ginny here to share a fun and festive greeting card created with some gorgeous chippies from Gypsy Soul Laser Cuts.
For some reason lamp posts with light glowing makes the winter chill seem a bit warmer.  It's just a beacon you can see even in the midst of a snow storm.


I'm fairly certain GSL designed this lamp post just for me as it fits a greeting card so perfectly!


I've also layered in a window frame that helps the narrow lamp post fill in the visual space and become a more prominent focal point. 
Beautiful snowflakes help to create a wintry scene. They're topped with gold sequins to coordinate with the ribbon trim and paper inside the lanterns.
Last but not least a pretty little flower arrangement to finish off this vintagy holiday card.

I wiped down the chippies to prepare them for altering.  I did clip off a small section of the bottom to ensure a perfect fit.
The lamp post is finished with black embossing powder and heat set for a glossy effect. The window frame and snowflakes have a layer of white embossing powder and the snowflakes have an additional layer of glittery finish.


Wishing everyone a happy and productive day : ) G


Saturday, August 24, 2019

Hanging around by Betsy Skagen

So many elements go into this mixed media piece--layered background paper, mica stained glass windows, National Geographic background paper, an old dictionary page and even a tiny little noose.

To begin making this piece, give your Gypsy Soul chipboard elements a basic coating of acrylic paint--white for the skeleton and ivory for one of the arched window frames. Apply black ink to the edges of the skeleton.
Once the paint has dried, use a black pen to make crackle marks on your painted window. The picture below shows the start of t his process.
Rub black ink all over the second window frame and the tree.
Take a sheet of mica and peel it so you have a thin layer. Coat it with embossing ink and then sprinkle translucent embossing powders on it and activate with heat gun. This will create your stained glass. Cut out the mica to fit the window slots and glue to the back of your painted window frame.

Make a tiny noose from twine and place it around the skeleton's head. Draw spooky eyes onto another background paper. I used a CitraSolv treated National Geographic page.

Glue the free end of the noose to the black window frame, then glue the painted window frame with mica windows onto the black window frame. Adhere the entire set to your spooky eye background page.
Next begin layering the pieces: glue the window set to the tree and glue onto decorative paper. Adhere all of that to the vintage dictionary page.
Create a background page by dry brushing layer upon layer of acrylic paint onto it.
Trim down the dictionary page, distress the edges with brown ink and use matte medium to adhere the whole thing to your painted background paper. 
Ink the edges of the background paper with black ink. Then apply embossing ink to the edges and cover with Black Magic embossing powder. Activate with heat gun.

The black embossing powder adds a nice frame to your piece and it is now ready for "hanging" in your home.

Happy Saturday! -Betsy


Great Stuff
Skeleton Shape Set
Arched Window Frames
Tree 1
Mica sheet
Embossing ink
Seth Apter Translucent Baked Powders
Eileen Hull Black Magic Baking Powder
Cold press watercolor paper
Stamperia Paper
Vintage dictionary page
National Geographic CitraSolve page
Black ink
Black pen
Acrylic paints

Sunday, September 23, 2018

Thankful for Family Mini pocket book


I am really excited to share with you all today a fun little book that you can really do alot with.  It's a mini book with tags and for mine i am making this to send with a little tag card inside with a message and also a tag to attach a gift card for them.  I chose lots of pretty fall papers and tags to decorate my book and also this gorgeous Arched window that i shaded with chalk inks.


Inside the book there are flaps on both bottom edges and I added cute papers to each and that is where the tags slip in.  For the ivory tag I made it like a little card so that I can write a message inside.


And just for a fun idea you can pop up the window to make it stand out more with 3D foam dots.  I added some under my flowers and also added a bit of ivory twine.  I think she is really going to like it


And this shows the tags inside the mini book.  They are a little tall so I cut them down first before I added the papers on them.  It makes it more of a surprise to have all those cute things inside and not be seen .... you could even add a couple of cute photos too.

This was a fun project you could do in an afternoon and there is also a smaller ATC size that is 
perfect for gift cards.  I will have to make that up to share too !!

Thanks so much for stopping over today and be sure and check back again in 2 weeks,
I have a few more fun fall projects to share.

Teresa

Supplies:

GSLC Tag Folder Small(coming soon)

Monday, June 15, 2015

Through the Window by Barb


It was unseasonably hot and sunny here this past week and I dreamed of being at a lake house. If you don't have a lake house, you make one. Even if it's just canvas board and paper.


As I stared at Gina's Designs Arched Windows Set, I imagined I was looking through them and out into a backyard where loved ones sat in a soft summer breeze, watching the sunset,


as I loaded a tray with cookies and lemonade.


I imagined the inside of my little pretend lakeside cabin... the wallpaper was stained and worn, 


but somehow homey and comforting. The paint around the window was chipped, 


but there were flowers in a vase right next to it. 


It was a nice little dream vacation while it lasted.


Gina's Designs Products Used


Other Products Used


5 x 7" canvas board


Basic Grey paper


watercolor paper


irRESISTibles copper spray


gesso


StazOn ink - Jet Black, Cactus Green, & Cotton White


watercolor paints


mulberry paper flowers


liquid pearls


Rubber Stamps Used


Flower by RubberMoon Art Stamps


Sitting By The Lake by Victorine Originals


Border stamp - unknown


Tuesday, February 17, 2015

RubberMoon Cross Promotional Tags


 Hello crafty friends, I am here to share with you today the tags I created using stamps by RubberMoon & laser chipboard by Gina's. I used the deco cat stamp on both tags. The cat is looking out the window on both tags.


Tag 1


Tag 1 was cut from a Accu cut die Album tags using  corrugated paper.  I used graphic 45 paper layering two of the secret garden tags/cards  over the diamond textured sheet and intricate doilies.


 Tag 2


Tag 2 cut from the Accu cut album tags using Robins Nest winter snowflake paper. The cat was stamped on the chipboard cat that was painted with spun sugar distress paint.


The cat is looking at the home across the yard through the lace curtains.


Cat


Robins Nest Paper - Winter snowflakes


Other Supplies Used:


White Cotton Trim


Venuses Lace


Micheal's Flowers


Rosette trim


Wild Orchid Crafts - pearl sprays


Flat lace 


Wild Orchid Crafts - white leaves


Stampin' up stamp


Distress paint 


Prima doily trim


Graphic 45 - Secret Garden


Saturday, January 3, 2015

Window Tag by Deann


Good morning, Deann here to share my window tag. The tag is also for the January Color Challenge at Gina's Designs Craft Group on Facebook.


On the tag I used a window from the Arched Windows Set as the theme. Behind the window I added a clock face, from the Steampunk Shape Set, and a dress form from Dressforms 1 Miniature Shape Set. On top of the window, I added the word fantastic from Word Ribbons 4.


Thanks for looking :)
Gina's Designs Products Used:

Friday, December 5, 2014

A Ladies Diary Shadowbox by Kim


Hi Friends, I would like to share with you my Ladies Diary Shadowbox.  I love this paper from Graphic 45 and wanted to make a shadowbox with it for a while now. This large Shadowbox from Gina's was just perfect for it.


 I used several other chippy pieces, including the arch windows, which was layered under the lovely lady I fussy cut out of the paper. I used the main page of the paper to add the name and another picture of a vintage lady into some of the shadowbox squares. 


Here you can see I used one of the number plates in white, to add to this little section, along with a nest, bird, vintage lightbulb and flower to finish it off. 


Above here in this photo I used one of the dress forms with wings, and added some fun embellishments to it, and embossed the wings in a metallic silver. 


Below here you can see some of the texture I created on the box. I achieved this by using some crackle texture paste, the using some sprays in matching colors to bring out the cracks.


Thanks so much for stopping by today!


 Gina's Designs Items Used


Other Items Used


Flowers, Metal and Lace from Craftsupplies1


Ladies Diary Paper Graphic 45


Imagine Crafts Fireworks Sprays


Golden Crackle Paste


Prima Resin Pieces


Thursday, September 11, 2014

Fall House Shrine Box by Deann and a Layout by Veronica


Hello Friends!  Today we have two amazing projects to share.  First up is Deann with a project celebrating the beginning of the Autumn season.


Its Fall ya-all!!!


I used the House Shrine Box for this project and the awesome Fall Shape Set.


I did lots of layers on this project with the chip board and the Distress ink.


 The Scarecrow is the piece that started this project, I knew that I wanted to make it stand out. I went directly onto the raw chip board with the Distress Ink, Scattered Straw then Rusty Hinge and finished off with Gathered Twig. I used the same colors on the pumpkins with the addition of Forest Moss.   


(((HUGS)))


Deann


Gina's Designs products used:


House Shrine Box


Fall Shape Set


other products used-


Flowers from craftsupplies1


Next up is Veronica with a gorgeous layout to share.


Hello Everyone! Veronica here once again to share one of my projects using wonderful Lazer cut chipboard pieces from Gina's Designs!


Today I created a lovely Scrapbook page.


I love to layer, and Gina's Designs  gives you so many shapes to choose from!


Here I used a variety of pieces. 


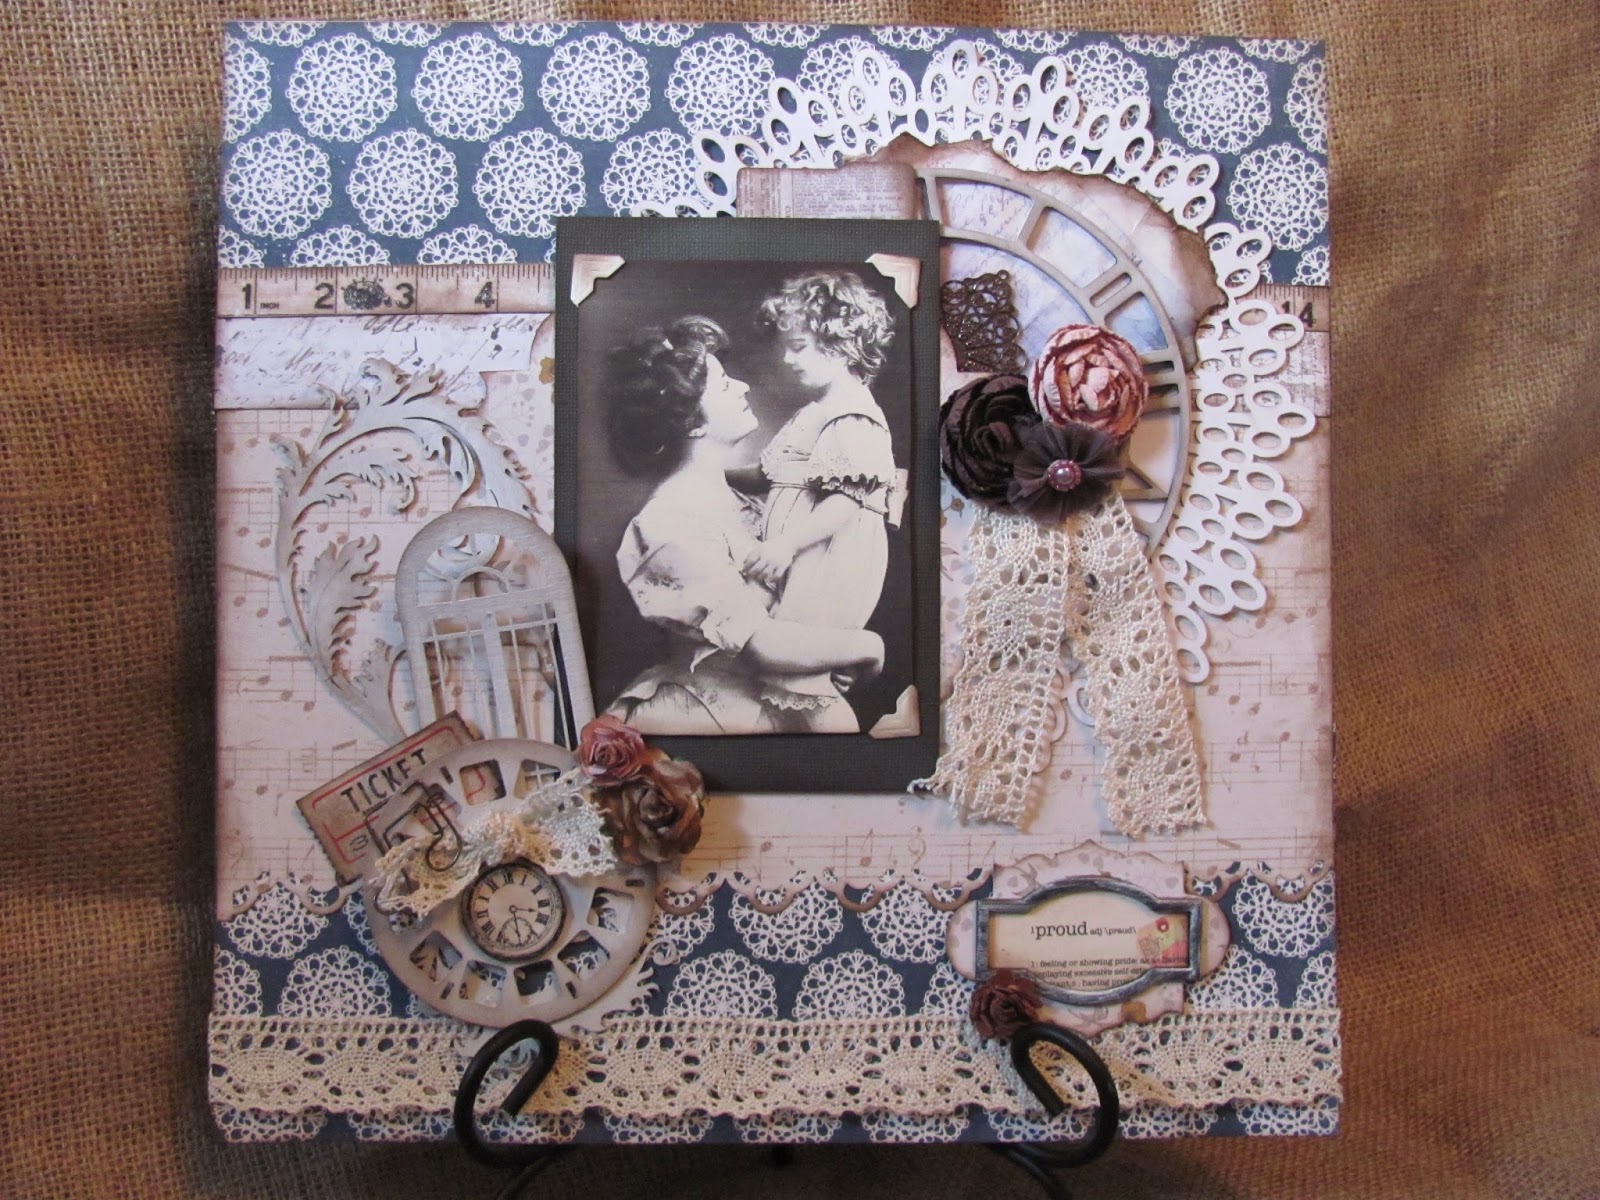
              I love how adding a simple Doily adds a touch of femininity to a layout.


The Skeleton Clock also adds a touch of Nostalgia.


Thank you so much for taking a look. I hope you enjoyed this Layout as much as I enjoyed putting it all together.


Gina's Designs


Doily Set 8 inch


Arched Window Set


Feathery Flourishes


Photo Reel Small


Skeleton Clocks Set


Saturday, May 10, 2014

Cards by Shanna

Shanna here with two cards to share. I thought the Arched Windows Set would be a great piece for this card. I colored the chipboard using some Prima Chalks and then gave it a coat of glossy accents.


Here you can see the Fern Fronds with a pastel Prima Chalk.
For my second card I couldn't resist using the Cartographer collection with this fabulous Hot Air Balloon Net Style .
I first coated it gesso, then more Prima chalks, followed by Gold Foil Prima Bloom Spray.  I heat set that,  then I used Lindy's Sandra Dee Flat Fabio spray to darken it up.
Thanks so much for stopping by. I hope you were inspired to create your own creations!