Wednesday, August 31, 2022

The best chipboard for your covers VI

Hi everyone!

Myry again and today I'm going to continue show you how frames can be the best for your covers!
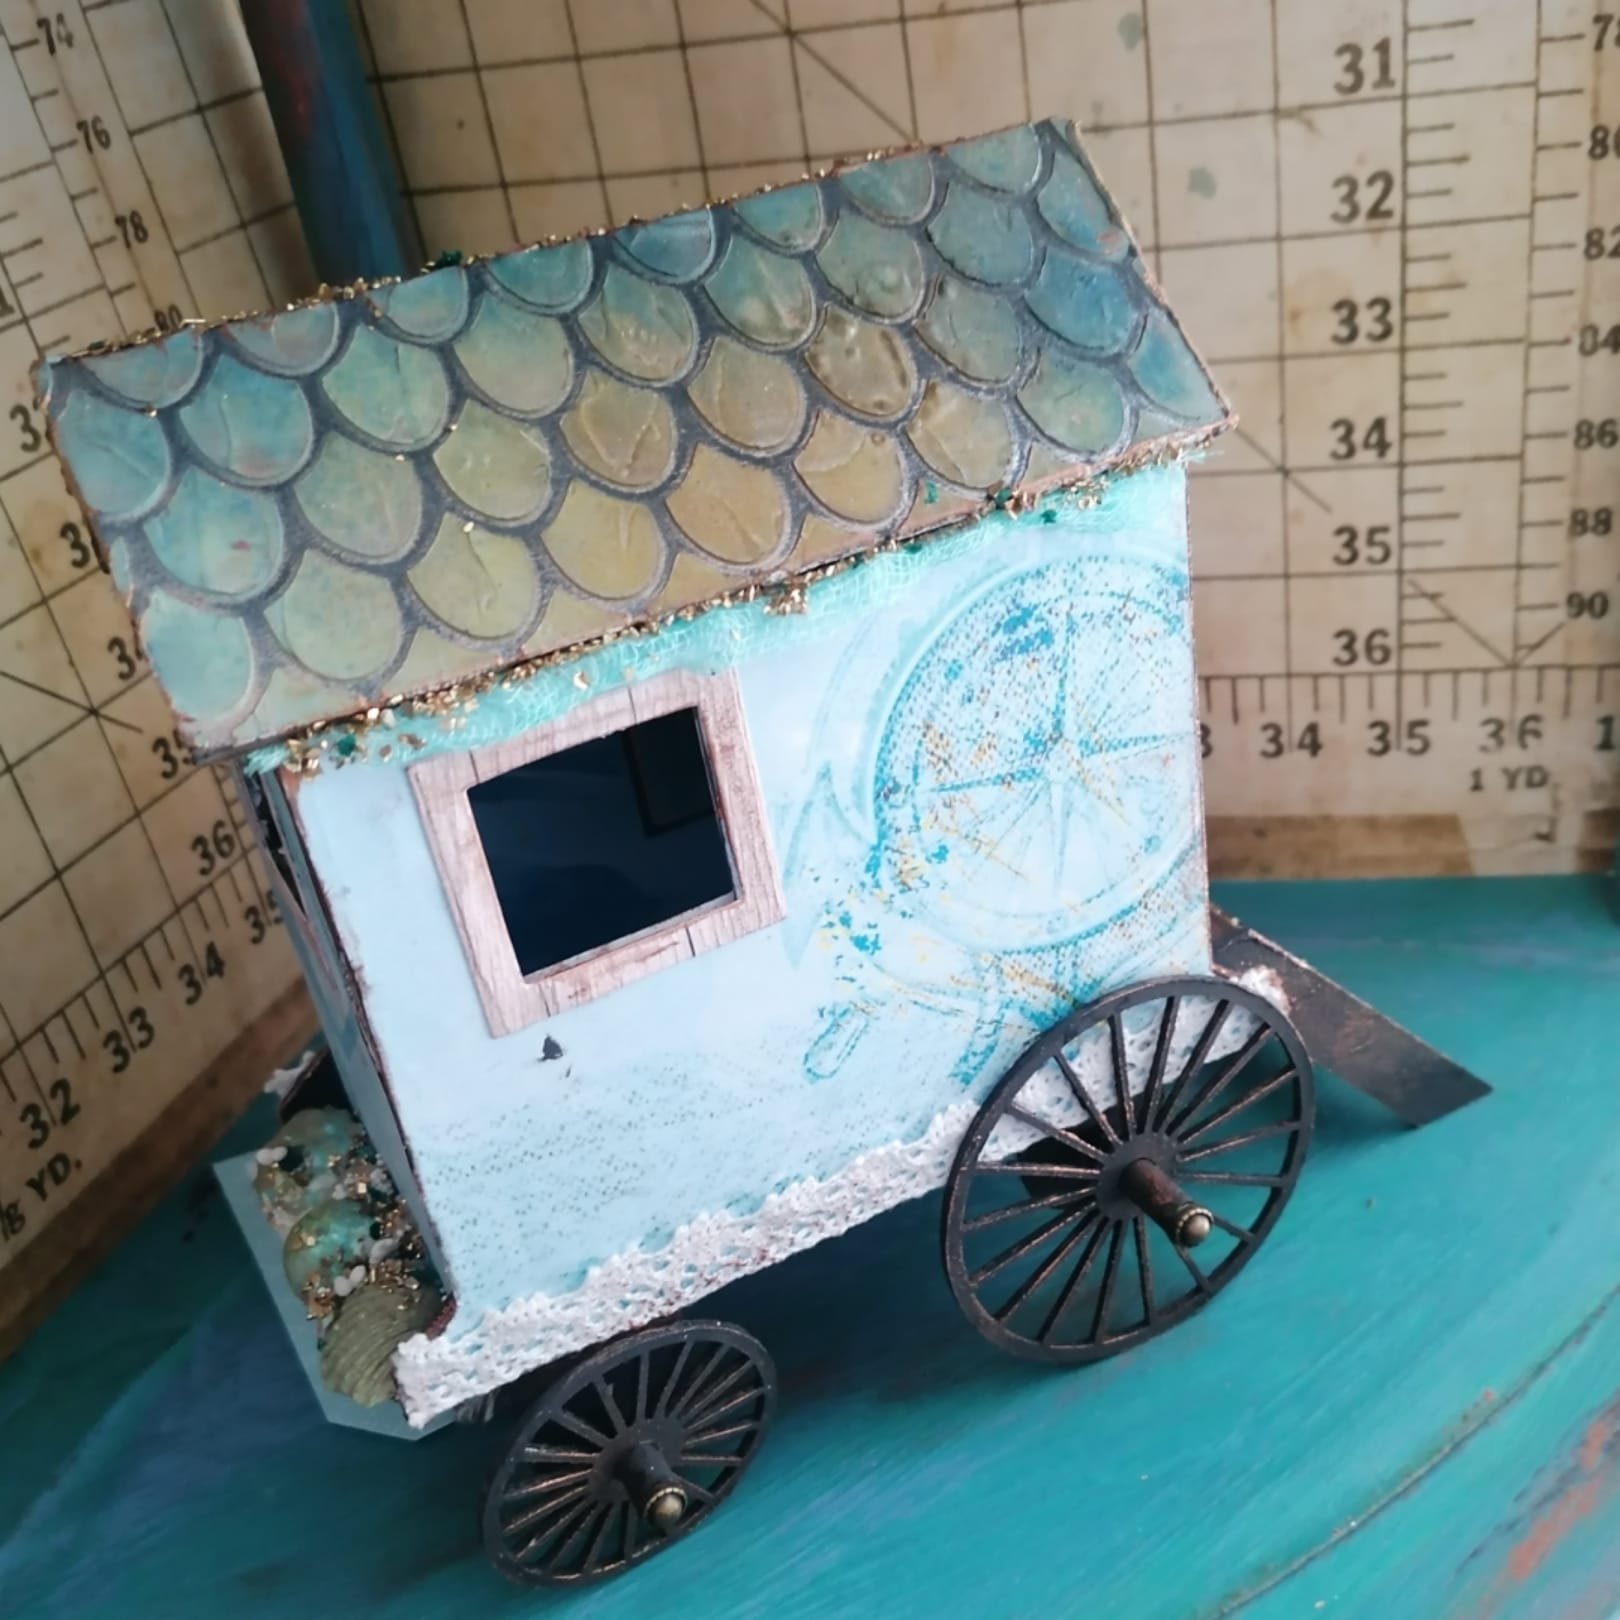
This time is the tourn of this beauty: Flourished Frame Elizabeth
If I had to choose any type of chipboard, it would certainly be the frames. Have you seen what a beauty?! It's true that small curves can be very delicate and break easily but it's worth working with them.
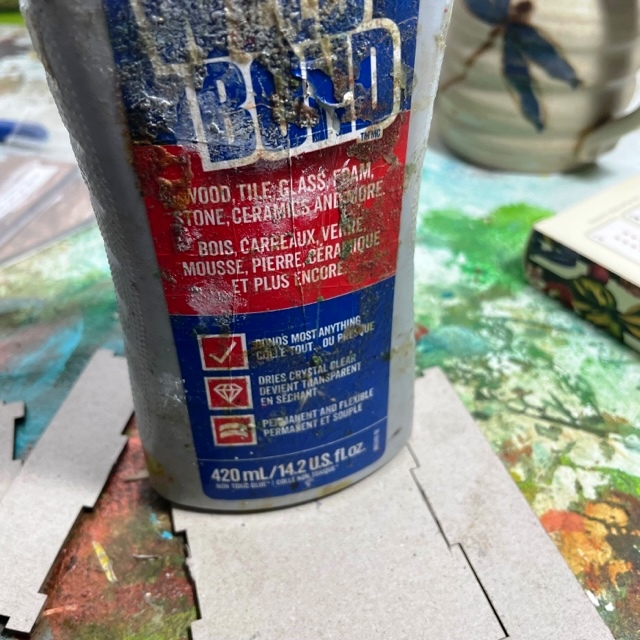
A trick to reinforce the delicate parts: put a light layer of medium gel or some hardener in the most delicate areas. Paint everything, not only what is visible but also inside. I usually use two types of brushes: a thick one for the general face and a very fine one to reach all the corners. 
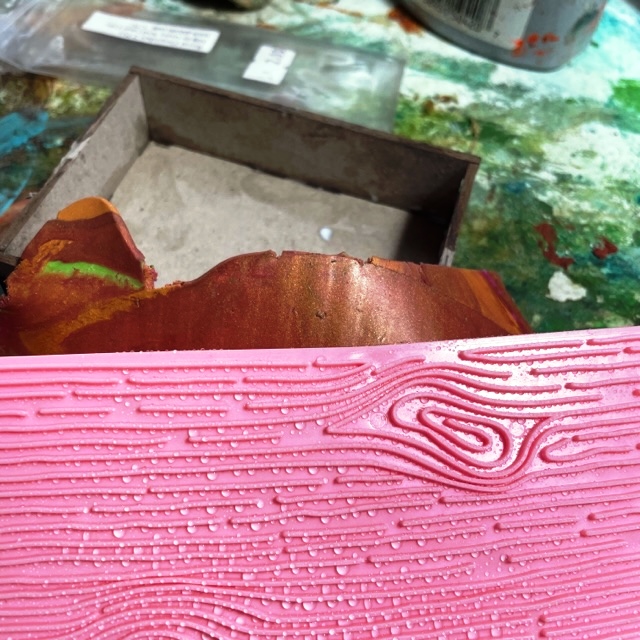
Paint the frame with shades of the same color, in my case pink, first the lightest and then the darkest. 
I remove part of the dark color with a rag so that the light color can be seen underneath, this gives it a vintage touch.
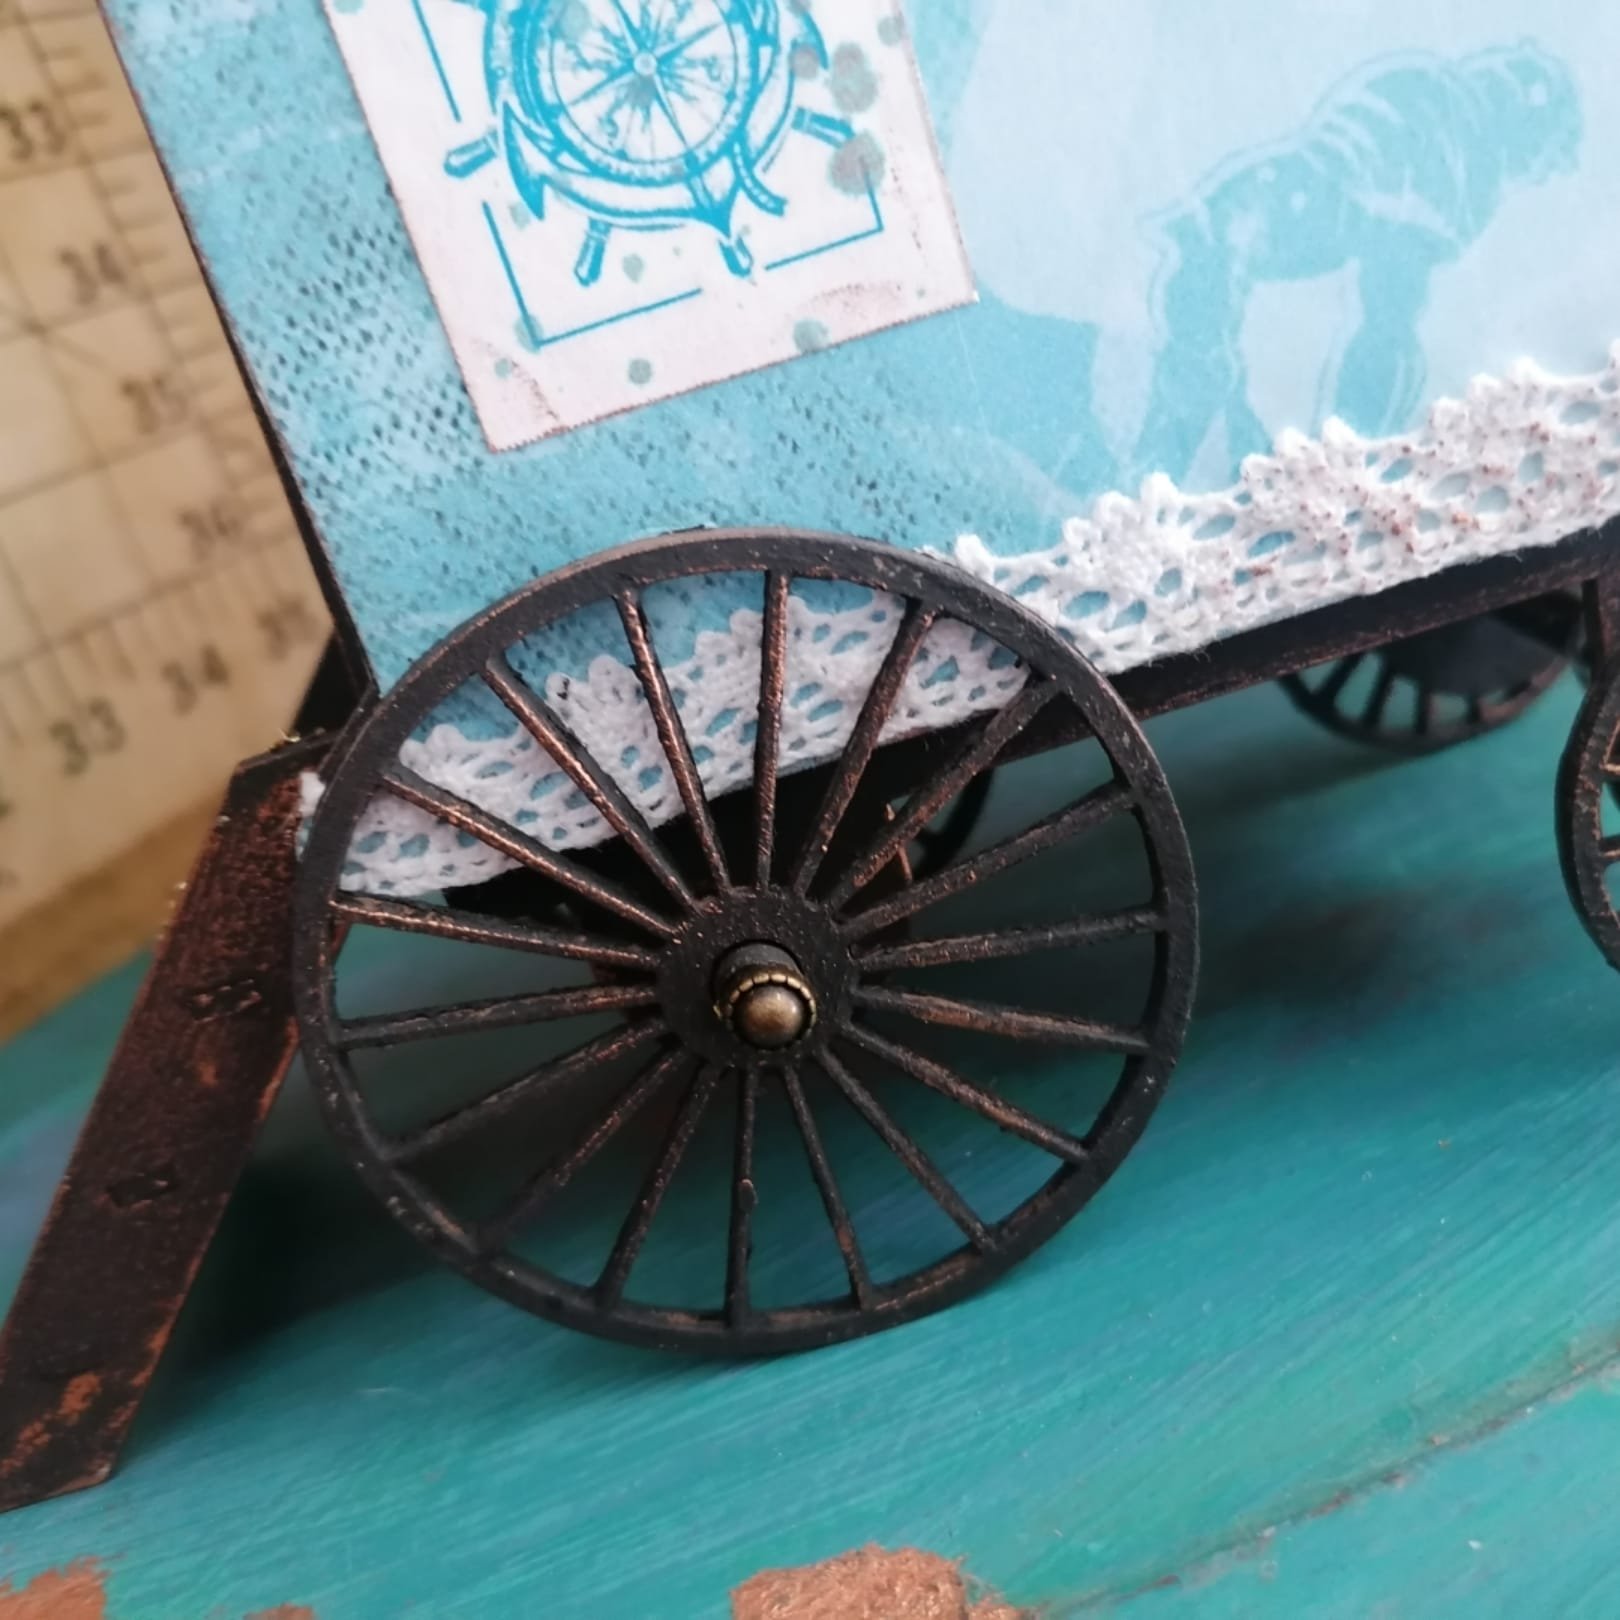
But if you want more contrast paint the frame with a different color, like this turquoise.
Tip: take advantage of the holes in the frame to sew it to the cover for greater support (especially if you have put some padding underneath to enhance the embroidery), you can cover the seams with pearls or other small embellishments.


Gypsy Soul Laser Cuts items used:

Other items used:
Medium gel or some hardener
2-3 acrylic paints, brushes and rag
Embroidery fabric, wadding, needle and thread
Scissors, cutter and glue
Pearls

Saturday, August 27, 2022

Fall in love with staircase

 Greetings ! This is Sneha with a new project made using GSLCut chipboard. I made a canvas using staircase chipboard. This canvas envisages couples' love. I am  totally in love with  this chipboard. It has given a different dimension to my project 👍. 


This project was very simple and quick to make. As always I started with priming my canvas surface with a white gesso and applying texture paste via stencil.


Next applying some crackle paste on the deserted areas.


Next embossing the chipboard using distress embossing  powders.


Next is arranging this chipboard as a center point. I have glued cardboard on backside of the chipboard and then stick it to the canvasusing gel medium and hot glue. This gives the chipboard sturdy and elevated look and will also help me in arrangements of flowers and other diecuts in the next step.


Next I did some stamping of messy script stamp around the chipboard.


Now I started gathering my flowers and die cuts for the next step and adhered all in a way that I like using gel medium and hot glue. Starting with a couple die cut in the center of the staircase. And then going with the flow.


Towards the end of the project I addedsome sparkle and some pearls to some of the flowers in the arrangements to elevate them. And some touch up  of yellow and rose pink acrylic color. Finally a sentiment.

And here is the picture of completed project.


Link to the chipboard from GSLCut.

Staircase: D157D 


Other products:

8 × 10 canvas

Liquitex Gesso

Golden crackle paste

Liquitex gel medium

Artist loft modeling paste

Ranger embossing powder 

Ranger distress embossing powder

P13 die cuts from : Always and forever 07

Diecuts from Dress my craft : Magnolia hues

Colors from Lindys spray 

Flowers and moulds from Prima marketing 

Messy script stamp 

Versafine black ink.


I hope you all like this project and feel inspired to make one for yourself too. 

Regards!

Sneha.


Wednesday, August 24, 2022

International Strange Music Day-A Peek-a-Boo Project.

This is Jon David Lowe for Gypsy Soul Laser Cuts, I enjoy looking up unusual holiday to see if I can include them in my blog posts. Today, August 24, 2022, is as my title says  International Strange Music Day, a day that encourages people to listen to all types of music they don't usually listen to. It is a also a day to discover strange and bizarre kinds of music. "Madam Butterfly" by Malcolm McLaren is one type of music many may not know. It is the inspiration for this artwork. 

1.  Gather Supplies.

2.  Put Together GSLC ATC Shrine Box and Secure with Weldbond.

3.  Roll Out a Thin Sheet of Polymer Clay and Press into Plastic Wooden Texture Plate.

4.  Cut Panels of Clay and Adhere to GSLC ATC  Shrine Box with Liquid Clay.

5.  Brush Empty Areas with Liquid Clay and Sprinkle with brown Embossing Powders.

6.  Cure in Polymer Clay Oven.

7.  Build a Butterfly Body Totem In Middle of Cured Box Using Small beads for Eyes and Small Nails for Antennas.

8.  Paint GSLC Vine Corners with Shades of Green Acrylic Paints.

9.  Paint GSLC Royal Flourishes with Gold Design Cream.

10.                Attach GSLC Vine Corners and GSLC Royal Flourishes with Liquid Clay and Cure Again in Polymer Clay Oven.

11.                Use Glossy Accents to Attach Transparent Butterfly Wings to Butterfly Body.

12.                Add Patina to Art Piece using Dry Brush Technique and Acrylic Paints.

13.                Paint GSLC Gothic Cross Miniatures with Gold Design Cream.

14.                Attach GSLC Gothic Cross Miniatures with Golden Heavy Matte Gel Medium


Some Final Thoughts.

I enjoy a variety of music, Putumayo is a great starting place to discover different types of World Music. I have enjoyed their A Native American Odyssey,, Gypsy Caravan,  India Compilation, Louisiana Music Sampler, and Zydeco.

 I Have Favorite Female Vocalists, Tori Amos, Annie Lennox, Miley Cyrus, Tones and I, Natalie Merchant, Sinead O'Conner and Tracy Chapman.

 My Favorite music group is Over The Rhine, whom I have quoted many times here on my blog posts. I Like U2, REM, the Chieftains, Edward Sharpe and the Magnetic Zeros, Moby, Gregorian, Rammstein,  and Grant Lee Buffalo.

 There are so many different styles of music for me to still discover. Tell me a few of your favorites.


Supplies:  GSLC ATC Shrine BoxGSLC Royal FlourishesGSLC Vine CornersGSLC Gothic Cross Miniatures, Weldbond, Polymer Clay, Plastic Wooden Texture Plate, Liquid Clay, Embossing Powders in Brown, Polymer Clay Oven, Small Golden Beads, Small Golden Nails, Shades of Green Acrylic Paint, Gold Design Cream Paint, Glossy Accents, Transparent Butterfly Wings, Golden Heavy Matte Gel Medium

I cannot wait to see your interpretation of this project. Share it on the Gypsy Soul Laser Cuts Craft Group Page on Facebook. I would love to see what new creations you are working on!

Monday, August 22, 2022

The bathing machine

Hello everyone 

It's Karolina here. I am sharing with you my new inspiration.

The bathing machine;what an awesome product!


The first step was to assemble all parts to make the bathing machine. To do it, I use glue.

You can see this step in my video. 

Unfortunately, the camera stopped recording after the first step. 

But for newbies, this short video could help.


When the glue dried, I covered everything using black gesso. 

The next step is to cut out all parts from paper to decorate the bathing machine outside and inside.

Using two square cutting dies, I made windows and added some lace.

I added some texture paste to make a more realistic roof then I splashed some Glimmer mists.

I cut out some graphic elements and decorated the bathing machine. 

To decorate the back of the bathing machine, I used some shells and glued them using a heavy body gel.

In the end, I added some colourful and shiny little stones and used gold wax on the edges and the steps.


GSL product:
Bathing Machine

Other products:
"Dreams at the beach" Paper collection
Glue
White paste
Black Gesso
Wax
Colourful stones
shells
Lace
Glimmer mists

I hope you like my inspiration, and I cannot wait to see your inspiration for this project. Please share it on the GYPSY SOUL LASER CUTS Facebook group.

Thank you for stopping by!
Karola

Wednesday, August 17, 2022

Make embellishments with Postage Stamp Blanks

Hi everyone!
Myry again and today today I'm going to do an experiment with these Postage Stamp Blanks.
I'm going to use different types of thin gauge paper as for decoupage or napkins.
The first and most important thing to do is clean the chipboars very well, especially the edges. Clean them with a rag. This way you'll avoid dirtying your work.
The second thing I'm going to do is paint a light layer of gesso on the sides and the edges.
And now I'm going to experiment with the different papers to see how they look once sticked: napkin, decoupage paper, patterned silk paper and masking tape. The process is the same with all: put a light layer of glue and stick the piece of paper on top. Smooth it well with the help of the wet brush.
Cut the excess right on the edge and push the excess paper out of the edges with the help of the brush, a dooting tool (something like that) and a file. You can make a small cuts in the paper to make the process easier.
And with a little care and time: voilà!
The best have been with the napkin and the masquin tape (the middle one and the bottom two). Interesting result indeed!


Gypsy Soul Laser Cuts items used:
Postage Stamp Blanks

Other items used:
Thin gauge papers
Decoupage glue or glue diluted in water
Gesso, brush, scissors and file
Rag