Showing posts with label Feathery Flourish Shape Set. Show all posts

Saturday, June 25, 2016

"Precious Memories" Baby Birthday Layout with Pam Bray and Xyron

Hi!!! It is Pam today on the Gypsy Soul Laser Cuts Blog AND.... It is that time of the month...
What better way to celebrate June but with a "Precious Memories Baby" layout of my "newest" grandson Killian!!! I love the Wood Hanging Stand it is the  perfect home decor piece. It is perfect for a birthday calendar. 


I began my page by running through Xyron Creative Station. Love how it gives an even coverage of adhesive when doing large pieces. 


Cover the Wood Hanging Stand Page with paper.  


Adhere border to top of prepared layout. 


Apply the Antique Bronze and Frayed Burlap over top of Tudor Rose Shingles, Feathery Flourishes. 


Cut prepared Tudor Rose Shingles in half.  


Add half of Tudor Rose Shingles to top of banner. Mat photo on blue and green card stock, add to top of layout.   


Paint Feathery Flourishes with Mowed Lawn and Peeled Paint. 


Cut flags from pattern paper. Add to layout with pop dots. 


Cut flags from pattern paper. Add to layout along with birth,date. 


Adhere Feathery Flourishes to layout. 


Add prepared Flourish Circle Frame to pattern journal paper. Add sticker letter to center of Flourish Circle Frame.


I hope I have inspired you to check out the Wood Hanging Stand with Pages and maybe make a fabulous home decor to honor your family. The possibilities are endless. Thanks for stopping by today. Hugs Pam
 Gypsy Soul Laser Cuts Supplies:

Other Supplies:
Graphic 45 Precious Memories Pattern Paper
Graphic 45 Precious Memories Sticker
Distress Paint: Frayed Burlap, Antique Bronze, Mowed Lawn, Peeled Paint
Xyron Creative Station
Xyron Adhesive
Glossy Accent
Pop Dots

Wednesday, May 25, 2016

"Merci-Thanks" Card by Pam Bray


Hi!!! Pam today on the Gypsy Soul Laser Cuts Blog....Merci -Thanks, I am always excited to see you visit us here on the Gypsy Soul Laser Cuts Blog. I created "Merci-Thanks" Card using Graphic 45 Olde Curiosity Shoppe along with several of Gypsy Soul Laser Cuts chipboard pieces.


Begin by layering your pattern paper to the top of a card base. Paint Delicate Frames & Ornaments Butterfly and Feathery Flourishes with Salty Ocean Distress Paint. Allow it to dry and then apply Metallic Lustre over the top.


Adhere prepared Feathery Flourishes to top of card front.


Add prepared Delicate Frames & Ornament Butterfly to top of Olde Curiosity Shoppe mats. Place prepared mats to top of card front with pop dots. Add metal key.


Adhere Olde Curiosity Shoppe paper to top of Stackable Labels Shape Set and butterfly from Delicate Frames & Ornaments Set. Adhere to top of card front. Add clock hand and brad to butterfly.


Make a pretty bow from sheer ribbon, place on card front along with last of the prepared Feathery Flourish pieces.


I hope you have enjoyed my "Merci-Thanks" Card today and again thank you so much for being frequent visitors to the Gypsy Soul Laser Cuts Blog

Gypsy Soul Laser Cuts Supplies:

Other Supplies:
Graphic 45 Olde Curiosity Shoppe
DecoArt Metallic Lustre: Iced Espresso and Gold Rush
Distress Paint: Salty Ocean
Blue Sheer Ribbon
Card Base

Thursday, January 21, 2016

Shabby Chic Dressform Hangup

Hello again, my fellow chippy fans!  It's Thursday again.  Barbara here with this week's Gypsy Soul Laser Cuts project.  Have you ever played with paper dolls, dressed them in paper clothes, and spent hours dressing and re-dressing them?   Well, when I saw these fab Dressform Hang Ups from Gypsy Soul Lase Cuts, I knew I was going to have some fun!   
-

Step 1: Paint hangup portion with Titan Buff acrylic paint.
Step 2: Add a mixture of Burnt Umber and Interference Gold paint to the hang up to make it more shabby chic.  Adhere small piece of hangup over the larger piece for added dimension.
Step 3: Cover bodice with print paper.
bodice
 Step 4: Accordion fold a 6"x12" piece of corresponding print paper, every ¼", to form dress.
dress
Step 5: Staple top section of paper with tiny stapler, or tape it, as shown so that the bottom flares out like a fan.
Step 6: Use a decorative circle punch a 5"x12" piece of coordinating paper to create the "apron" portion of the dress, then accordion fold it, as shown.
dress apron
Step 7: These chipboard shapes are pieces that were removed from the hangup portion.  Paint them with ColourArte Apricot Nectar Silks Acrylic Glaze.  Two coats were needed.
knockout pieces
Step 8: Paint a feathery flourish with two coats of ColourArte Apricot Nectar Silks Acrylic Glaze.  
feathery flourish
Step 9: Adhere the four knockout pieces to the bodice, as shown.  Add a metal filigree jewelry embellishment to the bodice.
Step 10: Add the dress apron, tiny flowers and leaves, to the right side of the dress, as shown.  Diamond Stickles glitter glue was also added to the flower petals.
Step 11: The feathery flourish was glued just to the left of the apron, along with a short string of pearls.
And here is a closeup of the embellished dress portion.  

Gypsy Soul Laser Cuts Supplies Used:
Dressform Hang Ups
Feathery Flourishes Set
Cardstock Doily Set Intricates

ColourArte Apricot Nectar Silks Acrylic Glaze
Scrapbook Papers 
String Pearls 
Metal jewelry embellishments 
Paper flowers 
Diamond Stickles 
Decorative Circle Punch
Acrylic Paint - Titan Buff, Burnt Umber, Interference Gold
Tacky Glue

I really had a ton of fun with this one, and I hope you will be inspired to make one, or two, or three of these fun dresses.  I think they would be perfect for little girls and big girls, alike!  This would make such a beautiful statement, also, on a scrapbook page layout, or how about the front of a mini album or altered book!  Or just make a bunch of them and hang them up!  Stay tuned because next week, I have another surprise for you with another style that I think you are going to like. 

In the meantime, thanks for stopping by, and have a wonderful, creative weekend!

Barbara

Monday, March 23, 2015

Vintage Wedding Layout


Hello there, crafty friends! Lynne here with a heritage page featuring some beautiful doilies and chipboard from Gina's as well as a wonderful old wedding photo from 1915 of my grandmother's cousin.


I inked the doilies to make them stand out a  little more; I just love the delicate look of them and the amazing amount of detail! For the flourishes, I just heat-embossed them with Stampendous Aged Ivory, then gently rubbed on a little of the same maroon ink with my finger.


Heritage layouts are some of my favorite pages to create, and there are so many beautiful pieces in Gina's store that complement and enhance my creations. Stop by and have a look! I'm sure you'll find some pieces you love! Have a terrific week and be sure to find time to play :)


Gina's Designs Items Used


Feathery Flourishes set


Other Items Used


Prima Cigar Box Secrets papers


Stampendous Aged ivory embossing powder


Prima stencil


Reneabouquets butterflies

Thursday, September 11, 2014

Fall House Shrine Box by Deann and a Layout by Veronica


Hello Friends!  Today we have two amazing projects to share.  First up is Deann with a project celebrating the beginning of the Autumn season.


Its Fall ya-all!!!


I used the House Shrine Box for this project and the awesome Fall Shape Set.


I did lots of layers on this project with the chip board and the Distress ink.


 The Scarecrow is the piece that started this project, I knew that I wanted to make it stand out. I went directly onto the raw chip board with the Distress Ink, Scattered Straw then Rusty Hinge and finished off with Gathered Twig. I used the same colors on the pumpkins with the addition of Forest Moss.   


(((HUGS)))


Deann


Gina's Designs products used:


House Shrine Box


Fall Shape Set


other products used-


Flowers from craftsupplies1


Next up is Veronica with a gorgeous layout to share.


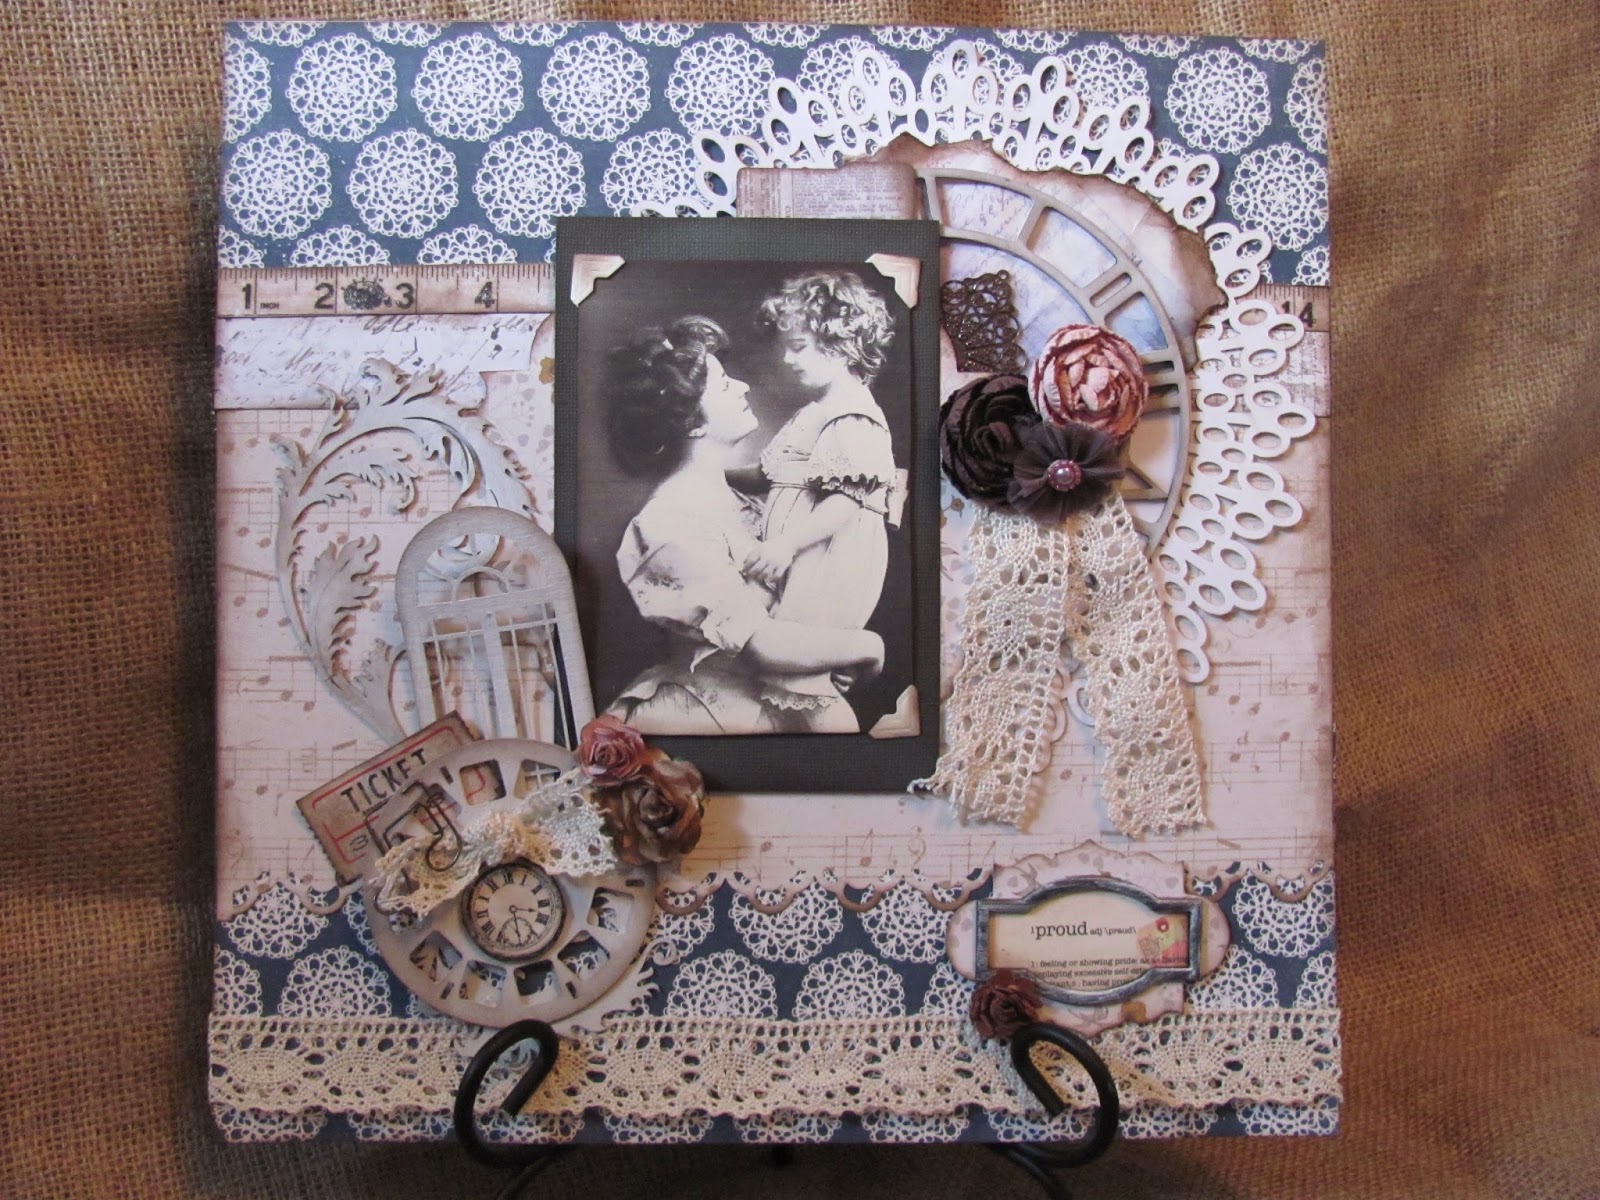
Hello Everyone! Veronica here once again to share one of my projects using wonderful Lazer cut chipboard pieces from Gina's Designs!


Today I created a lovely Scrapbook page.


I love to layer, and Gina's Designs  gives you so many shapes to choose from!


Here I used a variety of pieces. 


              I love how adding a simple Doily adds a touch of femininity to a layout.


The Skeleton Clock also adds a touch of Nostalgia.


Thank you so much for taking a look. I hope you enjoyed this Layout as much as I enjoyed putting it all together.


Gina's Designs


Doily Set 8 inch


Arched Window Set


Feathery Flourishes


Photo Reel Small


Skeleton Clocks Set