Sunday, March 27, 2022

Upcycling Tin Can with GSL cut Chipboards


Greetings Everyone!!

This is Sneha for GSL cut DT with my first project. I have upcycled an old tin can into a desk organizer for my office. I love upcycling old stuff and am always of the lookout for possibilities to make them a décor for my office or home. This was an easy to make, upcycling project. I very much enjoyed the process of transforming the tin can into this beautiful organizer. I love the chipboard from gypsy soul laser cuts as I have used them here in this project (check out the supply list provided at the end of this post for more information!). These chipboards are intricately cut and sturdy for your projects. I Love them and I'm sure you all will too! Enjoy~


Here is the complete project breakdown in a few simple steps:

Firstly, I have prepared the surface of the can with white gesso before I set it down and allowed it to fully dry. 


Once the gesso was dry, I applied modeling paste through a stencil and allowed that to thoroughly dry as well.


For the next step, I applied some black acrylic paint over the dried stenciled modeling paste.


And once the paint was fully dried, I applied wax paste over it in order to highlight the modeling paste.


Next I prepared the embellishments. Here I have used Gsl cut chipboard, some flowers, some fussy cuts leaves and microbeads and star glitter mix. 

I embossed chipboards with white embossing powder sprinkled over gesso and heated it.  
Once embossed, I highlighted it with some metallic acrylic paint on the frame chipboards here and there. And to the base chipboard added some transfer papers to give it a bit of dimension.


Along with the layered frame chipboard, I have used flourish miniature chipboards and embossed them with white embossing powder.


Following that, I arranged these chipboards on the tin can as a focal point and fillers as per my liking. 
Thereafter, I added some medium sized pale white color flowers and arranged the fussy cut leaves. Finally, I added a few cutouts of inspiring words such as "love" "inspire" and "create" to complete the overall arrangement.


Once everything was settled according to my liking, I added a bit more glitter mix to really give a good aspect of depth to the project. And this completes the project! It was a very simple and easy upcycling project which got an overall, beautiful, enhanced look due to the GSL cut chipboards.


I hope you all feel inspired by this upcycling project. I am quite eager to see some of your projects inspired by this one.

Stay crafty!

Supply list:


~ Sneha


Friday, March 25, 2022

 Greetings!  This is Jeanette Wilde.  I am new to the crew here and am looking forward to sharing with you my creations using the awesome products available.  Todays project uses the 6" 3D Tree (link is in the supply list below).  


I use quite a lot of beads in jewelry making but also in enhancing other creations like my journals.  I am, however, really terrible at making head pins so I have a little tool that makes them for me and I like to just sit while watching a movie and set up my beads so they are ready to use and I can just grab and go.  I keep these beads in a box but when I saw this tree I saw an opportunity to display my little sparkles.

This is a very simple project but the payoff is gorgeous.  I really wish pictures could pay it justice since it really does sparkle and shine but hopefully you get the idea.  My craft room is basically black and white with subtle accents of blues and purples so I went with that color scheme.  I used a basic acrylic paint as a base coat - didn't really care if it was perfectly covered since I like the "vintage/shabby" look.  You could sand in some areas once dry or add some crackle paint to really vintage it up though.


As you can probably tell I like sparkle so I then added a coat of Marabu's Rainbow alcohol ink.  A little goes a long way so you don't need much to cover a large surface.  It dries very quickly and leaves behind a shine that is litteraly a rainbow - turn it this way and it is purple, the other and it is blue.
Gorgeous!


I wanted to "fill in" the tree with extra bling and while you can use rhinestones I decided to make some resin gems so I could have the exact color and look that I wanted.  Just use some tiny little gem molds in various shapes (the ones I have came in a larger beginners kit).  I like to use UV resin since it cures very quickly - about 1 minute give or take.  You can either use pre-colored resin or add color with resin colorant or mica powders.  I went with white and blue colorant and then some mica flakes for the third.  Since the molds are super tiny I use disposable pipettes to add in the resin.  Then just follow the instructions of the resin that you are using.  You don't really need super fantastic resin for these tiny little jobs as you won't really see any imperfections so I just go with whatever is cheapest at the time.  One tip though is to use a lighter (very carefully!) to run a flame just over the top of the molds once they have been filled.  This gets rid of most of the bubbles.


I then used a good glue to add the gems randomly throughout the tree limbs.  Any mixed media glue should work - I used glossy accents.


You could be done at this point and just decorate your tree but since this is a "working" tree for me and I knew I would be carrying it around so I can use my beads I wanted to give it a sound base.  I used an old glass bowl (it had a really great cheesecake dessert!); filled in the bottom with some layers of foam to lift the tree up and to hold it in place; glued the tree to the foam; and filled in the space with some marbles (more sparkle!).  The final touch was to add some ribbon - since just about everything I do needs to have a ribbon - and, of course, the beads!


I absolutely love the final result.  I now have a sparkly decoration that doubles as a bead rack.  I can easily see my beads and can just pluck off the one I want to use then fill it back up.


I really hope you have enjoyed my first project with this awesome group.  Gypsy Soul has a wide variety of 3D projects so you can make that next storage/decoration.  See you next time!

Supplies: 3D Chipboard Tree 6", glossy accents, UV resin, UV light, Marabu Rainbow Alcohol Ink, clear silicone molds, resin colorant


Wednesday, March 23, 2022

Irish Landscapes Through a Looking Glass-A Peek-a-Boo Project

 This is Jon David Lowe for the GSLC DT, as I stated in my last post I have enjoyed traveling to the UK on several occasions and have saved some photographs from my travels there. These are a few of my favorites hidden beneath GSCL Latin Script Background. It is a cheeky play on the phrase "through a looking glass"  which can mean "the opposite of what is normally expected." Here I am using the background as a foreground and the looking glass somewhat old-fashioned way to say mirror is reflected and if you look closely in the reversal of the Latin Script Background, my nod to April Fools coming to a month near you soon.
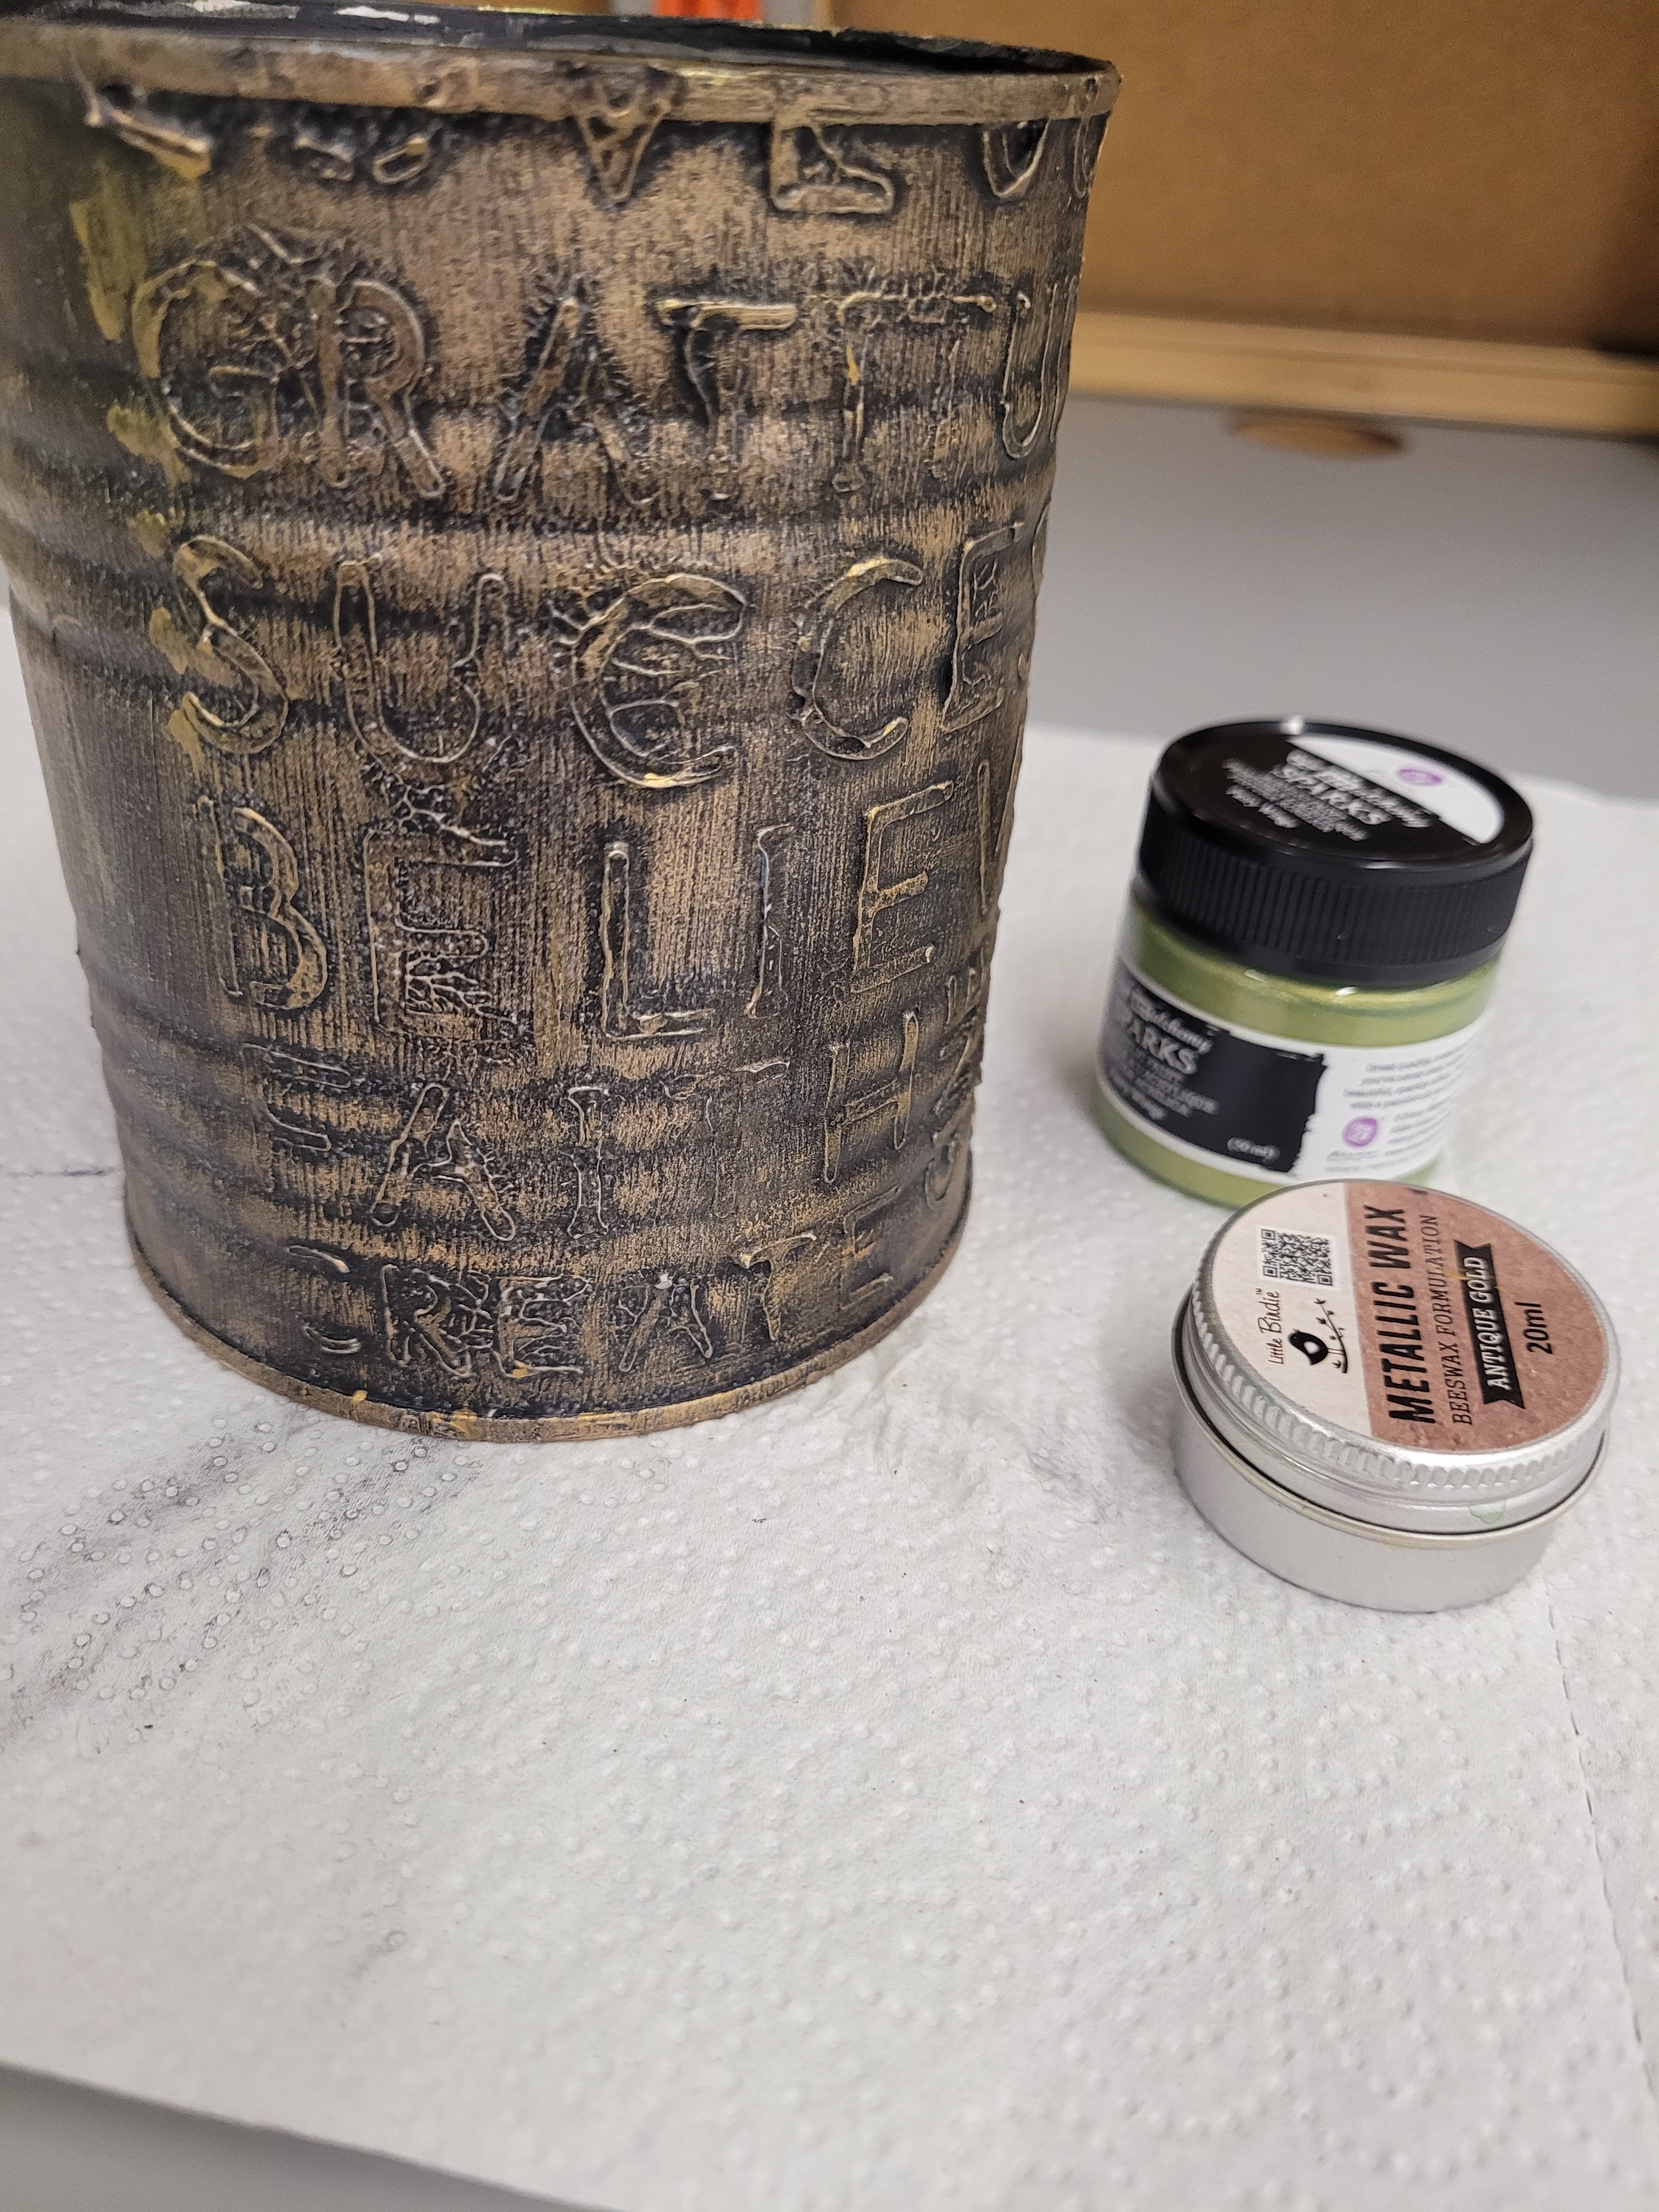
1.  Gather Supplies.


2.  Print Images of your Choosing to Glue to Cut Bookboard base. I Cut mine 5" by 6"

3.  Use Weldbond to Glue Images to Bookboard.

4.  Coat Entire Picture with a Generous Layer of Glossy Accents, Spreading Carefully with a Small Plastic Palette Knife. Allow to Dry Fully.

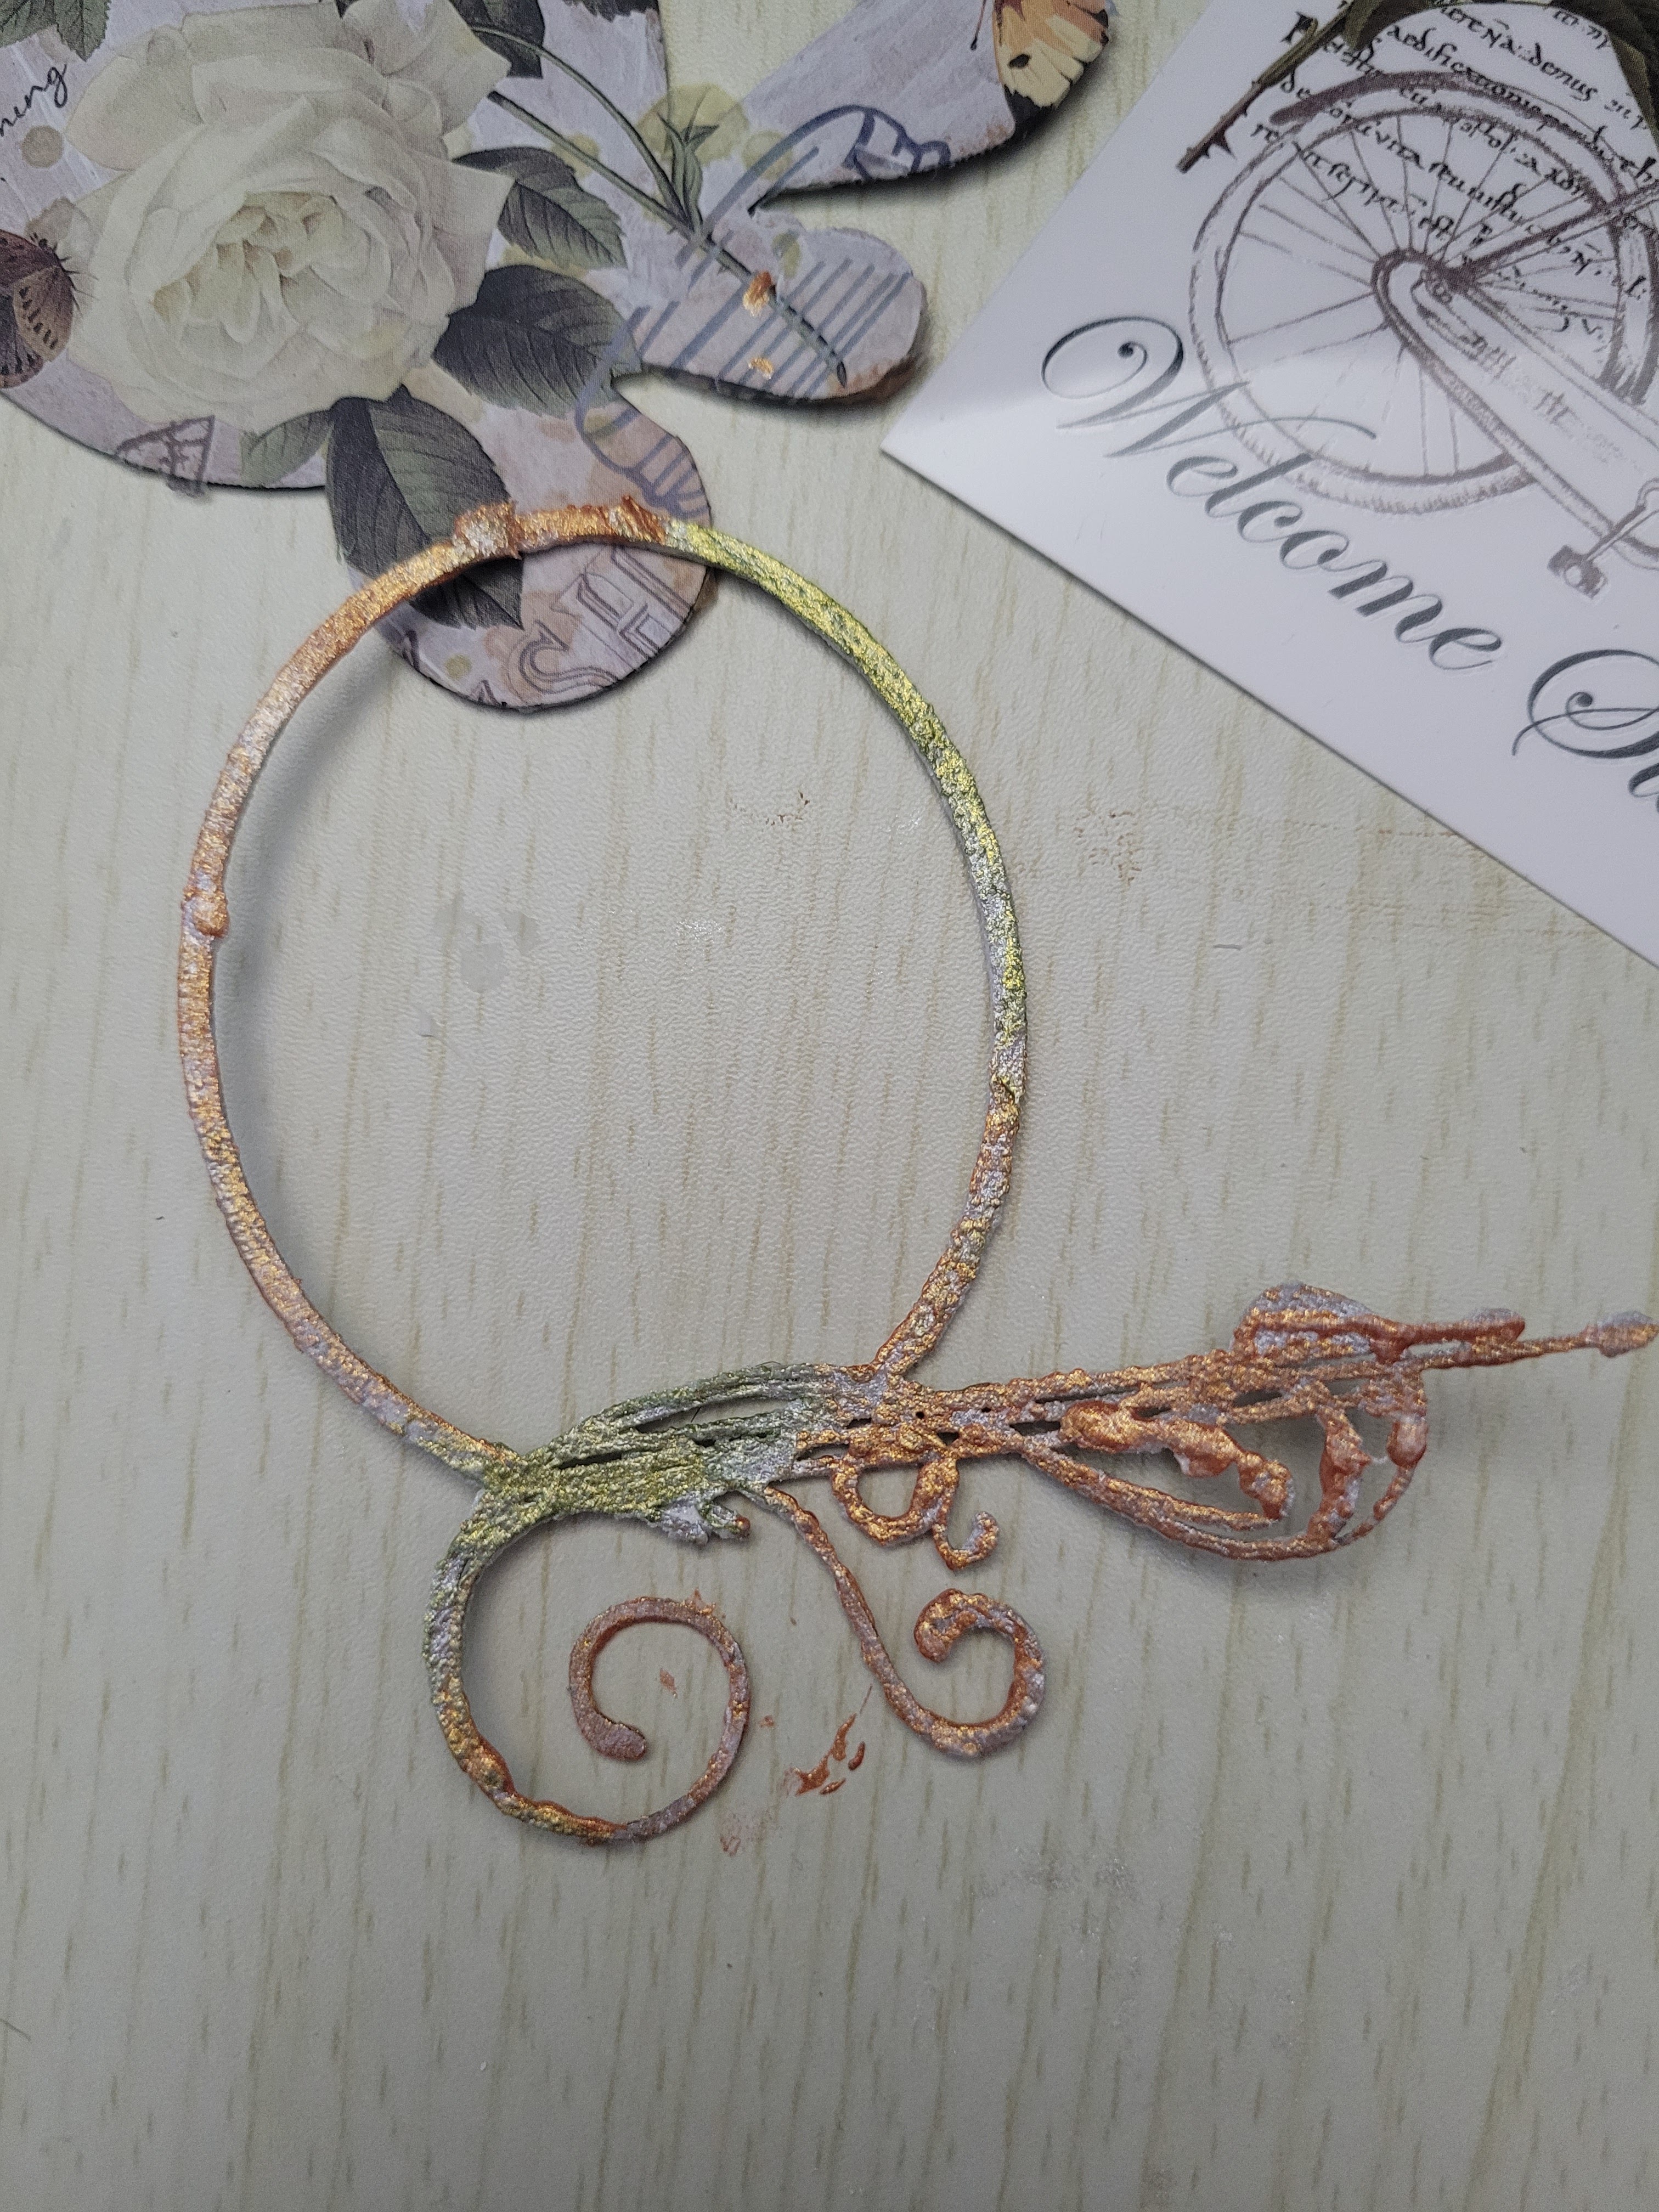
5.  Use Watercolors to Randomly Paint GSLC  Latin Script Backgrounds, I Reversed Just for Added Interest. There are Metallic Watercolors I used to Highlight the Script. You Could Also Use Metallic Paints or Markers.

6.  Spray with Distress Oxide Sprays to Make them Look More Aged.   


7.  Once Fully Dry Lay on Top Of Prepared Picture. Once Again Coat Entire Picture with a Generous Layer of Glossy Accents, Spreading Carefully with a Small Plastic Palette Knife. This Will Act and an Adhesive Bonding the GSLC Latin Script Backgrounds to the Foregrounds of Your Pictures. Allow to Dry Fully.

8.  While Drying Use an Art Foamie and Acrylic Paints to 5" by 7" Store-bought Frames. Being Careful to Remove the Glass or Plastic  and Backing Before Stamping.


9.  Cut Out Pieces of Glitter Cardstock to Act as a Border for Your Prepared Art Pieces.

10.                Attach Fully Dried Picture to Glitter Cardstock with a Piece of Double Sided Tape.

11.                Reassemble Frames and Enjoy Your New Art Pieces of Treasured Travel Memories.

Some Final Thoughts.

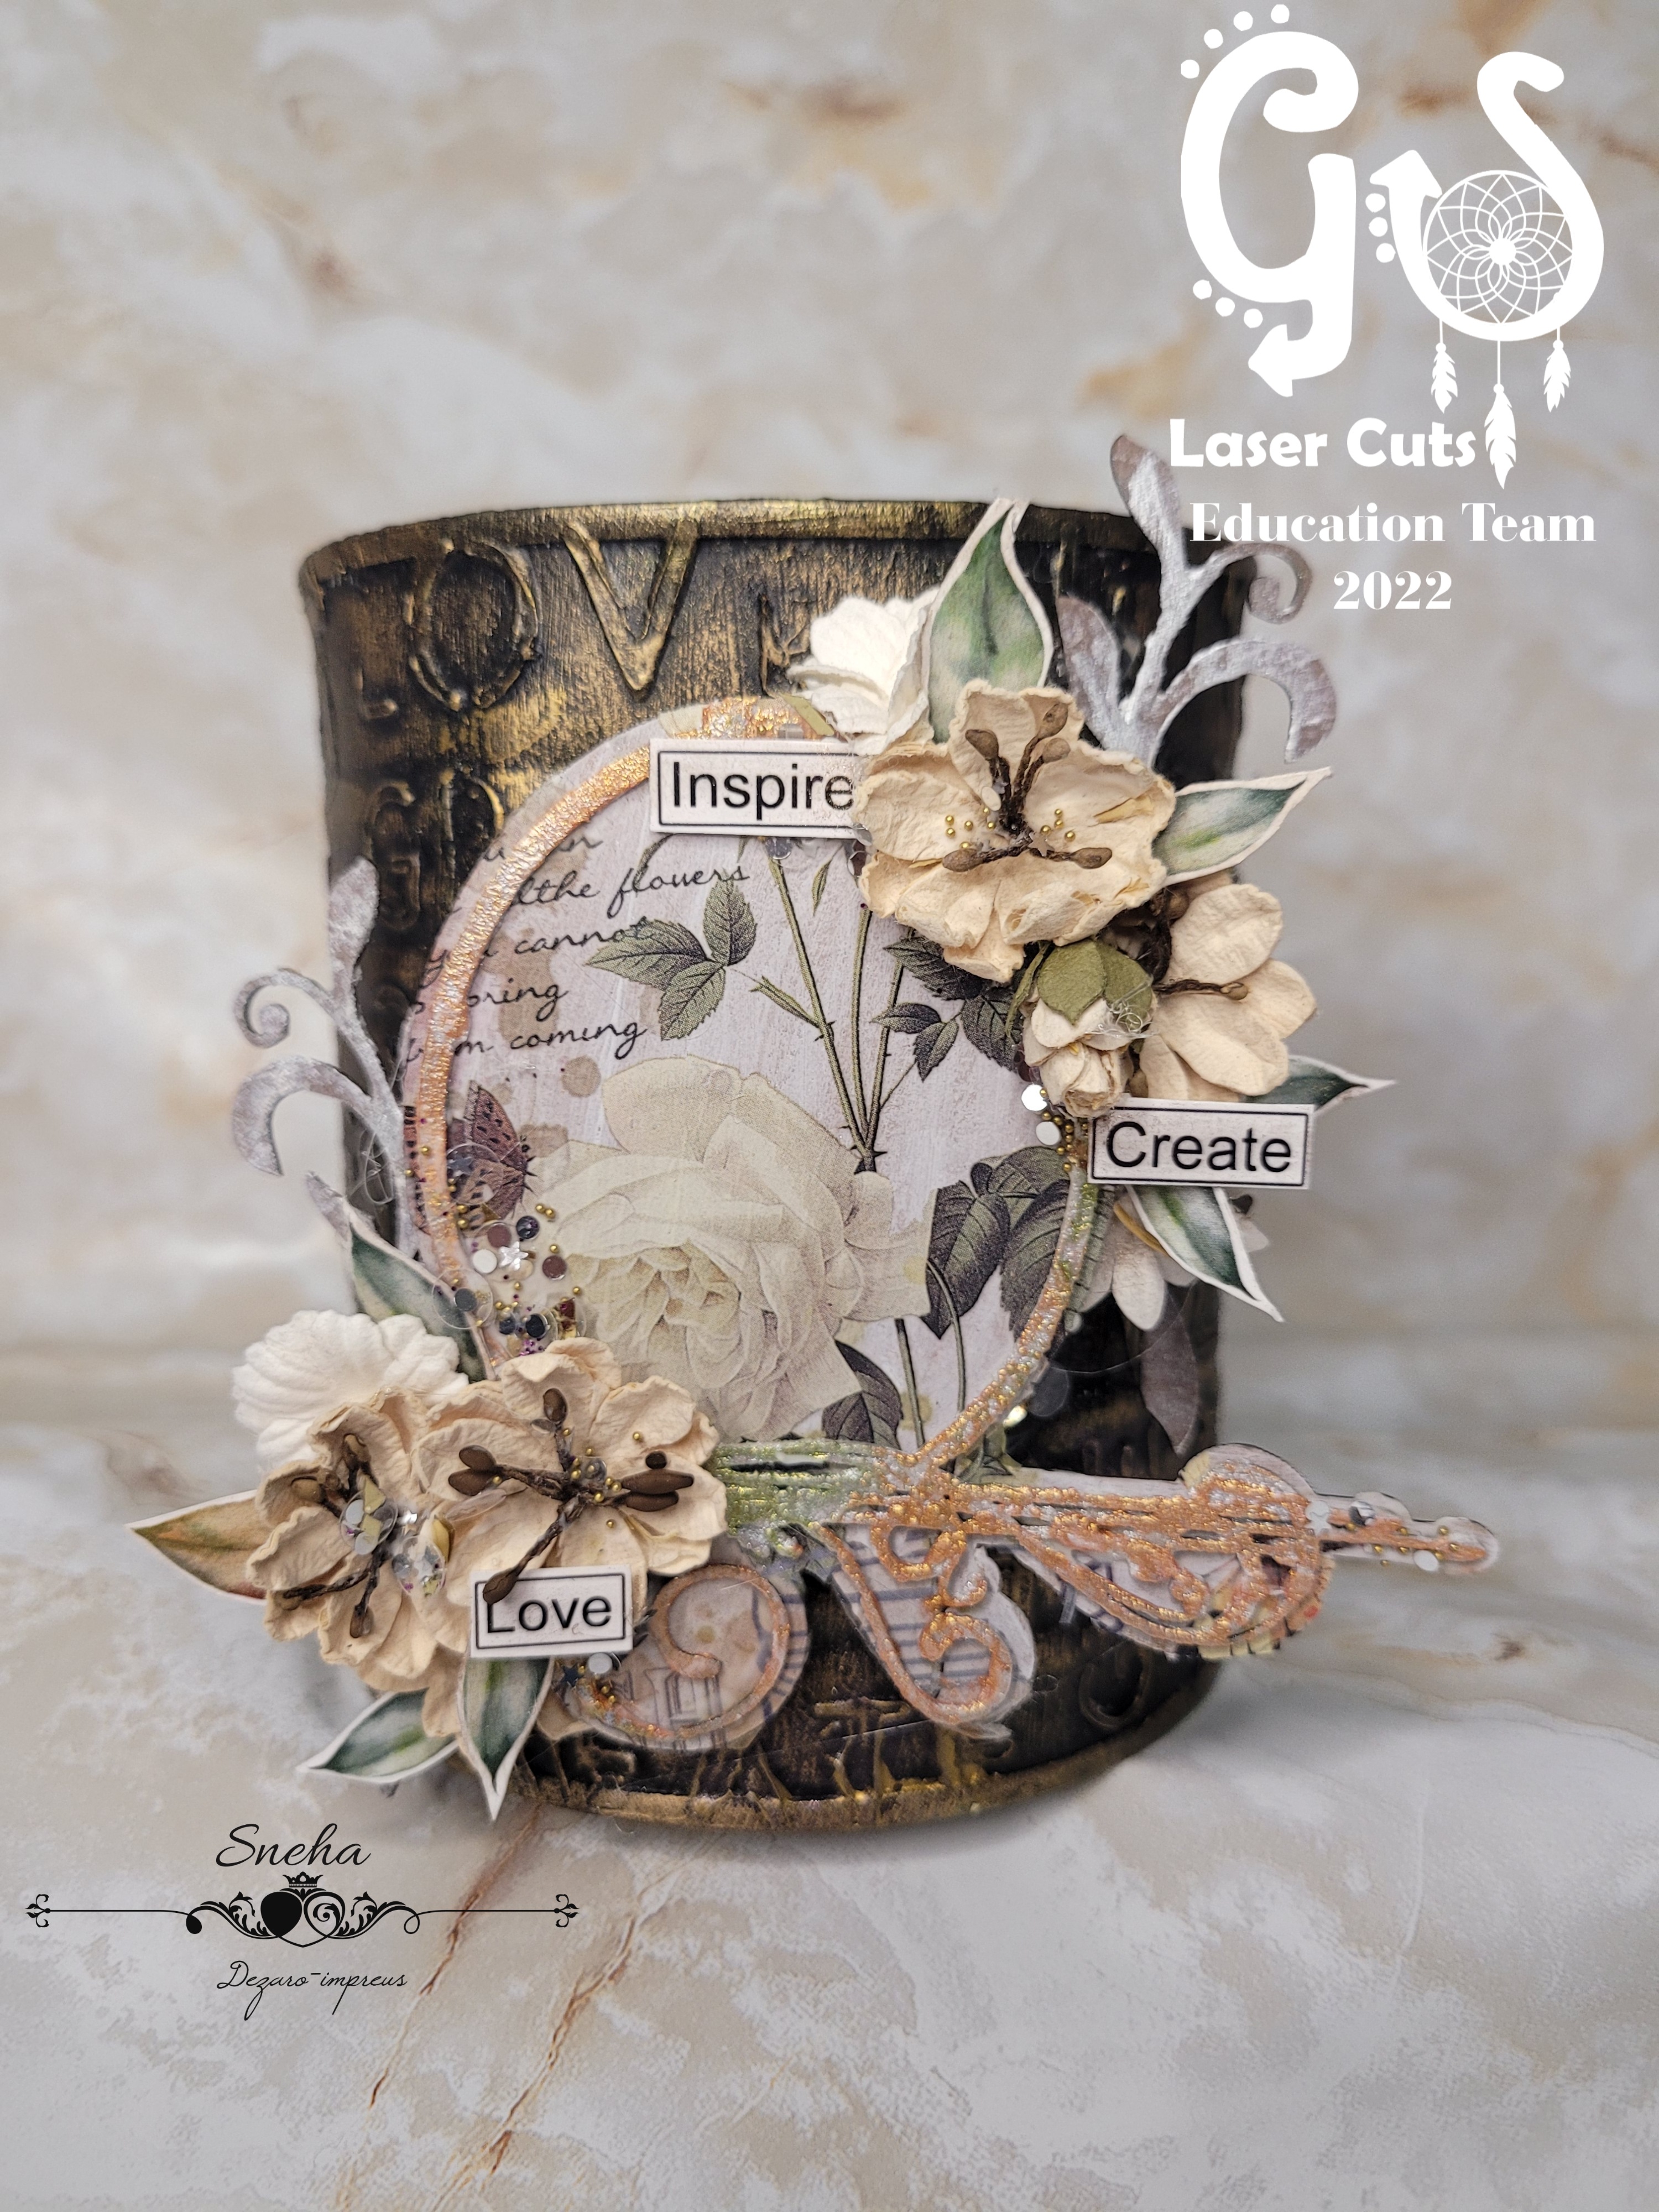
While traveling you can see unexpected sites that surprise you. The pictures I have hidden beneath the GSLC Latin Script Backgrounds are of a Castle in Ireland, the Irish Shoreline, a Crystal Clear Stream in Scotland swarming with baby eels, and a Landscape Scene from England's Lake District.  I am forever grateful for places I have traveled in my younger day as their memories still enchant my country boy's quiet heart. I never imaged I would be able to travel and see the amazing locations I have been to. These memories still feed my soul and spur on my creativity. Never pass up an opportunity for a road trip or a grand adventure even if it just to you local sushi shoppe, or a Home Goods or TJ Maxx Store. Not all travels need to take you far if you have an imagination and a grateful heart, there are worlds to explore just outside of your front door or within an hour's drive from your neighborhood. On the other hand sometimes travel does involve a longer journey by "planes, trains, and automobiles."

Lessons learned from travel and the 1987 film. Be Thankful for What You Have, Time with Family is Important, friends Come When You Least Expect Them, Keep the Faith, Always Be Kind, Don't Judge a Book by Its Cover, All Shall Be Well, Make a Plan but Be Willing to Step Off the Path...

Supplies:  GSLC Latin Script Backgrounds (4), Bookboard to Accommodate GSLC Script Backgrounds,  Watercolors, Paintbrush, Printed Images of Your Choosing, Rangers Glossy Clear Dimensional Medium, Small Plastic Palette Knife,  Scissors, Weldbond,  Distress Oxide Sprays of Your Color Pallet, Cheap 5" by 7 Frames from  Your Local Hobby Store, Art Foamie of Your Choosing, Acrylic Paints of your Choosing, Ruler, Glitter Paper to Make a Border for Your Art Pieces, Double Sided Tape


I cannot wait to see your interpretation of this project. Share it on the Gypsy Soul Laser Cuts Craft Group Page on Facebook. I would love to see what new creations you are working on!