
Not everyone
is enamored of Valentine's Day. So, for those of you
with a great antipathy to the chubby purveyor of love, Cupid; here is my
tongue-in-cheek diorama for you:

Have fun reading
through the steps. There is also a supply list at the end.
I chose this sturdy
and versatile ATC Shrine- Wrought Iron from Gypsy Soul Laser Cuts. I needed to see if my
parts would fit. I had a plastic
skeleton left from Halloween decorations that fit just right...well, minus two
limbs.

Here is the shrine in
exploded view:

I decided to use black
gesso on each piece.

Everything gets a
second coat.

Now for some texture! The inside back panel
gets fiber paste. I just kept thinking about rotting clothing, etc...

And the side panels...this modeling paste is
considerably stiffer and spreads on nicely.

You can see the
texture in this closer view:

Let's not forget the
gate door. I barely scraped the
paste in places.

While this dries, lets
back foil the Love sign.

It looks lovely :)

While we are at it,
let's make a foil back for the Wings.

Here it is under the
wings:

Now the wings need
some treatment. I put a light coat of
glaze over the wings to hold the soft glitter.

While the wings dry
let's see how the box shrine will look. Remember to keep the
product away from the tab areas. I want it to fit. The gesso did make the
fit a little snugger. Didn't have to force it at all.

It looked so
beautiful, I had to take a closer look:

Now for my creepy,
crypt patina. I used four separate
colors to achieve what I was after.
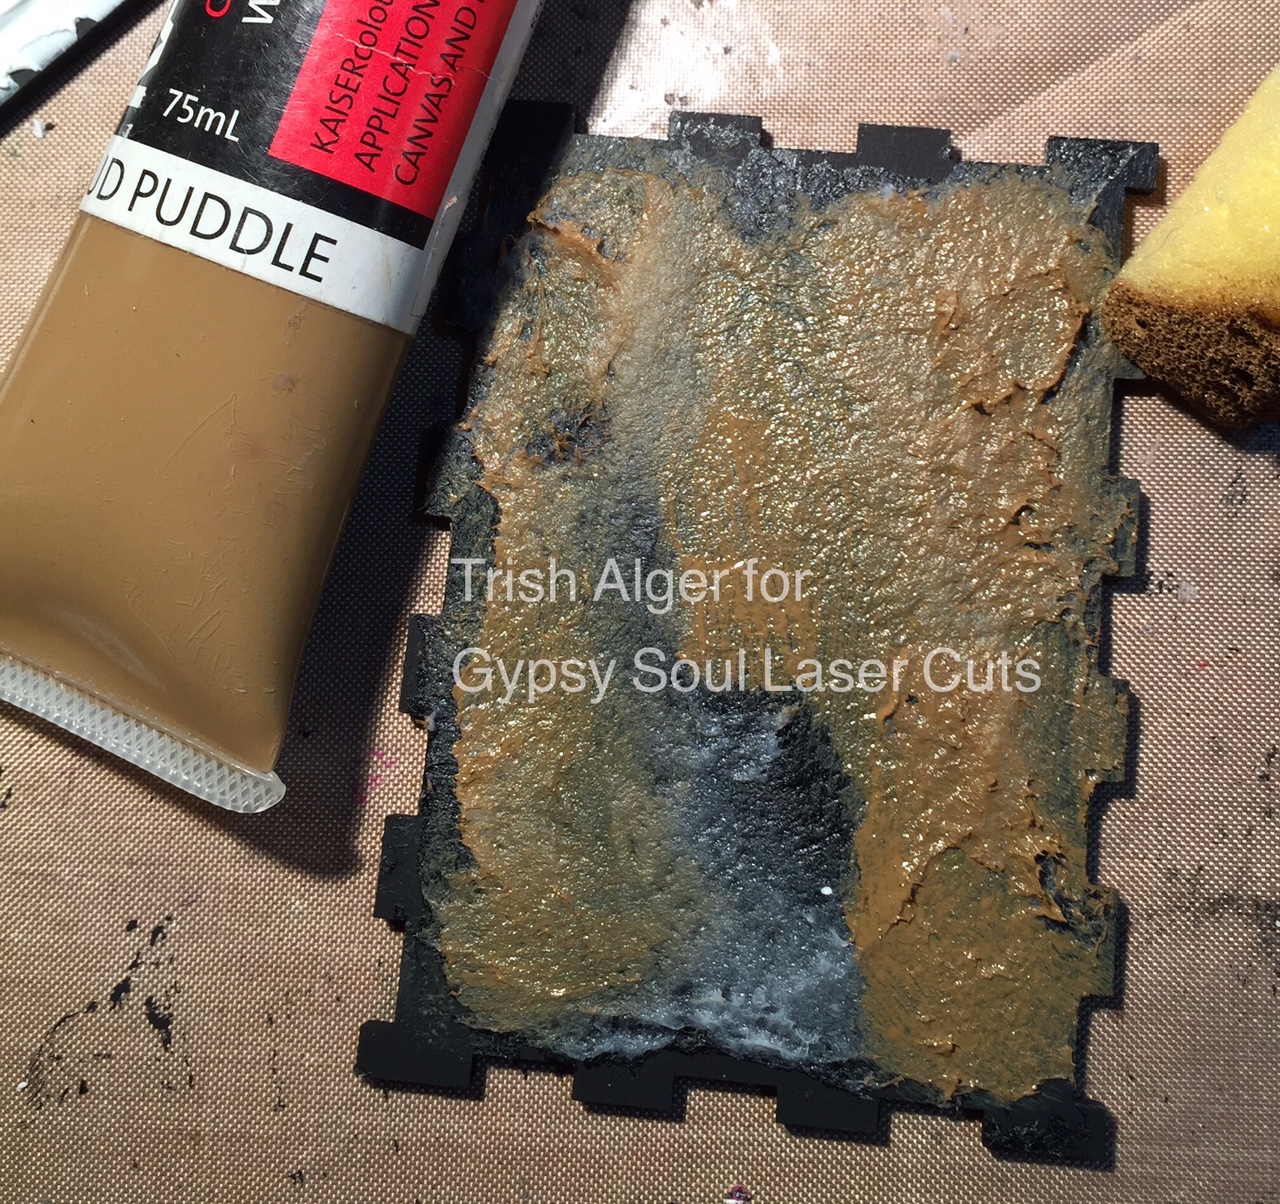
The back panel with
fiber paste gets the treatment first.

Use the these four colors in this order--Mud
Puddle, Terra Cotta, Raw Sienna, then Navy Blue.

The sides and gate as
well.

You can see the
contrast in the texture as black gesso is carefully sponged on in places:

I added an antique
varnish when the four layers were dried.

Let's not forget the
wrought iron gate!

We are making some
progress. I made sure to keep
the plugs in through the entire process. (The panels with the plugs hold the
gate).

Let's attach the sign
to the Victorian Corner

Here it is together
with the sign attached. I mixed together a few
more paints to add a lighter moss color sponged on the outside a few places:

My shrine resident
(AKA Mr. Skeleton), needed to pledge his undying (Haha) devotion with a
boing-boing heart. Here's the Scalloped Heart:

Add a spring inside a
broken rib cage:

My love of glitter
glue is evident in the heart eyes and the border around the
scalloped heart. My crypt resident
needs to be attached to the bottom panel. I know it looks bad...

Then the wings and red
foil backing. I'm really starting to
feel bad about this guy.

Let's put the last
panel in and add some glue gun cobwebs.

Here is your shrine to
a humorous, macabre Valentine's Day.

I had so much fun
creating my fun: Love Never Dies.
I'd love to hear if
you make something similar. Please leave a message on the blog.
Ciao for now,
-Trish
Here is my ingredient
list:
Build A Layout Lovebirds - the Love Sign & Scalloped Heart
Other Products Used:
Kaisercraft--
-- Mud Puddle, Terra
Cotta, Raw Sienna, & Navy Blue, Cool Grey, Grass Green.
Jaquard
--Lumiere, Crimson
Martha Stewart
--Black
AlteredPages.com
--Darice Red Foil Tape
Eclectic Products
--E6000
Faber Castell
--Glaze
Martha Stewart
--Tinsel Glitter,
Crystal
Delta Creamcoat
--Instant Age Varnish
Liquitex
--Black Gesso
--Blended Fibers
--Modeling Paste
Ranger
--Stickles, red
This is Awesome, really love how you created it.
ReplyDeletePerfect for an alternative Valentine :)