Showing posts with label Chipboard Decorative Tags X Large. Show all posts

Tuesday, August 9, 2022

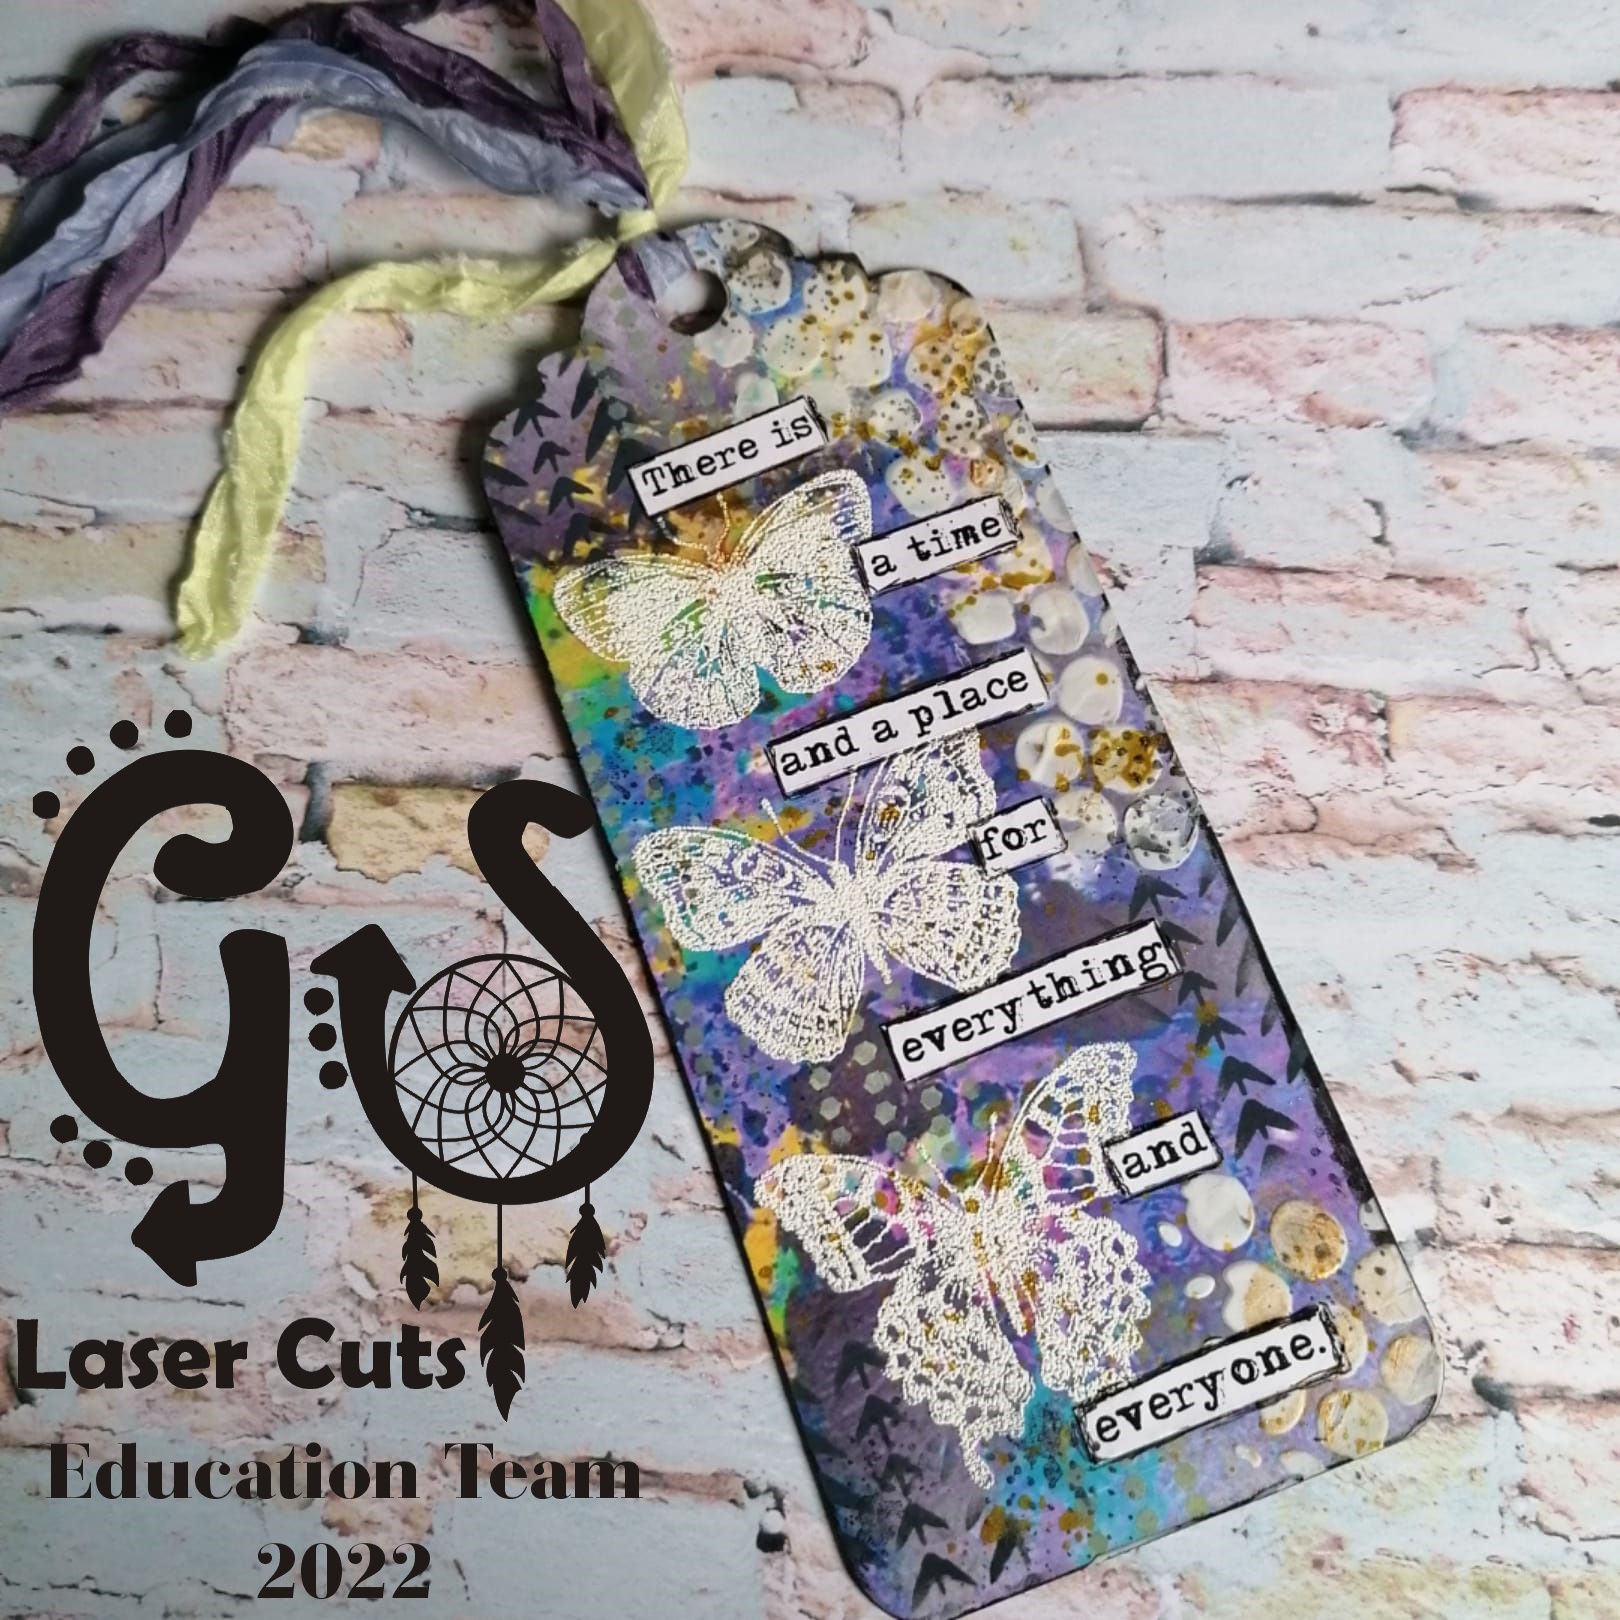
Tag with Butterflies


Hello everyone.

Karolina here. My new inspiration is a simple tag. I used a tag from a Chipboard Decorative Tags X Large set to create this project.


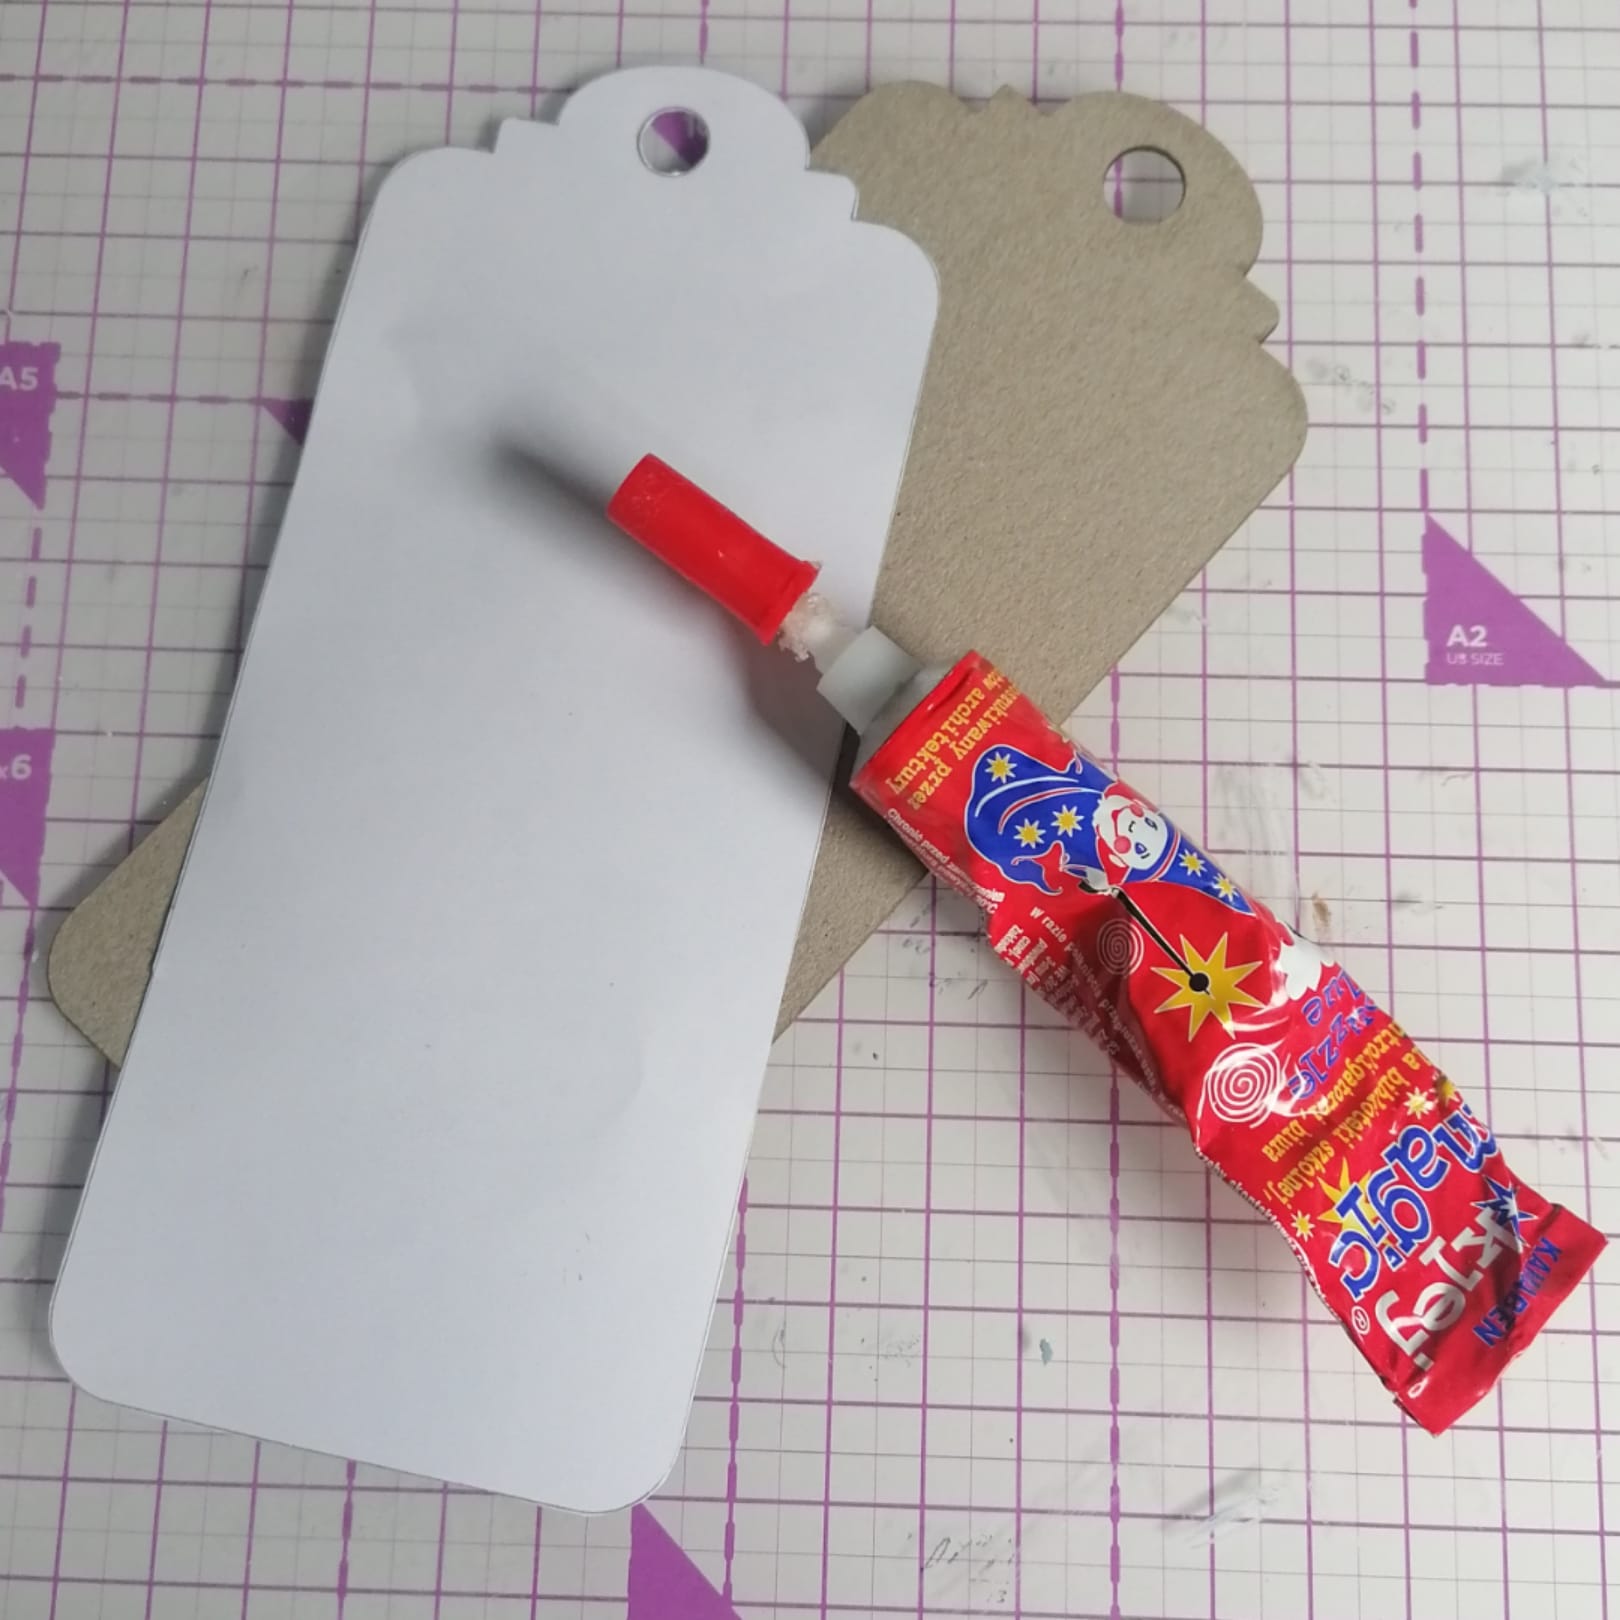
I start the project by covering my tag with paper. 

I cut out two pieces to cover the tag on both sides and stuck them to the tag using glue.


Then I stamped butterflies using VersaMark ink for embossing. The next step was to add some white embossing powder and use a heat tool.


I have used a black vax to contour my tag.


To add a texture to my tag, I used paste and stencil.


Then I tried to match words and stuck them. After using different stamps, I decorated this tag, and when I was happy with it, I splashed it using Sparkle by Spectrum Noir. In the end, I attached ribbons.


I hope you enjoyed my project and have inspired you to make one for yourself.


GSL product:
Chipboard Decorative Tags X Large

Other products:
Gelli Art Prints collection by Karola osuchowska 
glue
words
white paste
embossing powder
VersaMark ink for embossing
Black ink
White ink
Gold Sparkle by Spectrum Noir
Ribbons

I hope you like my inspiration, and I cannot wait to see your inspiration for this project. Please share it on the GYPSY SOUL LASER CUTS Facebook group.

Thank you for stopping by!
Karola


Monday, May 2, 2022

Tag with Mona


 Hello

Karolina here. I am sharing a new inspiration.

To create this mixed media project, I used a tag from Chipboard Decorative Tags X Large set.

Bellow you find step by step instruction:


Use a white Gesso to cover both sides of your tag.


Choose some Distress Oxide inks to make a background.


Splash water.


Print any photo you would like to use and cut it out.


Glue the photo onto the tag and start to decorate it using fussy cutting elements as I did.


Use some crayons and stamps to decorate this tag. I used black and gold Distress crayons and stamps to add some texture and make the background more interesting.


Attach a ribbon.


GSL product used:

Other supply used:

White Gesso, Distress Oxide inks, glue, words, paper embellishments, stamps, gold and black distress crayons and ribbon.


I hope you like my tag, and I cannot wait to see your interpretation of this project. Please share it on the Gypsy Soul Laser Cuts Craft Group Page on Facebook.

Thank you for stopping by!

Karola


Monday, April 4, 2022

Bookmark


Hello.

I love to make bookmarks. They can be a perfect gift for someone who loves reading.

 To create this bookmark I used a tag from set of Chipboard Decorative Tags X Large


To cover this tag, I used my handmade background.

I've copied the tag's shape twice to cover the back of the tag; then, I cut them. 


I stuck everything together using glue; then, I've applied some golden paste and used a black crayon to contour the edge of this tag.


I've decided to add some texture to the tag by using clear gesso and stencil.


When I dried the tag, I've added some glimmer mist sprays and gold paste.

Then I started to add some paper embellishments and phrases I've written and printed from my computer.
 
  
I stuck everything by using glue; then, I've used a black crayon to contour the elements.

I've attached a ribbon.

I hope you enjoyed my project and have been inspired to make one for yourself.


GSL product used:

Other supply used:

clear gesso, handmade background, glimmer mist sprays, glue, words, paper embellishments, gold paste and ribbon


I hope you like my inspiration, and I cannot wait to see your interpretation of this project. Please share it on the Gypsy Soul Laser Cuts Craft Group Page on Facebook.

Thank you for stopping by!

Karola


Tuesday, March 17, 2020

Travel Tag

A fun, steampunk-ish travel tag. With our current circumstances in the world, perhaps travel from an armchair, or lost in a good book!

I began with Chipboard Decorative Tags - X large and the Shaped Edge Micro Mini Book.

I chose one of the tags and parts of the Micro mini book and configured it the way I thought would look nice.

I cut all my papers using the chipboard as templates and then put the parts of the album together using linen hinging tape.

I painted the backside of the book and all the tape that would show black.

 I glued all the papers on and then inked up the edges of the tag and book.


I then began composing what the inside of the piece looked like, letting the images from the papers I chose inspire me.


I added lots of little details like Dresden trim and some paint and ribbon.


I glued a matching ribbon around the back and tied it neatly in a bow around the front. to hold the book together. I also added a pretty green velvet ribbon to the top for hanging.
Also: I used the Punch Elements Deco Tags and the Tudor Rose SIngles to create the compass at the top of the tag.

Thank you for stopping by!

SUPPLIES
Chipboard Decorative Tags - X large
Shaped Edge Micro Mini Book
Tudor Rose Singles
Punch Elements - Deco

Additional:
Dresden Trim
Ribbon
Acrylic paint
Gold stamping ink
Stamperia Voyages Fantastique