Showing posts with label embossing powder. Show all posts

Tuesday, August 9, 2022

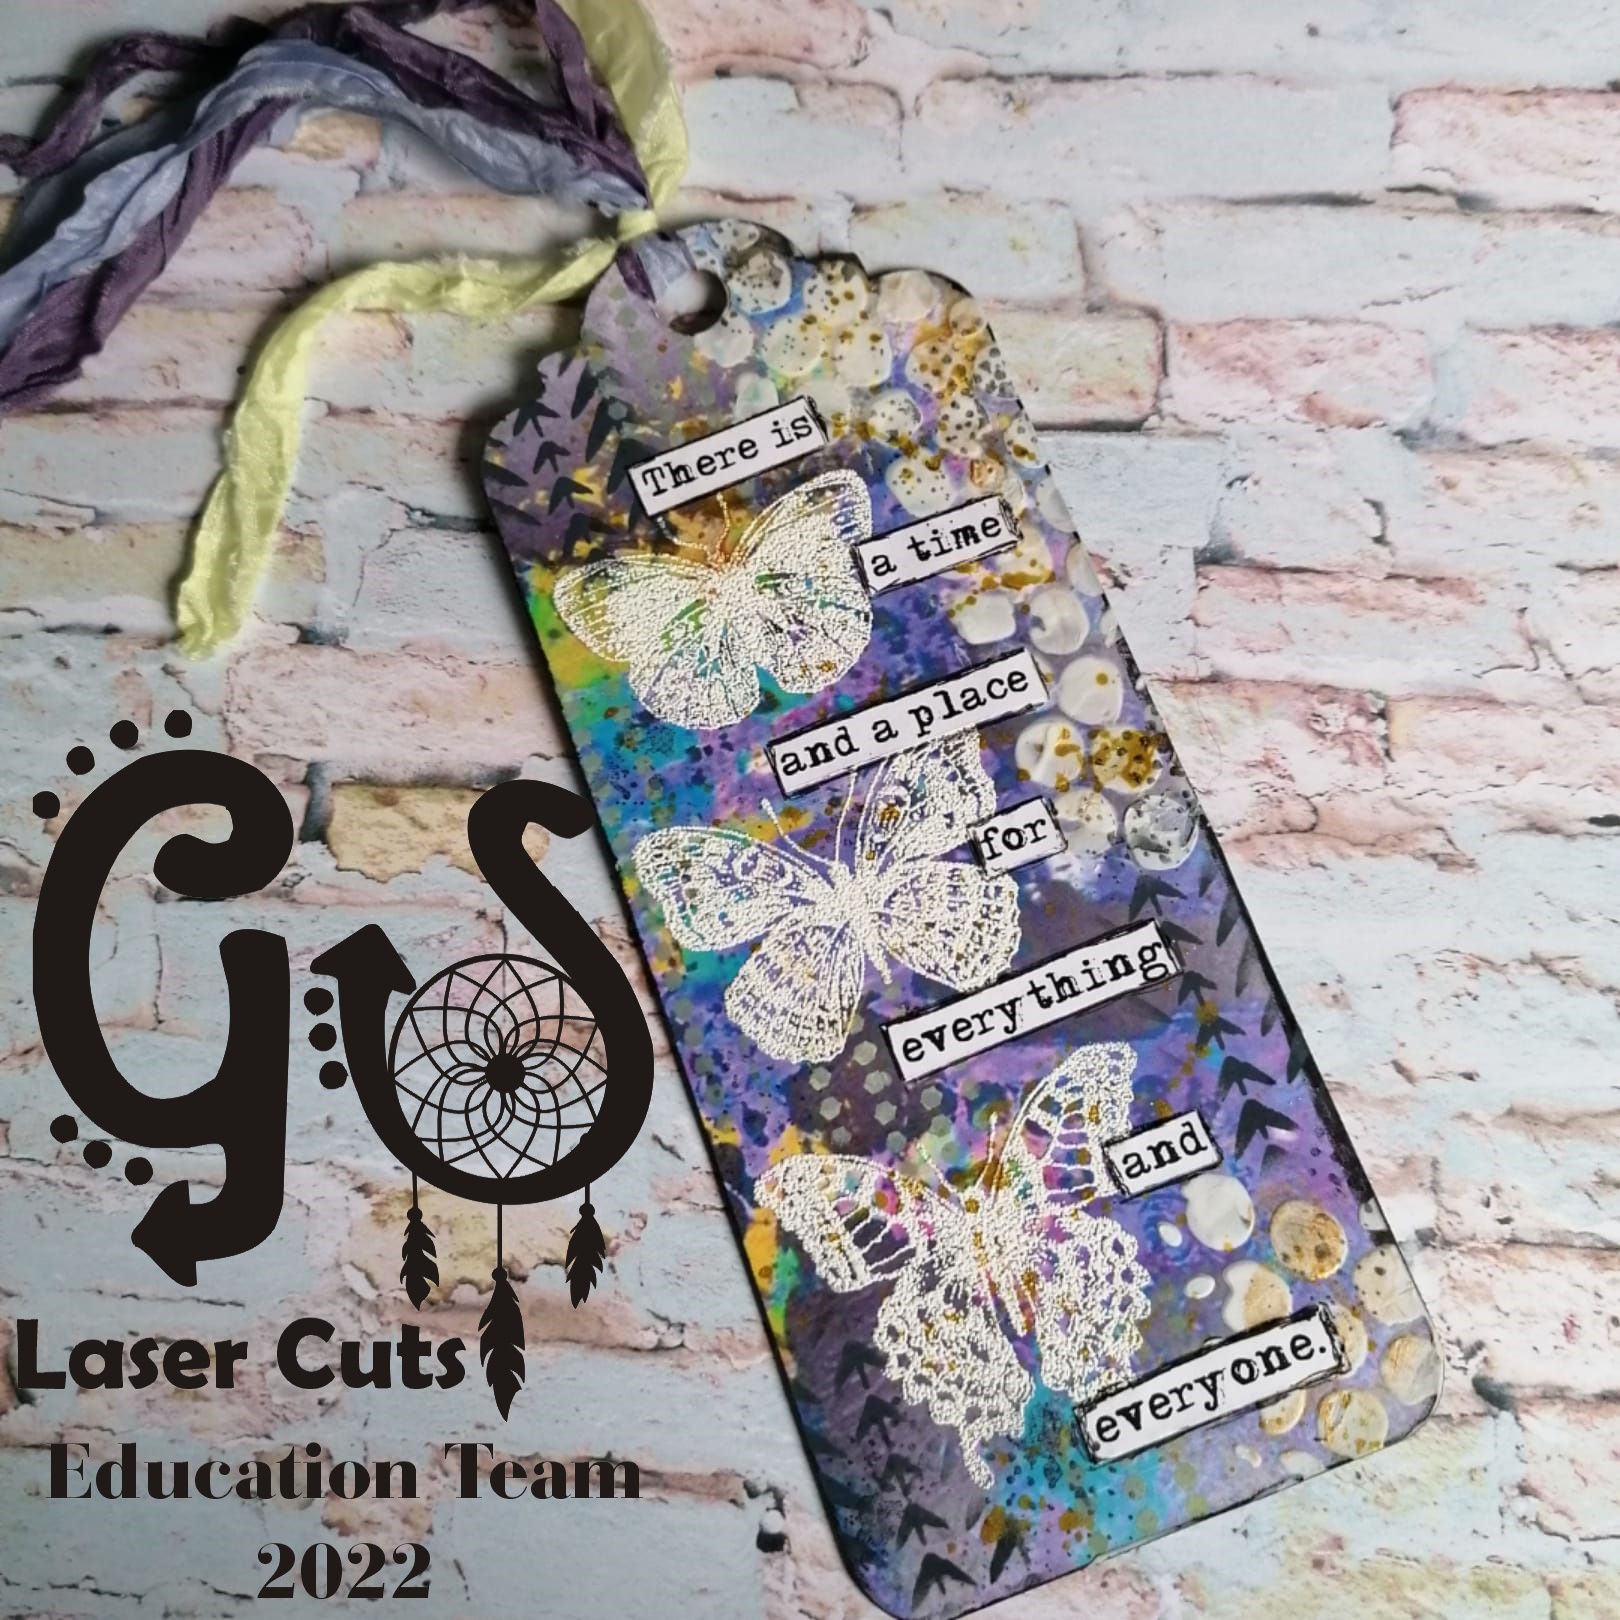
Tag with Butterflies


Hello everyone.

Karolina here. My new inspiration is a simple tag. I used a tag from a Chipboard Decorative Tags X Large set to create this project.


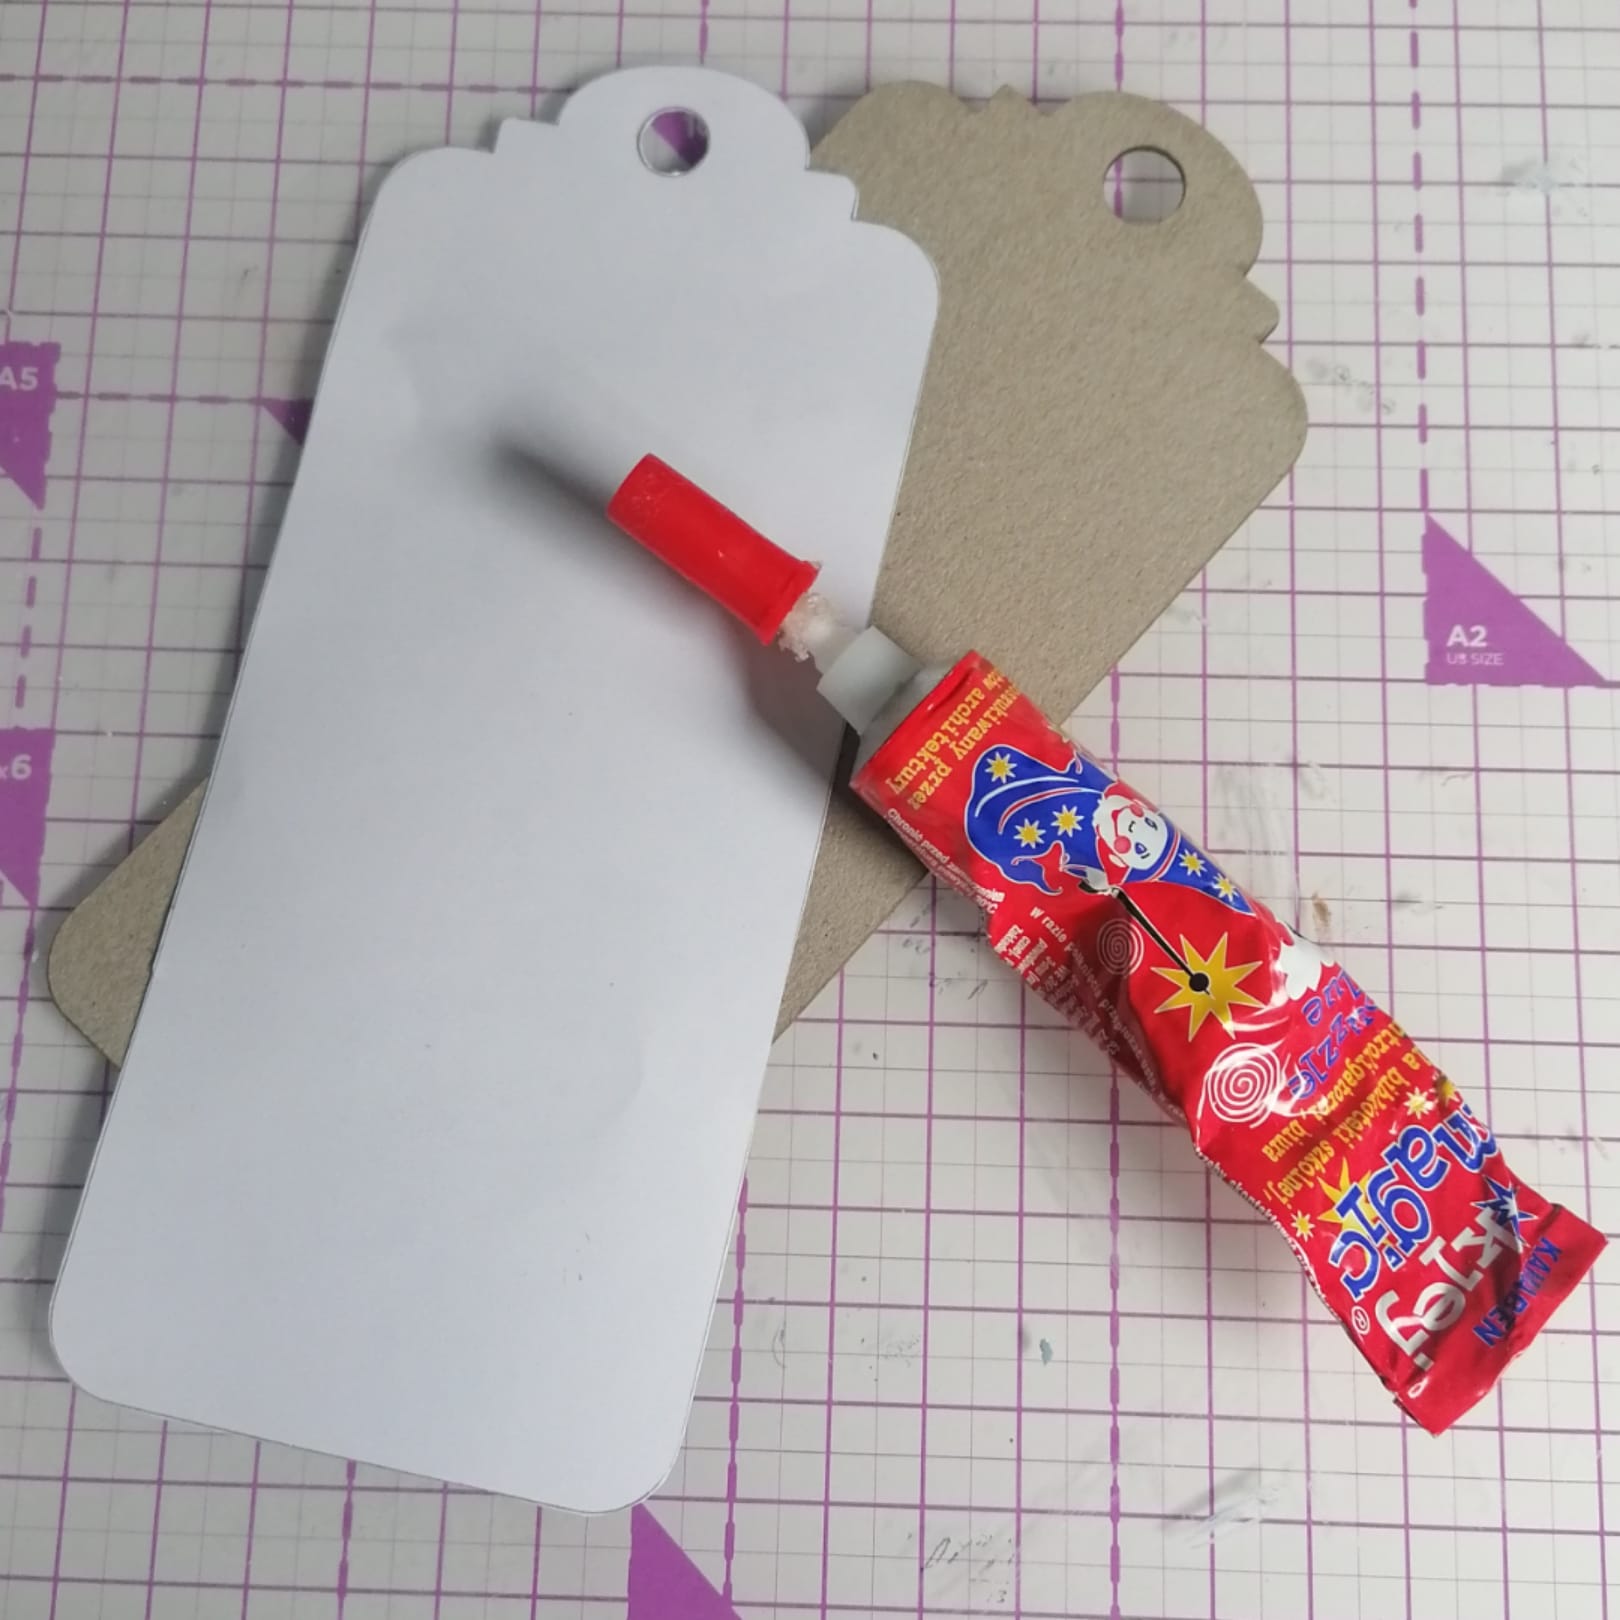
I start the project by covering my tag with paper. 

I cut out two pieces to cover the tag on both sides and stuck them to the tag using glue.


Then I stamped butterflies using VersaMark ink for embossing. The next step was to add some white embossing powder and use a heat tool.


I have used a black vax to contour my tag.


To add a texture to my tag, I used paste and stencil.


Then I tried to match words and stuck them. After using different stamps, I decorated this tag, and when I was happy with it, I splashed it using Sparkle by Spectrum Noir. In the end, I attached ribbons.


I hope you enjoyed my project and have inspired you to make one for yourself.


GSL product:
Chipboard Decorative Tags X Large

Other products:
Gelli Art Prints collection by Karola osuchowska 
glue
words
white paste
embossing powder
VersaMark ink for embossing
Black ink
White ink
Gold Sparkle by Spectrum Noir
Ribbons

I hope you like my inspiration, and I cannot wait to see your inspiration for this project. Please share it on the GYPSY SOUL LASER CUTS Facebook group.

Thank you for stopping by!
Karola


Thursday, July 8, 2021

Beside The Seaside ATC Coins

Hello everyone!  Today I have a quick and easy summertime project to share with you, and it is this little set of seaside ATC Coins.

 Getting Started

First of all prep your ATC coins by giving them a coat or two of white gesso on both sides and also around the edge of each coin.  I only need four coins but I prepped an extra one just in case.


I am also using these coin covers that have a seaside/nautical theme and they need to be prepped in the same way.


Once they were dry, I got started on the next step.

Ocean Backgrounds

To make the backgrounds, simply drip some alcohol inks onto the gessoed ATC coins.  I used a few different ocean/sea colours of blues and turquoises.


To get the alcohol ink to move around and mix, use a cotton bud to drip some surgical spirit (aka rubbing alcohol) on to the inks and let them do their thing.  You can also add more ink on top until you are happy with the result.  Leave them to dry which takes no time at all.

Heat Embossing


Now it was time to work on the covers.  I used an embossing ink pad and white embossing powder to cover the ATC coin covers, and then melt the embossing powder with a heat gun.

Assembly

Once everything is dry, use some PVA glue to adhere the covers to each ATC coin. Use something heavy to hold them in place while the glue dries.

Finishing Touches

Once your covers and coins are complete, you might want to paint around the outside edge to hide any unpainted chipboard or do any touch ups.  Or you can also heat emboss the edge using the same white embossing powder.


And that's the finished coins ready for use!   Let me know what you think in the comments!

Till next time,

Elle
Empire of the Cat

Project Recipe:

ATC Coins D81M
ATC covers Beach C10S
white gesso, white embossing powder, embossing ink, alcohol inks, surgical spirit, PVA glue, cotton buds, heatgun


Thursday, June 24, 2021

Birthday Card Using a Paper Napkin and Metallic Elements

Hello everyone!
Today I am sharing my second post for June and this time, I have a birthday card to share which uses a paper napkin and some metallic embellishments, including one of the birdcages from this post.


Introduction and Card Front

This seems to be the busy time of the year for birthdays and so here is my first birthday card of the season.  This one is made using a paper napkin. To use a napkin, separate the top layer from any of the other layers, usually one or two.

Then cut out the part of the napkin you want to use.  I want to use the design on one quarter of the napkin, which measures 6 x 6 inches.

Adhere the napkin to a piece of 6 x 6 inch card using matte gel medium.  The napkin is very fragile and easily tearable so the best way to do this is to cover the card with matte gel medium then carefully place the napkin on the top.  Then to help smooth out the creases without tearing the napkin, place some tin foil or cling film over the top and smooth out the napkin with your fingers.  If you do it this way, you will get a much smoother result.

Make the card base

As the card front is 6 x 6 inches, to make the card base, cut a piece of card that measures 6 x 12 inches.

Fold the card in half along the short side, then using a bone folder, crease the fold.  

Glue the card front to the card base using PVA.

Gold Metallic Elements

As the napkin has a bird on it, I thought I would use one of the birdcage chipboards I heat embossed in this post.  Then to accompany it, I die cut a happy birthday sentiment and heat embossed it with the same embossing powder.

Using tweezers, apply glue to the back of the happy birthday words including the tiny dot above the "i".

At this point, the birdcage can be simply glued to the front of the card but I thought the recipient might want to use the birdcage.  The birdcage is gold embossed on both sides so it could be used as a bookmark or something similar.
Using gold thread, thread the birdcage through and then tie the gold thread around the card front.
Tie the thread on the inside of the card.  Note:  this could be done around the card front instead, before attaching the card front to the card base.  That way the thread would be hidden in between the layers, but I wanted the recipient to be able to remove it easily if they wanted to.
On the outside, the birdcage can be slid up and down the front of the card.

Finishing Touches

I added some gold paint splatters to the front of the card

I edged the card with gold texture paste as a finishing touch.


And that's the finished card ready for posting!


I hope you enjoyed this short tutorial.  Let me know in the comments.

Elle
Empire of the Cat


Project Recipe:

Ornamental Birdcages Shape Set D69C
white card, paper napkin, previously heat embossed birdcage, gold embossing powder, embossing ink, die cut happy birthday words, gold thread, gold paint, gold texture paste, white glue,


Thursday, June 10, 2021

Make a Rainbow Background Card

 Hello everyone! 

Today I have my first GSL DT post for June and this time I have this rainbow-coloured card to share with you.

Introduction

For this card I wanted a bright rainbow background and also to use some of the metallic embellishments I made a few weeks ago in this post. I cut a piece of watercolour paper 6 x 8.5 inches - the width is necessary to accommodate the width of the chevron words.


I used these Mijello Mission Gold watercolour samples to make this rainbow background.


I started with the magenta, then yellow and then used the magenta and yellow together to make orange.  Next I added the green, then the blue samples, and for the violet part of the rainbow, used the same blue and the magenta together. 

Make the card base

To make the card base, a piece of card measuring 12 x 8.5 inches is needed.  I do have 12 x 12 inch white card but since this card was so colourful, I wanted to use yellow card which is in the standard 8.5 x 11 inch size.  So the card base had to be made from two pieces, but if you have 12 x 12 inch card, just make a card base as normal.  If you need to make it in from two pieces, here's how:  cut one piece the same size as the card front - 6 x 8.5 inches - and one piece that is 0.25 inch wider - 6.25 x 8.5 inches.

Score the card at the quarter inch mark and then run some white glue down the score mark and glue the front to the back.


Make sure to glue the overlap on the outside as this will hide it when the card front is in place and you won't see it in the inside.

Gold Splatters Card Front


Add some gold metallic ink splatters to the card front and some gold ink around the card edges.


Once everything is dry on the front, add some PVA to the back of the watercolour paper and adhere to the card base.

Adding the Sentiment

Using a pencil, mark the centre of the card to make it easier to line up the chipboard words.


Mark where you want the chipboard words to go, spaced evenly down the card front.


Mark out some pencil lines to help keep the handwriting straight, then in waterproof pen, write the words to go in between the chipboard words to make the overall sentiment.  When the ink is dry, remove all the pencil lines.

Glue the chipboard words in place using PVA glue and the card is finished!

I hope this project inspires you to make your own rainbow card. Let me know what you think in the comments!

Elle
Empire of the Cat


Project Recipe:

Chevron Words
watercolour paper, watercolour paint in rainbow colours, gold acrylic ink, black waterproof pen, card base, gold embossing powder, embossing ink,