Showing posts with label butterflies. Show all posts

Tuesday, August 9, 2022

Tag with Butterflies


Hello everyone.

Karolina here. My new inspiration is a simple tag. I used a tag from a Chipboard Decorative Tags X Large set to create this project.


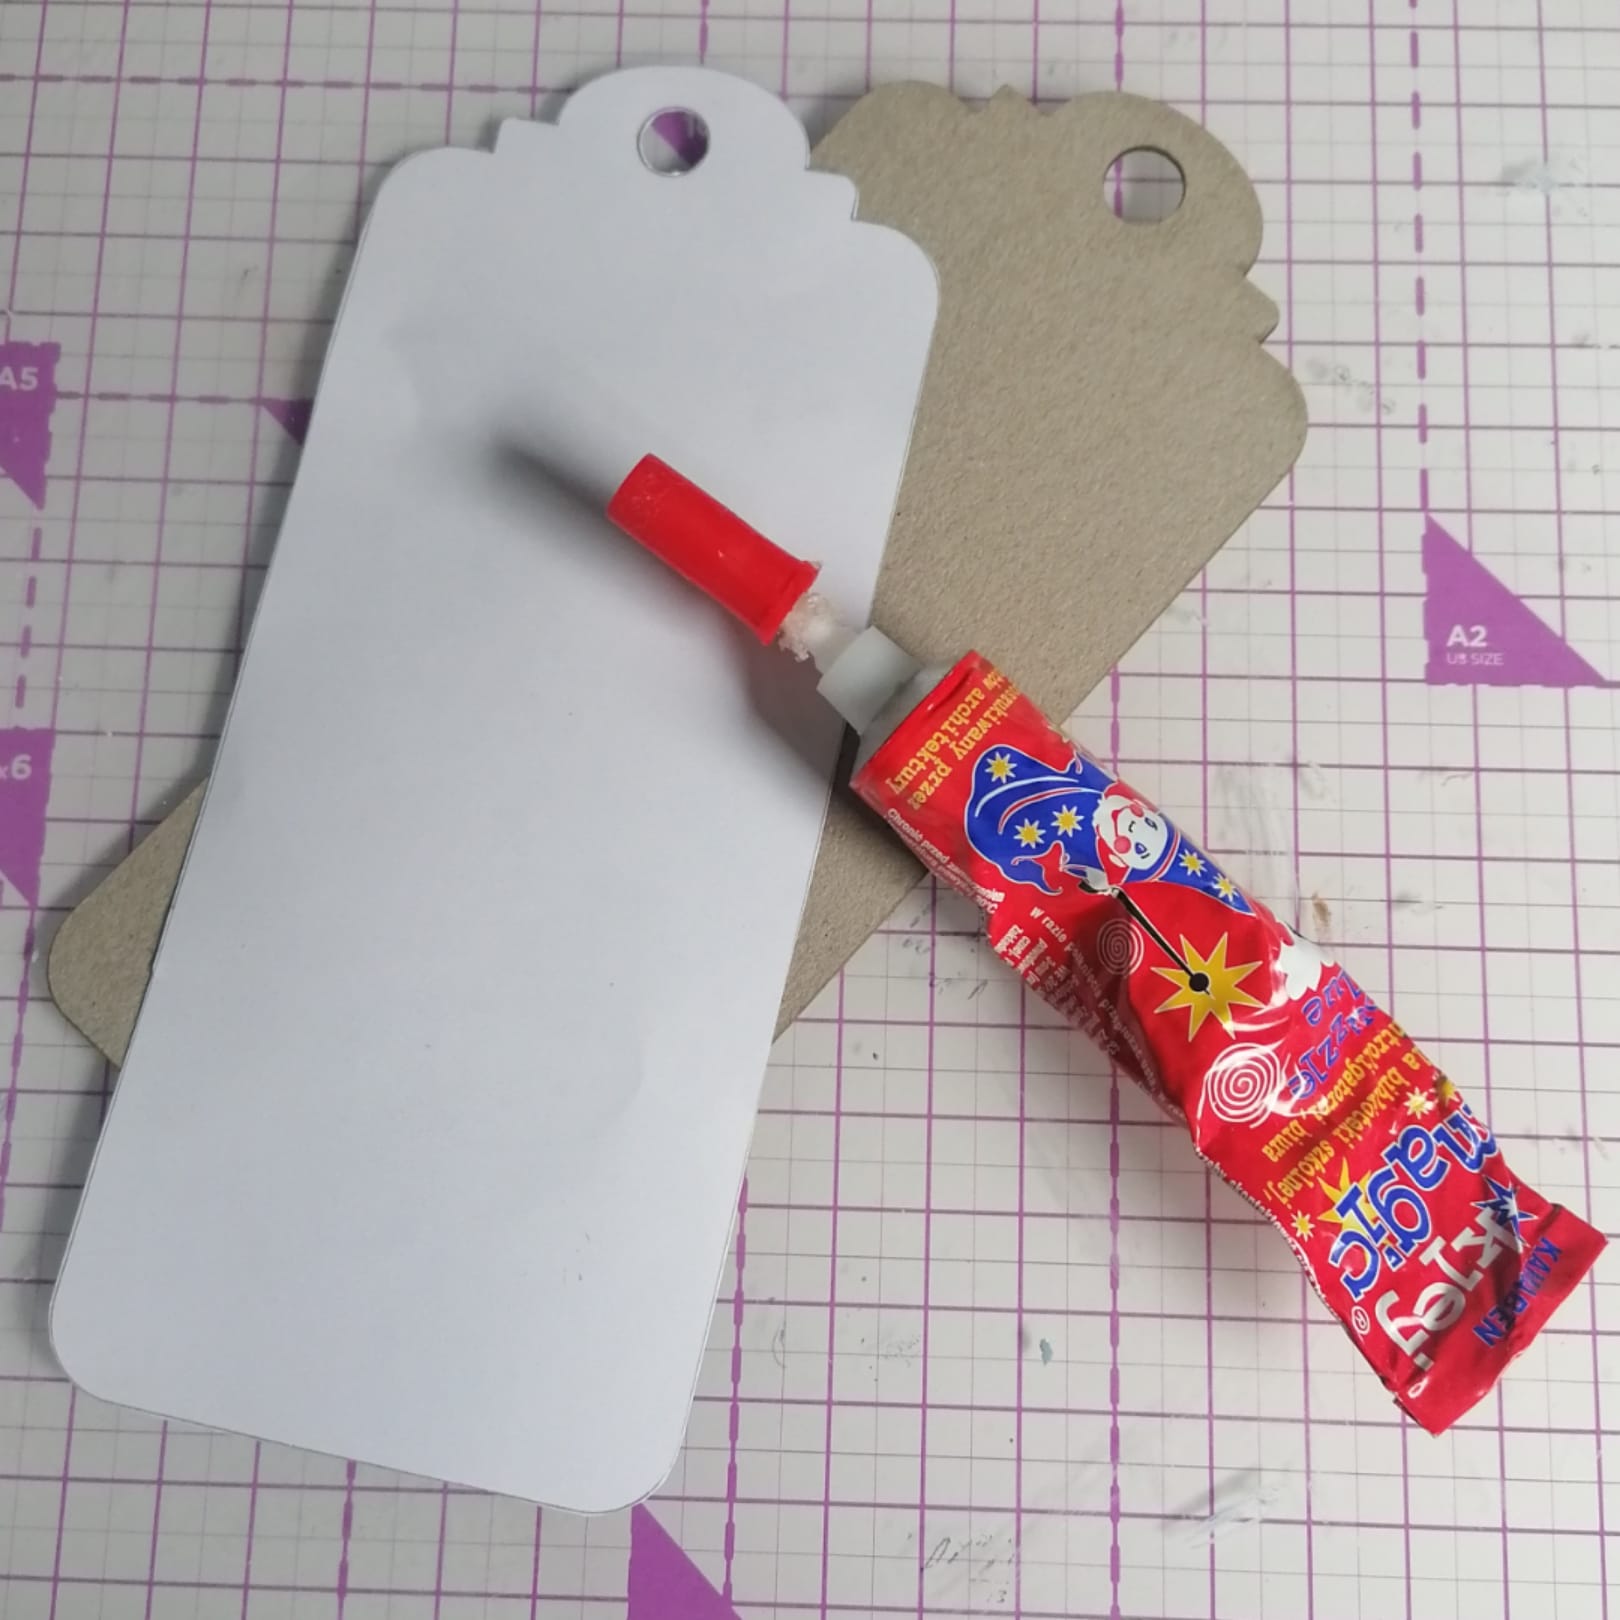
I start the project by covering my tag with paper. 

I cut out two pieces to cover the tag on both sides and stuck them to the tag using glue.


Then I stamped butterflies using VersaMark ink for embossing. The next step was to add some white embossing powder and use a heat tool.


I have used a black vax to contour my tag.


To add a texture to my tag, I used paste and stencil.


Then I tried to match words and stuck them. After using different stamps, I decorated this tag, and when I was happy with it, I splashed it using Sparkle by Spectrum Noir. In the end, I attached ribbons.


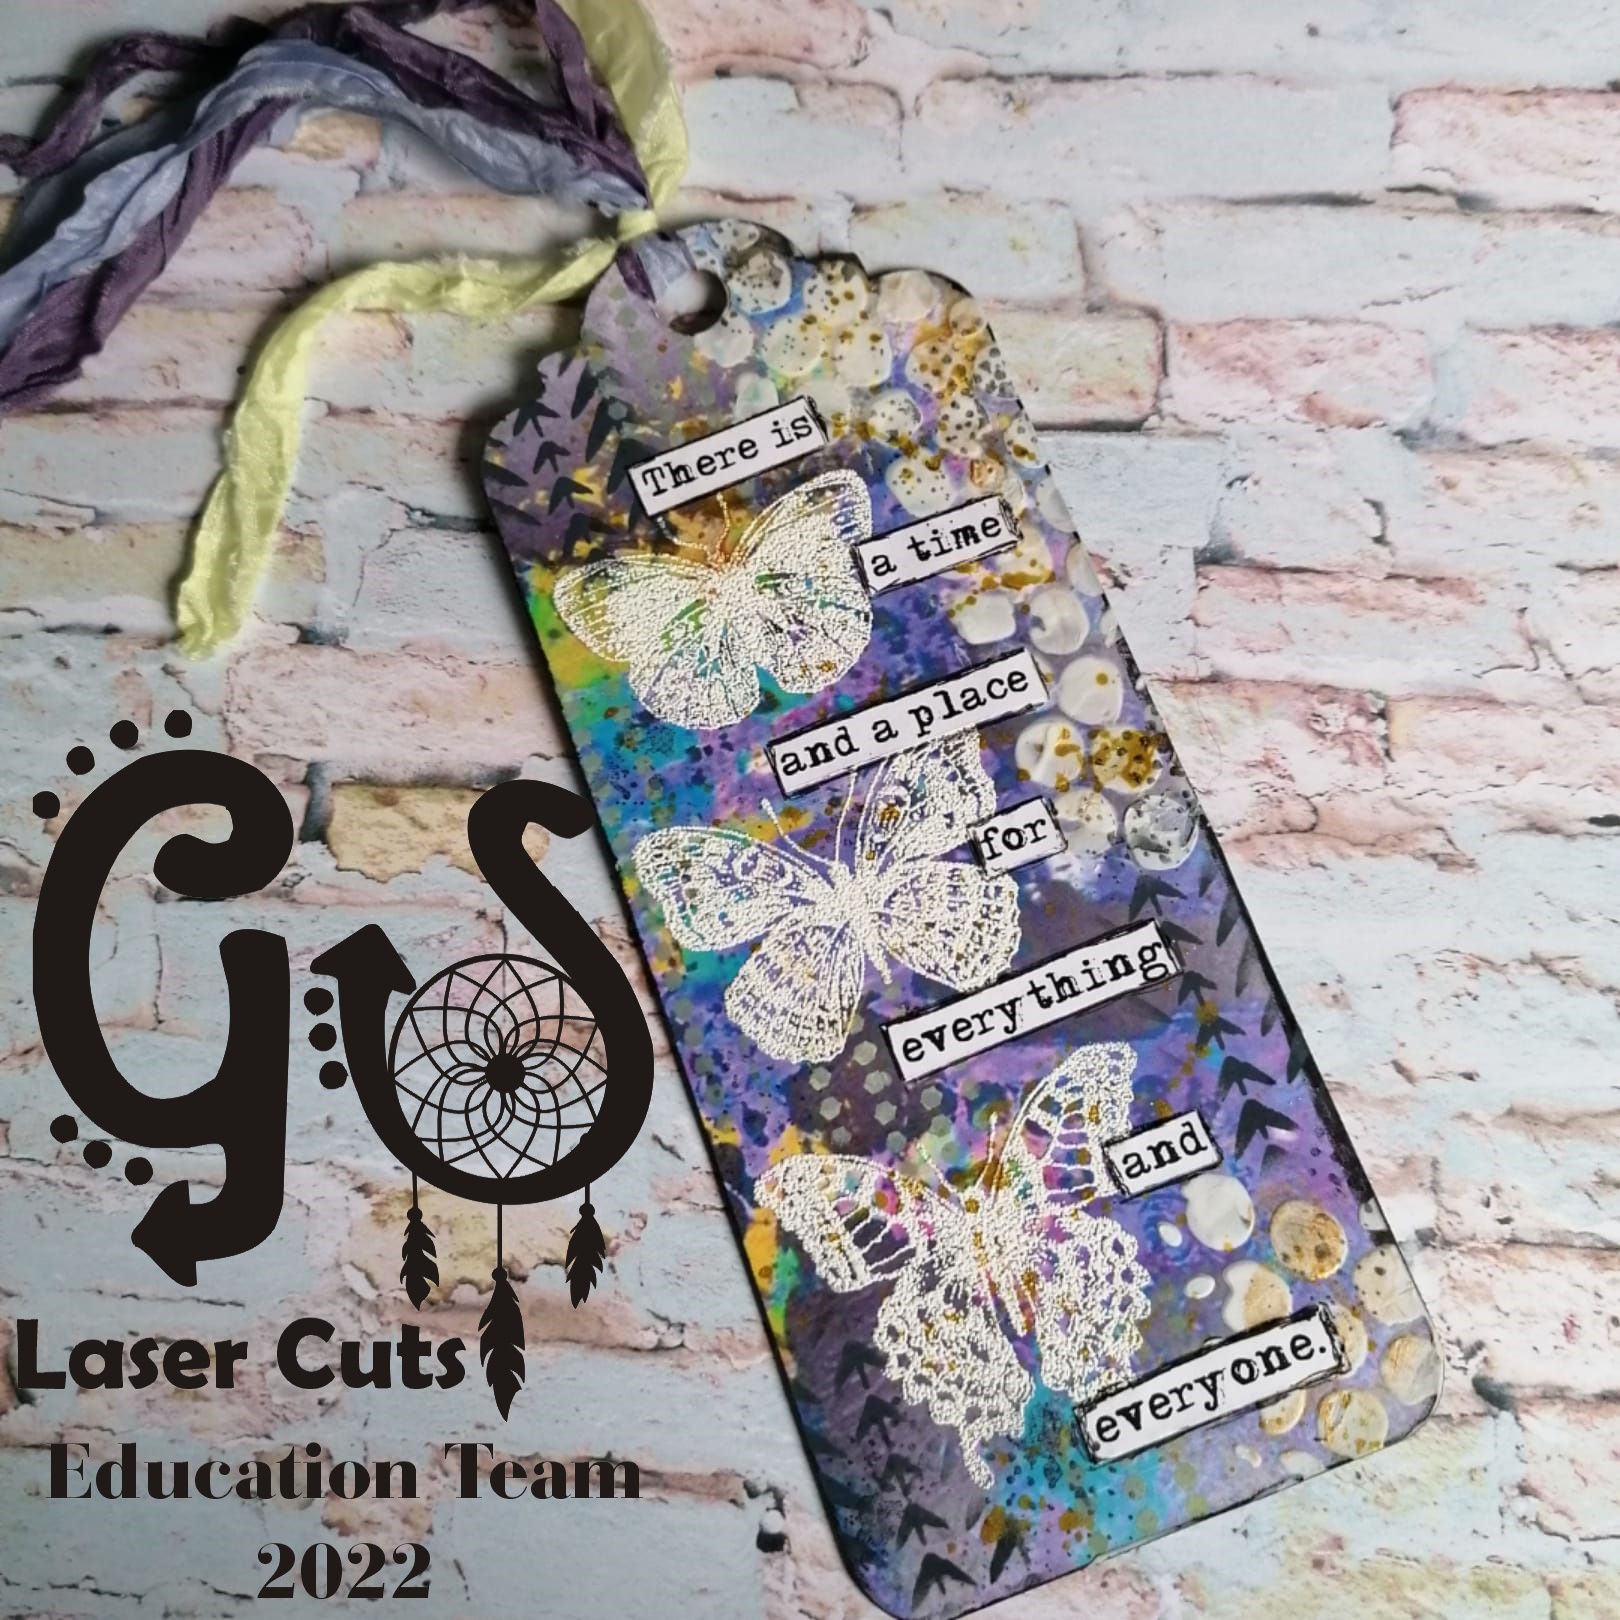
I hope you enjoyed my project and have inspired you to make one for yourself.


GSL product:
Chipboard Decorative Tags X Large

Other products:
Gelli Art Prints collection by Karola osuchowska 
glue
words
white paste
embossing powder
VersaMark ink for embossing
Black ink
White ink
Gold Sparkle by Spectrum Noir
Ribbons

I hope you like my inspiration, and I cannot wait to see your inspiration for this project. Please share it on the GYPSY SOUL LASER CUTS Facebook group.

Thank you for stopping by!
Karola


Monday, June 20, 2022

Artist Trade Cards


Hello everyone.

Karolina here. I love to create ATCs because they are so unique. I love the idea of swapping with others. As you know,  at GSLC online shop you can buy some fabulous chipboards which you can use to decorate your Artist Trading Cards.

For this inspiration, I created ATCs and used this lovely Mixed Media fragments set.


For the base, I used some cardstock.


The first thing I did was cover the base and chipboards with white Gesso.


When both bases were dry, I added some paints. 


Next, I dried them and added some stamps and after this, I added a paste to create some texture and dried it using a heating tool.


When everything was dry, I used sprays to add some colours.
I also sprayed a tulle.


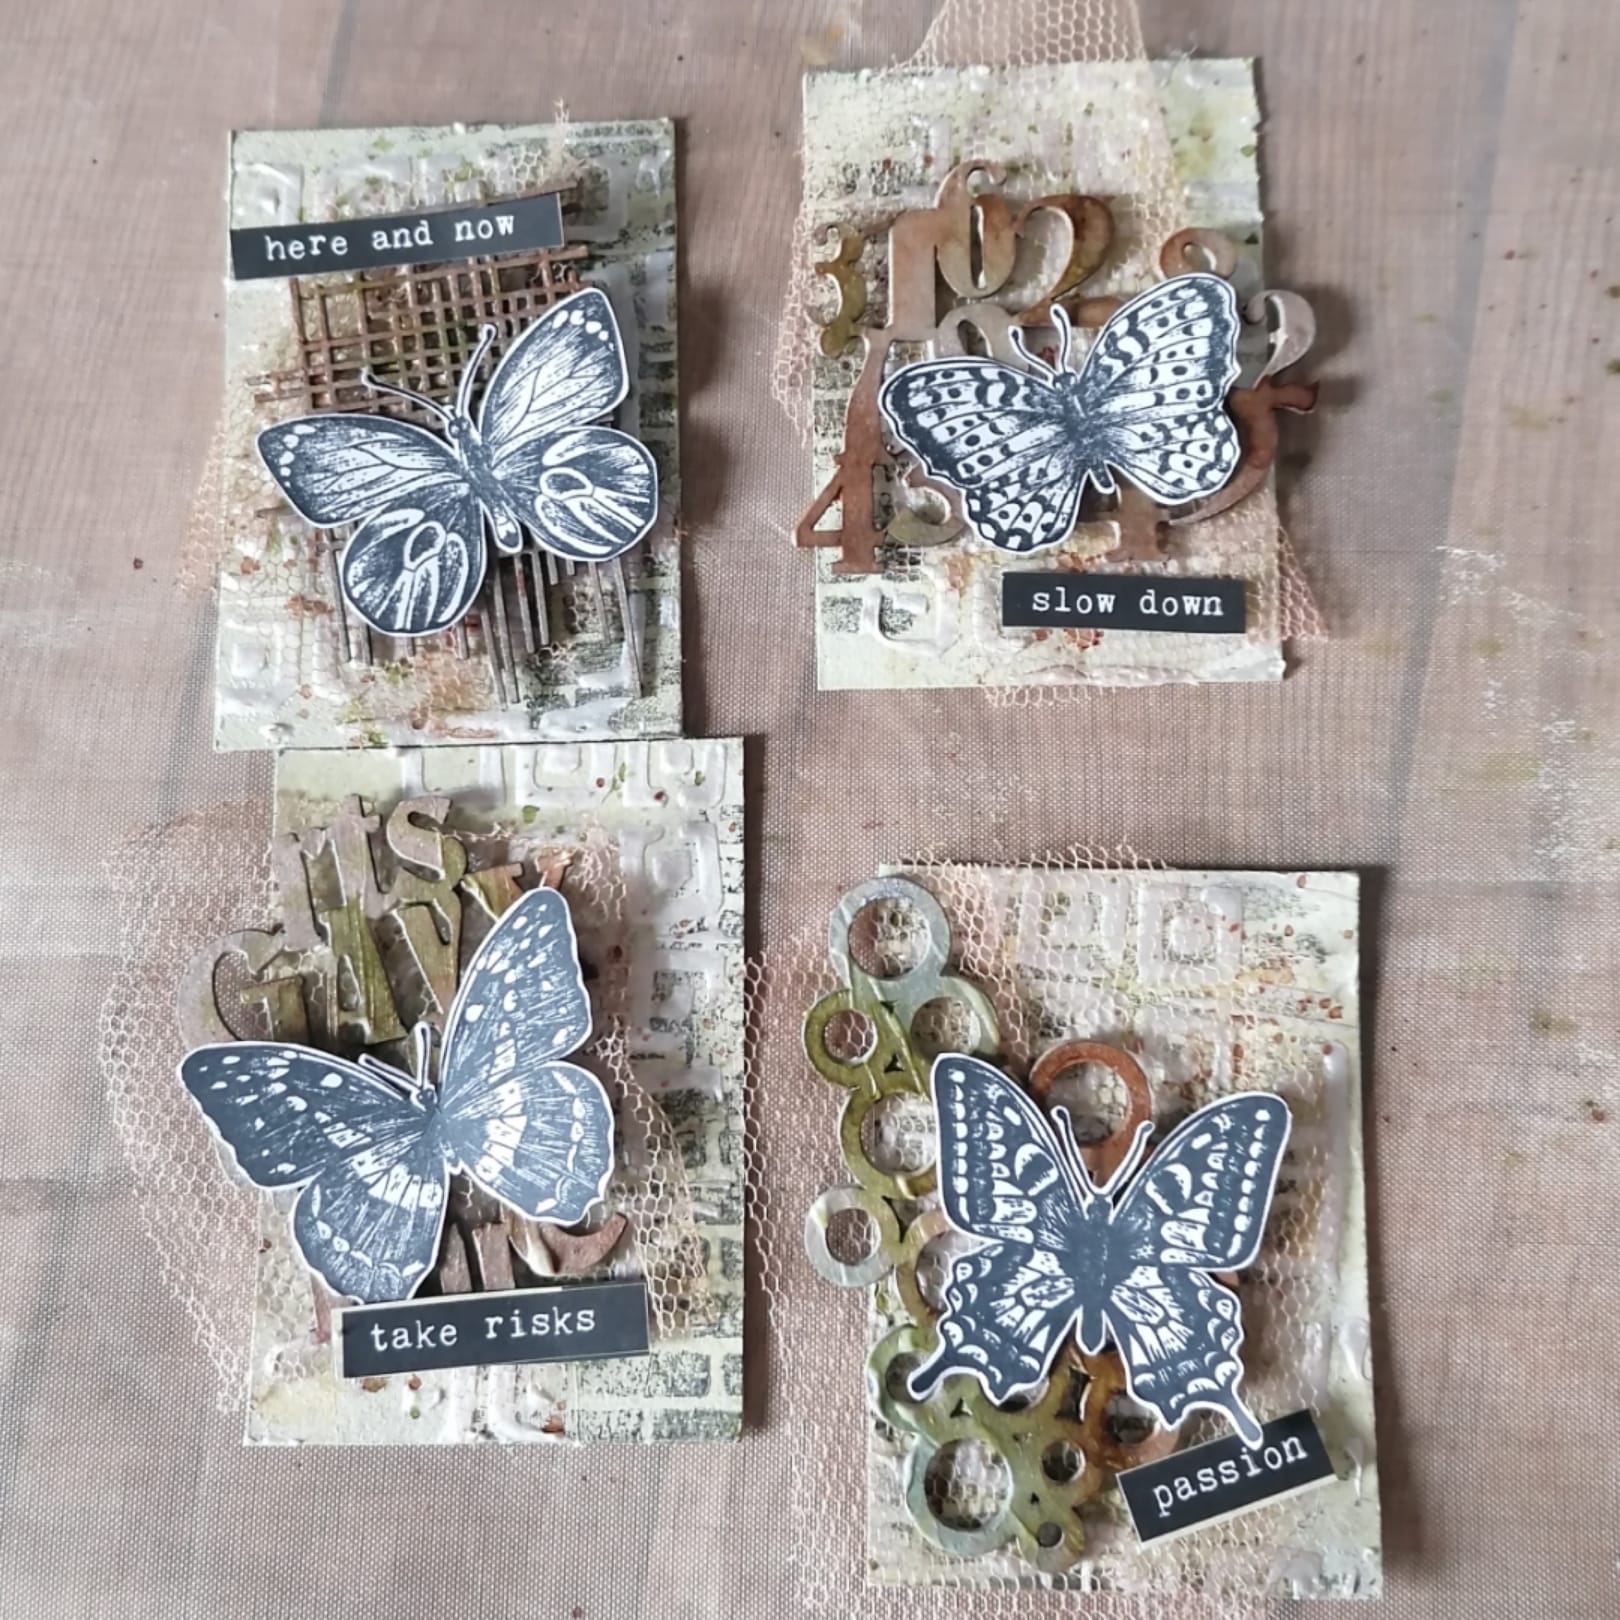
Then, I stamped some butterflies and covered the words with a glossy accent.
I also used a wax crayon to make the edges more visible.


Then I started to build the ATCs, adding all the elements.


When I was happy with the result, I glued everything on, and finally, I added some mini art stones.


GSL product used:

Mixed Media Fragment 1 

Other supplies used:

White Gesso
Tulle
Sprays
Acrylic paints 
Wax crayon
Black ink
Glossy accent
Glue
Mini art stones

I hope you like my ATCs. I cannot wait to see how this project inspires you.  Please share it on the GSL Cuts Craft Group on Facebook.

Thank you for stopping by!

Karola


Monday, May 27, 2019

Spring Lantern

Hello this is Yolie with today's project. It's late May and in Southern California, we are still getting rain. Spring made an appearance with the Super Bloom, but then quickly disappeared. The plan was to make a Summer Lantern, but I'm still in the mood for Spring. I used the Lantern Cage Style and added a faux patina with lots of blooms.


To create the faux patina, I first painted all the pieces, front and back with metallic copper and allowed the paint to completely dry.
I then painted the pieces with black chalkboard paint and before the paint dried, wiped it off with a paper towel.
Next, I painted the pieces with aqua drift and again, before the paint dried, wiped it off with a paper towel.


I then assembled the Lantern using a bit of Beacon Power-Tac adhesives to secure it in place. 

I added pretty blooms and a couple of resin butterflies.


Here's a closeup of the beautiful faux patina. I added the butterfly as doorknob to easily open the lantern door and turn on the LED tea light.

Hoping Summer is delayed so I can enjoy the Spring Lantern a little longer.
Thank you so much for visiting today and enjoy your week.
Supply List:
Lantern Cage Style No. C41C
Plaid Crafts paints: Black Chalkboard, Metallic Copper, Aqua Drift
Beacon Power-Tac adhesive
Flowers
Resin butterflies
LED tea light

Monday, March 25, 2019

Shabby Spring

Hello, this is Yolie, it's Spring time! Looking forward to warmer weather, but not the Spring Sneeze, thank goodness for paper flowers.
Today I'm sharing a shabby Spring card using Gypsy Soul Laser Cuts Delicate Frames & Ornament Shape set  and Vine & Wire Frame.

I used a Chalky White paint to paint the butterflies, butterfly frame and the wire frame.

Before the paint dried completely, I pinched the butterfly wings for dimension.

Layered the card with different pattern paper and distressed the edges with scissors. I added the butterfly frame to the center opening of the wire background and added an extra butterfly for even more dimension.

I added jute behind the  paper flowers and scattered gold rhinestones throughout the card including the butterfly frame.


Thank you for visiting today and happy crafting.

Supply List: 
Delicate Frames & Ornament Shape set Item No. D139F
Vine and Wire Frame Item No. D83Q

Prima Marketing paper & flowers
Chalky White Paint
Paint brush
Rhinestones
Jute

Tape runner

Black Cardstock
Dauber
Scissors
Paper Trimmer