Showing posts with label embossing. Show all posts

Tuesday, August 9, 2022

Tag with Butterflies


Hello everyone.

Karolina here. My new inspiration is a simple tag. I used a tag from a Chipboard Decorative Tags X Large set to create this project.


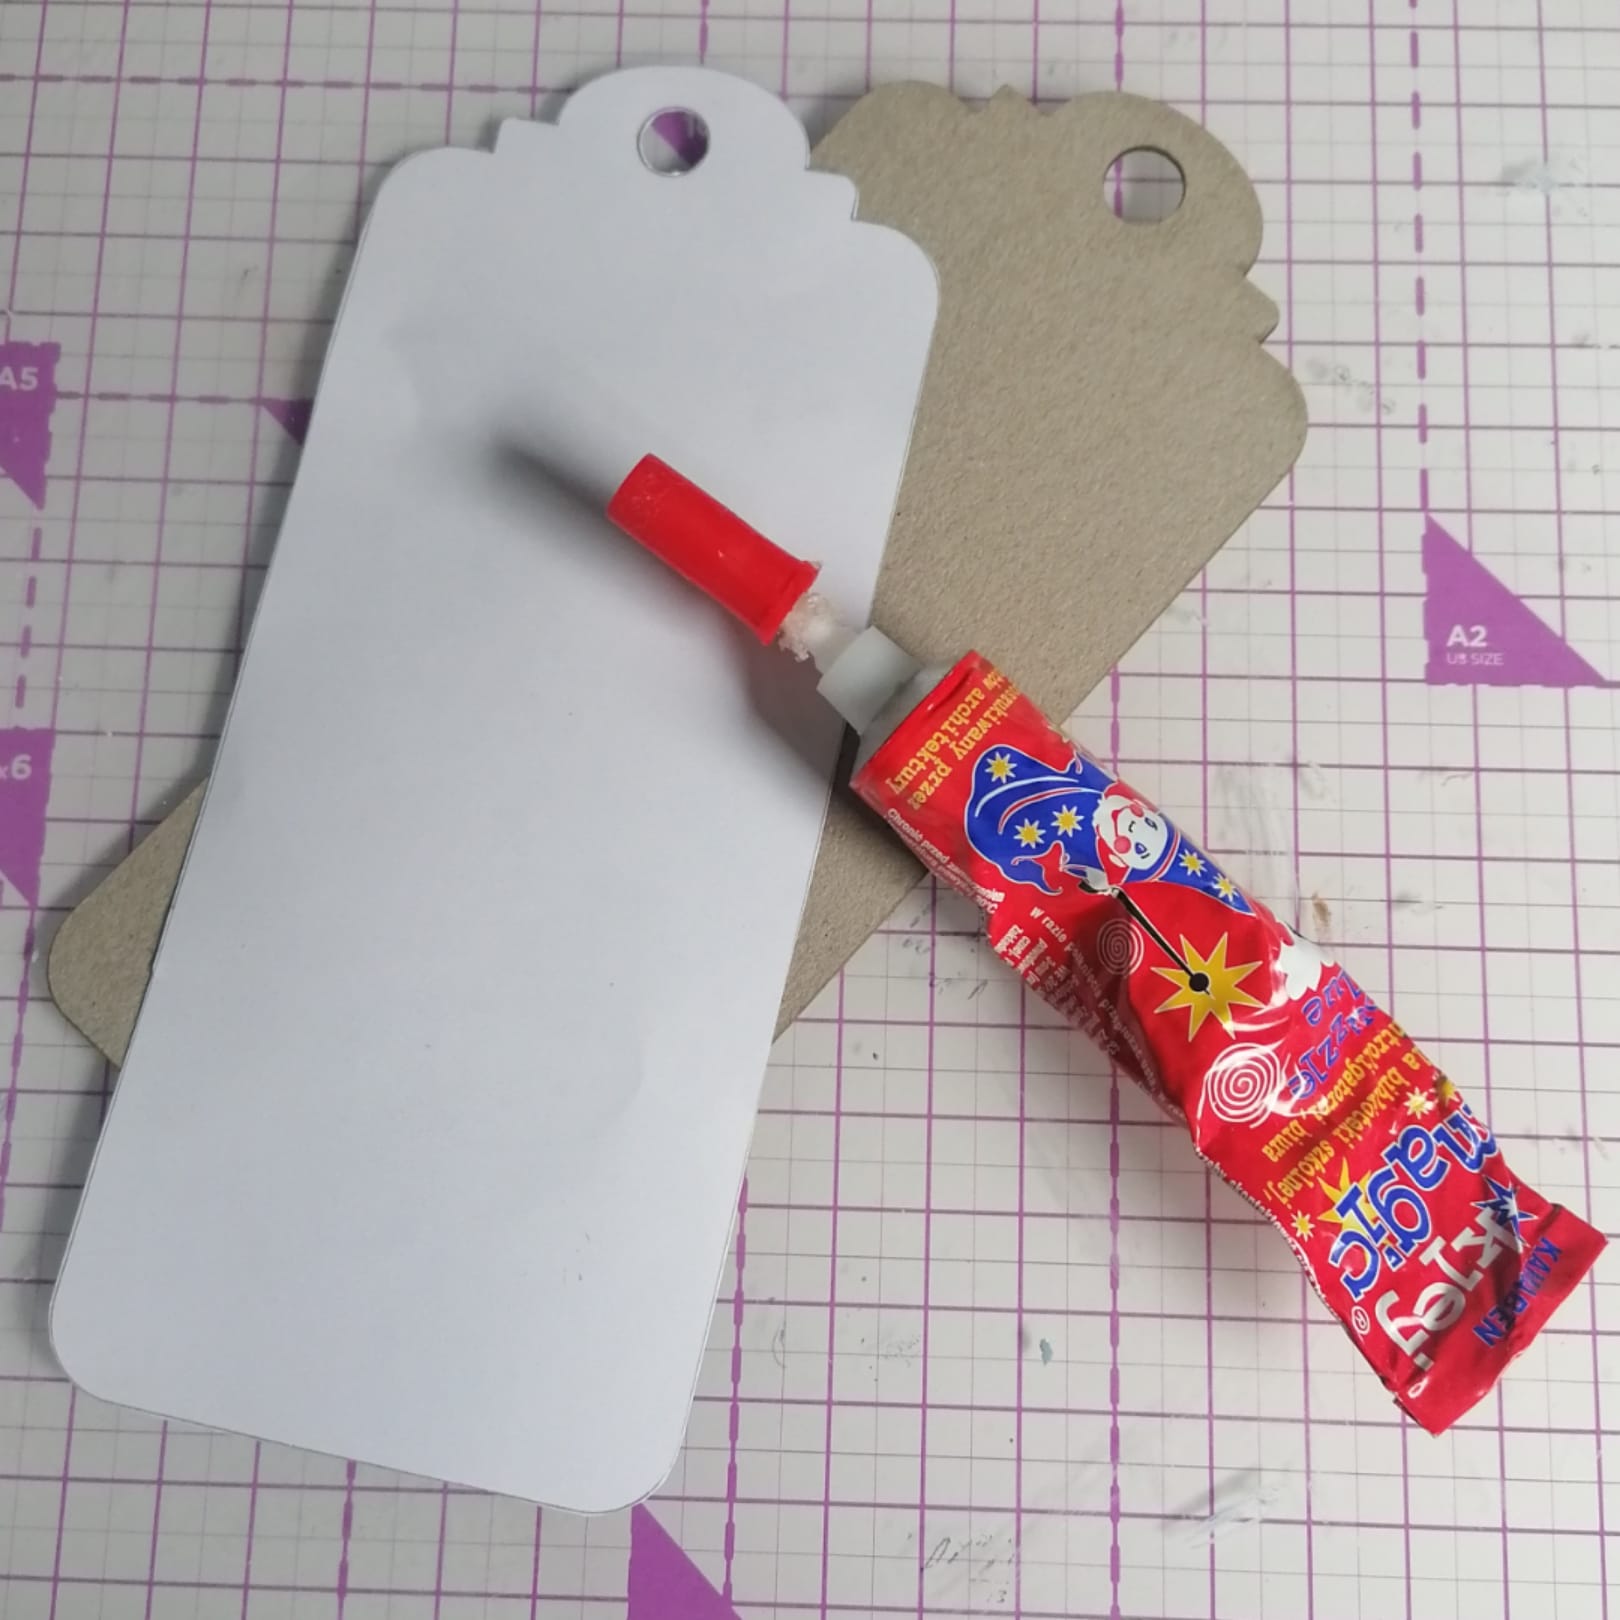
I start the project by covering my tag with paper. 

I cut out two pieces to cover the tag on both sides and stuck them to the tag using glue.


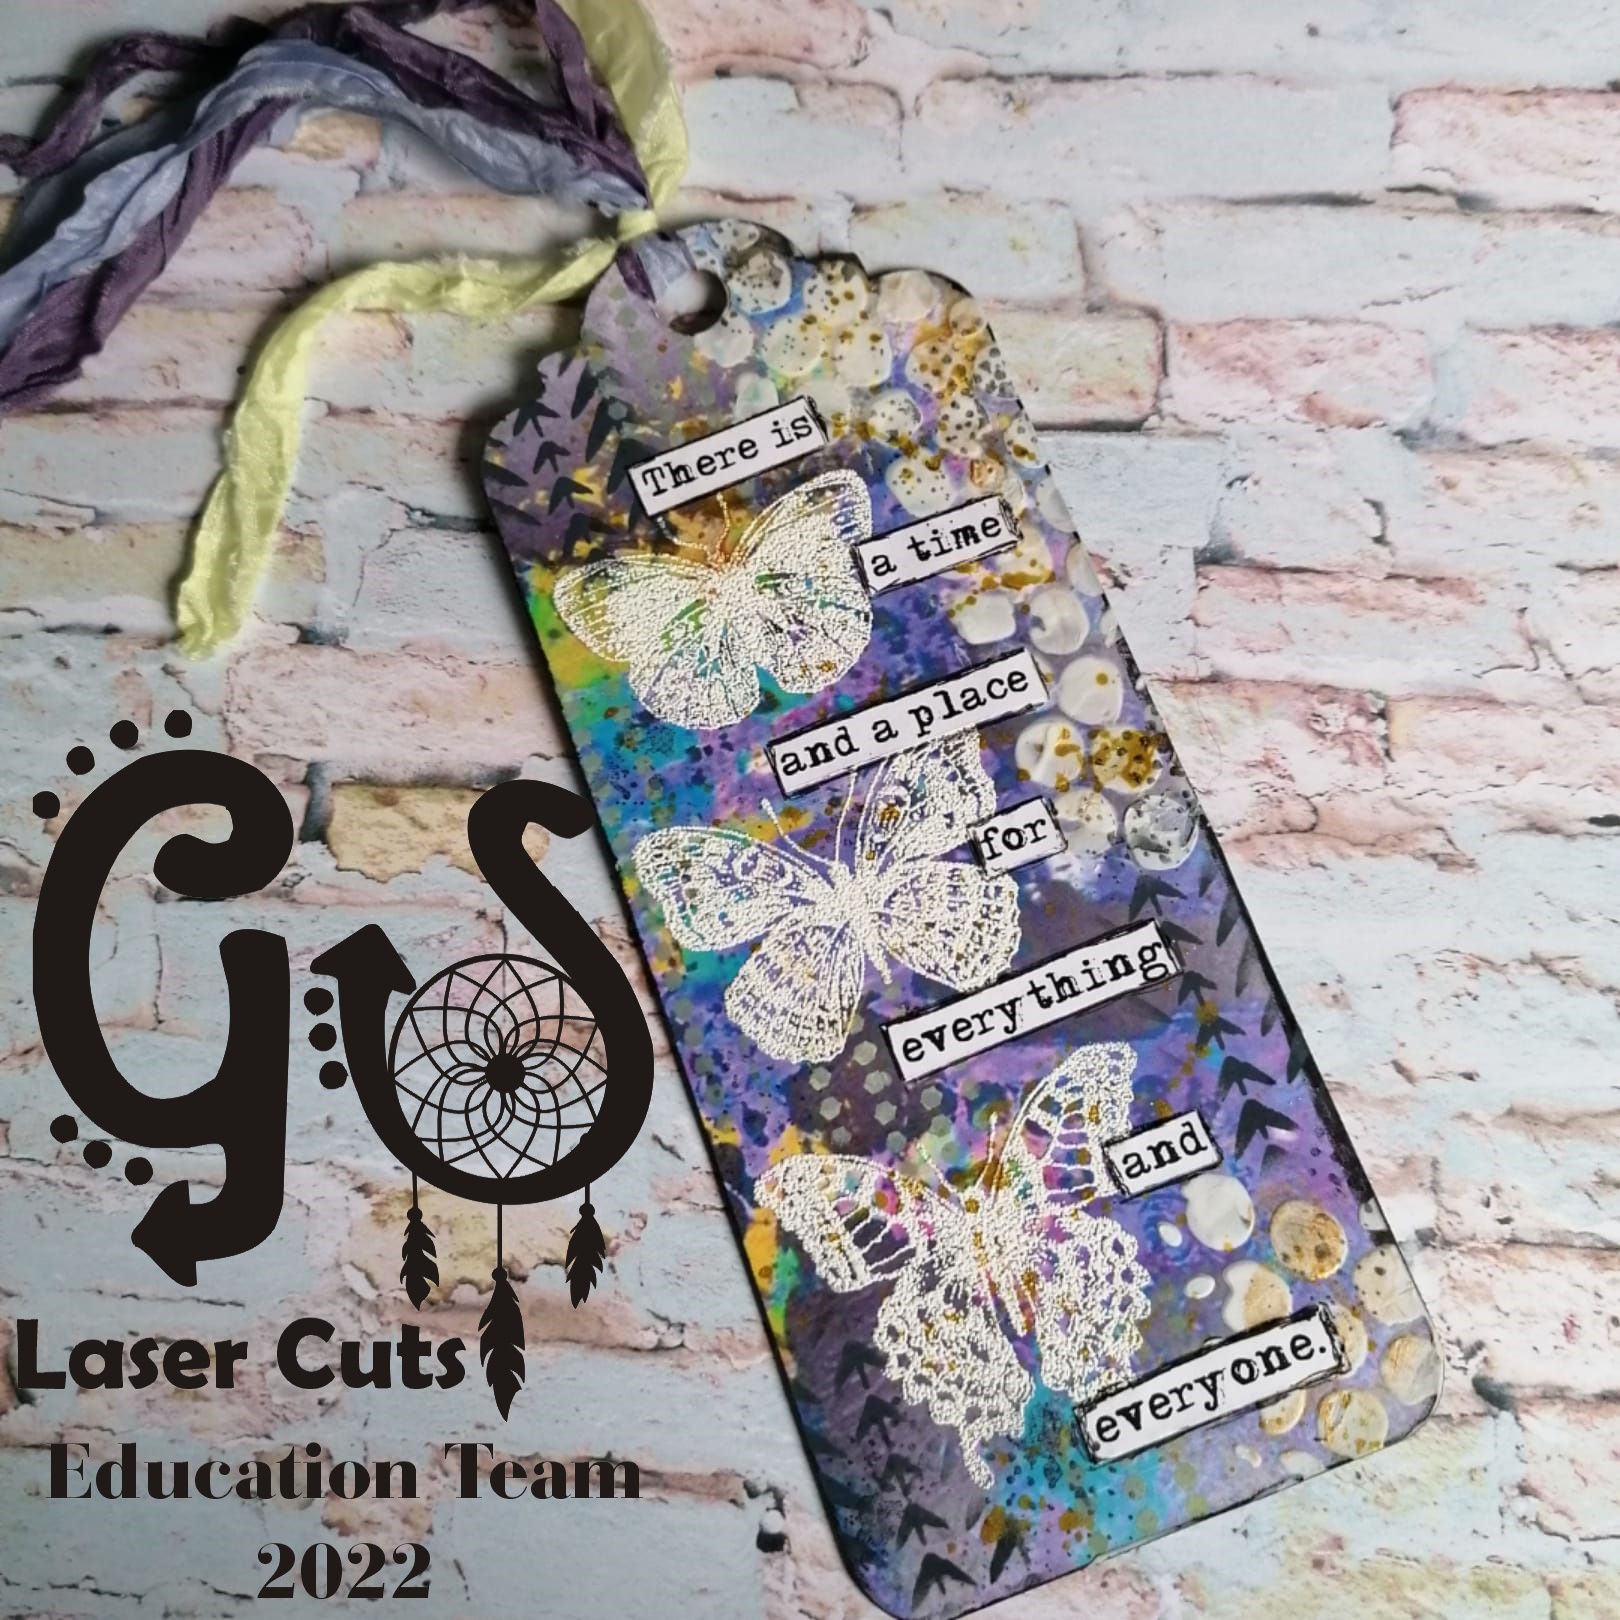
Then I stamped butterflies using VersaMark ink for embossing. The next step was to add some white embossing powder and use a heat tool.


I have used a black vax to contour my tag.


To add a texture to my tag, I used paste and stencil.


Then I tried to match words and stuck them. After using different stamps, I decorated this tag, and when I was happy with it, I splashed it using Sparkle by Spectrum Noir. In the end, I attached ribbons.


I hope you enjoyed my project and have inspired you to make one for yourself.


GSL product:
Chipboard Decorative Tags X Large

Other products:
Gelli Art Prints collection by Karola osuchowska 
glue
words
white paste
embossing powder
VersaMark ink for embossing
Black ink
White ink
Gold Sparkle by Spectrum Noir
Ribbons

I hope you like my inspiration, and I cannot wait to see your inspiration for this project. Please share it on the GYPSY SOUL LASER CUTS Facebook group.

Thank you for stopping by!
Karola


Wednesday, October 14, 2020

Embossing technique with suede

Hi everyone!
Myry again and this time I gonna show you a embossing technique with suede.
Maybe you've heard of this technique or used it before but for me it has been the discovery of the year! 
So I'm going to use the Jack-O-Lantern Mini Album and a piece of thin suede of an indescribable pumpkin color.
Take one piece and draw the outline with a 5mm margin on a two pieces of cardboard.
Equalize the edges with the help of the nail file. When you're done use this piece as a template for the cardstock.
Before continuing, if you want to make a notebook I advise you to use one of these pieces to draw its contour on paper, in my case, I'll use colored paper folded in half.
Lump together in two groups of three the pieces of the pumpkin (in one you must have the two smiley pieces an another empty one).
Use one of the smiley pieces as a template for the empty piece.
Now glue the pieces of each group one on top of the other.
We need this thickness to get the embossing effect.
Then glue them on top of the cardboard (remember the orientation of the covers so as not to glue the back cover upside down).
And now we're going to start to see how this embossing technique works!
We move forward little by little starting by putting glue on the eyels and the mouth (the "less raised" parts). Make sure the glue you use doesn't get transfer.
Extend the suede over the piece and sink the fabric with your finger until you start to see the relief.
You can also use a paper bending tool to help you with the corners.
Once dry (and not before) put glue on one half of the pumpkin and smooth the suede well.
Use a brush to spread the glue on the edge of the piece.
Do the same with the other half and let it dry for a few hours.
Once dry you can finish the covers.
By the way, remember that before gluing the cardstock behind the covers you must make the binding the closure.
So what did you think of this technique? I leave to your imagination how to use it but I'll show you how my work ended. I was in doubt whether to make a book binding (for which I would have to separate the colored sheets) or make a sewn binding with the sheets folded in half. 
I hope you liked it and are encouraged to put it into practice with some of Gypsy's chipboards!

Gypsy Soul Laser Cuts items used:

Other items used:
Cardboard 5mm
Suede
Cardstock and paper
Glue, cutter and scissors
Paperaper bending tool, brush, nail file and paper clips

Saturday, August 11, 2018

Giving dimension to handcrafted cards by Betsy Skagen


It is SaturYAY! The perfect day for rebuilding my stash of handcrafted greeting cards. One way I make my cards stand out from those purchased at a store is by adding dimension with layers.
Gypsy Soul's embellishments are perfect for this because many are small and light enough to still fit in a regular mailing envelope.
I wanted to share with you the basics of how to make these handcrafted cards so you can create some of your own. 
Begin by giving all your embellishments a coat of gesso and let dry. 
Paint the embellishments with acrylic paint and dry with heat gun.
Next cover each embellishment with embossing ink and clear embossing powder. Use a heat gun to set the embossing powder. 

Cut 4.25 x 5.5 inch rectangles of background paper. I used a variety of gelli prints that I made in an earlier craft session.

Layer images, ephemera, rub-ons, message and the embellishments on the card. 
Finish your card by adhering your creation to a blank 4.25 x 5.5 card that you previously made or purchased. 


Great Stuff

7gypsies rub-ons
Acrylic paint
Blank cards
Decorative paper
Embossing powder
Clear embossing ink
Pre-printed messages
Assorted ephemera

Saturday, December 9, 2017

Winter's Solstice Card by Betsy Skagen


Winter has arrived  here in Minnesota. It is a blustery nine degrees outside and as dusk settles, the wind is rattling the windows of our turn-of-the-century home.

In other words, it is a perfect night for crafting and for playing with the deep blue, purple, white and silver colors of Winter's Solstice.
To make this Winter's Solstice card begin by covering the Snowflake Shape Set with a coat of gesso.
 Next emboss the snowflakes with snowflake, blue glass, silver tinsel and blue embossing powders.
Apply Snow-Tex to a 8.5" x 11" sheet of black cardstock to make white snow mounds.
Dry snow with heat gun--guess what, it doesn't melt! Spritz blue and purple ink onto snow. Then place more snow onto your finger tip and lightly dab it over some of the purple and blue. Dry snow again.
Run another sheet of 8.5" x 11" black cardstock through a snowflake embossing folder. Repeat until entire paper is covered. Cut the snow mounds from the first sheet of black cardstock and glue onto the snowflake embossed paper. You could just emboss one sheet of black cardstock and apply the snow directly to it, but this method avoids getting accidental dabs of snow in unwanted areas of your page.
Adhere a plastic fence over the snow and add more snow and ink on top of the fence. Let this dry naturally because your heat gun can melt the fence.

Once the snow is dry, trim and adhere the scene to purple glitter cardstock. Then adhere both to silver cardstock.


 Adhere the entire unit to a sturdy card you create from 12" x 12" white cardstock sheets. Then glue clear gems onto some of the snowflakes.


 That is all there is to making a Winter's Solstice card. I hope you have a lovely weekend! -Betsy

Great Stuff

Snowflake Shape Set
Plastic fence piece
DecoArt Snow-Tex
Dylusions blue and purple ink
Snowflake embossing folder
Gems
Gesso
Embossing powder in snowflake, blue glass, silver tinsel and blue
Black cardstock
White cardstock
Silver cardstock
Purple glitter cardstock