Showing posts with label Mushroom Shape Set. Show all posts

Wednesday, January 12, 2022

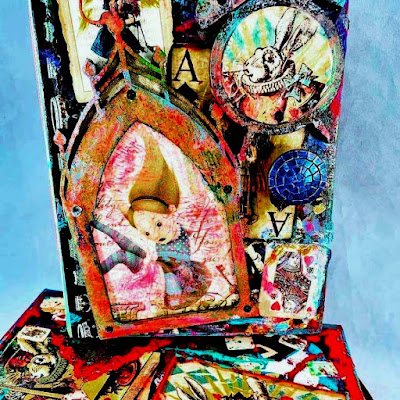
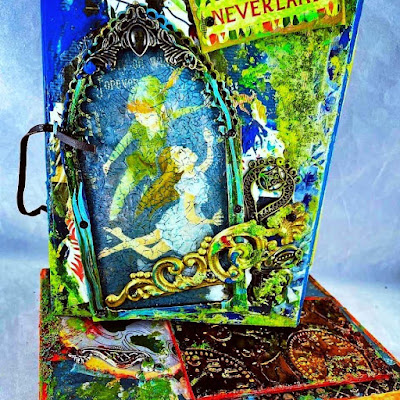
Where Do We Go From Here?A Peek-a-Boo Projects All Grown Up-Part 1

 As we begin a new year many often reflect on the year gone by, to weigh what was, goals realized, magical memories made,  the good, the bad; the ugly. 2021 was a year of changes for us, we were skeptical homeowners, wanting to get out of our charming, but in need of repair 1930's brick Cape Cod house in Catonsville, Maryland. We doubted we would ever be able to move into a more suitable condo for our needs. But through incredible circumstances and an amazing realtor agent we managed the impossible in May we moved to our single level ranch condo, just seven minutes from my middle school job.

We returned to full in person learning  this school year, with interruptions made by close contacts and student needing to quarantine for days or weeks depending on the mandate at the moment. I said last year was my most challenging in my 32 years of teaching, I was wrong. This school has proven to be even more challenging as we try to get our student back into a routine and practicing social norms.

My foot is finally one hundred percent healed as I changed podiatrist when we moved and they immediately started me on a new regime of skin grafting. I was unable to attend our largest art show as it was on uneven terrine and my foot could not be forced to endure those conditions. But we have had two very successful shows. Former customers are commenting on how my artwork has become so much brighter. It is amazing what the natural light in our condo has done to evolve my art.      

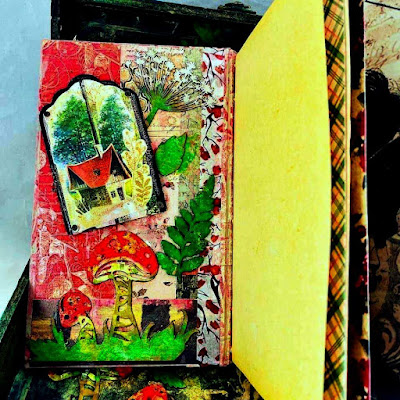
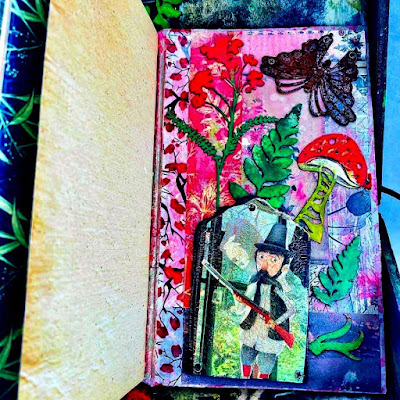
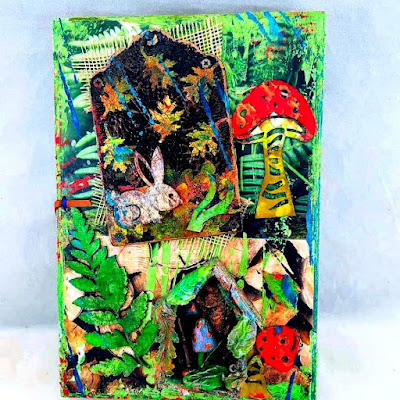
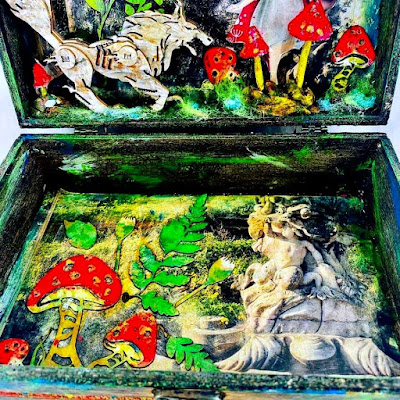
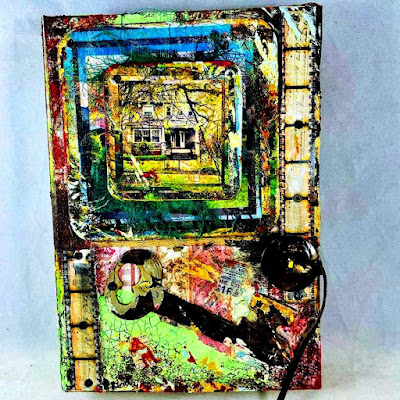
Many of you ask where I get my creative inspirations, many of them come from my love of nature and a desire to try to be unique and not copy other artist but further my brand. I love to Upcycle my Peek-a-Boo Projects and use them on my Hand Bound Treasure Books and Alter Boxes.

I will be posting my "Top Ten Peek-a-Boo Regenerations of Favorite GSCL Products"

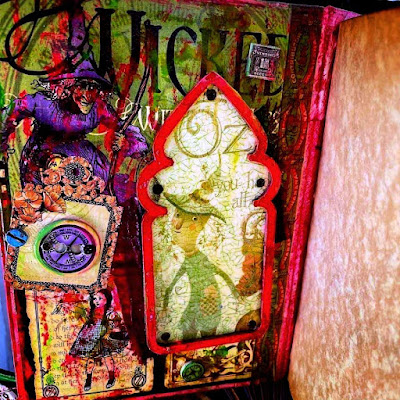
10. My favorite GSLC Frames are often used on my book covers and boxes.

GSLC-Arabian Triptych, GSLC-Reliquary-Arch Top, GSLC-Triptych-Arch Top, GSLC-Triptych-Tower Tops
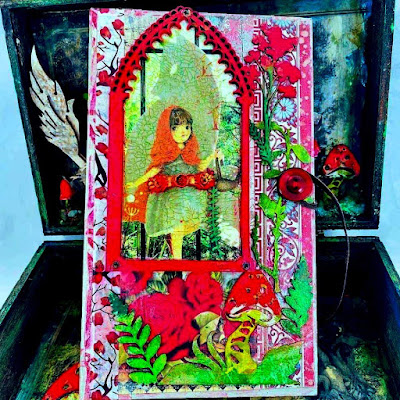
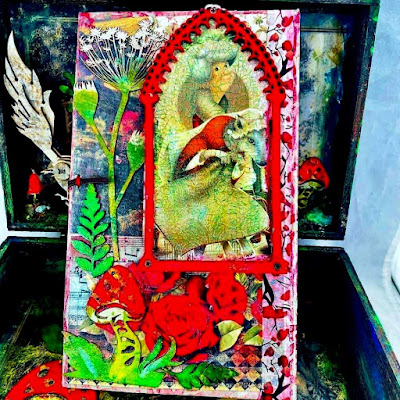
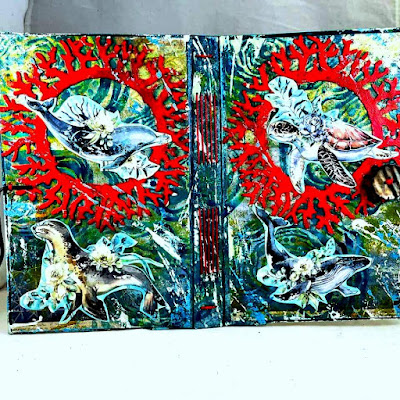
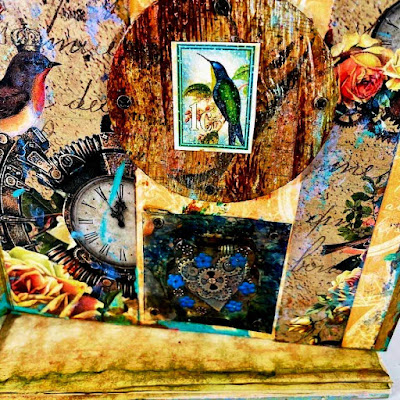
9. Fern Fronds, Ginkgo Leave, Mushrooms were fantastic  additions to these project.

GSLC Fern Fronds, GSLC Ginkgo Leaves, GSLC Mushrooms Shape Set
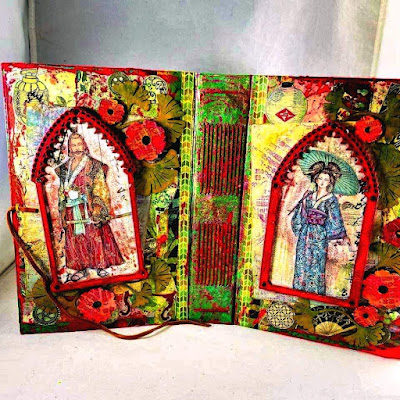
8.The picture patchwork tiles make a great addition to book covers also.

 Patchwork Tiles-Peek-a-Boo Project-GSLC     


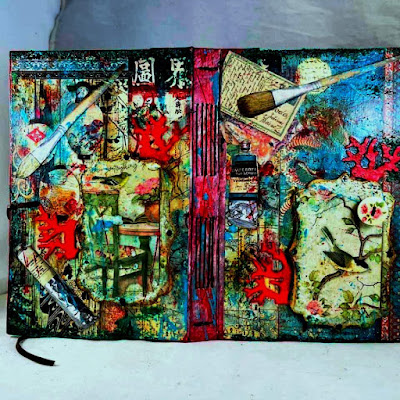
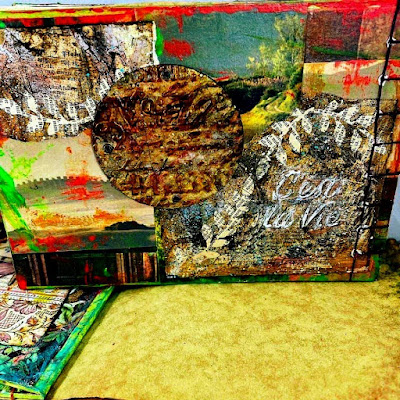
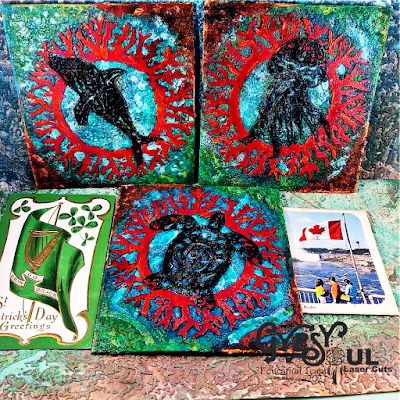
7. The Tribal Tidal Pools Project was the inspiration for this book cover.

Tribal Tidal Pools-Peek-a-Boo-Project-GSLC


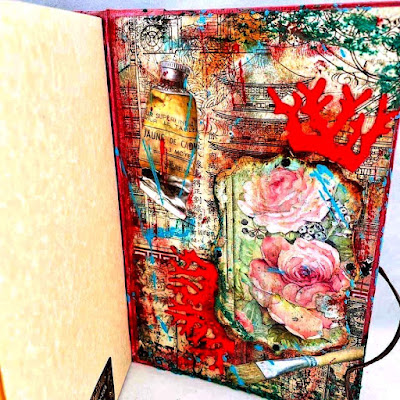
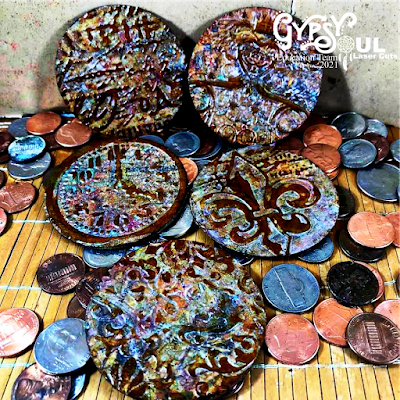
6. The  coins from My Coin Collect make nice additions to many book covers.


My Coin Collection-Peek-a-Boo Project-GSLC         


Tuesday, May 26, 2020

enchanted

Maybe it's the wonderful explosion of colorful flowers brought forth with the arrival of spring,
or perhaps it's simply the warmer weather which allows for extended time outdoors; but it has me dreaming of the whimsical world of fairies.
Today I am on the Gypsy Soul Laser Cuts blog sharing "enchanted", a mixed media panel/book cover. I envision this piece being hung in a young child's room and then later being converted for use as a cover for a memory book.
I begin with a 9x12 canvas art panel, and layout the chipboard pieces to create a scene. The fairy door Mary is the largest of the pieces, so I begin by situating the door along the bottom to the left side. This door will be set into a tree. Beside the tree, some mushrooms from the mushrooms shape set, will sit among grass and create the perfect perch for the fairies.
Once all of pieces are selected, I sketch an outline for what will become the tree trunk. Texture paste through a stencil creates the wood grain/bark effect. Be sure to trace the door outline before adding the texture paste so that the texture does not impede placement of the chipboard door frame. Allow the texture paste to dry.
Next, I paint the sky using layers of blue acrylic paint in different shades. Blades of grass will be painted along the bottom of the panel. Once I am satisfied with the sky, I paint the grassy bottom edge, as well as the brown tree bark. The painted panel is set aside to dry while I work on painting the door and mushroom pieces.
The door itself is treated the same as the tree. Stenciled texture paste creates the wood pattern, and once dry, a layer of brown paint is added. The door frame consists of two pieces, for this project I am only using the base piece, Since my door is set into a tree trunk, I decided not to use the "stone" patterned piece. Instead, I use texture paste to create a rough texture on the flat around and paint it to create the look of a knot where the bark has grown dark with age and the elements. Before the door and surround are secured into place, I add a glow to the canvas where the window opening is located using gold and coffee ICE.
The mushrooms are painted with acrylic paints to give a realistic look and the grassy base is painted to match the grassy base of the panel. A piece of gessoed and painted book page adhered to the reverse side of the mushrooms creates a solid backing for the cutouts. Once the pieces are complete, they are added to the base of the panel with collage medium. I set a weight on top to keep them flat while they dry.
Three fairies from the garden fairies medium set are coated with embossing ink, sprinkled with charred gold embossing powder and heat set. They are adhered to the panel with collage medium. Using a stencil, I emboss swirling stars around the fairies.
Die cut letters, painted in the deepest shade of the sky blues, form the word "enchanted" in the sky.  
The back side of the panel is covered with patterned scrapbook paper, to give a finished appearance.  
Thank you so much for stopping by today, I truly appreciate it.
I hope that wherever you find yourself these days, you are able to enjoy the beauty that nature is providing us during these unsettling times.
I wish you all the best, stay healthy and take care.
~Ann
 

Gypsy Soul Laser Cuts used:

Thursday, November 22, 2018

Thanksgiving Art Journal Page with Gypsy Soul Laser Cuts

Happy Thanksgiving and many blessings to all.  In the US, we celebrate Thanksgiving, so since today is Thanksgiving for us, I wanted to use my art journal to commemorate all that I am thankful for.  I will be using some Gypsy Soul Laser Cuts chipboard to help me out.  I love using chipboard in my art journals because it adds some dimension and not too much bulk.  Also, when I find just the right shapes, it seems to get that ole' mojo started again.

I have prepared a video tutorial for you in the hopes you will enjoy watching the process.


CLICK HERE TO SUBSCRIBE TO MY CHANNEL

Supplies Used:

GSL The Good Life
GSL Mushrooms Shape Set
ColourArte Vivid Ultra Metallics
  Peaceful Poppy
  Black Cherry
  Autumn Leaf
  Burnt Umber
  True Metals Autumn Flame
  Bolivian Blue
ColourArte Radiant Rains Dabber
  Yellow Rose
  Nutmeg
  Mediterranean
Prima Metallique Wax
  Aged Brass
  Vintage Gold
  Bronze Age
6"x9" Art Journal (Ranger)
Studio 490 Crackled Texture Paste
Faber-Castell Glass Bead Glitter Gel
Dylusions 5x8 Luscious Leaves stencil
Tree Branch Archival ink pad
Paper Parachute AT-002 cling stamp
Viva Décor Pearl Pen - Cream

I hope you enjoyed today's project, and be sure to check out all the fabulous products found at Gypsy Soul Laser Cuts.  

Thanks so much for stopping by, and have a super holiday!!

Barbara

Thursday, September 8, 2016

Tiny Matchbox Theatre

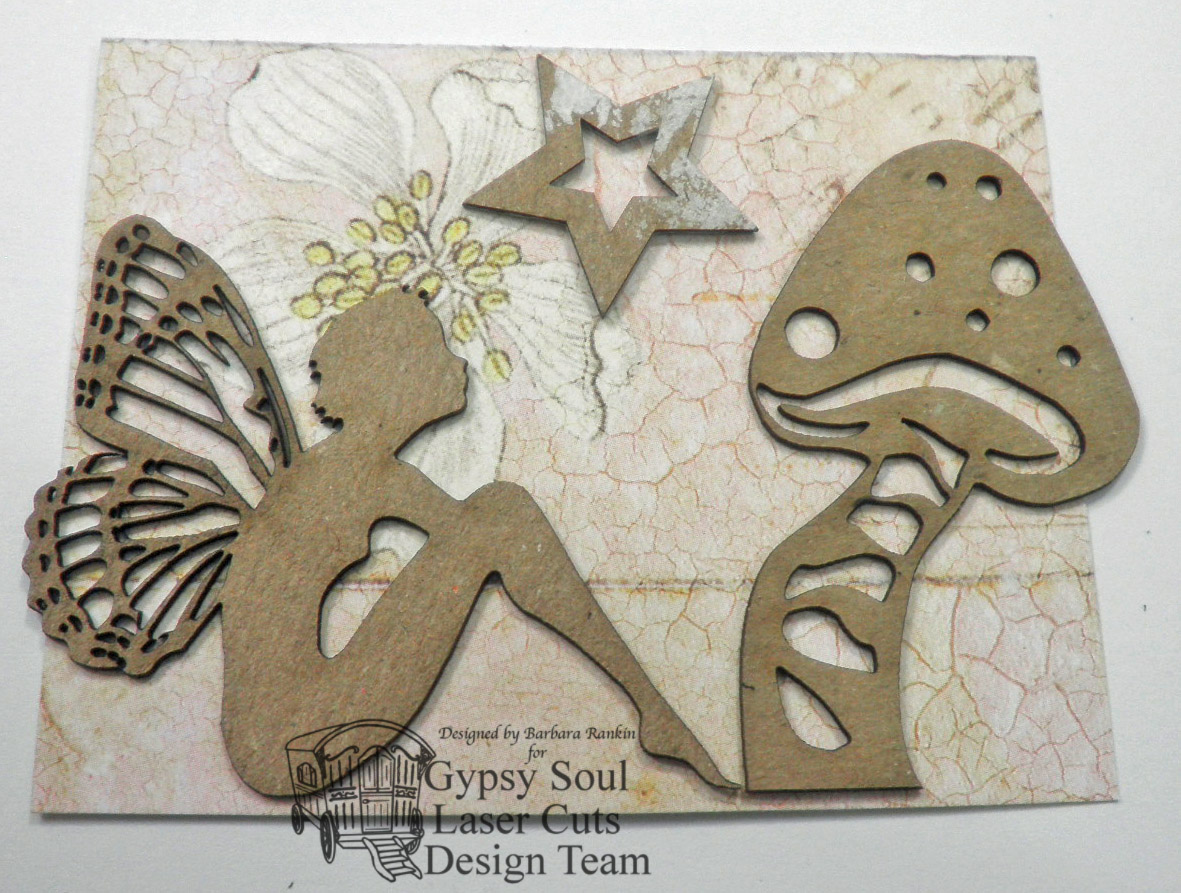
Hi everyone!  Barbara here today on the Gypsy Soul Laser Cuts blog.  Today I want to share this sweet  Tiny Matchbox Theatre, another new item from GSL.  Wait til you see what can be done with these little boxes.


These are the two pieces to make this cute little box.


I glued the two pieces together, but left the flap on the inner box unglued.


I covered the outer "box cover" with a piece of the flower print paper.  In order to allow this piece to slide easily over the "inner box", I left the chipboard bare on the inside.  Next, I chose my chippies to use on the cover ...


... and painted them with a beige chalk paint.


I next cut a piece of print paper to fit inside the inner box and chose my chippies to use on the inside. These pieces were also painted with the beige chalk paint.


I used Twinkling H20s to color all of my chipboard pieces.


I simply added some Platinum Stickles over the Victorian Corners, and Star Dust Stickles was added to the wings on both fairies. 


Waterfall Stickles was added over the water colors on the star, and more Star Dust Stickles was added over the mushroom top.


I painted the inner box with the beige chalk paint, then added some texture by dabbing some of the H20 water colors over the background.  


Next, I used a damp baby wipe to blend out some of the darker colors.  As you can see, I left the top flap open so I can insert my pieces when I get it put together.


Glue your pieces to the top of the outer box, as shown.


Glue the remaining pieces to the background paper for the inner box, as shown.  Trim off any excess chip board, as needed.


Slip the background paper inside the inner box and close it.  You can decide whether or not to glue the lid closed,  but if you choose not to, you can always open it and change out the background paper and chippies to suit any occasion.  Better yet, you could make multiple "cards" to keep inside the box.  That would be super fun!


At this point, you can also add more tiny embellishments, if you wish, like tiny flowers, bits of lace, glass glitter, beads, charms, the possibilities are  endless. 

Supplies used:

GSL Tiny Matchbox Theatre (coming soon)
GSL Garden Fairies Small
GSL Victorian Corners 1
GSL Celestial Shape Set (star)
GSL Mushrooms Shape Set

ColourArte Twinkling H20s  
Prima Fairy Belle 6x6 paper pad
Beige chalk paint
Glitter Glue (Star Dust, Platinum, Waterfall)

I hope you enjoyed this project today, and be sure to stop by the Gypsy Soul Laser Cuts shop to see more new and exciting chipboard available.

Thanks for stopping by, and have a wonderful, creative day!

Barbara

Thursday, March 3, 2016

Mushroom Fairy Garden House

Hey there everyone!  Barbara here with my third in the series of mini house shadow boxes by Gypsy Soul Laser Cuts.  Today's project is a Mushroom Fairy Garden House.  I had so much fun making this one.  I hope you like it.  To see my previous mini house shadow box, please click here.


As always, I start out by laying out my pieces so I can see clearly how to glue them together.


Paint box inside and out with flesh tint acrylic paint, or color that matches your paper.  Then cover box, inside and out, with Prima Fairy Rhymes paper.  The roof was covered with natural birch bark strips.  


I painted the mushrooms with white gesso first, then began the coloring process with Caran'dache NeoColor II water soluble crayons.  I did not color all of these, but I was not sure which ones I would use for my fairy garden until I got started.  I used a white gel pen to do a little pen work on the mushroom heads, an idea I borrowed from my good friend and fellow team mate, Pam Bray.  


Paint the fairy with black acrylic paint, including the wings.  Then color the wings with Pearl-Ex watercolors in a blue interference color, then add a bit of green interference color, as shown.  The interference colors only show up really well on a black or dark surface.


Using foam dots in varying levels, I adhered the two mushrooms inside the box, as shown.  Reindeer moss was added as garden filler.


Foam dots were placed beneath the fairy to raise her up and glued at her knee and foot.  You can see where the glue is still wet on her foot.  


The largest strip of mushrooms (colored in the photo above) was wrapped around the base of the house and glued to the front and back bottom only.    Use fingers to shape and bend the mushroom base and the mushrooms themselves.  

Tiny resin flowers and bits of reindeer moss were adhered along the base and the roof, as shown.

Crystal glitter glue was added to the leaves for extra magical sparkle.

Here are a few close ups from different view points of my magical fairy garden.


Supplies:

Mini House Shadowbox 4
Mushrooms Shape Set
Garden Fairies Medium (pre-order)

White gesso
Black gesso
Prima Fairy Rhymes paper
Prima resin flowers
Natural birch bark strips
White gel pen
Reindeer moss
Pearl-Ex Interference watercolors
Water brush
Tea Dye distress ink (for edging the paper)
Crystal stickles

I hope you are enjoying my series of mini house shadowboxes from Gypsy Soul Laser Cuts. I plan on displaying these in my studio for inspiration, and I hope that perhaps I have inspired you in some small way, too.

Thanks for stopping by, and have a crafty week!

Barbara