Showing posts with label Celestial Shape Set. Show all posts

Saturday, October 26, 2019

Oh Baby Baby Part 2 by Betsy Skagen


We are now just days away from a new baby arriving in my family. I am making a little book for my niece, who is the mother-to-be, for her to keep memories of those first precious months.

The book features all sorts of pockets, magnetic flaps and little spaces to store precious photos, mementos and tags to record milestones and memories. On some of the pages I used Gypsy Soul chipboard to create three-dimensional elements and frames. 


Tutorial--How to Make a Baby Book

Ad demonstrated in Part 1, begin by gently bending the wire binding and remove the chipboard pages.


Cover the pages with black gesso.


Dry with a heat gun.
Paint the Flourished Frame Laurel, star from Celestial Shapes Set and Little Dreamer elements with gesso. Dry with heat gun. Paint in the the colors of your choice and dry with heat gun.
Cover the element with embossing ink, coat with ultra thick clear embossing powder and activate with heat gun.
To create the wild texture on the cloud, add a layer of white chalk paint and dry with heat gun. Then again cost the element with embossing ink and clear embossing powder and re-activate with heat gun. Watch as the paint swirls as it mixes with the embossing powder. 
Using a sharp blade, carve out a small circle from the back of the star element. Glue a micro-magnet in place and cover with decorative paper.

Adhere decorative paper to the black page bases. For the Little Dreamer page, first glue a micro-magnet onto the black page base in the location where you will want to add photos or tags. 

Glue the Little Dreamer Element onto the page. Then let the star magnet snap into place.
If you wish, you can cut tags from decorative paper for the star magnet to hold, or you can leave the area free for cute baby pictures. 

For the Flourished Frame page. cut a piece of teal cardstock to fit behind the frame. Glue only the bottom edge of the frame to the cardstock so that a picture can be slid into place. 
Glue the frame to the page and add a decorative baby duck. 

I am so excited that I am almost done with the book and can give it to my niece. I hope she likes it!  -Betsy

Great Stuff

Little Dreamer chipboard element
Chipboard album
Black gesso
Authentique Paper
Assorted decorative paper
Teal cardstock
Black cardstock
2 Micro magnets
Teal paint pen
Yellow paint pen
White paint pen.
White chalk pen
Embossing ink
Ultra thick clear embossing powder
Baby duck embellishment

Monday, September 11, 2017

Gypsy Journal with Gypsy Soul and 7Gypsies/Canvas Corp

Hey there crafty friends! I'm excited at the chance to combine goodies from two great companies to put together a fun project; as soon as I saw the 5x7 Naked Journal, I knew I wanted to work with it! I just happened to have some older 7Gypsies paper in my stash that worked great with the newer line, and I put it all together to create what I have called my "Gypsy Journal":


I used the burlap for the cover; I just love the natural, earthy feel and texture of burlap and thought it would create a great backdrop for the Botanical journalling block from GSLC and the other pieces I used.
I painted the journalling block gold, then brushed it with crackle finish; when that was dry I finished it with black acrylic paint and then ran jute through the holes along the edge.


On this page, the chipboard pieces were painted black, then heat embossed in clear before being treated with Dusty Attic Rust Paste and Prima Aged Brass Wax. I used crumpled pieces of a sewing pattern and some similar-coloured burlap as added embellishments.


For this page, the image from the paper takes center stage, but I added a music note which was heat-embossed first with Ranger Antiquities California Stucco, then Lindy's Adobe Fire. A tulle skirt and gemstone "sun" add some extra dimension.


This page features quotes from both the Wanderlust and Gypsy Moments collections-I love how well they work together! I covered the chipboard balloon in patterned paper, then sanded and inked the edges; the horseshoe was heat embossed with Stampendous Aged Copper embossing powder. The feather is real; I found it on the ground at work the other day!(I work at a golf course)


I started this page with an Architextures background, then used the Architextures baskets sticker and an image & quote from the Gypsy Moments paper as the focal points here. I then added the baggage ticket from the Wanderlust paper and the lasercut propeller and hasp. Both pieces were painted black, then rubbed with silver ink. It doesn't take much to alter your chipboard pieces to match any page theme or colour scheme; that's something I love about them!


The chipboard doodles here were painted black then heat-embossed with Lindy's Midnight Gold.


I absolutely loved this image from the Wanderlust paper but had a bit of a freakout when I realized I also loved something from the other side of the paper...(the struggle is real....sigh....) so I used the upper part of the image  and saved the rest for the following page! I thought these celestial pieces were perfect accompaniments to this image; the moon was dry-embossed with this Darice stencil, then painted antique white and brushed with Perfect Pearls. The stars were painted burgundy then brushed with Perfect Pearls as well.I dabbed a tiny bit of water onto my brush to make a paste with the powders.


I loved the door image along with the Milton Berle quote, so created a 2-page spread here. The Architextures wheel sticker was lightly brushed with Aged Brass wax, which I also used on the GSLC lock. The Parchment rub ons are fabulous; they go on so easily and are full of great images and quotes! By the way, I used packaging from the journal on this page-it's the beige patterned rectangle in the middle!

There are six pages left in the journal, and I plan to add quotes, images and embellishments I find that speak to me of the "free my gypsy spirit" theme. Thanks so much for stopping by, and I hope I've been able to inspire you a little; I so enjoyed putting this project together and sharing it with you-have a wonderful and creative week!

Saturday, September 9, 2017

Postcards from the road--Never pack light by Betsy Skagen


I just don't "get" people who manage to pack light. Even when I travel to the family lakeside cottage less than two hours from home, I manage to fill an entire minivan with vital stuff I simply cannot live without. 

This particular postcard, which I made as part of the "Postcards from the Road" set I created for the Gypsy Soul Laser Cuts/Canvas Corp Match Up, drives home this point.  
To make the postcard, begin with the American Vintage Collection Wish You Were Here paper and cut out the Mountains postcard.  
Cover stars from the Celestial Shape Set with black gesso and dry with heat gun. ( Talk about versatile--I have used Celestial Shape Sets so many times for so many completely different projects!) Alternate layers of Quinacridone gold acrylic paint and a gold paint pen until you reach desired effect.
Add ephemera from the Architextures 8x8 Paper Pack  and a piece of the Canvas Corp Burlap Sheet and adhere to the back of the postcard. 

When dry, trim the excess. 
Add water to acrylic paint to create washes and paint areas of your postcard, drying between applications to prevent muddy colors. When dry, use stencils and ink to add apply more color. Freehand paint on white starbursts. Some of the paint will seep through to the other side. Don't worry about this as it will just add dimension.  
Apply a quote and image or two from the Architextures Parchment Rub-On Build It. Adhere the stars.

Print and cut out the Questionable Characters. Add three dimensional foam adhesive to the back and adhere to the postcard. Print out a sentiment, ink with brown ink and adhere to the postcard as well.
You might think I was facetious about not being able to pack light. To offer proof, I am sharing this photo from a weekend getaway to our cottage earlier this year. To be fair, it included supplies for the first trip of the year and we were bringing four people and two large dogs.

Great Stuff

Quinacridone gold acrylic paint 
Acrylic paint assorted colors
gold paint pen
Ink assorted colors
Stencils

Wednesday, May 24, 2017

Upcycled Altoid Tin for 4th of July

Hi there!  Cherry here at the Gypsy Soul Laser Cuts!   I have the grand Independence Day on the brain and created this up cycled Altoid tin in honor of it.  I first started with the Altoid Inserts Fairy Tale Frame .
They were painted with silver metallic paint.  I trimmed one side down so I could fit it in the wider part of the Altoid tin.


 I then glittered the frames along with the stars from the Celestial Shape Set.


Next I covered the back side of the tin with pattern paper and then added handmade stitched paper fringe.


I inserted pattern paper on one side of the frame. 


 I adorned the one side with the glittered chipboard pieces and a sentiment sticker.


The other side of the tin I added an old fashion image and than framed with the frame.


I added a few more stars and buttons to accent and was done!  Here it is complete.


I see more of these in my future! Thanks for visiting the Gypsy Soul Laser Cut Blog, Cherry


Gypsy Soul Laser Cut Supplies-

Other supplies-
recycled Altoid Tin
paper fringe
stickers
glitter
adhesive
images
random buttons

Thursday, September 8, 2016

Tiny Matchbox Theatre

Hi everyone!  Barbara here today on the Gypsy Soul Laser Cuts blog.  Today I want to share this sweet  Tiny Matchbox Theatre, another new item from GSL.  Wait til you see what can be done with these little boxes.


These are the two pieces to make this cute little box.


I glued the two pieces together, but left the flap on the inner box unglued.


I covered the outer "box cover" with a piece of the flower print paper.  In order to allow this piece to slide easily over the "inner box", I left the chipboard bare on the inside.  Next, I chose my chippies to use on the cover ...


... and painted them with a beige chalk paint.


I next cut a piece of print paper to fit inside the inner box and chose my chippies to use on the inside. These pieces were also painted with the beige chalk paint.


I used Twinkling H20s to color all of my chipboard pieces.


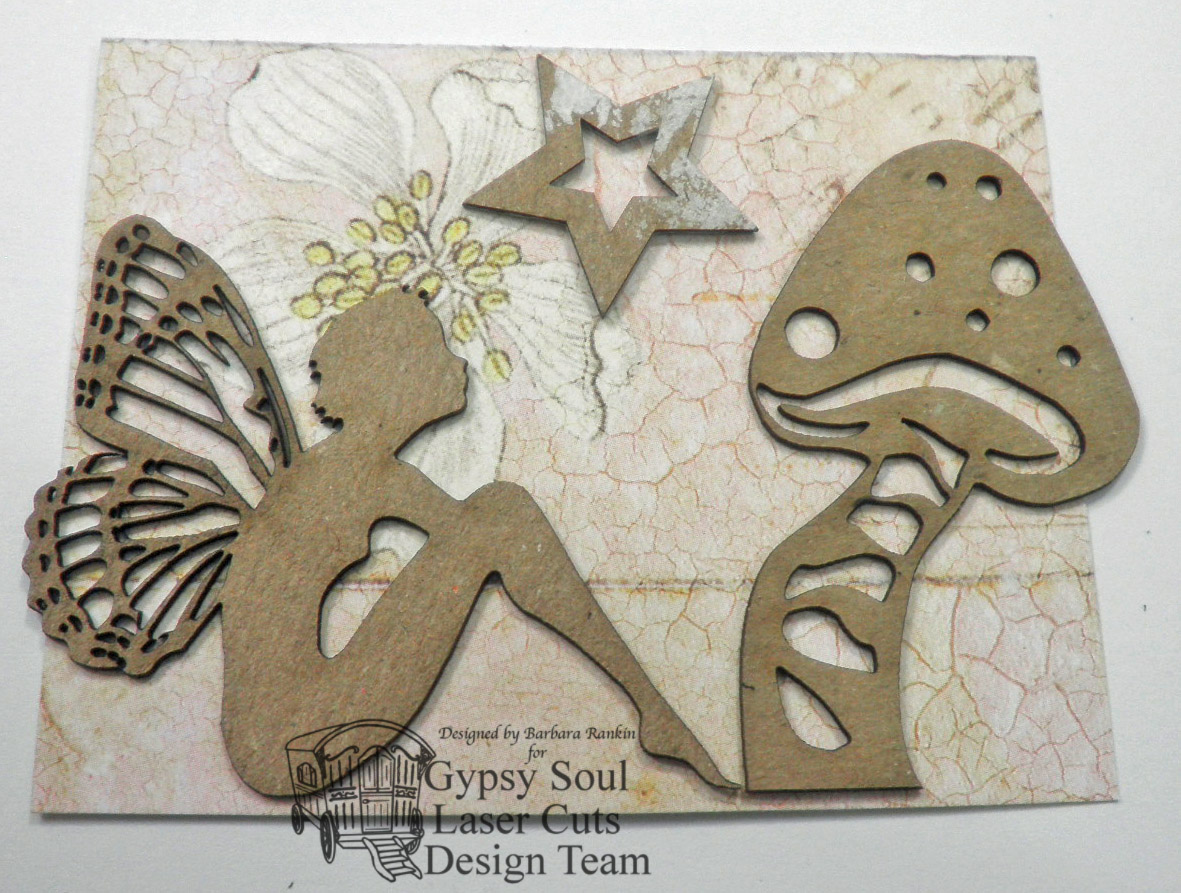
I simply added some Platinum Stickles over the Victorian Corners, and Star Dust Stickles was added to the wings on both fairies. 


Waterfall Stickles was added over the water colors on the star, and more Star Dust Stickles was added over the mushroom top.


I painted the inner box with the beige chalk paint, then added some texture by dabbing some of the H20 water colors over the background.  


Next, I used a damp baby wipe to blend out some of the darker colors.  As you can see, I left the top flap open so I can insert my pieces when I get it put together.


Glue your pieces to the top of the outer box, as shown.


Glue the remaining pieces to the background paper for the inner box, as shown.  Trim off any excess chip board, as needed.


Slip the background paper inside the inner box and close it.  You can decide whether or not to glue the lid closed,  but if you choose not to, you can always open it and change out the background paper and chippies to suit any occasion.  Better yet, you could make multiple "cards" to keep inside the box.  That would be super fun!


At this point, you can also add more tiny embellishments, if you wish, like tiny flowers, bits of lace, glass glitter, beads, charms, the possibilities are  endless. 

Supplies used:

GSL Tiny Matchbox Theatre (coming soon)
GSL Garden Fairies Small
GSL Victorian Corners 1
GSL Celestial Shape Set (star)
GSL Mushrooms Shape Set

ColourArte Twinkling H20s  
Prima Fairy Belle 6x6 paper pad
Beige chalk paint
Glitter Glue (Star Dust, Platinum, Waterfall)

I hope you enjoyed this project today, and be sure to stop by the Gypsy Soul Laser Cuts shop to see more new and exciting chipboard available.

Thanks for stopping by, and have a wonderful, creative day!

Barbara