
Hi everyone!
Myry again and let's continue with the travel journal tutorial! In this second stage we're going to start the cover, stick the structure to the spine and work with the chipboards.


Be careful with the corners, especially if you aren't going to use corner pieces


Stick the structure to a piece of flexible fabric (this is very important) of the same length but whose width is at least 5cm wider on both sides


Start with the "Wander Title," a piece of scrap paper and cream acrylic paint. First stick the paper (or pieces of paper) under the "gaps" of the chipboard so that the paper underneath is visible. Then rub the paint with a sponge to give it an aged touch and show the original color a bit, it doesn't matter if the paper is stained

 Let's do something super simple with the "Ring Stains". Separate each ring and paint them with acrylic paint, it's that simple!

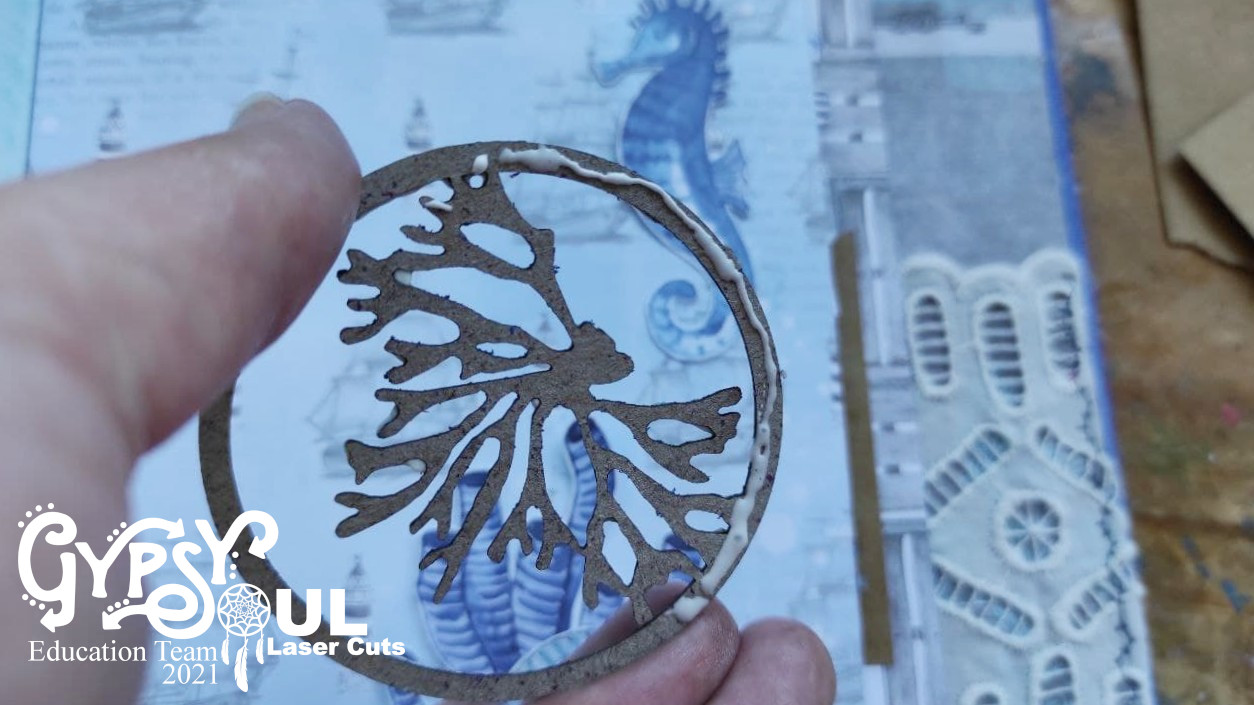
 Now let's use "Trading Coin Covers Under The Sea" in another way.

For the first page I prepared a collage with this chipboard


You can use them to decorate the pages or as a support to hold tags


For this piece use an acrylic paint and glitter of the same color (gold in my case). Paint the chipboard putting a thick layer of paint and sprinkle the glitter on top before it dries

I've used it as a pocket

If a piece sticks out remember to paint the back!


Gypsy Soul Laser Cuts items used:
Other items used:
Old book cover
Blue stained papers
Scrapbook papers or something else
Brown and gold cardstock, and acetate
2 different fabrics and sewing machine
Die cuts, shaker filler and some embellishments
Natural elements: shells, sand, branches...
Carboard, cutter, scissors, glue, gold eyelets and brads
Brown, cream, blue and crystal effect acrylic paint, blue and purple crayons and gold glitter
Gesso, brush, sponge, scoreboard and crop-a-dile
Fantastic again! You have made a gorgeous travel journal!
ReplyDelete