Showing posts with label Compass. Show all posts

Wednesday, August 18, 2021

Travel journal (part IV)

Hi everyone!
Myry again and let's finish our journal!
We're going to do the closing. You need a piece of fabric, a piece of thin cardboard (2x20cm in my case but you can make it longer and wider if you want) and a piece of scrap paper
Mark the center of the cardboard and round one of the corners
Cover the cardboard with the piece of scrap paper
Copy the shape of the carboard on a piece of thin paper...
...and stick it to the piece of fabric, cut the fabric around the paper
Now is the time to decorate the piece of fabric. Instead of sewing as on the cover I decided to use some strips of gold cardsotck
Stick the fabric to the piece of cardboard
Sew (or stick) the corner without rounding to the cover
Put the round corner where you want to place the buckle for the closure
Mark the place where you're going to put the buckle
Use another piece of thin cardboard (2x5'5cm in my case) and another piece of fabric
I've sewn it at 5mm from the edge making sure that there is space for the closure strip to enter without problems, and to cover the seam I also used a gold strips
You can make a closure with two ribbons if it's easier for you!
Behind the front and back cover stick 2 scrap papers (the size of your covers) and make pockets using 2 pieces of lace, fabric...
Stick them once you've sewn everything you want to the covers, you can also decorate the edges of the structure with more gold cardstock
It's always better to decorate the spine before sticking the structure but with this type of spines it can be done at any time. First find the center of the spine and make a hole at the height you prefer
Use another piece of thin cardboard (1'5x4cm in my case) and another piece of fabric
Once it's dry fold it by less than half and sew the top piece leaving the bottom one open
Put a brad on top and put it in the hole in the spine. You can cover the brad legs with a piece of paper or an embellishment. Now you can go through the open space any hanging decoration
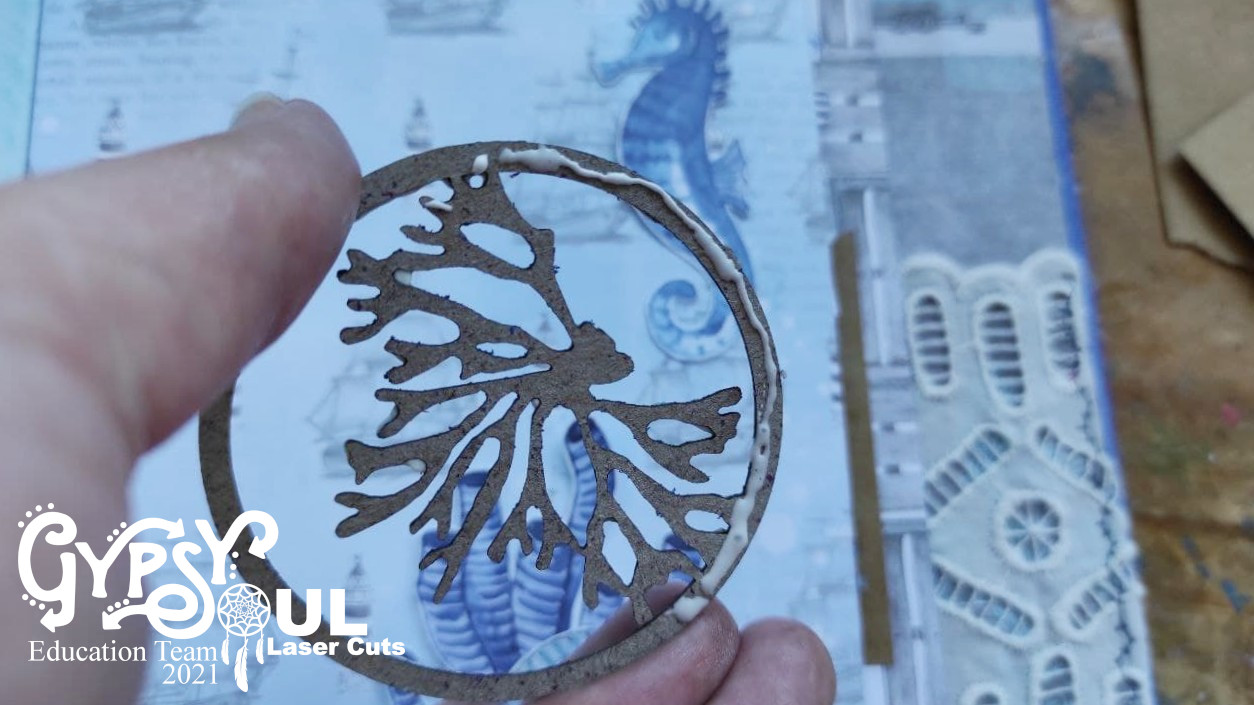
And now we're going to do the decoration of the cover. Use the "Portal Frame" to make a shaker window. Paint it with blue and brown paint to give it a rusty touch
Cut a piece of round cardboard the same size as the round part of the chipboard
Paint it the same colors, especially the inner and outer edges
Put gold eyelets in the holes of the chipboard
Cut a round piece of scrap paper and glue it under the round cardboard. Stick all the elements you want and put the shaker filler. 
Stick a round piece of acetate on top to close the window...
...and before sticking the chipboard on top you must stick more elements (if you want)
As the closure strip is higher than the cover itself, use cardboard so that the shaker is straight
Once it's dry decorate the shaker with the rest of the elements such as sand, shells...
And so we finish this tutorial!!

Thank you so much for joining me here!!! It has been a very interesting year, working with these great chipboards and be with this fantastic DT. Please, be aware with everything that is published on the blog and on the FB group. 
Thanks a lot for reading to the end.
I wish you a good summer!!!!
Myry says goodbye for a while!!


Gypsy Soul Laser Cuts items used:

Other items used:
Old book cover
Blue stained papers
Scrapbook papers or something else
Brown and gold cardstock, and acetate
2 different fabrics and sewing machine
Die cuts, shaker filler and some embellishments
Natural elements: shells, sand, branches...
Carboard, cutter, scissors, glue, gold eyelets and brads
Brown, cream, blue and crystal effect acrylic paint, blue and purple crayons and gold glitter
Gesso, brush, sponge, scoreboard and crop-a-dile

Wednesday, August 4, 2021

Travel journal (part III)

Hi everyone!
Myry again and let's continue with the travel journal tutorial! In this second stage we're going to start the cover, stick the structure to the spine and work with the chipboards.

So, take your cover and your piece of fabric and start to work. As you can see I was using an old book cover with no hard spine (it's just a piece of thick paper)

Be careful with the corners, especially if you aren't going to use corner pieces
I decided to decorate the spine with 2 gold cardstock strips of 5mm thick 
Use a piece of flexible and resistant paper to reinforce the spine on the inside. Mark and fold it every 3mm
My piece is 2'5cm wider on both sides and is only a few cm less than the length of the spine
Stick the structure to a piece of flexible fabric (this is very important) of the same length but whose width is at least 5cm wider on both sides
And now put glue only the sides of the fabric...
...and stick them to the cover; above all avoid putting glue in the spine area

Now it's time to work with the chipboards!! 
Start with the "Wander Title," a piece of scrap paper and cream acrylic paint. First stick the paper (or pieces of paper) under the "gaps" of the chipboard so that the paper underneath is visible. Then rub the paint with a sponge to give it an aged touch and show the original color a bit, it doesn't matter if the paper is stained
For the first page I prepared a collage with this chipboard


Let's do something super simple with the "Ring Stains". Separate each ring and paint them with acrylic paint, it's that simple! 
You can use them to decorate the pages or as a support to hold tags
Now let's use "Trading Coin Covers Under The Sea" in another way. 
For this piece use an acrylic paint and glitter of the same color (gold in my case). Paint the chipboard putting a thick layer of paint and sprinkle the glitter on top before it dries
I've used it as a pocket
If a piece sticks out remember to paint the back!
For this 2nd piece use 2 different crayons (blue and purple in my case) and crystal effect acrylic paint (this paint gives a volume effect). Paint the chipboard with both colors and then paint it with the effect paint.
To make a pocket with the chipboard just put the glue in the area that you want to have closed avoiding the rest
And for the "Compasswe're going to make another aged effect with gesso and brown paint. Paint it with the white gesso, wait for it to dry and then splash with the brown paint, you can paint the edges too
So we only have to finish the cover and make the closing! Next will be the last tutorial!


Gypsy Soul Laser Cuts items used:

Other items used:
Old book cover
Blue stained papers
Scrapbook papers or something else
Brown and gold cardstock, and acetate
2 different fabrics and sewing machine
Die cuts, shaker filler and some embellishments
Natural elements: shells, sand, branches...
Carboard, cutter, scissors, glue, gold eyelets and brads
Brown, cream, blue and crystal effect acrylic paint, blue and purple crayons and gold glitter
Gesso, brush, sponge, scoreboard and crop-a-dile