Wednesday, August 11, 2021

An American Original-A Peek-a-Boo Project

Snow White is the original Disney Princess, I've always loved watching the video and found delight in the magical world that Walt Disney created. The woodland creatures and the famous poison apple are the inspiration for this artwork

1.  Collect Materials

2.  Use Painter Tape to Hold Gypsy Soul Laser Cuts ATC Sized Faux Book Box together.

3.  Use Book Tape or Medical Cloth Tape on Inside Box, Paint Outside With White Gesso. This Will Become the "Pages" of "Book".

4.  Paint Inside of with Copper Metallic Paint

5.  Use Book Tape or Medical Cloth Tape on Spine.

6.  Add Blue Acrylic Paint to Cosmic Shimmer Lave Paste, Spread on Inside of "Book Cover", Cure with Heat Tool.


7.  Add Assortment of Brown Acrylic Paint to Cosmic Shimmer Lave Paste, Spread on Outside of "Book Cover", Cure with Heat Tool.


8.  Seal Everything With Matte Gel Medium.

9.   Use Decorative Napkins to Add Layers of Front of "Book Cover".

10.                Assemble Book Box, Gluing with Weldbond.

11.                Select Collected Embellishments, I chose a Resin Poison Apple, A Wooden Panel Assemblage, A Polymer Clay Motif, Bits of Branches, and A Tiny Art Card.

12.                Use Heavy Matte Gel to Adhere Your Chosen Treasures.

13.                Add Bits of Mossy Texture Using Felting Materials.

Some Final Thoughts.

One of the main lessons of Snow White teaches is the danger of vanity. The Evil Queen Wants Snow White dead because she cannot image there is someone more beautiful than her. It is this vanity in the end that destroys her. The concept of real beauty is often found in lowly places and humble creatures.

"Mirror, Mirror on the Wall Who is the Fairest One of All?"

"Oh, Queen, Thou Art Fairest of All I can See, But Over the Hills, Where the Seven Dwarfs Dwell, Snow White is Still Alive and Well, and None is so Fair as She"

"Are You Afraid of Poison? said the Old Woman, Look, I Will Cut the Apple in Two Pieces, You Eat the Red Cheek, and I Will Eat the White."

Snow White Quotes:

"Come on, Perk Up, Won't You Smile For me?"

"I'm Sure I'll Get Along Somehow. Everything's Going to Be Alright."

"There's No Use Grumbling, When the Raindrops Come Tumbling."

"What do you do when Things go Wrong? Oh! You Sing a Song."

"Just Whistle While You Work, And Cheerfully Together We can Tidy Up the Place. So Hum a Merry Tune, It Won't Take Long when There is a Song To Help You Set The Pace.'

The Evil Queen Quotes

"Thirst? Have a Drink."

"Don't Let the Wish Grow Cold."

Dwarf Quotes

"Heigh-ho! Heigh-ho!

It's Off to Work We Go"

"Heigh-ho! Heigh-ho!

It's Home from Work We Go!"


 Supplies:  Gypsy Soul Laser Cuts-ATC Sized Faux Book Box, Book Tape or Medical Cloth Tape, Painters Tape, Weldbond, Copper Metallic Acrylic Paint, White Gesso, Paintbrush, Brown Acrylic Paint, Cosmic Shimmer Lava Paste, Blue Acrylic Paints, Matte Gel Medium, Decorative Napkins, Collected Embellishments, Bits of Branches, Heavy Gel Matte, Felting Materials


I cannot wait to see your interpretation of this project. Share it on the Gypsy Soul Laser Cuts Craft Group Page on Facebook. I would love to see what new creations you are working on!

Saturday, August 7, 2021

Tiny TV Magnet

Happy Saturday, everyone! Today I have a project that can be personalized in infinite ways. I am using a Tiny TV Standard which is available over at Alpha Stamps. It's a miniaturized version of the Standard Altoids Tin TV but very cleverly does not require you to finish a tin of Altoids Smalls mints to do this project.

Here are the pieces that, when stacked, make a little 3D television set.  I included the larger Standard Altoids TV for size comparison.

I started by gluing the top three pieces together with tacky glue. 

Once the glue was dried, I painted the entire assembly with brown acrylic paint. The back of the TV set was also painted.

I searched for some classic horror/sci-fi images and settled on one with a marauding tripod from the War of the Worlds and adhered the image inside the TV.

What got me thinking about doing this project in the first place was my stash of HO train figures. I usually buy them in sets and think these came from a carnival collection. I believe the sitting with hands in the air poses are meant to be used in a ferris wheel or roller coaster setting.

Before final assembly I glued on tuning knobs which are gold flat back pearls.

The only thing left to do is glue on a magnet! Thanks for stopping by.


GSL Products Used

Tiny TV Standard

Other Supplies Used

Tacky glue

Acrylic paint

Flat back gold pearls

Printed image

HO figures

Magnet


Wednesday, August 4, 2021

Travel journal (part III)

Hi everyone!
Myry again and let's continue with the travel journal tutorial! In this second stage we're going to start the cover, stick the structure to the spine and work with the chipboards.

So, take your cover and your piece of fabric and start to work. As you can see I was using an old book cover with no hard spine (it's just a piece of thick paper)

Be careful with the corners, especially if you aren't going to use corner pieces
I decided to decorate the spine with 2 gold cardstock strips of 5mm thick 
Use a piece of flexible and resistant paper to reinforce the spine on the inside. Mark and fold it every 3mm
My piece is 2'5cm wider on both sides and is only a few cm less than the length of the spine
Stick the structure to a piece of flexible fabric (this is very important) of the same length but whose width is at least 5cm wider on both sides
And now put glue only the sides of the fabric...
...and stick them to the cover; above all avoid putting glue in the spine area

Now it's time to work with the chipboards!! 
Start with the "Wander Title," a piece of scrap paper and cream acrylic paint. First stick the paper (or pieces of paper) under the "gaps" of the chipboard so that the paper underneath is visible. Then rub the paint with a sponge to give it an aged touch and show the original color a bit, it doesn't matter if the paper is stained
For the first page I prepared a collage with this chipboard


Let's do something super simple with the "Ring Stains". Separate each ring and paint them with acrylic paint, it's that simple! 
You can use them to decorate the pages or as a support to hold tags
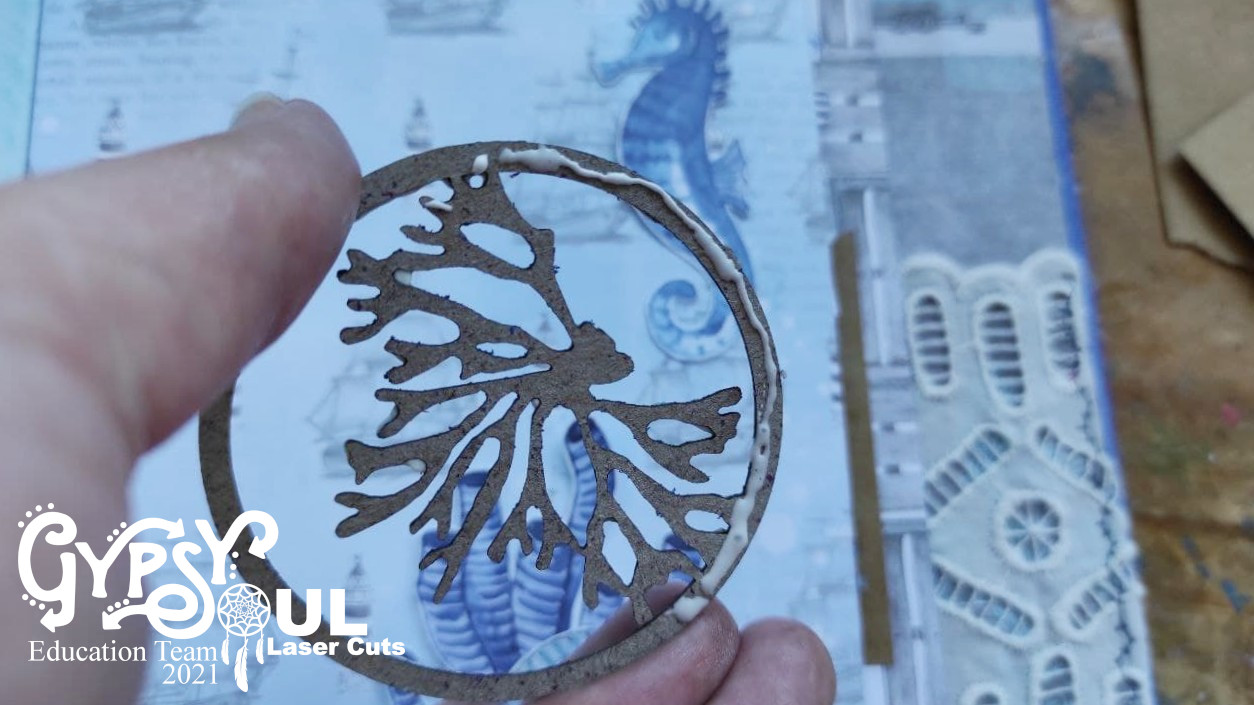
Now let's use "Trading Coin Covers Under The Sea" in another way. 
For this piece use an acrylic paint and glitter of the same color (gold in my case). Paint the chipboard putting a thick layer of paint and sprinkle the glitter on top before it dries
I've used it as a pocket
If a piece sticks out remember to paint the back!
For this 2nd piece use 2 different crayons (blue and purple in my case) and crystal effect acrylic paint (this paint gives a volume effect). Paint the chipboard with both colors and then paint it with the effect paint.
To make a pocket with the chipboard just put the glue in the area that you want to have closed avoiding the rest
And for the "Compasswe're going to make another aged effect with gesso and brown paint. Paint it with the white gesso, wait for it to dry and then splash with the brown paint, you can paint the edges too
So we only have to finish the cover and make the closing! Next will be the last tutorial!


Gypsy Soul Laser Cuts items used:

Other items used:
Old book cover
Blue stained papers
Scrapbook papers or something else
Brown and gold cardstock, and acetate
2 different fabrics and sewing machine
Die cuts, shaker filler and some embellishments
Natural elements: shells, sand, branches...
Carboard, cutter, scissors, glue, gold eyelets and brads
Brown, cream, blue and crystal effect acrylic paint, blue and purple crayons and gold glitter
Gesso, brush, sponge, scoreboard and crop-a-dile