
I am ever so grateful to mother nature for providing reassurance that the cycle of life is continuous, and that even in death there is beauty. She presents us with this confidence every fall in the stunning display of color we catch glimpses of on the trees and shrubs around us. It is from this wondrous natural display that I find the inspiration for my November Gypsy Soul Laser Cuts design team project "bountiful blessings."

I begin with the Gypsy Soul Laser Cuts wreath rings set. It contains three separate, sturdy chipboard rings that can be used individually as a base to build upon. The smallest ring measures 5" and the largest measures 11". I have chosen to use the medium sized ring as my base for this project.

Since my wreath will use different shaped leaves to create the design, I realize that their unique shapes may not provide entire coverage of the base; for this reason, I cover the base ring with collage medium and attach a piece of burlap. When the glue is dry, I trim off any excess fabric. To add interest to this layer, I ink around the edges of the burlap as well as intermittently within the flat area of the circle. I mix tarnished brass spray stain with texture paste and apply this randomly on the burlap covered ring through a stencil. I set this piece aside to dry completely.

Next, I begin preparing the pieces that will be included in my design. Using the Gypsy Soul Laser Cuts skeleton leaves 2 set, I carefully remove the three leafy stems from the sheet.

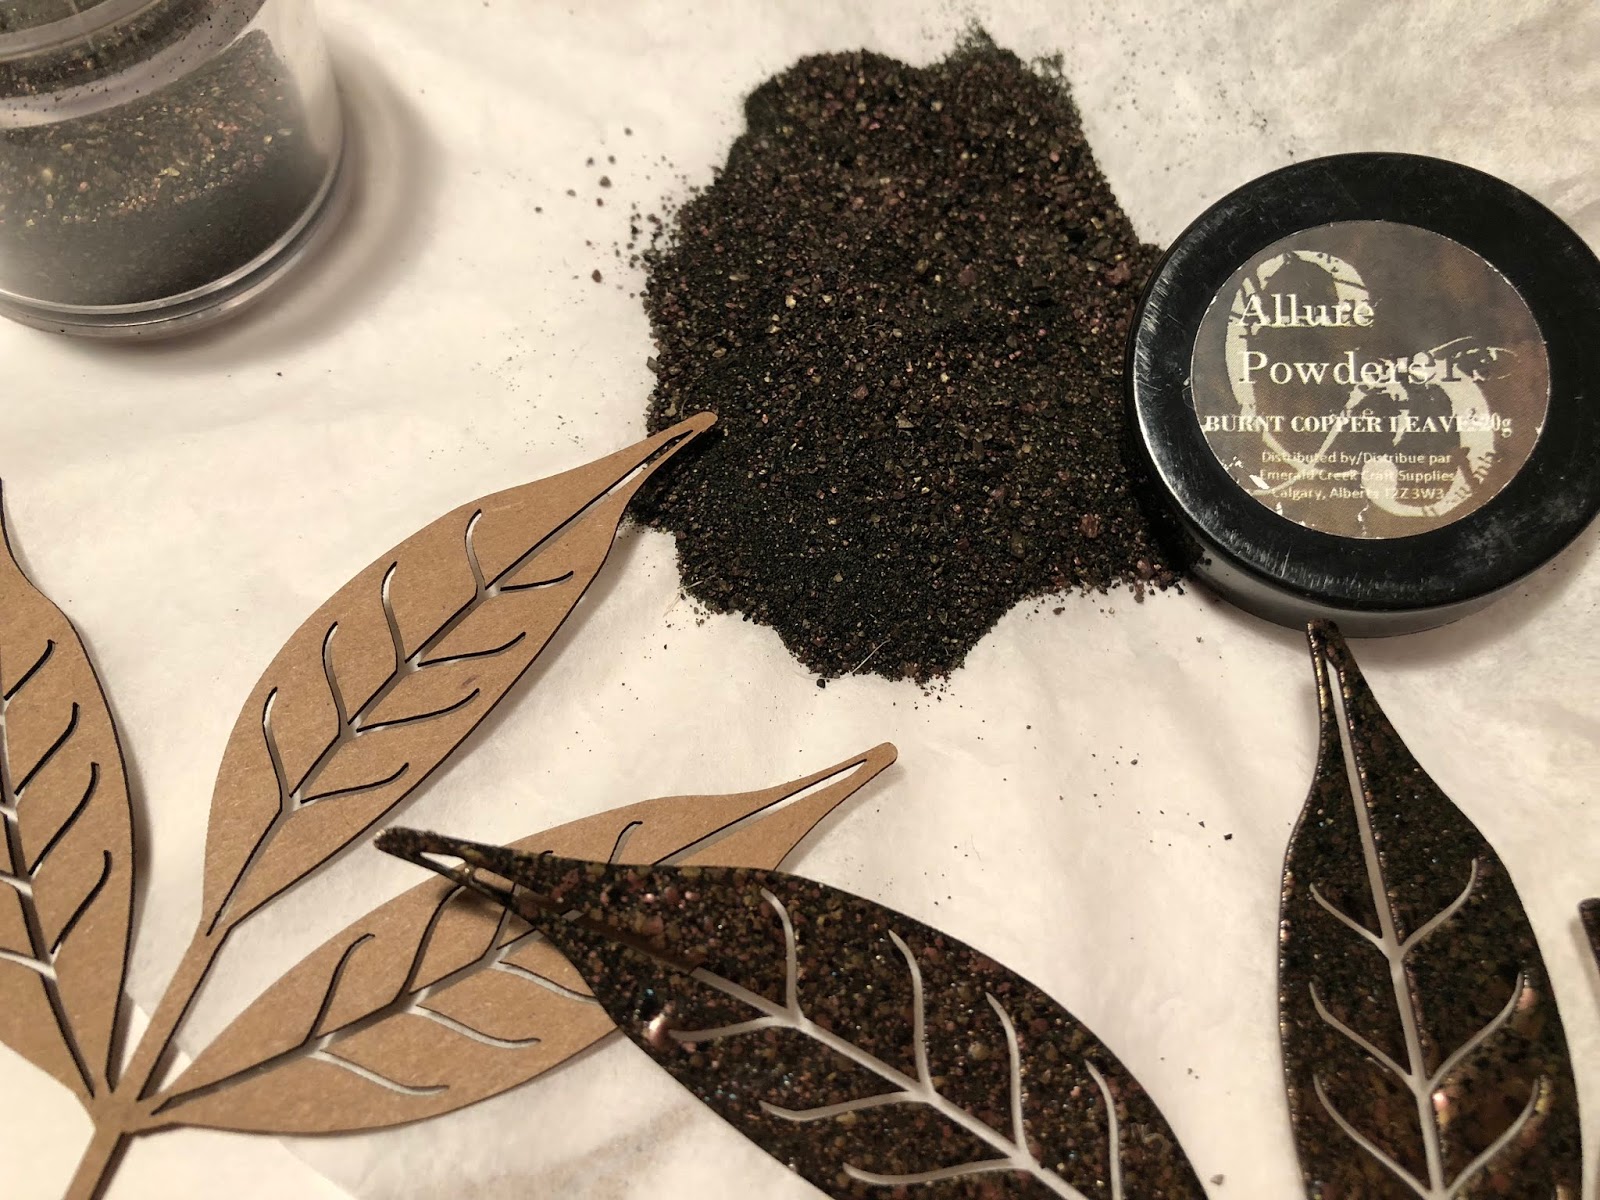


The individual leaves are inked around the edges, as well as on their reverse sides. This will ensure a finished look for any pieces that overhang the edges of the wreath. Some of the more shaft-like pieces are coated with charred gold or moss stone embossing powder. I also gather some beautiful, natural, red maple leaves that I collected last fall, and had coated with resin to ensure their color stay true.


When I felt that the wreath was complete, I added two clippings from blades of gilded wheat from a recently received floral arrangement. I crossed the pieces forming an X and adhered them in place with distress collage medium. When dry, I add a small acorn from my stash to the juncture.


I adhere a hanging hook onto the back of the ring once my design is complete. This step might be easier to complete prior to attaching all of the elements to the front of the form; however, I want to be sure that the wreath hangs correctly and I didn't want to worry about keeping everything aligned during the creative process.

Thank you so much for taking the time to stop by the blog.
Wishing you a colorful and creative fall, filled with bountiful blessings!
~Ann
The design team at Gypsy Soul Laser Cuts would love to see what you're making, feel free to join the Facebook group here and share your creations!
Gypsy Soul Laser Cuts used:
No comments:
Post a Comment