Showing posts with label Skeleton Leaves 2. Show all posts

Wednesday, November 7, 2018

bountiful blessings


I am ever so grateful to mother nature for providing reassurance that the cycle of life is continuous, and that even in death there is beauty. She presents us with this confidence every fall in the stunning display of color we catch glimpses of on the trees and shrubs around us. It is from this wondrous natural display that I find the inspiration for my November Gypsy Soul Laser Cuts design team project "bountiful blessings."
I begin with the Gypsy Soul Laser Cuts wreath rings set. It contains three separate, sturdy chipboard rings that can be used individually as a base to build upon. The smallest ring measures 5" and the largest measures 11". I have chosen to use the medium sized ring as my base for this project. 
Since my wreath will use different shaped leaves to create the design, I realize that their unique shapes may not provide entire coverage of the base; for this reason, I cover the base ring with collage medium and attach a piece of burlap. When the glue is dry, I trim off any excess fabric. To add interest to this layer, I ink around the edges of the burlap as well as intermittently within the flat area of the circle. I mix tarnished brass spray stain with texture paste and apply this randomly on the burlap covered ring through a stencil. I set this piece aside to dry completely.
Next, I begin preparing the pieces that will be included in my design. Using the Gypsy Soul Laser Cuts skeleton leaves 2 set, I carefully remove the three leafy stems from the sheet. 
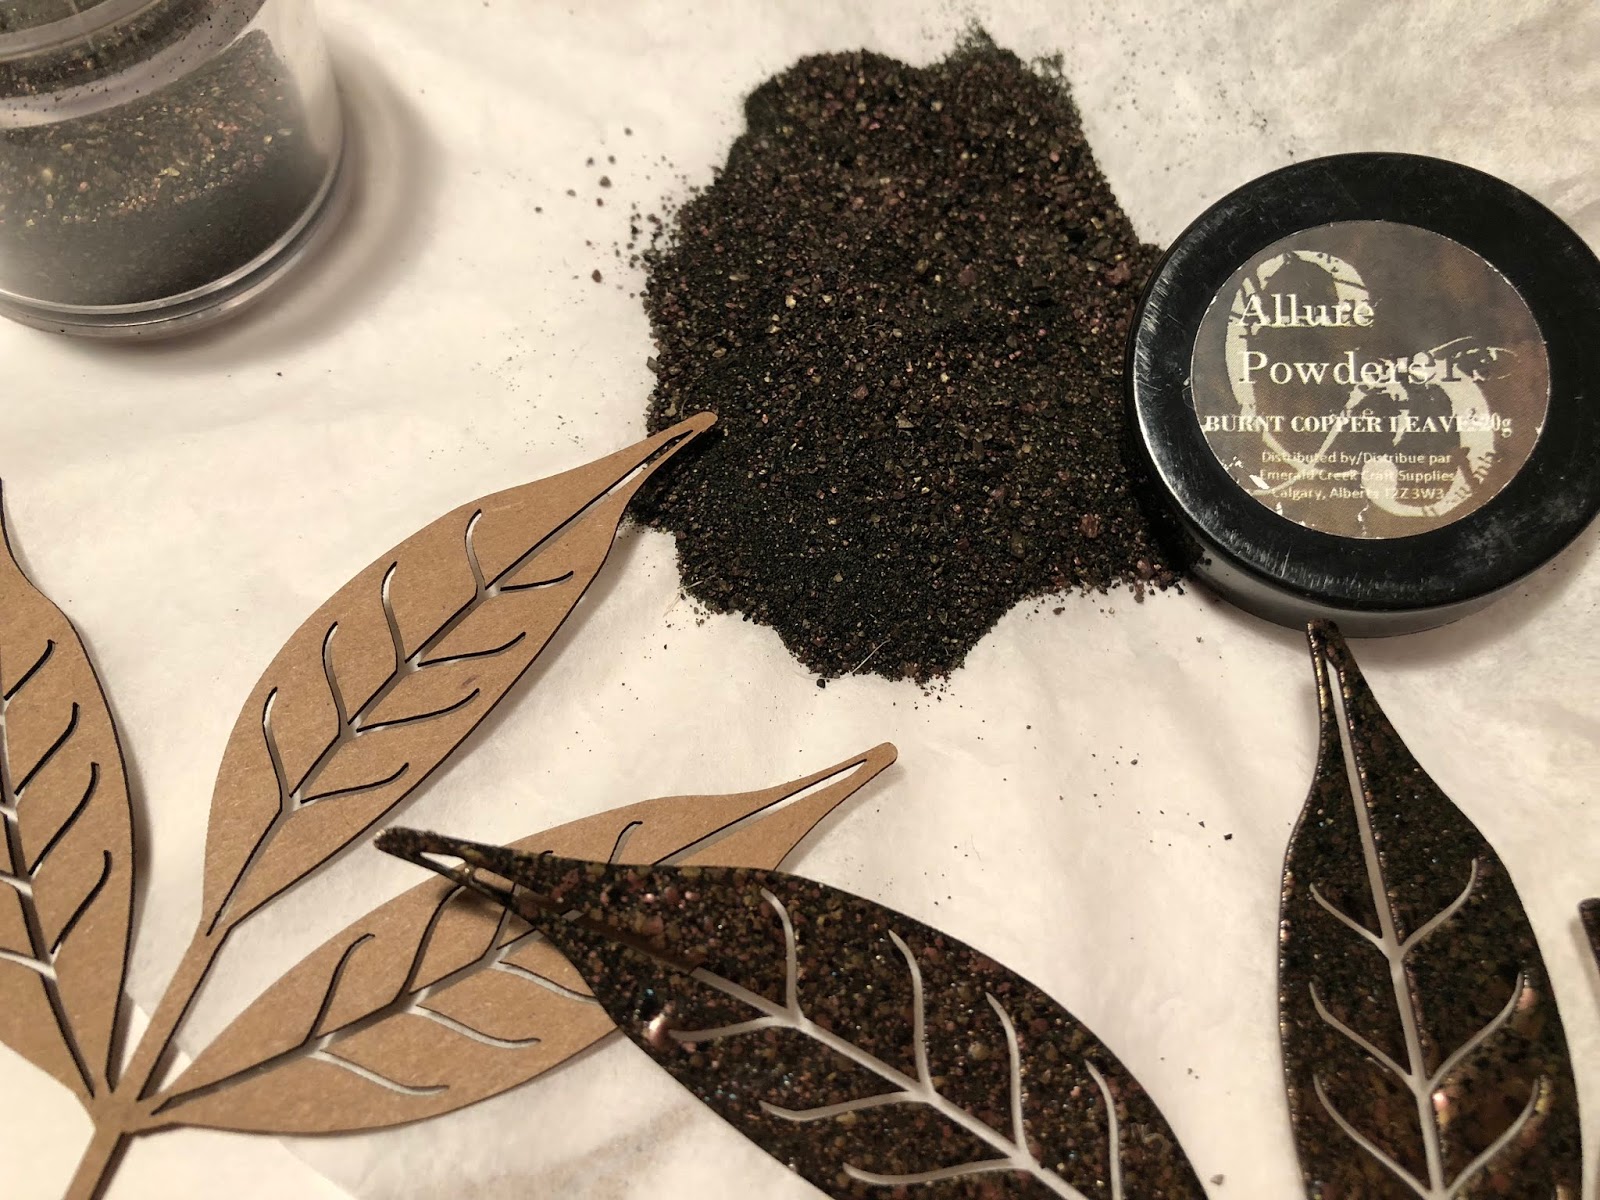
Each section is coated with embossing ink and then sprinkled with burnt copper leaves embossing powder and heat set. These pieces are set aside to allow space to create the other pieces for layering.
Using distress oxide inks, I create sheets of colorful papers that represent the differing leaf colors that can be found outdoors. The resulting patterns are inked with traditional distress ink to create depth. These papers are die cut into leaf shapes of various size and species.

The individual leaves are inked around the edges, as well as on their reverse sides. This will ensure a finished look for any pieces that overhang the edges of the wreath. Some of the more shaft-like pieces are coated with charred gold or moss stone embossing powder. I also gather some beautiful, natural, red maple leaves that I collected last fall, and had coated with resin to ensure their color stay true. 
I begin by laying the skeleton leaves along the circle and then "audition" different layering arrangements. During this process, I realize sometimes less is more beautiful than more. Each section is built up and when I have a section that I am pleased with, the pieces are attached to the base using a hot glue gun. I have included a few progress photos showing how the design came to life.
When I felt that the wreath was complete, I added two clippings from blades of gilded wheat from a recently received floral arrangement. I crossed the pieces forming an X and adhered them in place with distress collage medium. When dry, I add a small acorn from my stash to the juncture.
I adhere a hanging hook onto the back of the ring once my design is complete. This step might be easier to complete prior to attaching all of the elements to the front of the form; however, I want to be sure that the wreath hangs correctly and I didn't want to worry about keeping everything aligned during the creative process.

Thank you so much for taking the time to stop by the blog.
Wishing you a colorful and creative fall, filled with bountiful blessings! 
~Ann

The design team at Gypsy Soul Laser Cuts would love to see what you're making, feel free to join the Facebook group here and share your creations!

Gypsy Soul Laser Cuts used:

Friday, February 23, 2018

Love and Cherish cards set with Alicia Barry

Today I have created a sweet card set using stackable labels, words and leaves from Gypsy Soul Laser Cuts. I started with some vintage style background papers from the same collection, but in two different colour schemes. This means that they will co-ordinate together, but each stands alone as a piece of art.


 I wanted to create layers and dimension on the cards along with some texture, so to create this I have treated each chipboard layer with a different technique. The first layer of the Stackable Labels Shape Set pieces are inked with brown distress ink. This creates a matt finish that is fairly subtle. (tip: if you want to create a more vibrant colour effect using ink, paint the piece with gesso first).


The next layer is the plain label centre. For this I covered the piece in the same patterned paper as the background. This helps to create a cohesive flow across the project.

The next layer is the word from the 10 Words set. For this I used dimensional pearlescent paint which I painted on directly using the nozzle to ensure complete coverage. I kept the paint fairly think, and by pushing it around with the nozzle, I was able to create a great textured finish, along with the shimmer of the paint.


 The final layer was the Skeleton Leaves. This set is great value, as you can use the leaves as a full branch as seen, or separate them for a bunch of individual leaves. These were done as  a combination of the other techniques. First I applied ink to give some background coverage. I then added dimensional paint in two different shades, except this time I swiped it on with my finger to achieve a more variegated look. Finally I added some clear glitter glue across the top, before slightly shaping each piece and adhering to the card. You'll notice that the rest of the card design is deceptively simple allowing the eye to focus on the chipboard cluster which I created off centre to make interesting use of the residual negative space.


Supplies used:

Thursday, November 10, 2016

Botanicabella Staggered Mini Album by Barbara

Hi everyone!  Barbara here today, and if you are ready for Fall, I have a fun Staggered Mini Album for you to help celebrate the coming of the Season.  Even here in the Mid-South, there is a crispness in the air in the evening, and I am loving it.


To begin, I am using Graphic 45's Botanicabella paper collection.  I am so glad they resurrected this beautiful paper line. It is perfect for this time of year, and I love all of the elements, as well.  So, cut out your papers and adhere them to each page of the Staggered Mini Album.  This album is super easy to cover because of its straight lines.


To decorate the front cover using the 4" square chipboard piece, I discovered that the Deco Frames 6 Inch and the Tudor Rose Singles would work perfectly.


Paint Deco Frames 6 Inch with two colors of paint using a sponge and dabbing motion to provide the mottled effect.   Paint both sides of the frame since they will show when the book is opened.  Distress the edge with a brown distress ink.  Paint the Tudor Rose Singles with black paint.


Paint a single gear from the Gears Shape Set with a rust paint, dabbing a tiny bit of black to give a mottled effect.


Glue frame edges to the 4" square chipboard piece.


Turn the Tudor Rose over and glue the gear to the center back.  (TIP:  Put the glue on the back of the Tudor Rose and not on the gear.)

Back side
Front side
Add foam dots to the center (gear) of the Tudor Rose and adhere to center of 4" square chipboard piece.


Use a ruler to mark about 1" from the right side of the 4" chipboard piece and place white glue inside this area.


Flip the narrow chipboard piece over and align the strip along the pencil line.  This is now your front cover of the mini album.


I wanted to add some pockets to the pages, so I adhered small black pocket style envelopes to the second, third and fourth pages, as shown.  This will allow me to insert tags or bits of ephemera for safe keeping.


To finish off the cover, I added floral embellishments.  I decided to add this butterfly to the focal point since butterflies were prevalent in the paper.  I colored the butterfly with green chalk paint, then added copper metallic paint along the outer edge.  Lastly, I added a thin edging of black paint.  (See finished photo above for placement).


I fussy cut lots of images from the print papers to use throughout the book.  For the next page, I painted one of the chevron words with black paint and adhered a piece of print paper beneath it.  


I cut apart two strips from the Texture Sheet Diamonds, painted them black, and adhered them to the next page, as shown.  I cut apart a few of the leaves from Skeleton Leaves 2, painted with green paint, and adhered over the diamond texture.  


I added a couple more of the skeleton leaves on this page, as well.


I painted a Border Sticks Shell strip with black paint and adhered it along the edge, as shown.  It really adds some beautiful detail to the page.  Oh yes, I had a few more skeleton leaves left to add to the floral spray on this page.


To finish off the back cover, I painted the large Tulip Scroll Corners and adhered it to the left edge.


Supplies Used:

GSL Staggered Mini Album (contact store)
GSL Border Sticks Shell
GSL Tudor Rose Singles
GSL Deco Frames 6 Inch
GSL Gears Shape Set
GSL Chevron Words
GSL Tulip Scroll Corners
GSL Butterflies and Dragonflies
GSL Skeleton Leaves 2
GSL Texture Sheet Diamonds

I hope you enjoyed my Fall themed mini album today.  Be sure to check out all the great chipboard in the Gypsy Soul Laser Cuts shop.

Thanks for stopping by, and have a wonderful week!

Barbara