Showing posts with label handmade card. Show all posts

Monday, December 19, 2022

"Be strong" card


Hi everyone.

Karolina here, and I am sharing my last inspiration in 2022 for Gypsy Soul Laser Cuts. 

What a fantastic adventure! 

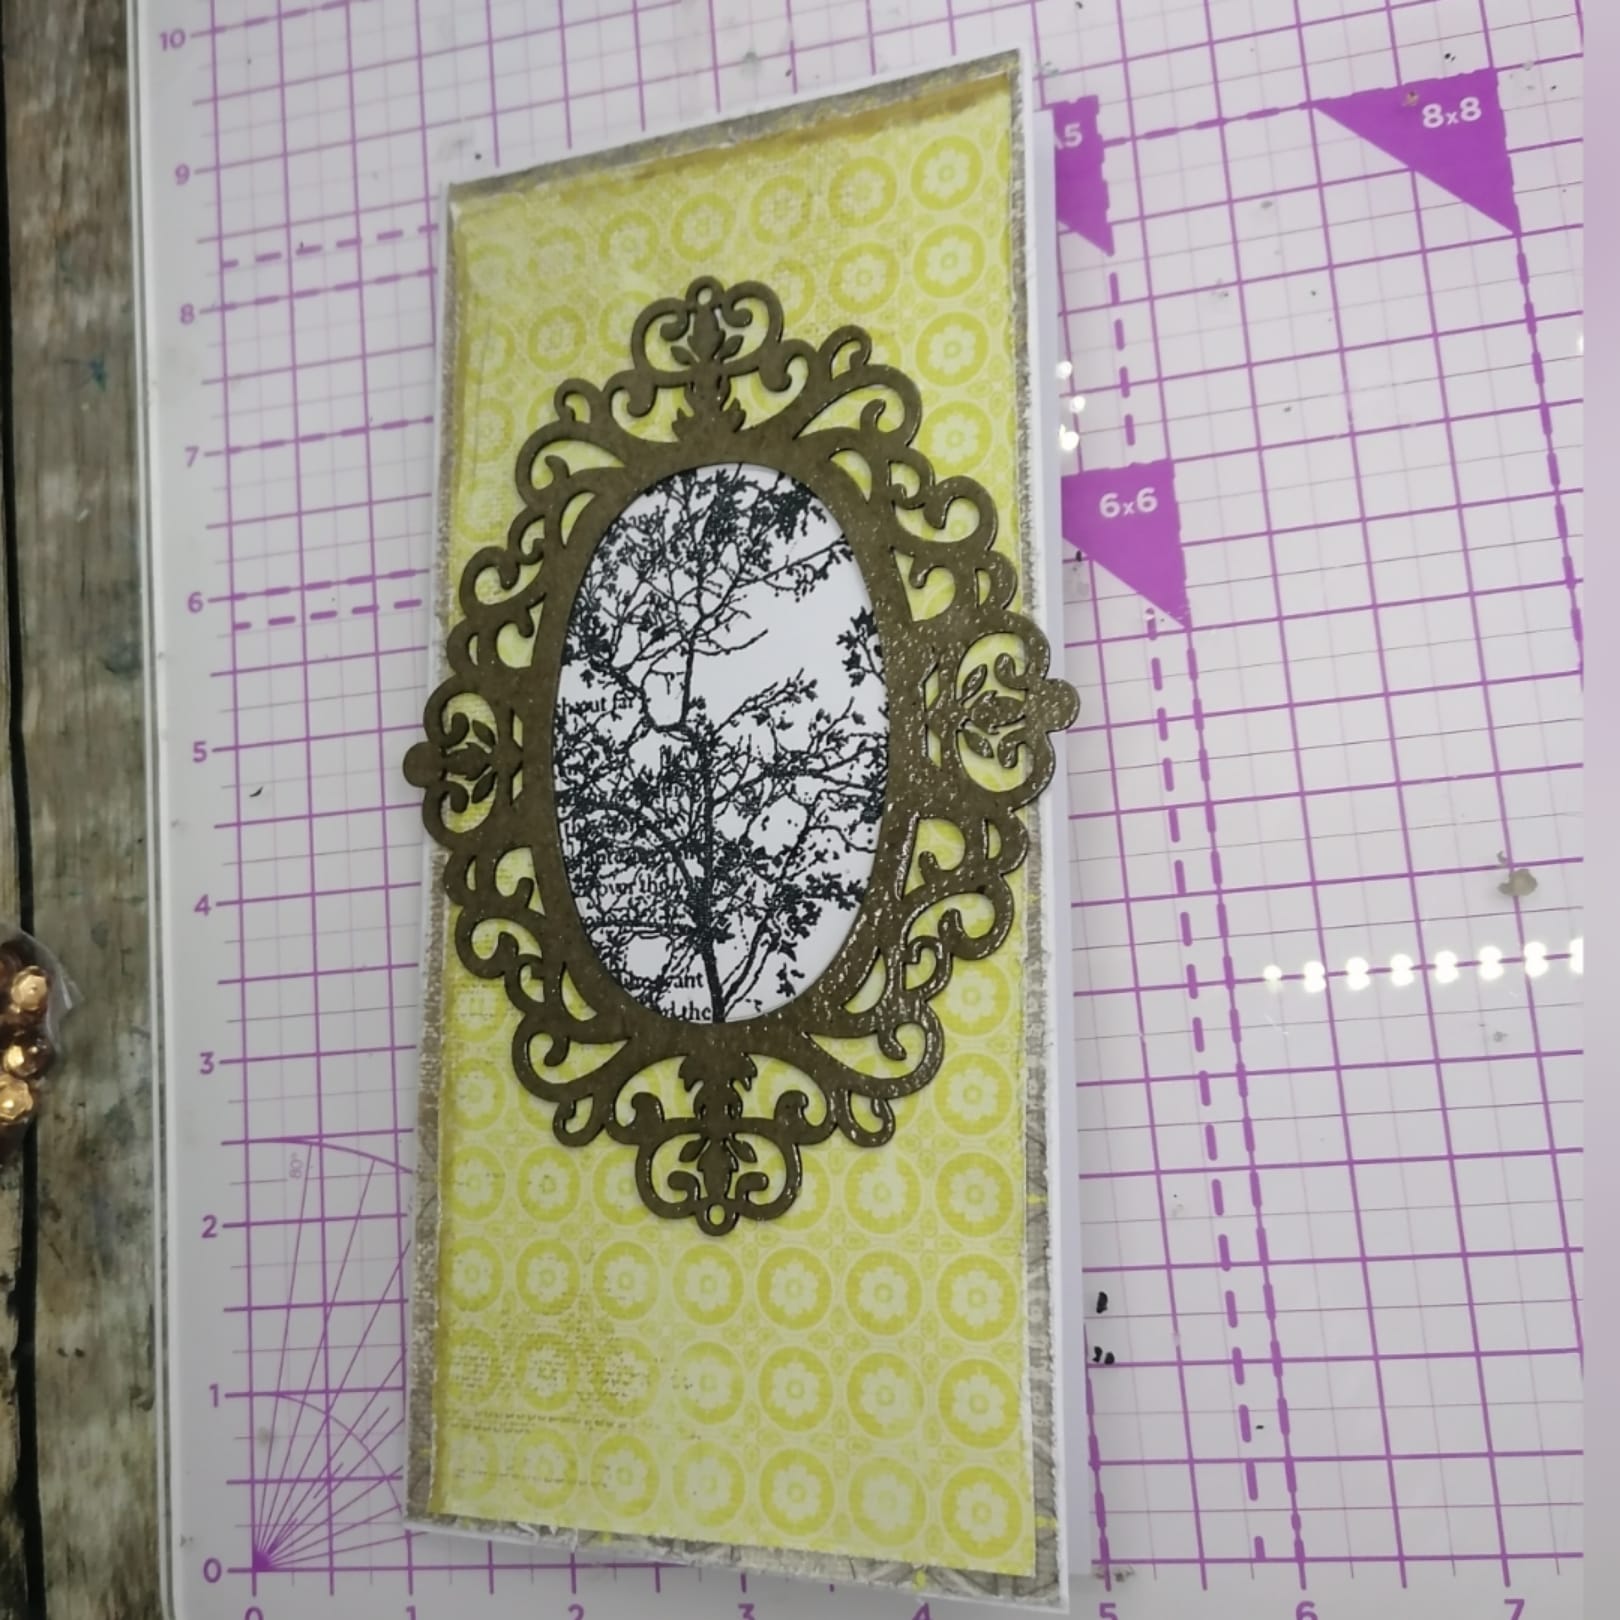
To create this DL card, I used Flourished Frame Laurel.


The base of the card measures 10cm by 21cm.

 I cut out two rectangles from patterned paper.

I distressed the edges of the two layers and stuck them to the base of the card.


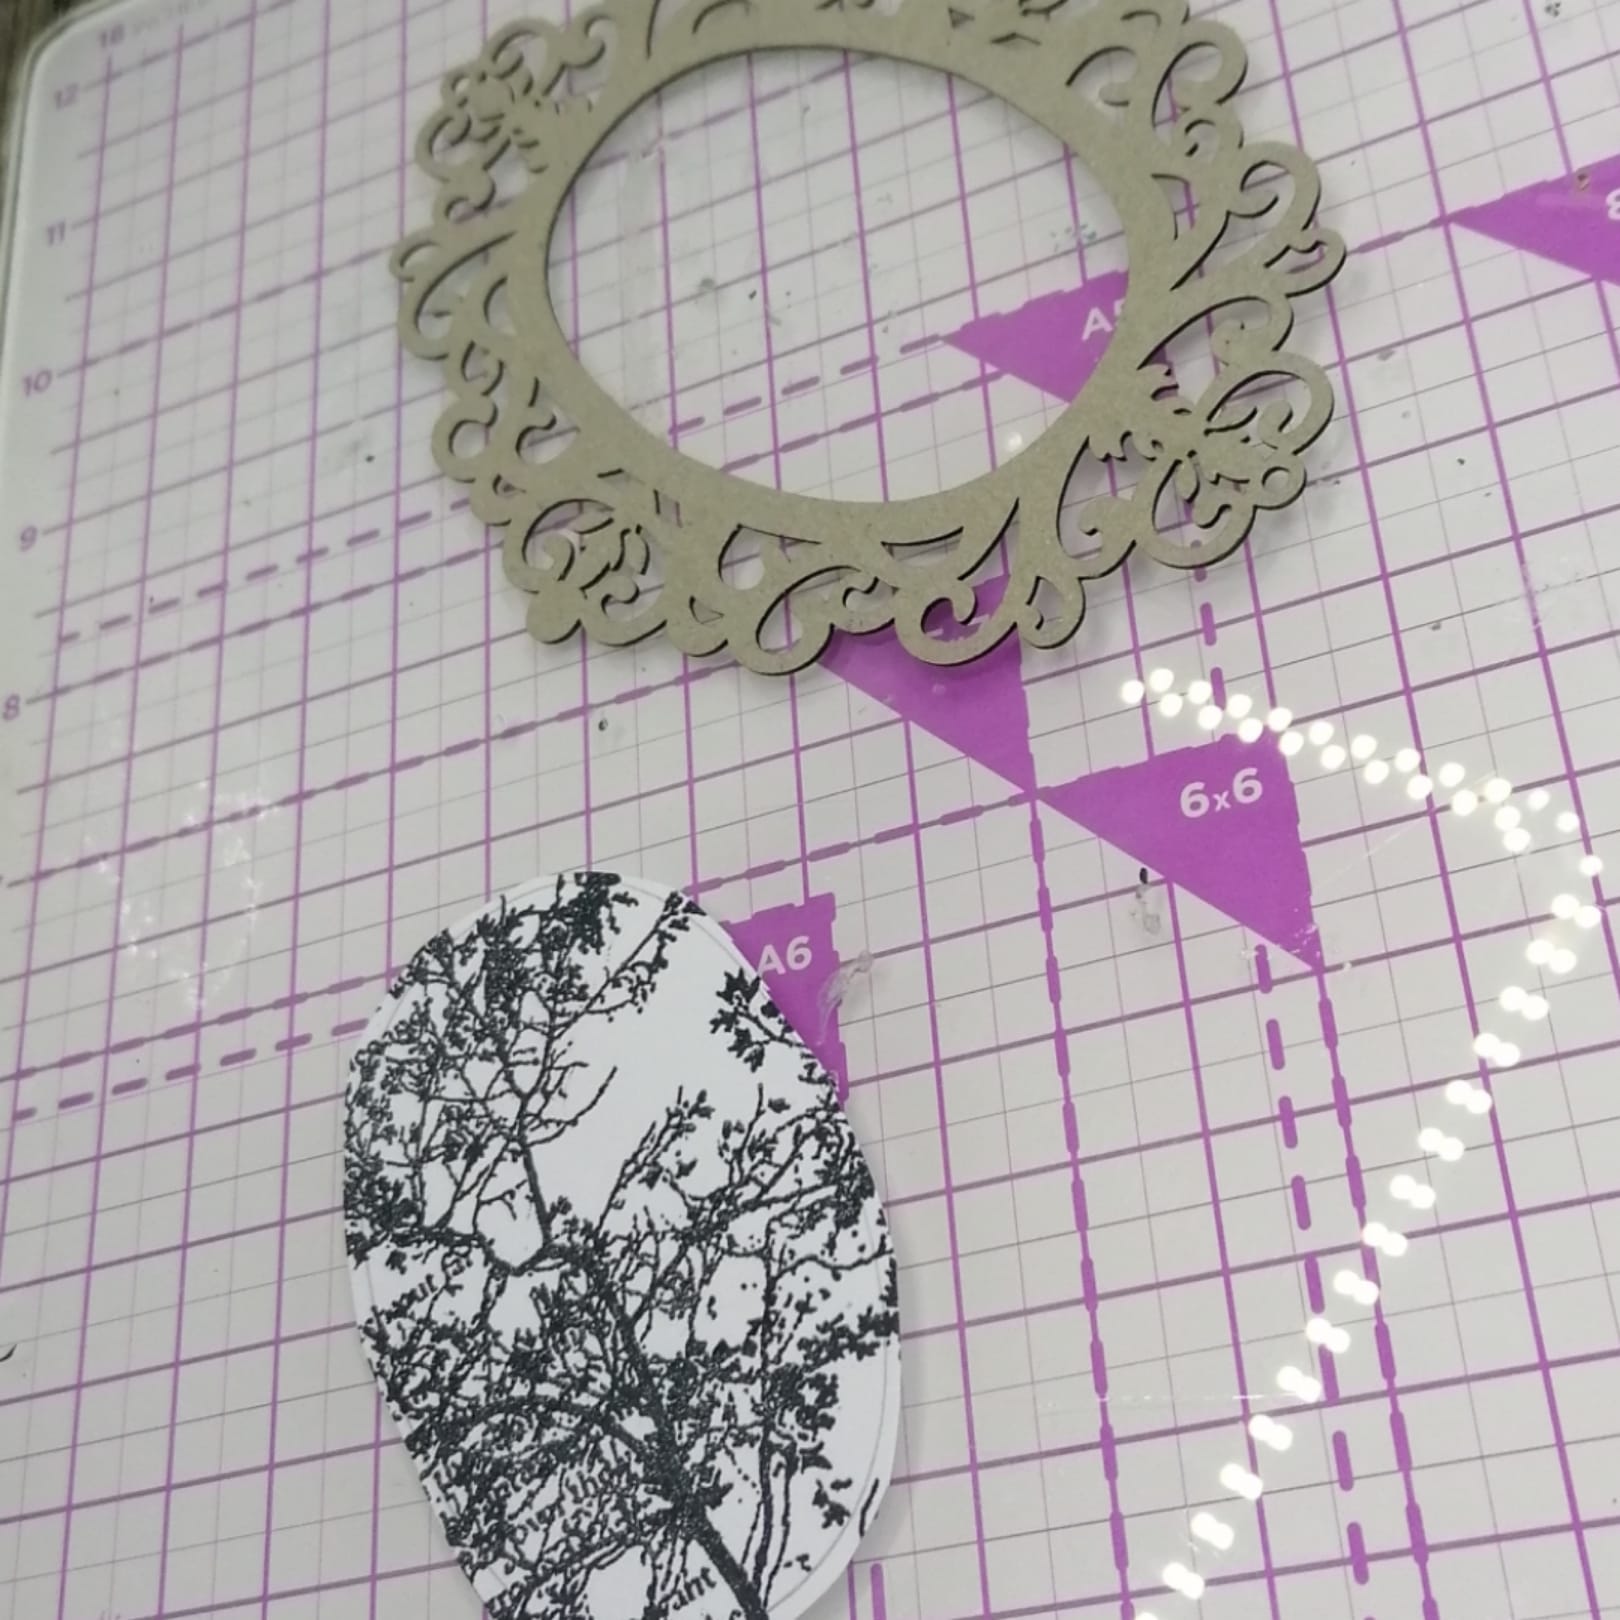
Next, I stamped the picture and cut it out.


I embossed the frame using clear embossing powder.


Then, I stuck the frame and picture together.


I decided what I would use to build the composition.


I stuck the Flourished Frame Laurel to the card in the focal point.


Next, I built the composition.


In the end, I added some sequins.


GSL product used:

Flourished Frame Laurel


Other products used:

Glue, white stamping card, patterned papers, foamiran flowers, die cuts - leaves, ribbon and sequins.


I hope you like my card, and I cannot wait to see your interpretation of this project. 

Please share it on the Gypsy Soul Laser Cuts Craft Group Page on Facebook.

Thank you for stopping by!

Karola


Thursday, August 30, 2018

Quick and Easy Birthday Card

Hello everyone, its Angela here with you today with a quick and easy birthday card. It was our oldest Son's 15th birthday on Monday and I honestly can't believe where the last 15 years have gone! I made this card for him as he is not really into anything in particular at all (apart from computer games like most other teenagers around here)


First I made a card blank for an easel card by taking a 12 by 6 inch piece of card and scoring it at 6" and 3" as you can see below


With the other side of the 12 x 12 sheet I used some spray inks and the numbers from the Mixed Media Fragments 1 to create backgrounds - I cut the sheet in  half first so the 2 bits would be different.


I then used the parcels, hat, balloon and sentiment from the Birthday set. First I painted them with a white paint pen. I then took some distress inks to ink up the sentiment however I didn't like the effect it gave me over the paint pen as it was way too light. I then took out some of my Copic pens and coloured them with those instead - this gave me a much better result.


Once everything was the colour I wanted it I decided that the sentiment needed a bit of highlighting so out came a thinner white paint pen to do this with.

I cut the 2 background cards down to give me an edge around them so one was 5 3/4" square and the other one was cut into 2 pieces 2 3/4" x 5 3/4".


I stuck these to the aforementioned card blank.

The other pieces were then stuck on the folded top (being careful not to apply glue in to the top or they would stick to the card and not fold out.


Here we have the finished card:


Supplies used:


Ranger sprays
White card

Wednesday, May 2, 2018

Pretty Purple Posey Card

Happy Wednesday everyone, I can't quite believe that May has arrived! 
It's Ann here today, and I am sharing this pretty purple posey card I created in preparation for the upcoming holiday, Mother's Day. 
The moment I first saw this Gypsy Soul Laser Cuts Posey Panel (coming soon), I just knew that it would be perfect for an extra special card. I love all the varied flower shapes, some being fairly bold, while others are so delicate and fragile. The panel arrives in one piece, I carefully remove it from the package and decide on my color theme.
Using a sponge dauber, I paint the panel with DecoArt purple acrylic paint. Once the paint is dry, I dab some Distress Oxide in seedless preserves around the panel to add some interest and highlights while still retaining an overall appearance. I plan to add three dimensional flowers on top of the panel and feel that the panel will stand out better as a whole rather than coloring the individual flowers and minimizing the impact.
I set the panel aside and begin selecting papers for the base of the card. I select papers in shades of purples and orange, and then configure my layout. I cut out the various layers I will be using; then ink around the edges of the paper with distress inks. These layers are adhered to an 8-1/2" square base panel of solid purple cardstock.
Once the base layers are secure, I adhere the posey panel to the orange square using a multipurpose glue, and set this entire piece aside. Then using various flower dies, I cut different flower pieces from coordinating patterned papers as well as pieces of papers that I have inked.  These pieces are layered and formed into flowers. I use colored mini brads to secure the flower layers together. I also die cut a label shape, large flower layer, and a circle that will contain the letters M O M. I tend to die cut more pieces than I need,  just incase I am unhappy with the way something works or decide to use more than I originally plan. Any extra pieces are stuck into an envelope with similar shapes and saved for use on other projects.
When all of the flowers have been made, I begin to "audition" flowers and final layout schemes. I really want to bring some bright pink and purple to the card, so I color some crinkle ribbon with the seedless preserves distress oxide ink. This will be used to create a fluffy bow.
All of the card elements are adhered onto the base pieces, and the panel is attached to a heavyweight 8-1/2" square card base, ready for writing a personal message inside.

I think that this posey panel would be a perfect addition to a card for any occasion, or I can see it being used on the cover of a journal or even clipped apart and used in various pieces for embellishments, it's truly beautiful any way you choose to use it.
Wishing a Happy Mother's Day to all who celebrate.
Thanks for stopping by the blog today, I hope you can make time to create something beautiful.
~Ann

Be sure to share your Gypsy Soul creations with us on the Gypsy Soul Laser Cuts Craft Group on Facebook, we all would love to see what you are making!