Showing posts with label card. Show all posts

Monday, April 18, 2022

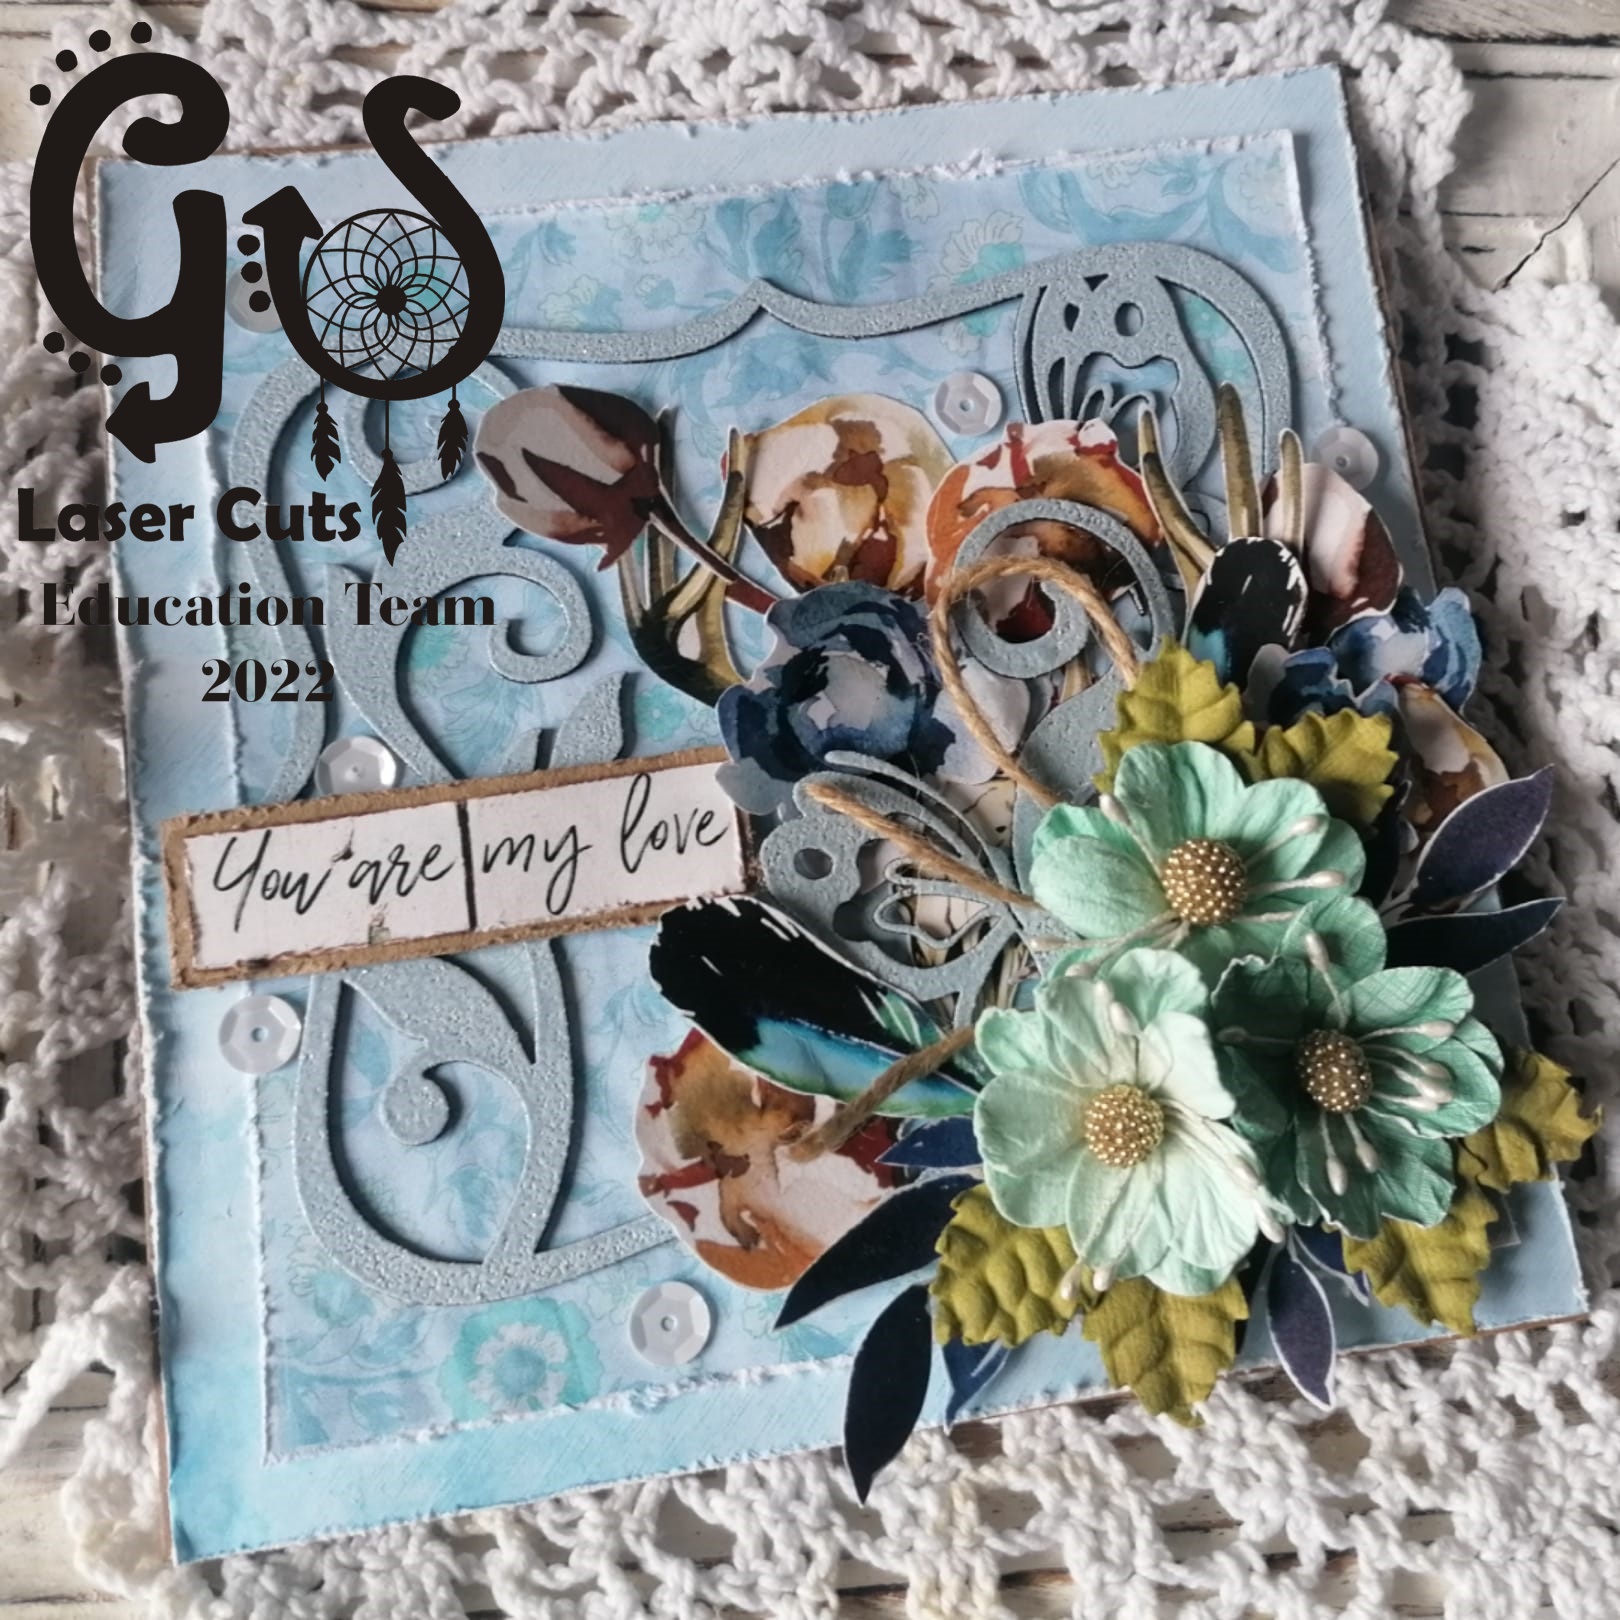
You are my love

 Hello everyone.

 Karolina here and I am sharing with you my new inspiration.

I've created this card using Butterfly Bracket Frames.


Prepare everything that you need before you start to create a card such as fussy cutting and cut  patterned papers.


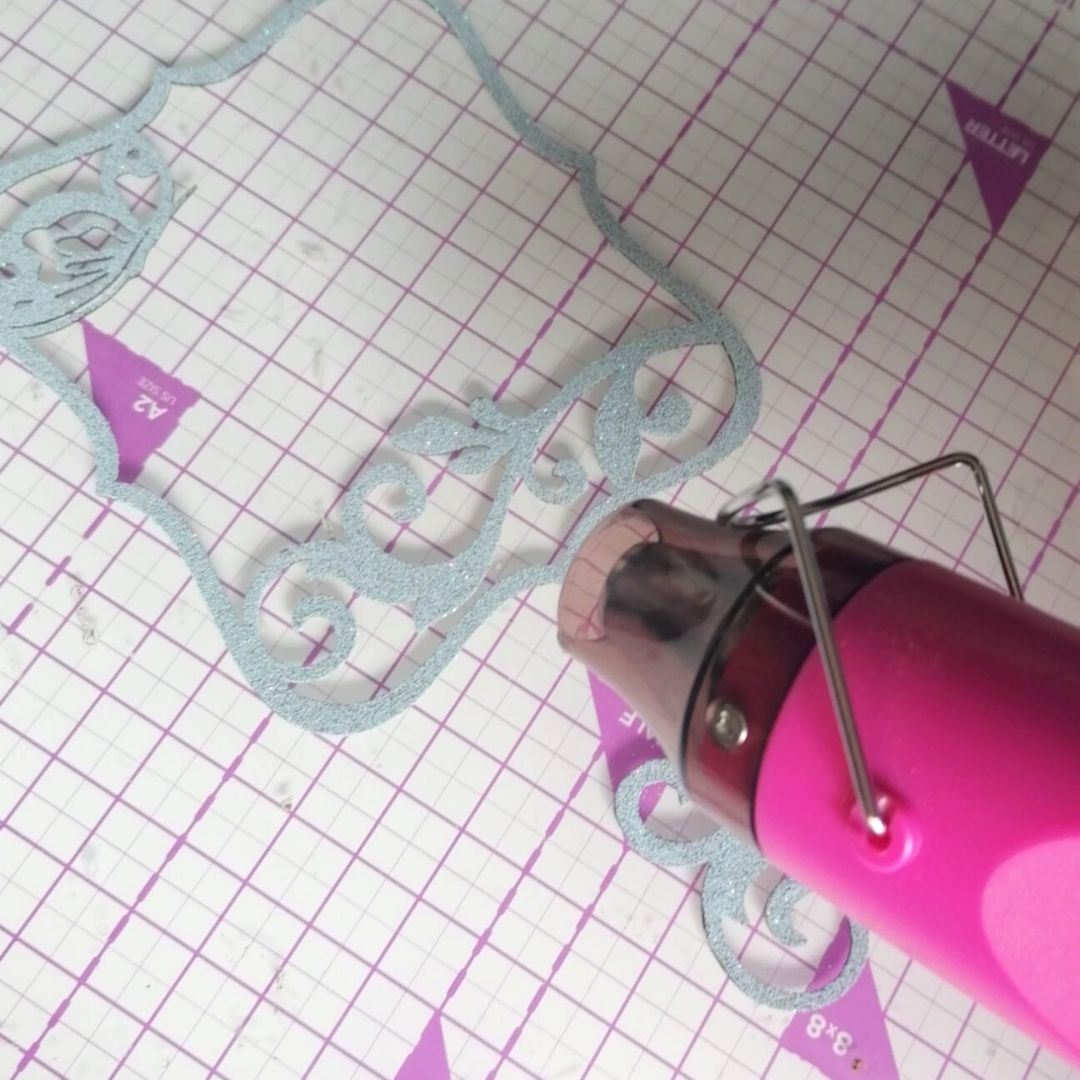
Use a hot embossing tool and emboss a frame and a butterfly.


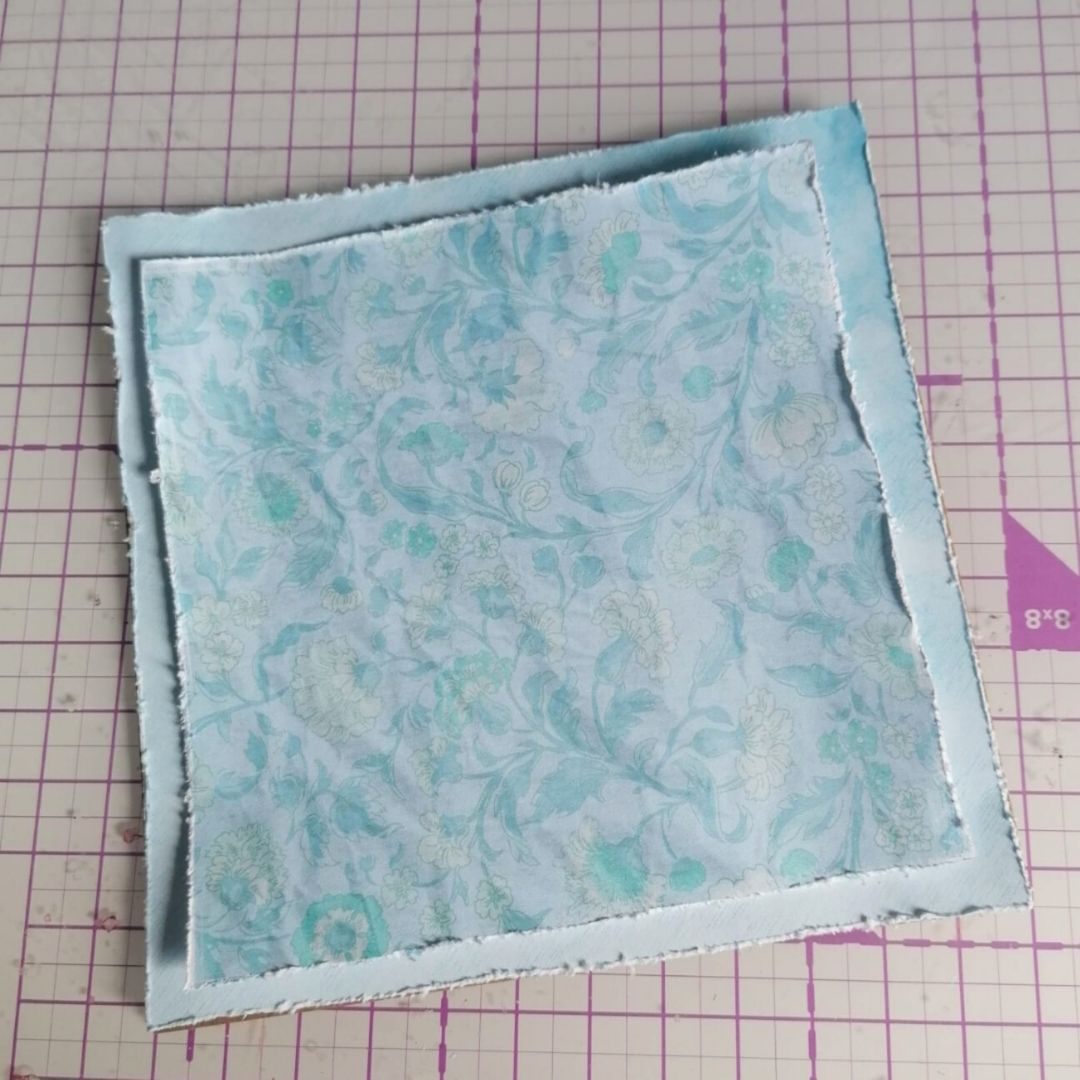
The next step is distress all edges of patterned papers.


Glue together patterned papers and fix them onto kraft blank card.


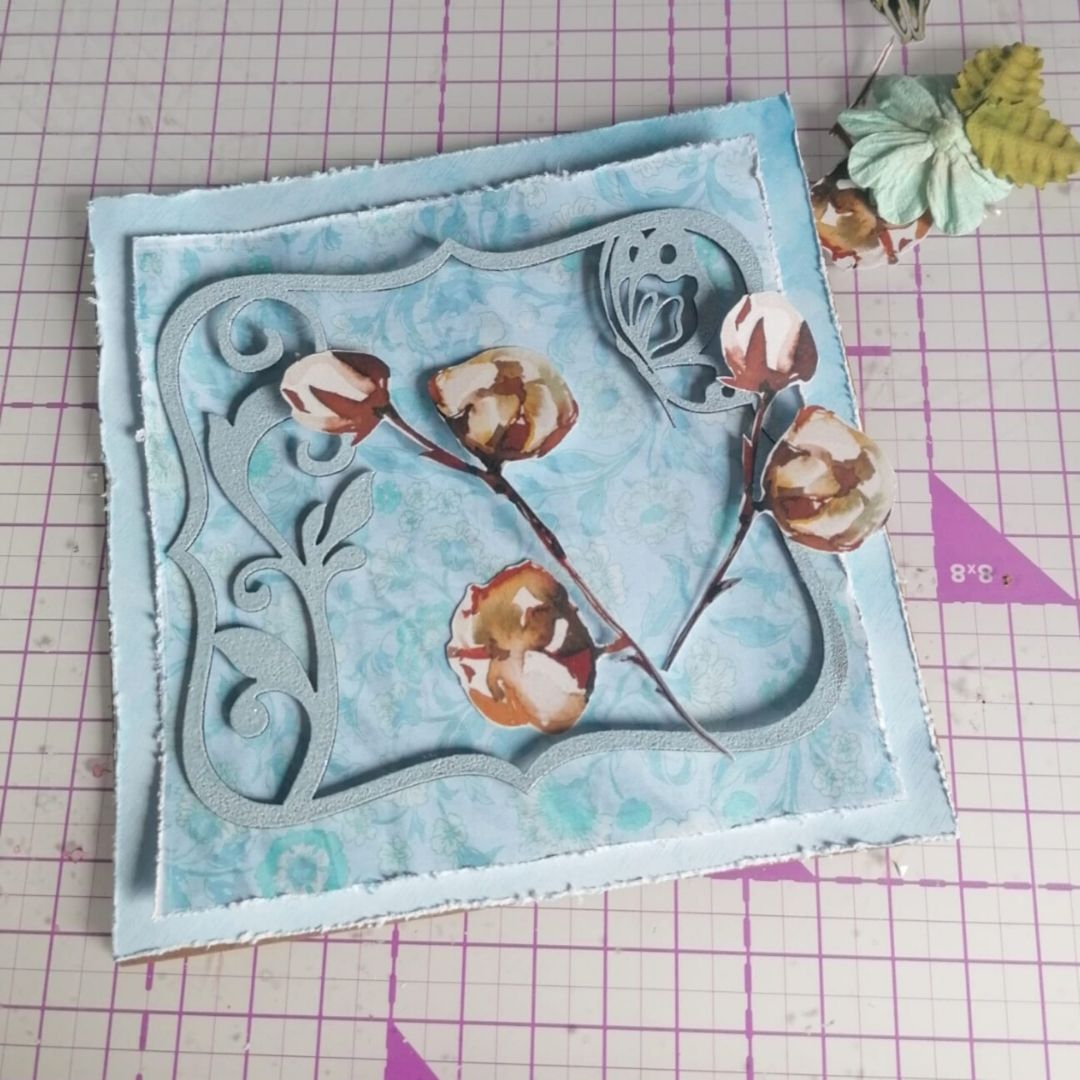
Mount a frame onto center of card.


Start to add some fussy cut elements to build your  composition.


When you are happy with your composition start to mount everything. You can use a hot glue as I did.


GSL product used:

Butterfly Bracket Frames


Other supply used:

Kraft blank card, patterned paper, paper flowers, fussy cuts elements, glue, sequins, sentiment, twine, sisal, embossing powder, embossing ink and hot glue.


I hope you like my card, and I cannot wait to see your interpretation of this project. Please share it on the Gypsy Soul Laser Cuts Craft Group Page on Facebook.

Thank you for stopping by!

Karola


Wednesday, April 14, 2021

The best chipboard for your covers III

Hi everyone!

Myry again and today I'm going to continue show you how frames can be the best for your covers!
This time I'm going to do a shaker frame.
Measure the length and width (in this case, 12cm). Cut and stick 4 thin cardboard pieces (at most 2mm wide).
Paint with white gesso to cover any mistake.
Choose a color according to the decoration you are going to use. Cut a piece of acetate to the size of the inside of the frame (11'6cm) and stick it inside. 
Then cut a paper piece of 12cm, put shaker filler on top and stick it to the cardboard very carefully. 
And now stick the embellishments on top of the frame as you like!
I hope you like this another idea for your covers!


Gypsy Soul Laser Cuts items used:

Other items used:
Brush and white gesso
Cardboard, cutter and glue
Paper, acetate, shaker filler and embellishments

Wednesday, November 18, 2020

Masculine card

Hi everyone!
Myry again and this time I gonna show how to make this card for a young boy! 
You can make a card like this for a car o truck lover!
You will need very few supplies. And you will find some cars and trucks to choose in the store. I'm going to use this truck.
The first thing to do is fold the 20x30cm cardstock in half and glue the two 14'7x19'6cm scrapbook papers on top.
Glue another 13'7x18'6cm paper on top. I've made marks on the sides (you can sewn on the edges too) and I aged the edges with vintage distress.
Use the background stamp and ink with soft pigment. I used these stamps and black distress ink.
Put in place different papers, especially if these have holes or they are diecut remains.
Paint the chipboard and gears diecuts with acrylic paint. Before drying wipe a rag to remove a some color and make them look old or discolored.
Use some cardboard pieces to lift up the truck.
Put on place all the elements...
and spatters with another acrylic paint. I used this "hulk" green color to age the truck too.
Use some paper pieces to decorate the back too.
To finish use some gears and paint them with a different color than the truck.
And this is how it looks finished!

Gypsy Soul Laser Cuts items used:

Other items used:
Cardstock 270gr
Scrapbooking papers and remains papers
Title and dies 
Distress ink
Background stamps
Glue, cutter and scissors
Acrylic paints and brush

Wednesday, October 7, 2020

Haunted Card

 Hi Everyone, 

Today I have my first Halloween card of the year to share with you.  To make it, I used an old alcohol ink background from my stash, a paper bag and a chipboard from Gypsy Soul Laser Cuts. 

Here's how it came together:


I had some dark alcohol inked backgrounds leftover from other projects.  These dark ones were made with black and a lot of silver and they are so shiny.

I think I might have overdone it with the silver as they took ages to dry lol.


So I wanted to use this background for my card and it measures 5 x 7 inches, so I cut a 6 x 8 rectangle from my green paper bag to give 0.5 inch border around it.

I decided to use black cardstock for my card base but as my card was so large I had to make a card base from two pieces of cardstock and glue them together.  

After gluing I left them under something heavy to hold them in place.  

I used a mixture of metallic paints to add some splatters on the green paper and the black cardstock, concentrating on the edges that would be seen. I used the same paint to edge the black card using a paintbrush.  


Since I like it so much and don't want to waste it, I added the leftover paint to my art journal.


I gave the chipboard a coat of white acrylic, and when it was dry I added the embossing powder and did the heat embossing.

It's Halloween card so of course it had to be Glow In The Dark embossing powder!

Now I had all my pieces, it was time to put my card together.

Once all the layers were stuck down, I used some PVA to glue down the Haunted word and held it in place with something heavy till it dried. 

Here's a closer look at the heat embossed chipboard word.  

After dark, I attempted a photo of the Glow In The Dark effect and it turned out pretty good! 

If you are using GITD embossing powder, or paint or any other GITD product, it's really important to leave it in the daylight to charge up for a while so you will get a better GITD effect when it gets dark.  

Hope you enjoyed this card tutorial.  If you make any Halloween cards, I'd love to see them.

Elle
Empire of the Cat


Project Recipe:

GSL Haunted Title Word chipboard BB2
metallic copper paint
glow-in-the-dark embossing powder, embossing ink
white acrylic paint
matte gel medium, white glue
black cardstock
From stash: alcohol ink bg, lime green paper bag