

Hi Everyone.
It's been a while but happy to be back
creating for GSLCuts.com
Today, I'm sharing some
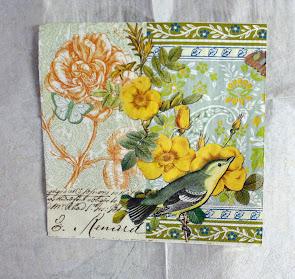
Easter/Spring Tags.
Tag #1:

For this tag I used the following:
- Extra Large Chipboard Tags #D92E
- Gothic Window Overlays #D171W
- Decorative napkin found at Tuesday Morning (my favorite store for napkins)
- Miscellaneous Flower and Ribbon
- Acrylic Paint: Emperor's Gold
- Clear Multi-Medium
- Liquid Glue
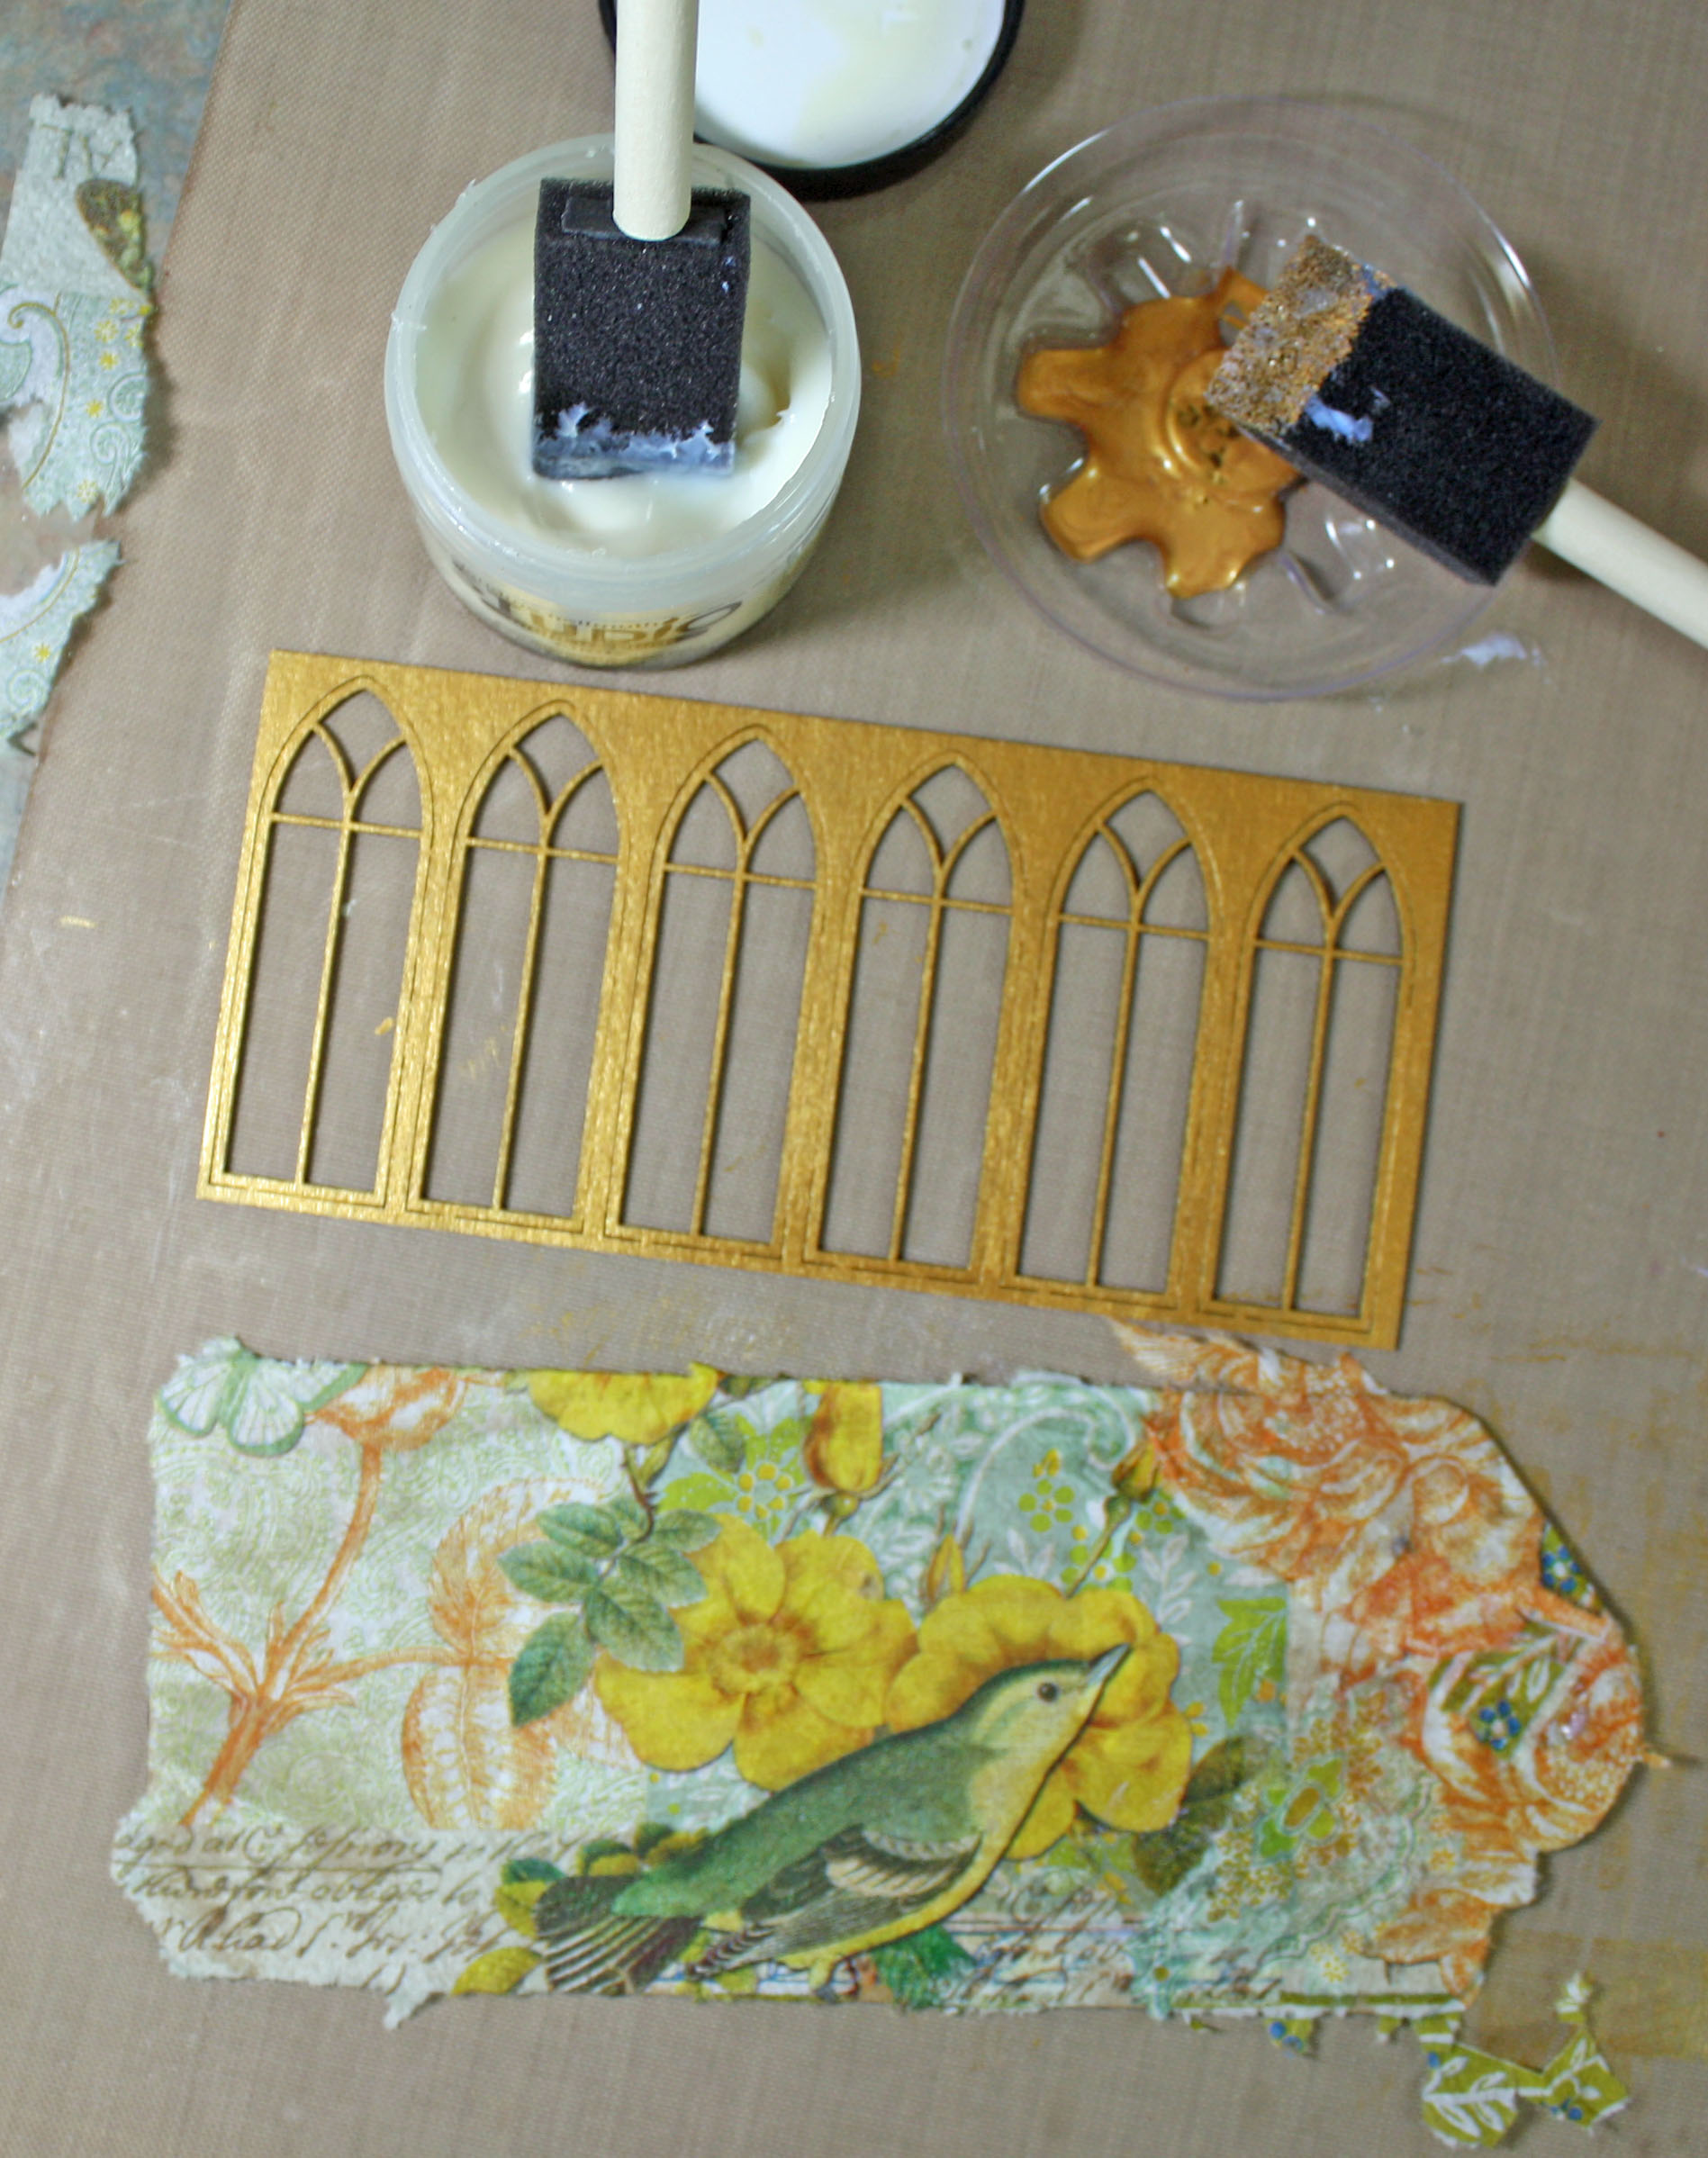
The Steps:
- The Gothic Window Overlay was made to cut apart into individual windows if you would like. But I left mine whole and attached so that it would cover almost the entire tag. Paint the Window Overlay with Emperor's Gold paint. Set aside to dry.
- The decorative napkins are almost always 2 layers of very thin paper. Separate the two layers. I dampen my thumb and forefinger and gently rub a corner until 2 layers appear. Then carefully pull the layers apart.
- Using clear multi-medium, paint a layer of the multi-medium on the tag. Then, while still wet, apply the napkin to the tag, making sure the image you love is on the tag. NOTE: I do not cut the napkin. I apply the entire napkin and will let dry thoroughly before trying to cut or sand. Stay tuned below!
- Once the napkin is dry, apply a coat of multi-medium on top of the napkin portion covering the tag. Let dry thoroughly.
- Once the multi medium is dry, you can carefully tear away the larger portion of the napkin hanging over the sides of the tag. For the small frayed pieces left, use a piece of sand paper and sand the edges in a downward motion.


Tag #2: Easter Tag

In fact, all the layered frames designed by
are my favorites!
What I used for this tag:
- Extra Large Chipboard Tags D92E
- Cathedral Frame
- Free Easter Image available online or on Pinterest
- Acrylic Paint: Emperor's Gold
- Miscellaneous light pink paper to cover tag
- Light pink and light green Prima Liquid Pearls
- Liquid glue
The Steps:
- The Cathedral Frame is a double layered frame. Therefore, only the top of the frame needs to be painted. Apply a coat (or two) of Emperor's Gold. Let dry thoroughly both between coats and the last coat.
- In the meantime, trim about 1" off of the bottom of the tag.
- With a light pink piece of scrap paper (mine has a bit of a pattern), trim around the tag and cut the paper to fit the tag. Apply wet glue to the paper and glue to the tag front.
- Find a favorite Easter image and cut out so that the image will be inside the frame. Apply a bit of wet glue to the bottom frame and sandwich the image between the bottom and top of the frame.
- Add wet glue to the back of the frame and add to the tag center.
- Using light green Liquid Pearls, surround the frame with tiny dots. Add light pink Liquid Pearls to the frame top.


Your mini masterpieces are complete
and so very easy!

Thank you!
No comments:
Post a Comment