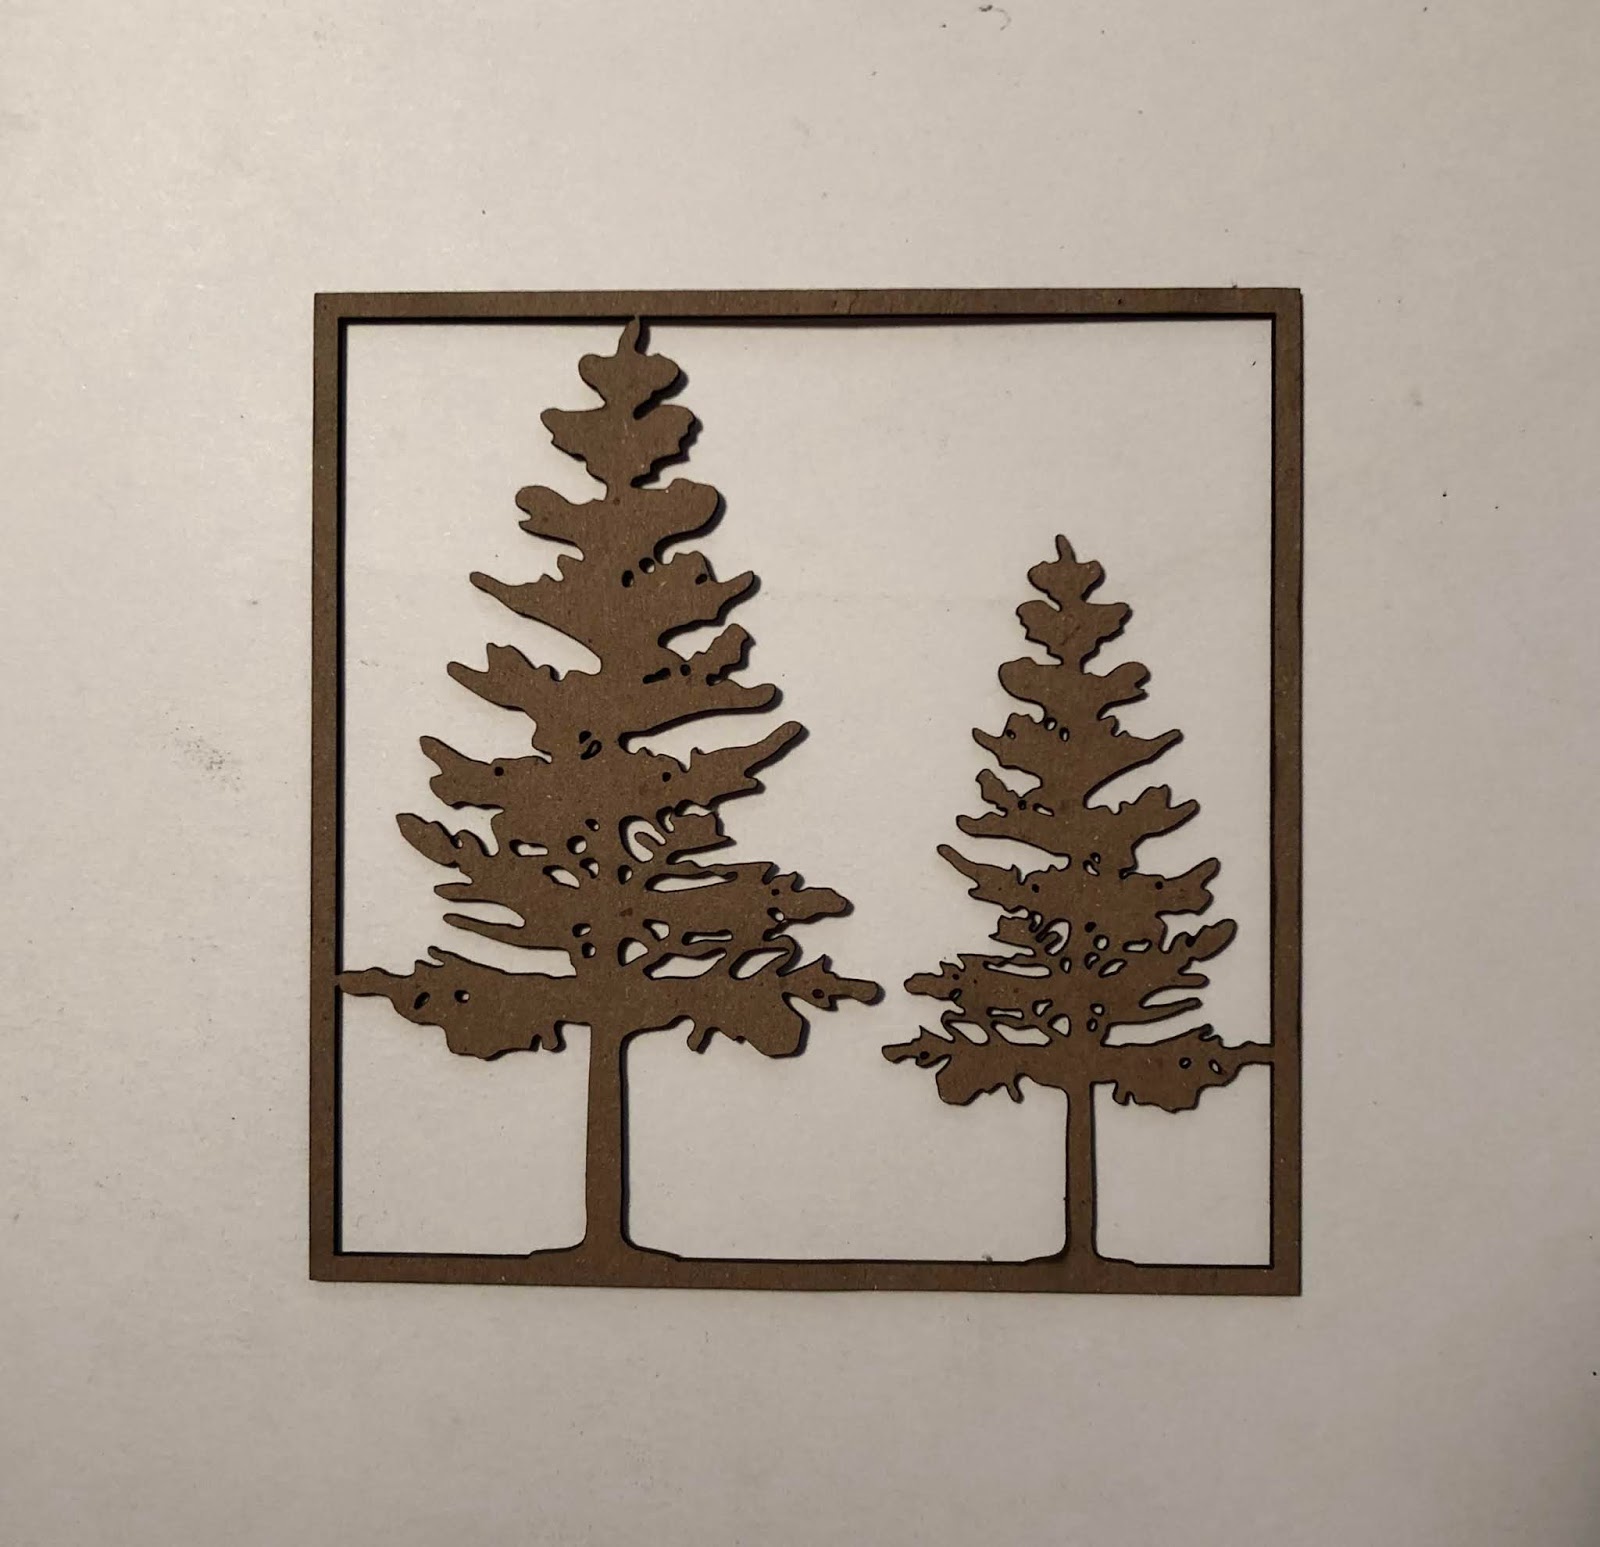
Showing posts with label framed trees. Show all posts

Wednesday, December 8, 2021

The Wooden Sky-A Peek-a-Boo Project

 I've always wanted to see the aurora borealis, and think maybe I have, but not in their grandeur of the far north like Alaska, Norway or Lapland, with its spectacular spectrum shades of colors on crystal clear night sky. This is the inspiration for this artwork.  

1.  Gather Supplies-I Ended Up Not Using the Birds on a Swing Set

2.  Use Ink Dauber/Blending Tool to Apply Alcohol Ink to Wooden Coasters.

3.   Add Neon Pink Ink, Blue Glitter Paint, and Hi-Lite Blue Acrylic Paint to Inked Coasters.

4.  Seal Everything With Matte Varnish.

5.  Use Various Green and Brown Golden Acrylic Paints on Gypsy Soul Laser Cuts Framed Trees.

6.   Use Golden Heavy Gel Matte Medium to Gypsy Soul Laser Cuts Framed Trees to Painted Wooden Coasters. Weight Down to Form a Perfect Seal.

7.   Add Liquid Pearls in Bright Yellow to Look Like Stars in the Sky.

8.  Add "Snow" Highlights with Golden Fiber Paste and a Small Paintbrush.


 Some Final Thoughts.

There was a time long ago when much younger was I that we were visiting with the neighbors, the Leideckers, in our area of Pennsylvania, near the foot hills of our Appalachians. Their front porch was high above the creek that flowed in the valley, the night sky wide overhead where we saw a spectacular sight, there were colors not familiar or usual to this part of the land. It was illuminated much like the night that Wallis's Barn Caught on Fire, it was mysterious and magical and to this day I swear they were the northern lights. If this be true than I was glad to be chosen to see their glory.   

The Hunt For The Northern Lights

-Lesley Elaine Greenwood

Snowy white fox of the Arctic,

was it your brush-like tail

that sprayed snow, like crystal sparks,

adorning the dark sky with a shimmering veil?

Are you the Northern Lights?


Flourishing forest fungi,

was it your luminescent glow

that ignited fires across the frozen North,

covering the woodland floor, so very long ago?

Are you the Northern Lights?


Plentiful waters of Lapland

was it the light falling into your seas,

that reflected back off the fishes shiny, wet scales

into the streams of the sky? If so please,

Are you the Northern lights?


Or was it the solar winds that, colliding with earth's gasses,

started to glow, creating streamers in their masses?

A magnificent array of colours. Reds, greens, violets, blues,

A mystical curtain of  bright celestial hues.

Constantly in motion.

A beautiful blaze of auroral displays

Around Heaven's swirling ocean.


AURORA BOREALIS !

Trailing bands of luminous  plasma,

Spellbinding, magical sights.

A plethora of colourful waves from the  sun.

Was He the creator of the wonderful

Northern Lights?

Supplies:  Gypsy Soul Laser Cuts Framed Trees, Square Wooden Coasters, Alcohol Inks, Ink Dauber/Blending Tool,  Neon Pink Ink, Blue Glitter Paint, Hi-Lite Blue Acrylic Paint, Matte Varnish, Various Green and Brown Golden Acrylic Paints, Paintbrush, Golden Heavy Gel Matte Medium, Liquid Pearls Bright Yellow, Golden Fiber Paste

I cannot wait to see your interpretation of this project. Share it on the Gypsy Soul Laser Cuts Craft Group Page on Facebook. I would love to see what new creations you are working on!


Saturday, January 12, 2019

Walking the Winter Woods at Night

A lifetime ago I was and English Major. Truth be told, I was not a particularly great at it. My true academic love at the time was journalism, and I did not have the temperament to analyze and discuss poems and fiction hour after hour after hour. 

Still, I always loved the written word--before, during and after my time in college. Something about Robert Frosts's "Stopping by the Woods on a Snowy Evening," has always appealed to me. It's tone is what inspired my piece "Winter Woods at Night." 

Tutorial How to make the Winter Woods at Night

Begin by adhering old dictionary pages to a piece of white cardstock with Mod Podge.  If you look close, you can see I chose pages that included words with "winter" and "woods". Use a dry brush to apply dark and light blue acrylic paint in criss-cross strokes. 
Trace the outline of the Mini House Room 4 x 4 Box onto the pack of your dictionary/cardstock paper and cut out.
The Mini House Room Box is designed to have a piece cross the house at the base of the roofline. Because this project eliminates the top piece, you need to cut off some of the notches of the side panels so the roof lies evenly on top.
Use Mod Podge to adhere your blue painted dictionary pages to the interior of the house.
Use a dry brush to paint yellow and white acrylic paint over another dictionary page. When dry, cut a circle from it and adhere to the interior of your box.
 Mix gesso with water and use brush bristles to flick this mixture onto your box in order to create snow.

Add a rectangle of pine green cardsdtock to the interior floor. 
Cut the frame away from the Framed Trees
Cover the Framed Trees and the Pine Tree Shape Set with a glue stick and then apply pine green embossing powder. Activate with heat. 
Add Snow-Tex and Diamond Dust to the top of the tree boughs. Brush trees with gold pigment to accentuate the moon shining down. 
To create dimension, use adhesive foam pads when adding the trees. 
Cut out snow mounds from white cardstock and add Snow-Tex to the top edge. When dry, adhere into your winter scene. 
Print out our title. Cover it with a glue stick and add Vintage Beeswax Baked Texture. Repeat several times until you are happy with the results. Add a silver cardstock mat.
Cut out child from Paper Calliope Vintage Children #2 and add a small strip of clear packaging behind it to make a stand. Adhere the stand in place.

Finish the interior by adding in some bleached cheesecloth and large pearl beads.

Add decorative cardstock to the exterior of the house. Glue icicle swag to the edges and your art is complete.

Happy Crafting, Betsy

Great Stuff

Pine Tree Shape Set
Framed Trees
Mini House Room 4 x 4 box
Paper Calliope Vintage Children #2
Seth Apter Baked Texture Vintage Beeswax
Green Embossing powder
Glue stick
Embossing ink
Mod Podge
Faux snow
Gesso
Acrylic paint
Gold ColourArte Pigment
Acrylic medium
Pink and blue Gelattos
White cardstock
Silver cardstock
Pine green cardstock
Decorative cardstock
Old dictionary pages
Cheese cloth
Pearl beads
Icicle swag

Wednesday, January 2, 2019

a snowy winter's splendor

Happy New Year everyone!
I am looking forward to a creative 2019, and am excited to share this winter project with you today. Up to this point, winter has been very rainy where I live. We have not seen much in the way of snow; perhaps that is why I have been dreaming of snowy scenes, where nature displays all its wonder. I envision a woodland scene with children discovering and snowflakes aplenty. 
I begin with the Gypsy Soul Laser Cuts arch top cabinet with doors. The cabinet arrives flat in eight pieces. I always find it a good idea to assemble the pieces into the 3-D form (without adhesive) prior to beginning. This helps me to understand the size I will be working with as well as recognize the areas that are exposed and those that will be concealed.
This cabinet reminds me of the wardrobe from the Narnia series' books, I think it will be perfect to house my snowy winter scene. I lightly paint all sides of the chipboard pieces with gray chalk paint. The chalk paint will also be layered with crackle medium and gel stain; however, for the first step, I assemble the back, sides, top and bottom while there is only the thin coat of paint. This allows the tabs to easily fit into their respective slots. 
A multi purpose adhesive works really well to secure the chipboard pieces in place. I do not attach the front panel until all of my inside scene is completed. This allows me to easily access the inside cavity.  When adding all of the interior elements, be sure to keep the front tabs free from residual build-up or it may be difficult to attach the front panel later. 
Next, I cut and score a strip of Bristol paper to fit the inside cavity. This paper is inked with distress oxide in weathered wood and stormy sky to create the appearance of a winter's sky which will become our backdrop.
When the inks are dry, I attach a few painted mini snowflakes randomly on the background and secure it in place within the cabinet cavity.
I set this piece aside and work on some of the interior elements.
Using the Gypsy Soul Laser Cuts framed tree panel, I emboss the tree tops with Emerald Creek Moss embossing powder. I repeat the process on both sides of the trees, multiple times. When I am satisfied with the look, I smear collage medium onto the front of the trees and sprinkle some of the raw embossing powder onto it, for a textured finish. The top and sides of the frame are snipped off, but the bottom edge left intact. I gently crease the bottom edge to allow the two trees to be slightly offset within the base. The base of the cabinet is covered with grit paste and the trees are set into the paste, then the extra edge is covered with more grit paste so only the two tree trunks and foliage are visible. Leaving the bottom edge intact for placement gives the trees more stability.
When the trees are in place, it is time to add the children. I select two paper dolls from the Christmas pack and color them with Copic markers. A resin ideaology deer is colored with mushroom and ginger alcohol ink, and stands with the children in the snowy (grit paste) base.
With the children and wildlife in place, I work on creating the falling snowflakes. Using snowflakes from the GSLC snowflake shape set minis, as well as from the let it snow set, I paint both sides with white acrylic paint. When dry, I coat the painted snowflakes with Wink of Stella clear glitter. The outside edges of the snowflakes are painted with silver metallic paint pen. A very thin wire is attached to the back side of each snowflake with hot glue. The thin wire is threaded through holes poked in a piece of silver metallic kraft that is cut to fit the inside top. when the snowflakes are hanging at desired heights, the metallic paper is adhered in place, securing all of the wires. 
When all of the interior elements are in place, the front panel is secured in place. A coat of crackle medium is applied to the exterior of the cabinet and, when dry, a layer of gel stain is rubbed into the cracks to create an aged finish. The doors are coated at the same time as the cabinet exterior to ensure a cohesive look. I add a snowy flourish (that has been finished in the same manner as the falling snowflakes) to each door panel.
 When the adhesive is dry, the hinges are fastened to the front cabinet panel, another snowflake is attached to the center of the arch top, and the winter wardrobe is complete. 
a snowy winter's splendor
As we enter this new year, filled with possibility, I would like to take a moment to thank all of my followers and visitors for your kindness, and wonderful, supportive comments. It is always such a pleasure reading your words and even learning that I have inspired you. I hope that your 2019 is filled with creativity! 

Happy New Year
~Ann
xx 
    

Gypsy Soul Laser Cuts used: