Showing posts with label Dressform 2 Shape Set. Show all posts

Thursday, July 28, 2016

Feminine Birthday Card

Hi everyone!  Barbara here on the Gypsy Soul Laser Cuts blog.  I want to share a card today with a very feminine, and a bit shabby feel.  I have birthdays coming up in the next few months, so cards to send are on my mind.  Laser cut chipboard is a real pleasure to work with, and I love how they add so much dimension to a card without adding too much bulk.


I used a pink card base and print paper layer cut slightly smaller.   I painted the Flourished Frame Connie with pink acrylic paint and distressed it with gelatos.


Next step, adhere the layers, as shown, including the print post card from the paper.


I painted all pieces with a coat of acrylic paint before adding color with gelatos to give added depth and dimension to the pieces.  The perfume bottle was run through an embossing folder (just the bottle portion) and then I hit the high spots with a gold ink pad.  I also added some gold to parts of the bird cage, as well.


Next step, adhere the bird cage with the postage stamp image over the opening.


Adhere the remaining pieces to the card front as shown.


Lastly, I added a few gem stickers to the fleur de lysdressform, and perfume bottle top.


Supplies Used:

GSL Flourished Frame Connie
GSL Ornamental Bird Cages Shape Set
GSL Dressforms 2 Shape Set
GSL Parisian Shape Set
Pink card stock
Print papers and die cuts
Embossing folder
Acrylic paint
Gelatos
Gold ink pad
Makeup sponge
Gem sticker embellishments

I hope you have been inspired, at least a little bit, to give laser cut chipboard a go on your next card project.  You won't be disappointed, and your recipient will be so impressed.  

Thanks for stopping by, and have a wonderful, crafty day!

Barbara

Thursday, June 23, 2016

Perfect Card and Matching Tag

Hello everyone!  Barbara here on the Gypsy Soul Laser Cuts blog today.  We are also partnering with Xyron this month, and I can't tell you how easy it makes adhering not only your papers, but even the laser cut chipboard manages to go through the Xyron.  How cool is that?  

Anyway, I want to share a cute greeting card and matching tag using some older paper I found in my stash and dressing it up with my laser cut chipboard.  


I always choose my chipboard first, then give it a coat of white gesso.


I chose my papers and cut them into different sizes, punched or cut edges and/or corners, and began layering the pieces onto a 5"x7" card.    Each piece of chipboard was inked and colored with a chalk ink pad in colors to match those in the papers.  You can always use other types of ink pads, or even acrylic paints.  Use whatever you have.

I made good use of my Xyron Create-A-Sticker.  As you can see in the next photo,  it takes paper quite nicely. 


 In the photo below, it also took the chipboard flourish just as easily.  


The chipboard was adhered to the card base, as shown.  I tied a ribbon around the bottom and cut tiny flowers from a length of lace, colored with the same pink ink, and adhered to the card, as shown.


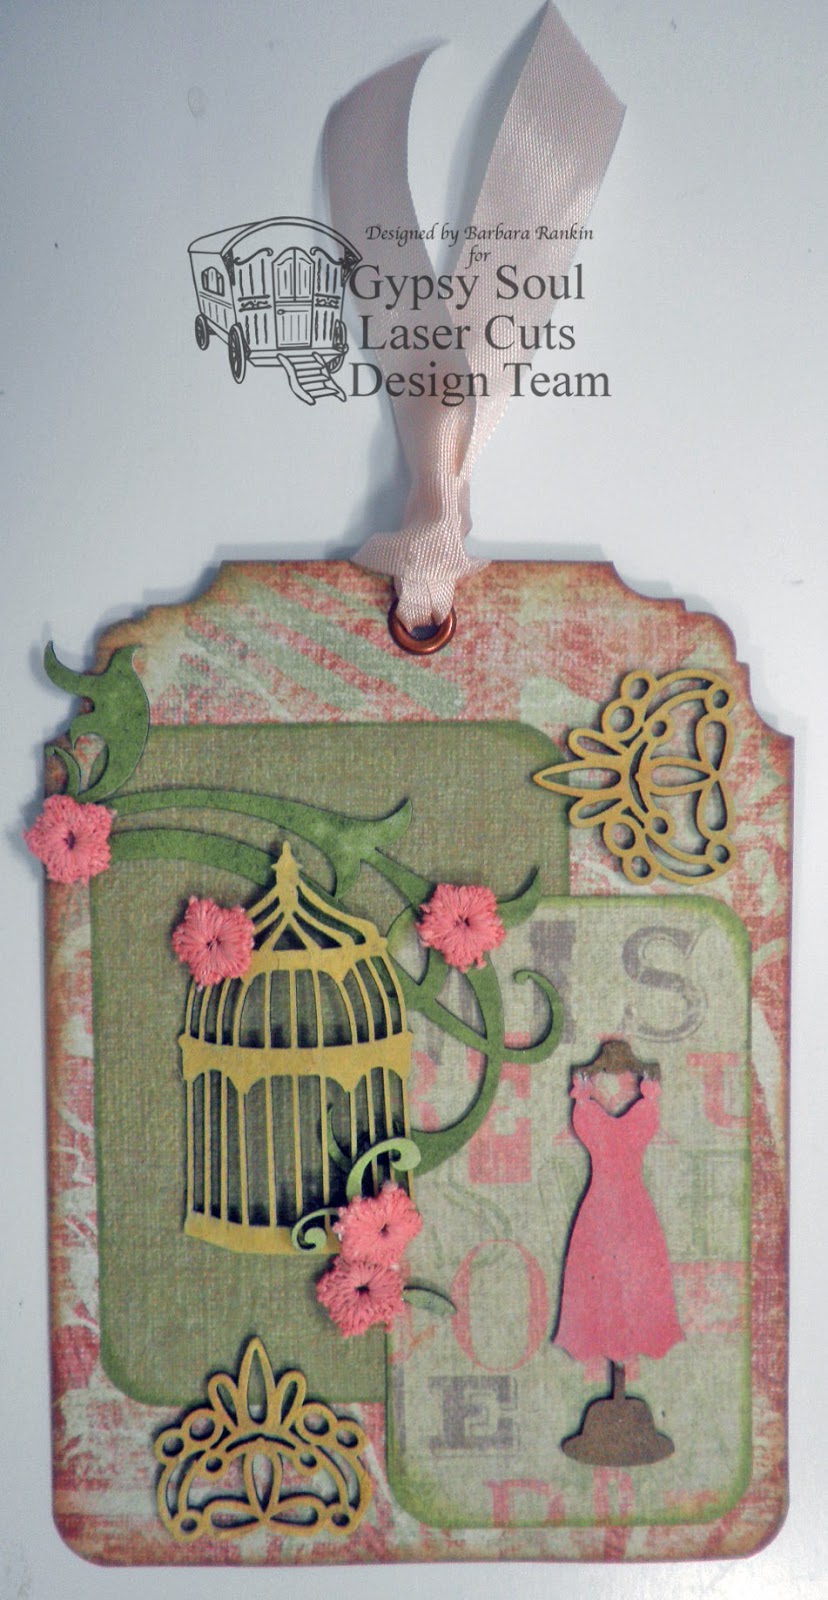
I made a separate matching tag that could be used as a gift tag.  This was put together in similar fashion.  


And a few closeups.


Supplies Used:

Xyron Create A Sticker
5"x7" card
Print papers
Chalk ink pads
Lace

I hope you like my project and maybe are inspired to give your cards and tags, and any projects, an extra oomph with the addition of Gypsy Soul Laser Cuts chipboard.  And a special thanks to Xyron for sponsoring us this month.  

Thanks for stopping by, and have a wonderful week!

Barbara

Tuesday, August 11, 2015

Altered Tin Featuring Robin's Nest Papers

Hi everyone! Amylove here sharing one of my favorite items to alter. I have been altering Altoid size tins for the last year and I truly enjoy them. I was excited to use these beautiful Robin's Nest papers and thought what an amazing contrast the black would be against these yellows.


If you would like to see the step by step process of this project, please follow this link to my video tutorial:    Altered Tin Process Video


Products used:


Gina's Designs:


Robin's Nest:


items from my stash:


Destress Ink


Glossy Accent


Fabritac


Embossing Powder


Black Chalk Paint


Stamps


Archival Ink


Lace Trim


Double Sided Tape


Tape Runner


Twine


Tin


Flowers

Tuesday, June 9, 2015

Tilda Window Shadow Box


Hi all! Amylove here combining my love of Tilda with Gina's amazing Window Shadow Box. What an adorable pair they have made!! I enjoyed putting this together and it will be a permanent fixture in my crafty space. It houses some beautiful embellishments made by some of my dear crafty friends.


Please follow this link to the tutorial on how I altered this shadowbox:


Here is a list of supplies:


Gina's Designs:


Other materials:


Gesso


Mod Podge


Adhesive runner


Tilda paper


Tilda fabric


Seam Binding


Trims


Handmade embellishments


Thanks for stopping by!!