Showing posts with label mixed media art. Show all posts

Monday, October 17, 2022

Celtic notebook


Hi everyone.

Karolina is here. For this month's inspiration, I worked with Celtic chipboards; the Celtic Rose Frame and Celtic set. I am sharing a notebook.


I also used white cardboard to make a front and a back cover. 


The first step was cutting a front and back cover. The covers measure 11.5cm by 14cm.

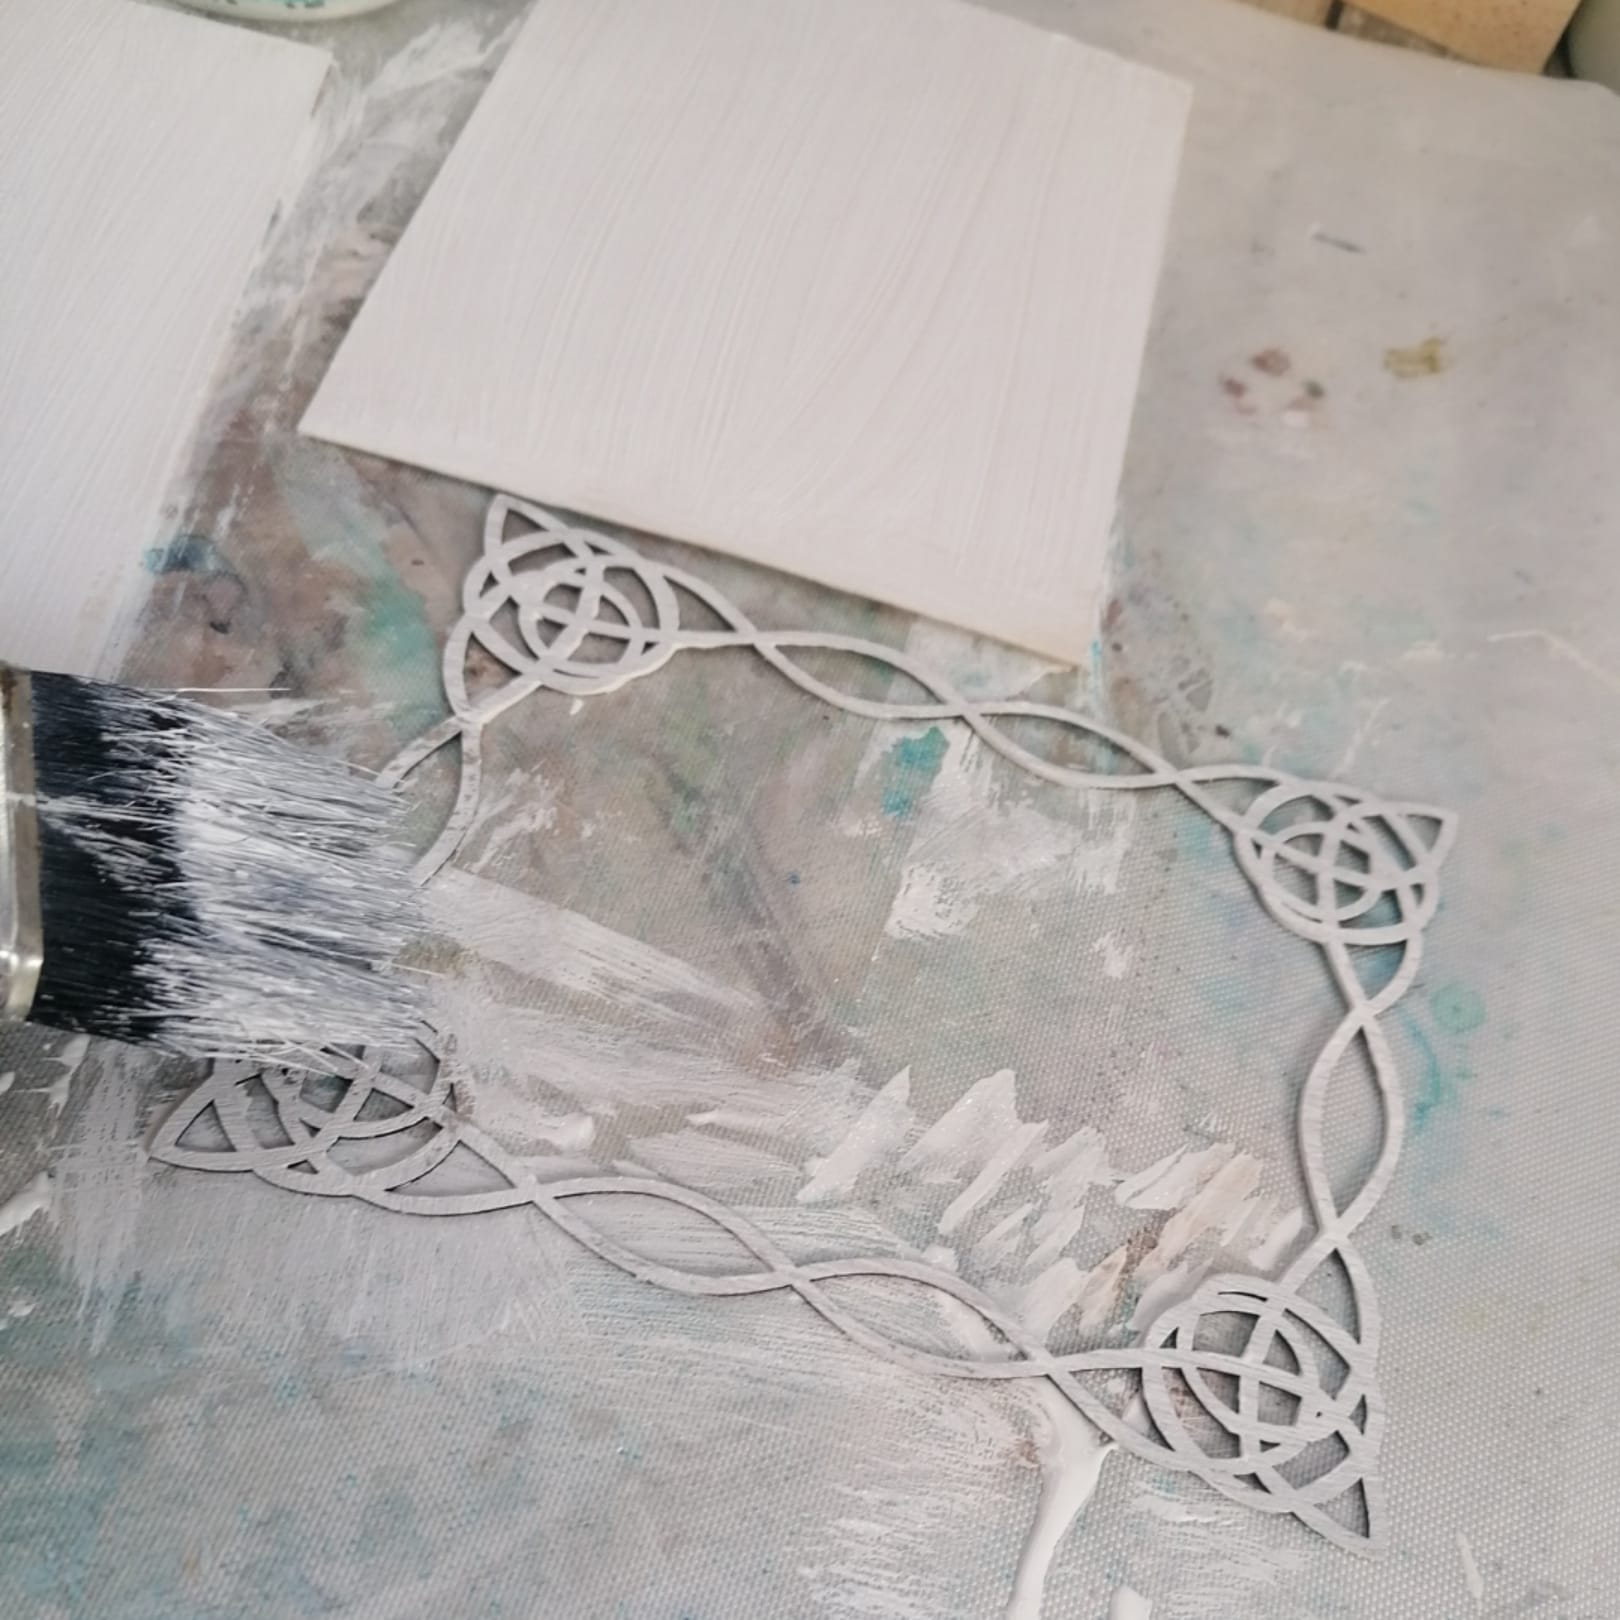
The next step was coating all pieces using white gesso.


Then I dried them using a heating tool.


Then I painted covers using black gesso and chalk paints. It was more brush tapping than painting.
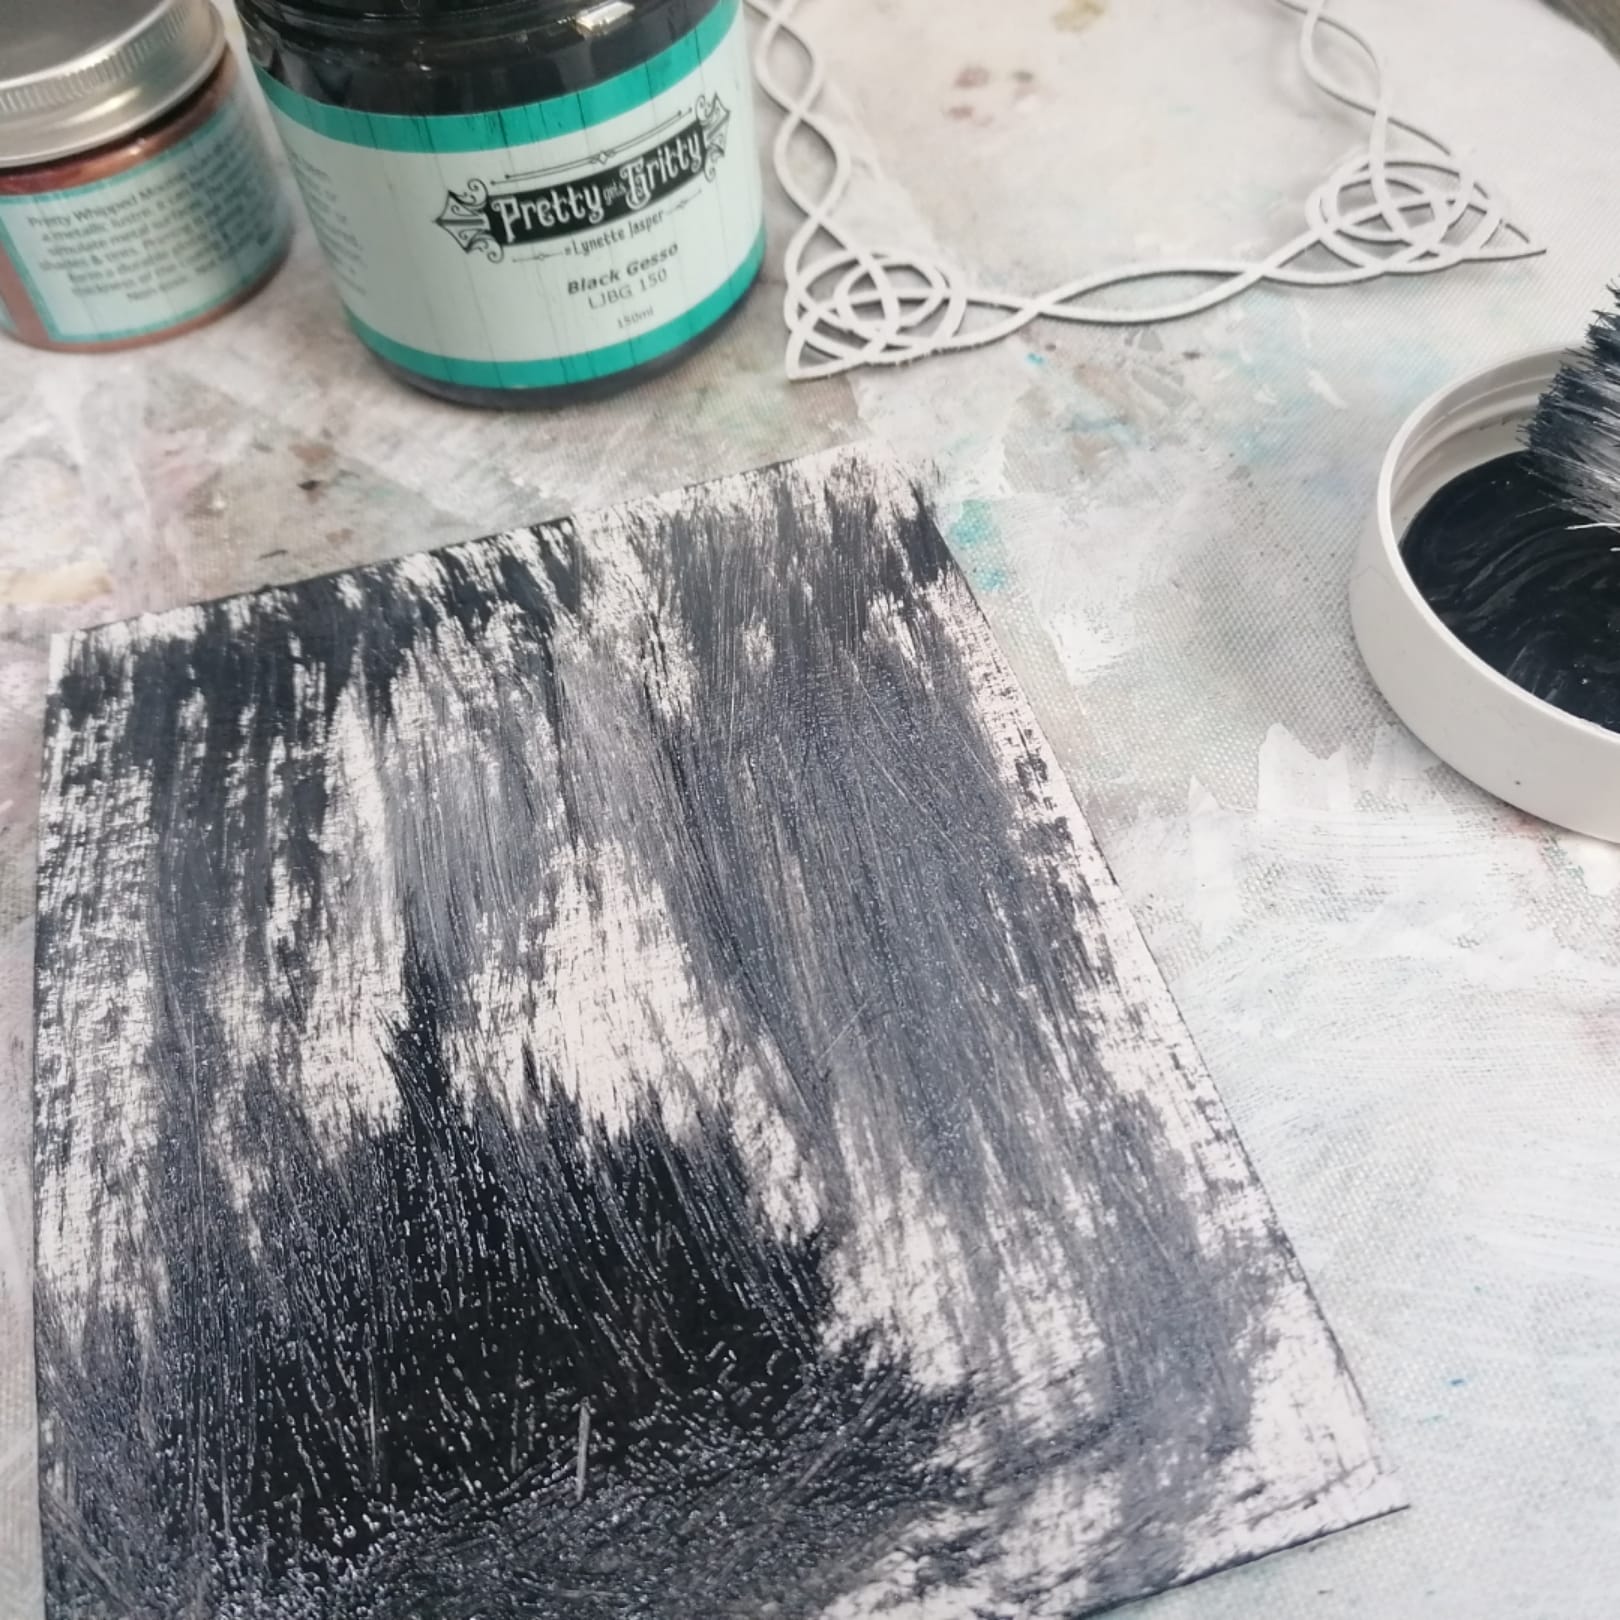


Then I dried everything using the heating tool.


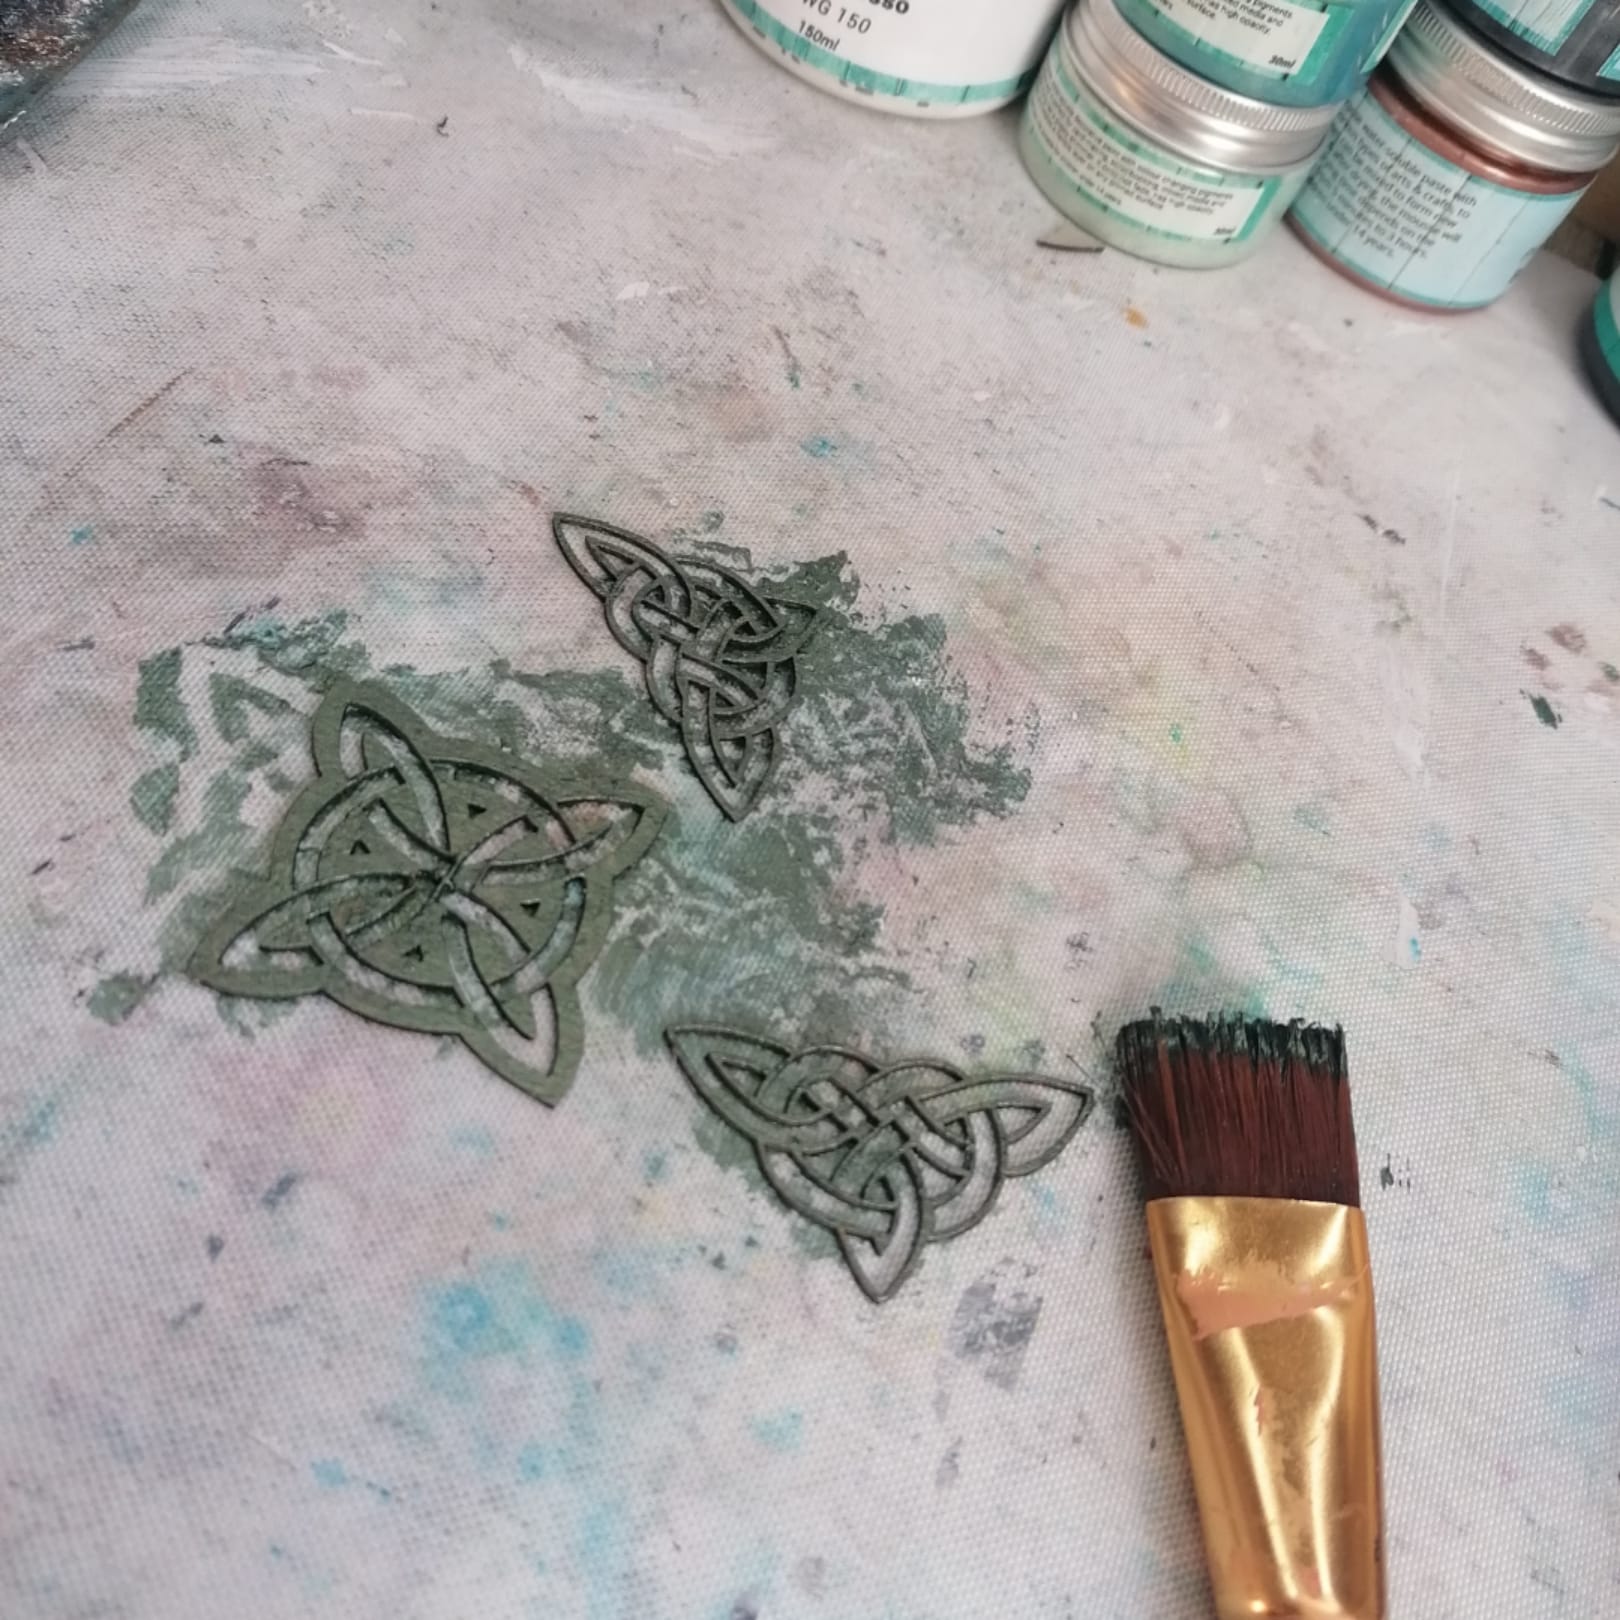
The next step was coating the chipboard using Sea Glass paint. 


Using the same Sea Glass paint, I distressed the edges of the covers of my notebook.


When everything was dried. I added a little bit of gold wax, and then I stuck painted chipboard elements to the covers. 


The next step was to make an insert. I used copier paper, and to make vintage look paper, I had to work a little bit in my kitchen. Turn on the oven to 180 degrees. To the mug, I added one teaspoon of coffee. Then I added 200 ml of hot water and 100 ml of cold water. I mixed everything and poured it into the baking tray. Then I put a sheet of paper inside the tray; just for a few seconds. I turned it over. When both sides were covered by coffee, I moved the paper to another baking tray and put it in the oven to dry. From one sheet, I can make four pages, So I had to repeat all the steps a few times to fill my notebook
When the paper was ready, I divided it and made two holes in each page and  used binder rings to hold it together


My Celtic book is ready. I hope you like it.  


GSL product used:


Other supplies used:

white gesso
black gesso
gold wax
Chalky paints: Peppermint Sherbet and Smokey Sky
Pretty Amazing Paint - Sea Glass
Glue
copier paper
binder rings
coffee
hot and cold water 


Thank you for stopping by!

Karola


Wednesday, October 23, 2019

Where Witches Dwell

One of our favorite “new” shows is Chilling Adventures of Sabrina. I love whoever did the set designs for this magical show. There are layers and layers of colors and textures, I am often inspired by movie and television show sets. I’m always intrigued with the techniques they use to make such wonderful worlds. I also like how shows can teach useful life lessons if we are willing to listen. This is the inspiration for my current artwork.
1.  Cut Apart GSLC Haunted Houses, Little Witches, and Small Cobblestone pieces.
2.  Use Golden Dyke Brown Hue, Iridescent Stainless Steel (Course), Micaceous Iron Oxide acrylic paints to randomly add a base coat to each of the GSLC Haunted Houses.
3.  Use Golden Yellow Oxide, Raw Sienna, and Van Dyke Brown Hue acrylic paint and GSLC Cobblestone Small as a stencil and a paintbrush to add stone effect to parts of GSLC Haunted Houses.
4.  Use Golden Green Gold a paint brush and GSLC Decorative Stamp to add more details to other parts of the GSLC Haunted Houses.
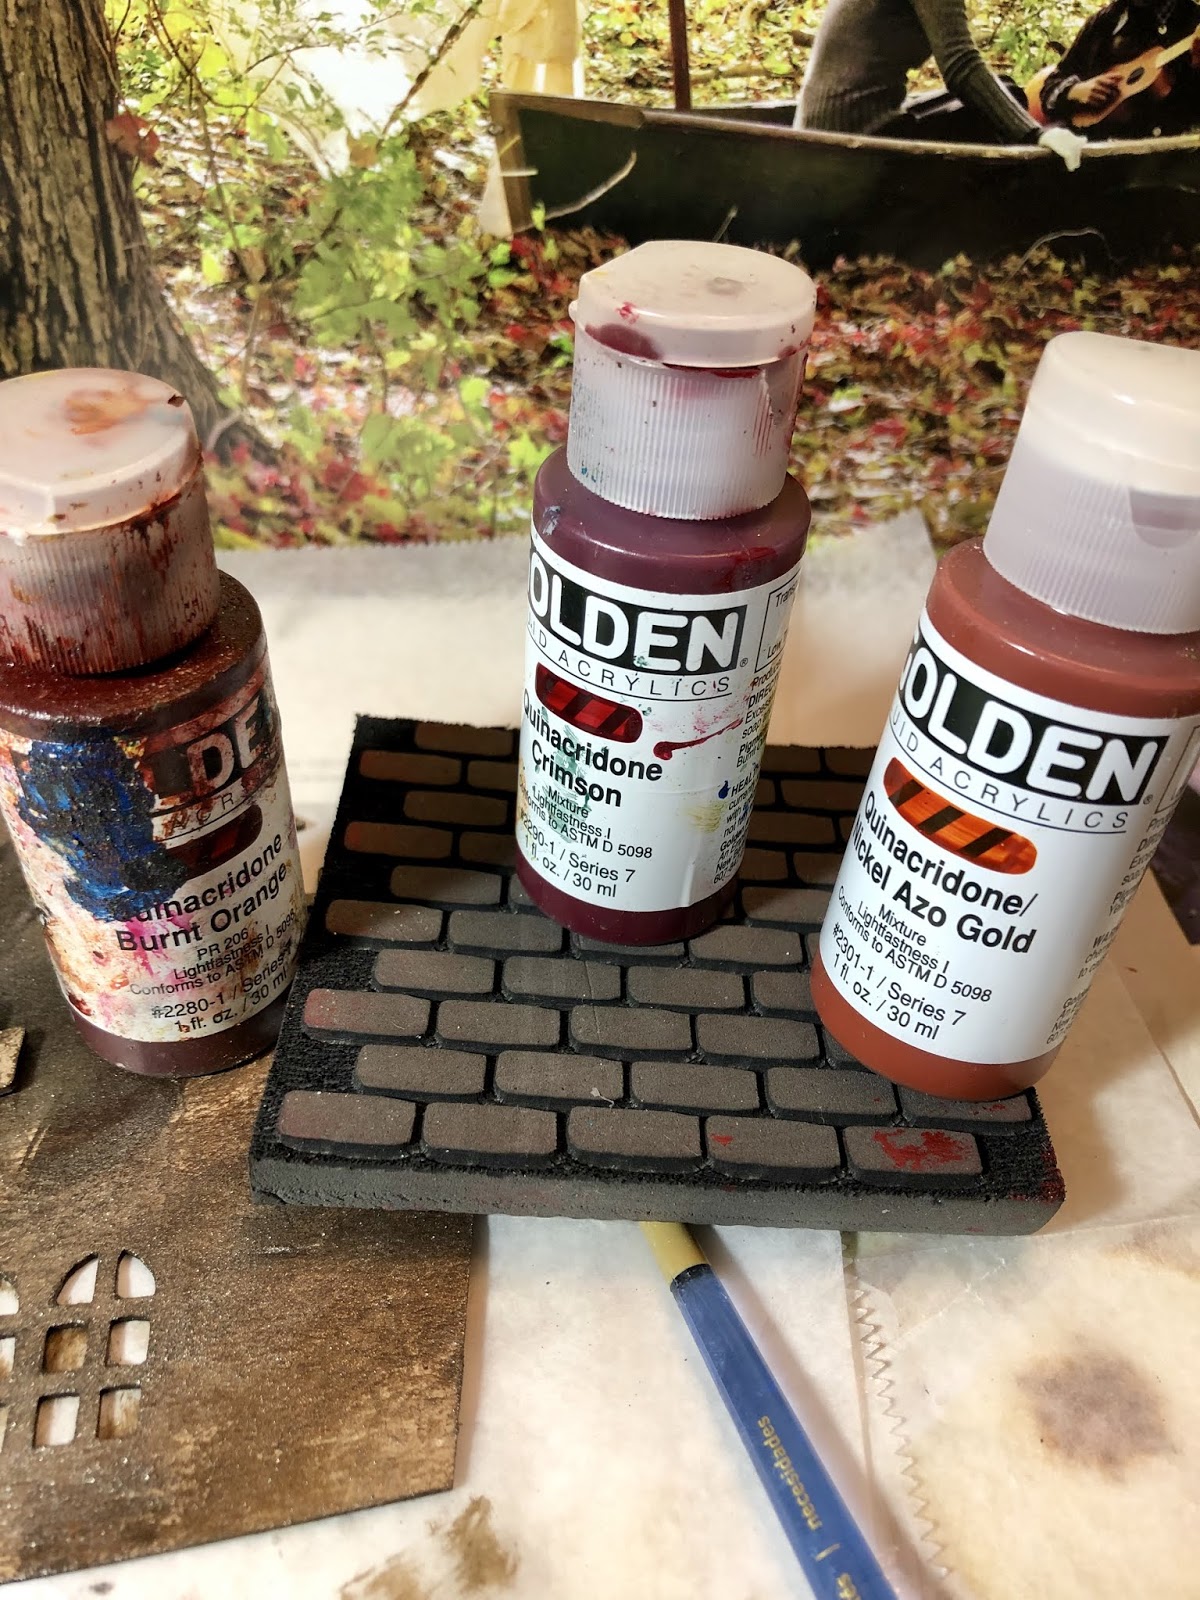
5.  Use Quinacridone Burnt Orange, Crimson, and Nickel Azo Gold Acrylic Paints a Paint Brush and GSLC Brick Wall stamp to add more details to GSLC Haunted Houses.
6.  Use Weldbond to secure prepared acrylic skins to back of GSLC Haunted Houses to make them look like stained glass windows.
7.  Allow to fully dry, sandwiching in deli paper, and weighted down flat.
8.  Use Wow embossing Pad and Ranger Black Sparkle Embossing Powders and Heating Tool to add details to GSLC Small Witches.
9.  Once GSLC Haunted Houses are fully dry add Glossy Accents to windows using a toothpick to get into all the nooks and crannies.
10.                Once cured use Weldbond to glue GSLC Small Witches to GSLC Haunted Houses, be sure to dry flat and weighted down or use clamps to secure pieces in place.
11.                You now have a trio of tiny witch abodes ready to use for your Halloween decorations.
Some final thoughts.
I read an article from House Beautiful, titled “Netflix Has Hidden All Kinds of Easter Eggs in the Chilling Adventures of Sabrina House” where they interviewed Lisa Soper, the production designer for the show.  She said “We wanted to create an environment that hasn’t been seen before but feels natural…We tried to build our own mythos- “she goes on to explain that they wanted to show something that was timeless.” I too am trying to do the same thing with my artwork. I want to hide “Easter Eggs” in my artwork in the layers of textures and techniques I use and continue to hone in on.


Supplies:  Gypsy Soul Laser Cuts-Haunted Houses Set [D179I],Gypsy Soul Laser Cuts-Little Witches [D90RS],Gypsy Soul Laser Cuts-Cobblestone Small [D174R], Gypsy Soul Laser Cuts Foam Brick Wall and Decorative Stamps, Golden Van Dyke Brown Hue, Iridescent Stainless Steel (Course), Micaceous Iron Oxide, Yellow Oxide, Raw Sienna, Green Gold, Quinacridone Burnt Orange, Crimson, and Nickel Azo Gold Acrylic Paints, Paint Brush, Prepared Acrylic Skins, Weldbond, Ranger Black Sparkle Embossing Powder, Heat Tool, Wow Embossing Pad, Ranger Glossy Accent, Toothpick, Deli Paper, Clamps

I cannot wait to see your interpretation of this project. Share it on the Gypsy Soul Laser Cuts Craft Group Page on Facebook. I would love to see what new creations you are working on!

Saturday, October 27, 2018

Making Mixed Media Elements by Betsy Skagen

Let's face it, thousands upon thousands of crafters, myself included, use the same mass-produced decorative elements in their projects. However, there is another option. If you don't want your art to feature the same materials hordes of other artists are using, you can easily create your own elements.

By applying mixed media techniques to chipboard elements you add unique texture and interest to journal pages and other craft projects. This particular journal page combines some of those mass produced decorations with elements I created.

I recently was lucky enough to attend a mixed media class by artist Seth Apter. If you have the chance, I highly recommend taking one of his classes. The class inspired me to tweak a couple of Apter's techniques to make my own mixed media elements.

Tutorial on How to Make Mixed Media Elements


Before we begin, I just want to note that while I adapt some of Seth's techniques to create my own process, this tutorial does not cover the wonderful techniques Seth teaches in his classes.

Begin by punching out the chipboard. Use a utility knife to cut the tiny segments that keep the chipboard intact for shipping.
Next, cover the chain with black gesso.
After the gesso dries, dry brush Quinacridone Gold and yellow acrylic paint over the surface.
 Dry the paint with a heat gun. Don't worry if you overheat and get a few bubbles as that will add to the finished texture.
Cover the entire surface with embossing ink.
Cover with Chunky Rust Embossing Powder and set with heat. Repeat until you get the effect you want.
 Adhere your elements to a journal page that you have prepared and your project is complete. Have fun creating your own mixed media elements!

Great Stuff

Gypsy Soul Laser Cuts Flourished Chain Small
Black gesso
Quinacridone Nickle Azo Gold acrylic paint
Yellow acrylic paint
Embossing ink
Seth Apter Chunky Rust Embossing Powder
Ribbon
7Gypsies Architextures typewriter element
Tim Holtz word band