Showing posts with label Steampunk Lady. Show all posts

Tuesday, May 21, 2024

Mother’s Day Gift Updated-A Peek-a-Boo Project


In times of Yore a thoughtful Mother’s Day gift would be to have family members, especially her children sit for cut out Silhouette Portraiture. In modern day the process can be shorted to these few steps:

Step 1 – Take Photo. Take a side profile photo (your phone is fine) of the child against a white wall. 

Step 2 – Upload Photo.

Step 4 – Tape Paper To Computer And Trace. 

Step 5 – Cut It Out. 

Step 6 – Glue Onto Black Paper. 

Step 7 – Glue Onto Final Background Paper. 

Step 8 – Sign And Date.

An Easy Peasy DIY Reimagining of an Ancient Tradition.

These are the inspirations for this artwork.


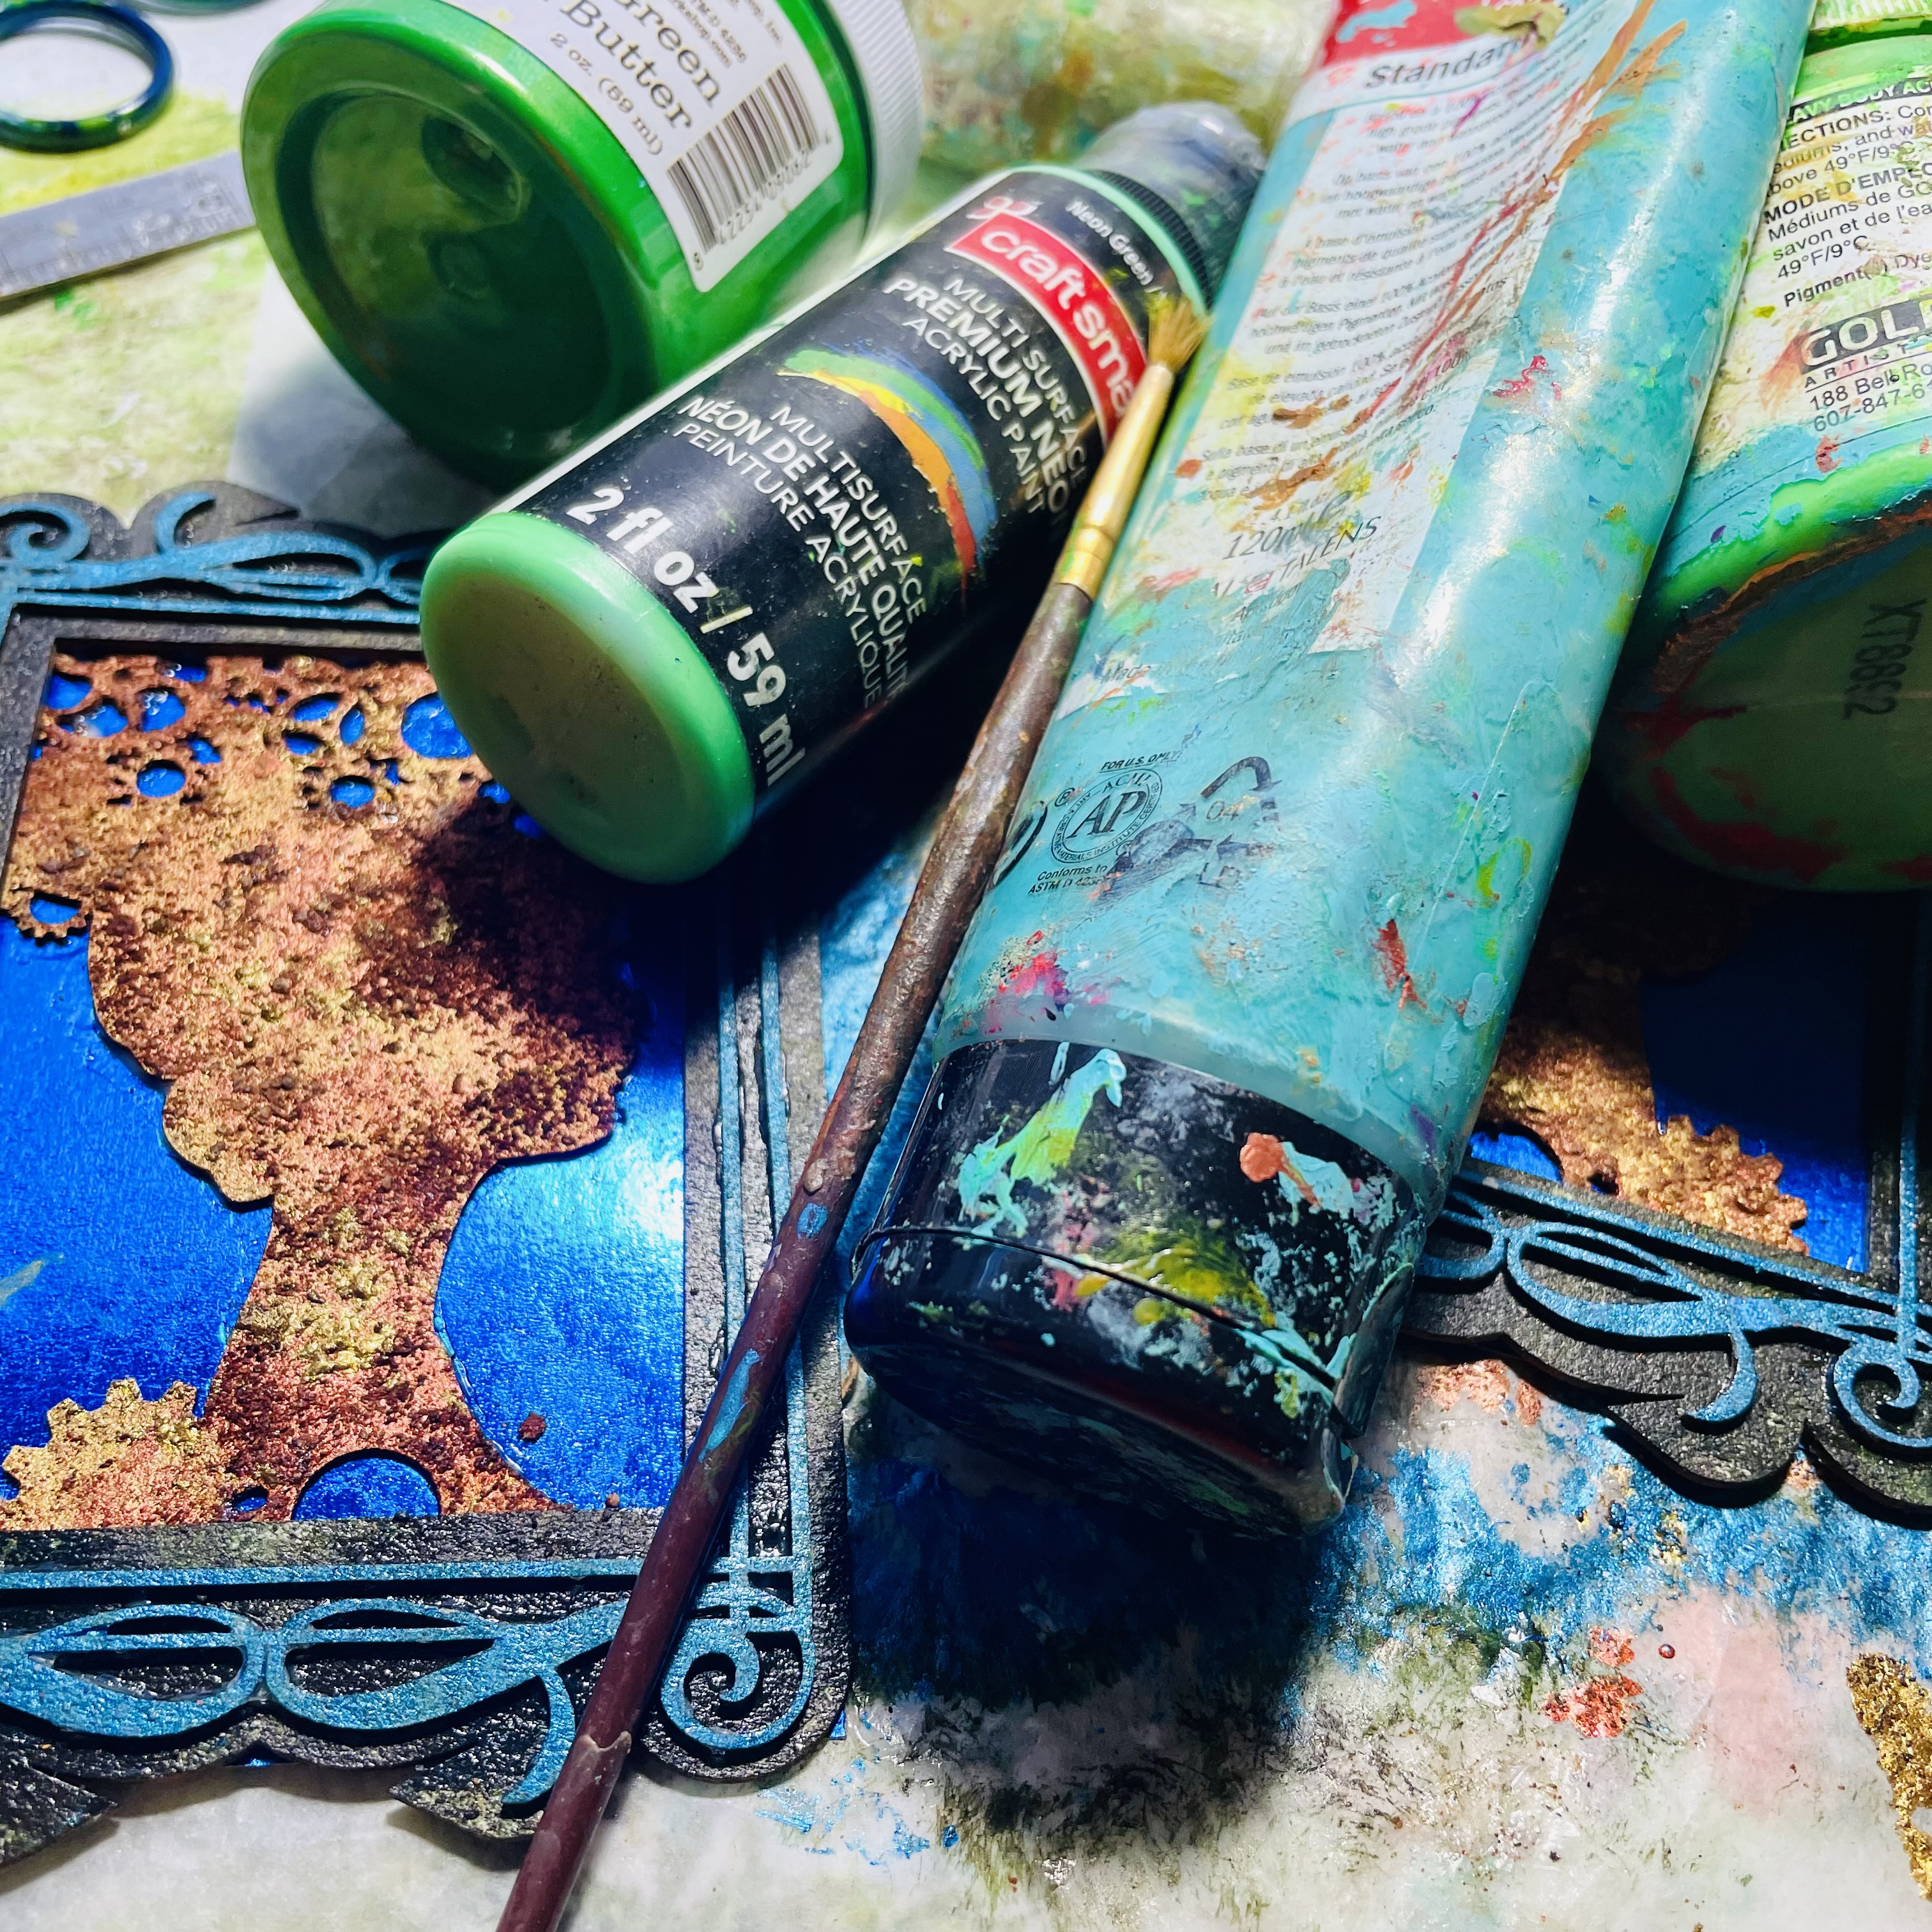
  1. Gather Supplies.
  2. Clump on Metallic Paint of Copper and Gold with an Old Paintbrush on GSLC Steampunk Lady.
  3. While Paint is Still Well Sprinkle with Spices-I Used Cinnamon, Apple Pie Spice and Chili Powder. Spray with Cheap Hairspray to Seal.
  4. Use Back Portion of GSLC Layered Frames Carlon to Cut Out a Metallic Blue Card Stock Back.
  5. Use WeldBond to Glue GSLC Steampunk Lady to Metallic Blue Card Stock.
  6. Paint Back Portion of GSLC Layered Frames Carlon With Dark Green and Brown Acrylic Paints.
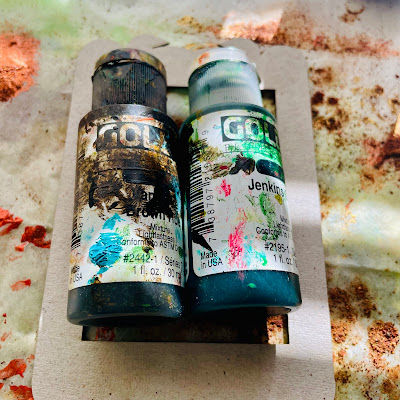
  7. Paint Top Portion of GSLC Layered Frames Carlon With Ocean Blue Stencil Butter.
  8. Glue Top Portion to Back Portion of GSLC Layered Frames Carlon. Dry Flat and Weighted Down.
  9. Glue GSLC Steampunk Lady Prepared Pieces to Back of Frames.
  10. Use Green and Blue Paints to Add Patina to the Combined Pieces.
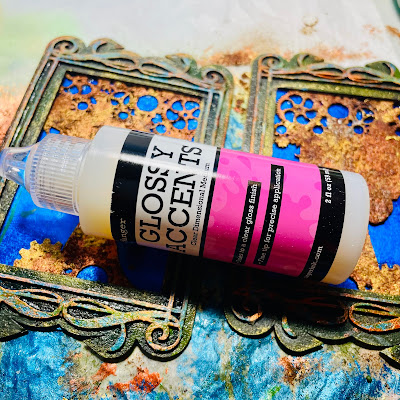
  11. Use Ranger Glossy Accents to Seal in GSLC Steampunk Lady, When Fully Dry it Will Appear as Glass Inside the Frames.


Final Thoughts

A Steampunk Woman’s Silhouette might not be everyone’s cup of tea but it a fun nod to an olden art form that may one day come back into fashion. As it is spoken, “Everything Old is New Again”. 

Silhouette (profile) portraiture was the popular way to recreate an image of oneself or loved one before the invention and common use of photography in the mid 1800’s. During the years of 1500 and 1860, professional and amateur artists would either paint or cut profiles – using paints or scissors.


This past Summer I visited Glenstone , a unique art museum in Potomac, Maryland. This museum integrates art, architecture, and nature in a serene contemplative environment. Throughout the nearly 300 acres landscape is a form of art. The landscapes include path, trails, streams, meadows, forests and outdoor sculptures. 

One of the artists on display was Kara Walker , she takes silhouettes to  grandiose level. They covered museum walls, and are haunting and provocative. Her silhouettes depict a historical narrative one with hidden sexuality, violence and subjugation. Her silhouettes are thought provoking, boldly bringing the secrets of our nations past into light. The sharp edges of the cut papers reminds us of the broken hearts and dreams of these antebellum figures portrayed in many of her art pieces. Her artwork is witty and unsettling. 


This would be a nice poem to attach to your DIY Silhouette Portraiture if you choose to create one.

Mama's Shadow


When I was a kid (you know, last year)

I was like your shadow, always near.

While learning what the world was about

I followed your footsteps day in and day out.

There were so many things I wanted to know.

You answered my questions and helped me to grow.

All too soon Mama I will be grown

And making my way in this world on my own.

When you remember the good times we had

And wish I was with you, don't be sad.

Just stand by this picture and pretend

That I am your shadow once again.

~Wanda Atkinson


Supplies:  Supplies:  GSLC Layered Frames CarlonGSLC Steampunk Lady, Metallic Paint Copper and Gold, Paintbrush, Spices-Cinnamon, Nutmeg, Chili Powder, Cheap Hairspray, Metallic Blue Card Stock, Scissors, WeldBond Glue, Dark Green and Brown Acrylic Paint,Blue Ocean Stencil Butter, Green And Blue Acrylic Paints, Ranger Glossy Accents

I cannot wait to see your interpretation of this project. Share it on the Gypsy Soul Laser Cuts Craft Group Page on Facebook. I would love to see what new creations you are working on!

Wednesday, August 1, 2018

ladies and gents, hold the phone

Hello everyone, it's hard to believe that August is here already. I know that during these summer months it can be very busy, so today I am sharing a fairly simple project that makes a big impact. I have been meaning to make up one of these tablet/iPad/phone holders since I received it in my DT box. I often put my phone down while I am working and when it is time to snap a quick progress photo, it is buried beneath all of my supplies. I hope to alleviate this issue with this steampunk inspired phone holder. Since I have two of these in my stash, I thought it would be fun to create a his and hers version.
The sturdy chipboard tablet/iPad/phone holder arrives flat in three separate pieces.
I want the finished pieces to have a steampunk/industrial look, and since I will be making a his and hers version, I think the Steampunk Lady and Steampunk Gentleman will be the perfect addition to each holder. Both of these GSLC pieces are fabulous. Each comes in a pack of two, this project only uses one so I will put the second lady and the second gentleman away for another day.
 I paint the side of the heads that will be showing on the front of the holder with distress paint in walnut stain and allow to dry. Once dry, the back side of each head is painted with black soot distress paint and set aside. I select some pattern papers from the French Industrial paper Stash that coordinate with my theme. I choose to combine different patterns for each of the planes of the holder. This could also be made with a large sheet of single pattern paper if you prefer. I like the interest of having different patterns, yet keeping them all within the same color family. I measure the pieces to be covered and cut the paper to size. It is alright if the paper overhangs a bit when you adhere it to the chipboard, this can easily be cut off with a craft knife. The most important thing to remember is not to adhere paper to the tabs of the pieces that will be secured into the base. The papers are adhered to the chipboard with collage medium. I add a layer of grunge to the surfaces as well as the edges with distress inks.
Since the front stop pieces are now complete, I go ahead and secure these into the base with a multi-purpose adhesive. These are set aside to dry while I complete the uprights for each holder.
To give the heads a more vintage feel, I add a layer of black soot distress paint on the walnut stain colored side and gently wipe it off before it dries. Knowing that the holders will be serving a function, I want to ensure that the embellishments I add are not too invasive, thus keeping things clean and simple. I decide to add a few additional cogs and gears to adorn the lady and gentleman. Using one of my favorite GSLC sets, the Steampunk Shape Set, I select a few pieces for each head that work well with the scale. I also select two clock hands to add under my titles on each holder. I emboss all of these pieces with charred gold embossing powder and secure them in place.
Each holder has a title. The words "LADIES" and "GENTS" are made with alpha parts. Beneath each title I adhered and embossed clock hand.
Once each upright was completely dry, I secured it into place by adding multi-purpose adhesive along the edge that attaches to the base and to the tabs, then inserting them into the respective slots in the base. The lady and gent are standing tall and the phone holder is ready to be put to use.
I hope that during these busy days you are able to make some time to get creative. Perhaps this simple steampunk project has got your gears moving and inspired you.
Thank you so much for taking the time to stop by.
~Ann   


Gypsy Soul Laser Cuts Used:

Tuesday, February 14, 2017

Steampunk Spells Mini Album

Hello steampunk fans! It is Gloria with you today, and I have a remarkable mini album to share! 
This project is a joint project with Graphic 45 and GSLCuts. G45 is a sponsor here at GSLCuts and many of us on the GSLCuts team enjoy using their papers!

I have created a 6" x 6" x 2" mini containing 18 pages (36 sides). This little gem is chock full of pretty papers and awesome chipboard embellishments! This is the perfect project for photos and journaling. Display this beauty on a shelf or easel for maximum enjoyment!
 Each page contains pockets or tags or ephemera. It is a steampunk-ers dream.
The spine sports a metal door plate and knob, plus two wonderful metal keys.
You need the following Gypsy Soul Laser Cuts embellishments for this project:


Mini Bird Cages

For a full supply list, scroll down to the bottom of the post. 
The front of this album is packed with metal charms, grungy steampunk chipboard shapes, and flowers. To create the large, butterfly embellishment, ink one Butterfly of Gears with black pigment ink. Cover the shape with Black Soot Distress Embossing Powder and heat set. 

For all the other chipboard shapes in the album, either keep them "raw" or color them with a black marker or black ink. I sprayed a few shapes with black glimmer mist. See the printable tutorial for specific directions. (COMING SOON!)

The inside front cover contains an envelope for hidden journaling or photos. I have used two of the corners from the Wrought Iron Set to decorate the envelope.
The inside back cover also contains a pocket for a square tag. This pocket is decorated with a spectacular Steampunk Gentleman. I sprayed this shape with glimmer mist and weighted it down with some heavy books so that he could dry flat.
This is just a sneaky peaky of all the chipboard shapes contained in this book!
To see all the pages of this wonderful, little album, check out the video! 
You can also print a step-by-step project sheet for this project. Click HERE to print the tutorial.

Thanks for looking!

Gloria Stengel: Scraps of Life

Gypsy Soul Laser Cuts:

Partner products:
Graphic 45:
DCE - Old Curiosity Shoppe (with stickers and decorative chipboard)
DCE - Steampunk Debutante (with stickers and decorative chipboard)
DCE - Botanicabella (with stickers and decorative chipboard)
Rare Oddities (retired)
Artisan Style (retired)
Steampunk Spells (retired)
Eerie Tale (retired)
Square Tag and Pocket Album - kraft
Square Tags - black, kraft
Artist Trading Tags Tags - black, kraft
Policy Envelopes - Square Black
Metal Clock Keys
Metal Door Plates and Knobs
Door Knocker
Ornate Metal Keys

Other: 

Cardstock: black, kraft
Markers: Zig black, Stampin' Up black
Ink: black pigment
Embossing powder: Ranger Distress Black Soot
Embellishments: decorative brads, metal gears, paper and fabric flowers, filmstrip, bingo tile, lightbulb, metal frame, metal spigots, charms, pen nib, wishbone
Punches: Stampin' Up 1" and 1/2" circles, Creative Memories corner rounder, EK Success bumpy road border
Dies: Spellbinders standard circles large, small; Cheery Lynn Designs French Pastry Doily
Magnets: Basic Grey
Adhesive: ATG double-sided tape, Scor-tape, Scrapbooking Adhesives by 3L 3D foam squares, 3M foam tape, Ranger Multi Medium, hot glue
Tools: Paper trimmer, scissors, craft knife and cutting mat, bone folder

Saturday, August 27, 2016

Eclectic Dream Canvas by Pam Bray


Hi it is Pam today on the Gypsy Soul Laser Cuts Blog!!! Thanks so much for stopping by to check out my Eclectic Dream Canvas using fabulous chippies from Gypsy Soul Laser Cuts. 


I began by adhere layers of Steampunk Debutante pattern paper to the top of a 6" x 8" canvas.


Add a small "Dream" word from a piece of the pattern paper along with a sticker from the collection to the front of the canvas.


Rub Metallic Lustre on to the Fanciful Element Chipboard layering each color. Adhere to top of pattern paper; add to top of canvas.


Paint the  Steampunk Lady with paint. Emboss the gears from the  Gear Shape Set and Steampunk Lady using the Rust Encrusted and Sky Blue Embossing Powder.


Add prepared embossed Steampunk Lady to top of Fanciful Element Chipboard; add prepared gears to top and a round the Steampunk Lady. Add ribbon to the Steampunk Lady.


Adhere fussy cut flower images from the pattern paper along with a few paper flowers.


Fussy cut three sets of butterflies from the pattern paper and layer together. Place on the front of the canvas.


I hope you have been inspired by my Eclectic Dream Canvas. Thanks again for stopping by the Gypsy Soul Laser Cuts Blog.  Please make sure to check out Shanna post today on the blog. 
Hugs Pam

 Gypsy Soul Laser Cuts Supplies:

Other Supplies:
Graphic 45 Steampunk Debutante Collection
Deco Art Metallic Lustre; Iced Espresso, Elegant Emerald, Brilliant Turquoise
DecoArt Media Paint: Titan Buff, Yellow Oxide, Cadmium Red Hue, Raw Umber
Stampendous Rust Encrusted and Sky Blue Embossing Powder
Prima Flowers
Blue Sheer Ribbon
Tatted Ribbon
Xyron Adhesive

Saturday, April 30, 2016

Steampunk Heads

Happy Saturday!!!! Shanna here with two very Steampunk tags to share. 

I had a blast playing with a new color combo for my tags and I just love the pop of my steampunk couple. 


I started with the background a stencil and adding some paint. Then I just added a little more color and some stamping.  


The chipboard pieces got some different shades of metal colors. 


The punch elements got some of the same colors I used on the tag. I gave this some cardboard in between the layers though to add dimension.


For the second tag I did the same thing but added a different small chat sticker. 


These were really fun to play with and great to explore with. 

Thank you so much for stopping by today!

Product Used:
Punch Elements - Coming Soon