
Showing posts with label Keys & Plates Shape Set. Show all posts

Tuesday, March 12, 2024

Happy Birthday Howard Pyle-A Peek-a-Boo Project

Howard Pyle was born on March 5, 1853 in Wilmington, Delaware. He is famous for writing and illustrating children’s books, most significantly “The Merry Adventures of Robin Hood.” He was dubbed the Father of American Illustration. His work is credited with inspiring modern pirate costumes, including Johnny Depp’s look in the Pirates of the Caribbean movies. A less famous work of his, and in his opinion a complete failure are the illustrations for Alfred Lord Tennyson’s poem “The Lady of Shallot”. These are the inspirations of this artwork.

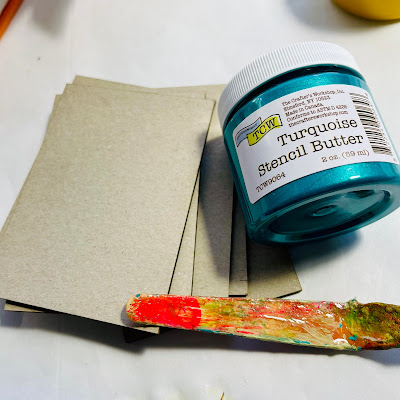
  1. Gather Supplies.
  2. Print Copies of Illustrations from The Lady Of Shallot.
  3. Use Turquoise Stencil Butter and a Small Plastic Palette Knife to Paint Edges of GSLC Chunky ATC Blanks.
  4. Use Fancy Cut Trimming Scissors Trim Edges of Illustrations.
  5. Use a Green Brush Marker to Smudge Edges of Illustration. 
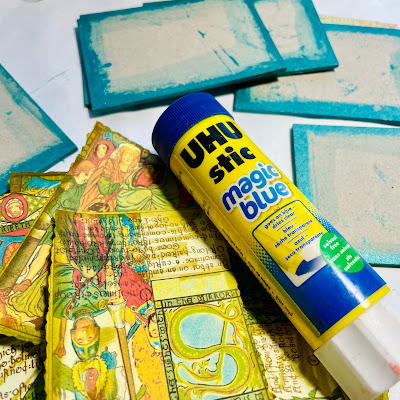
  6. Glue Illustrations to Prepared GSLC Chunky ATC Blanks.
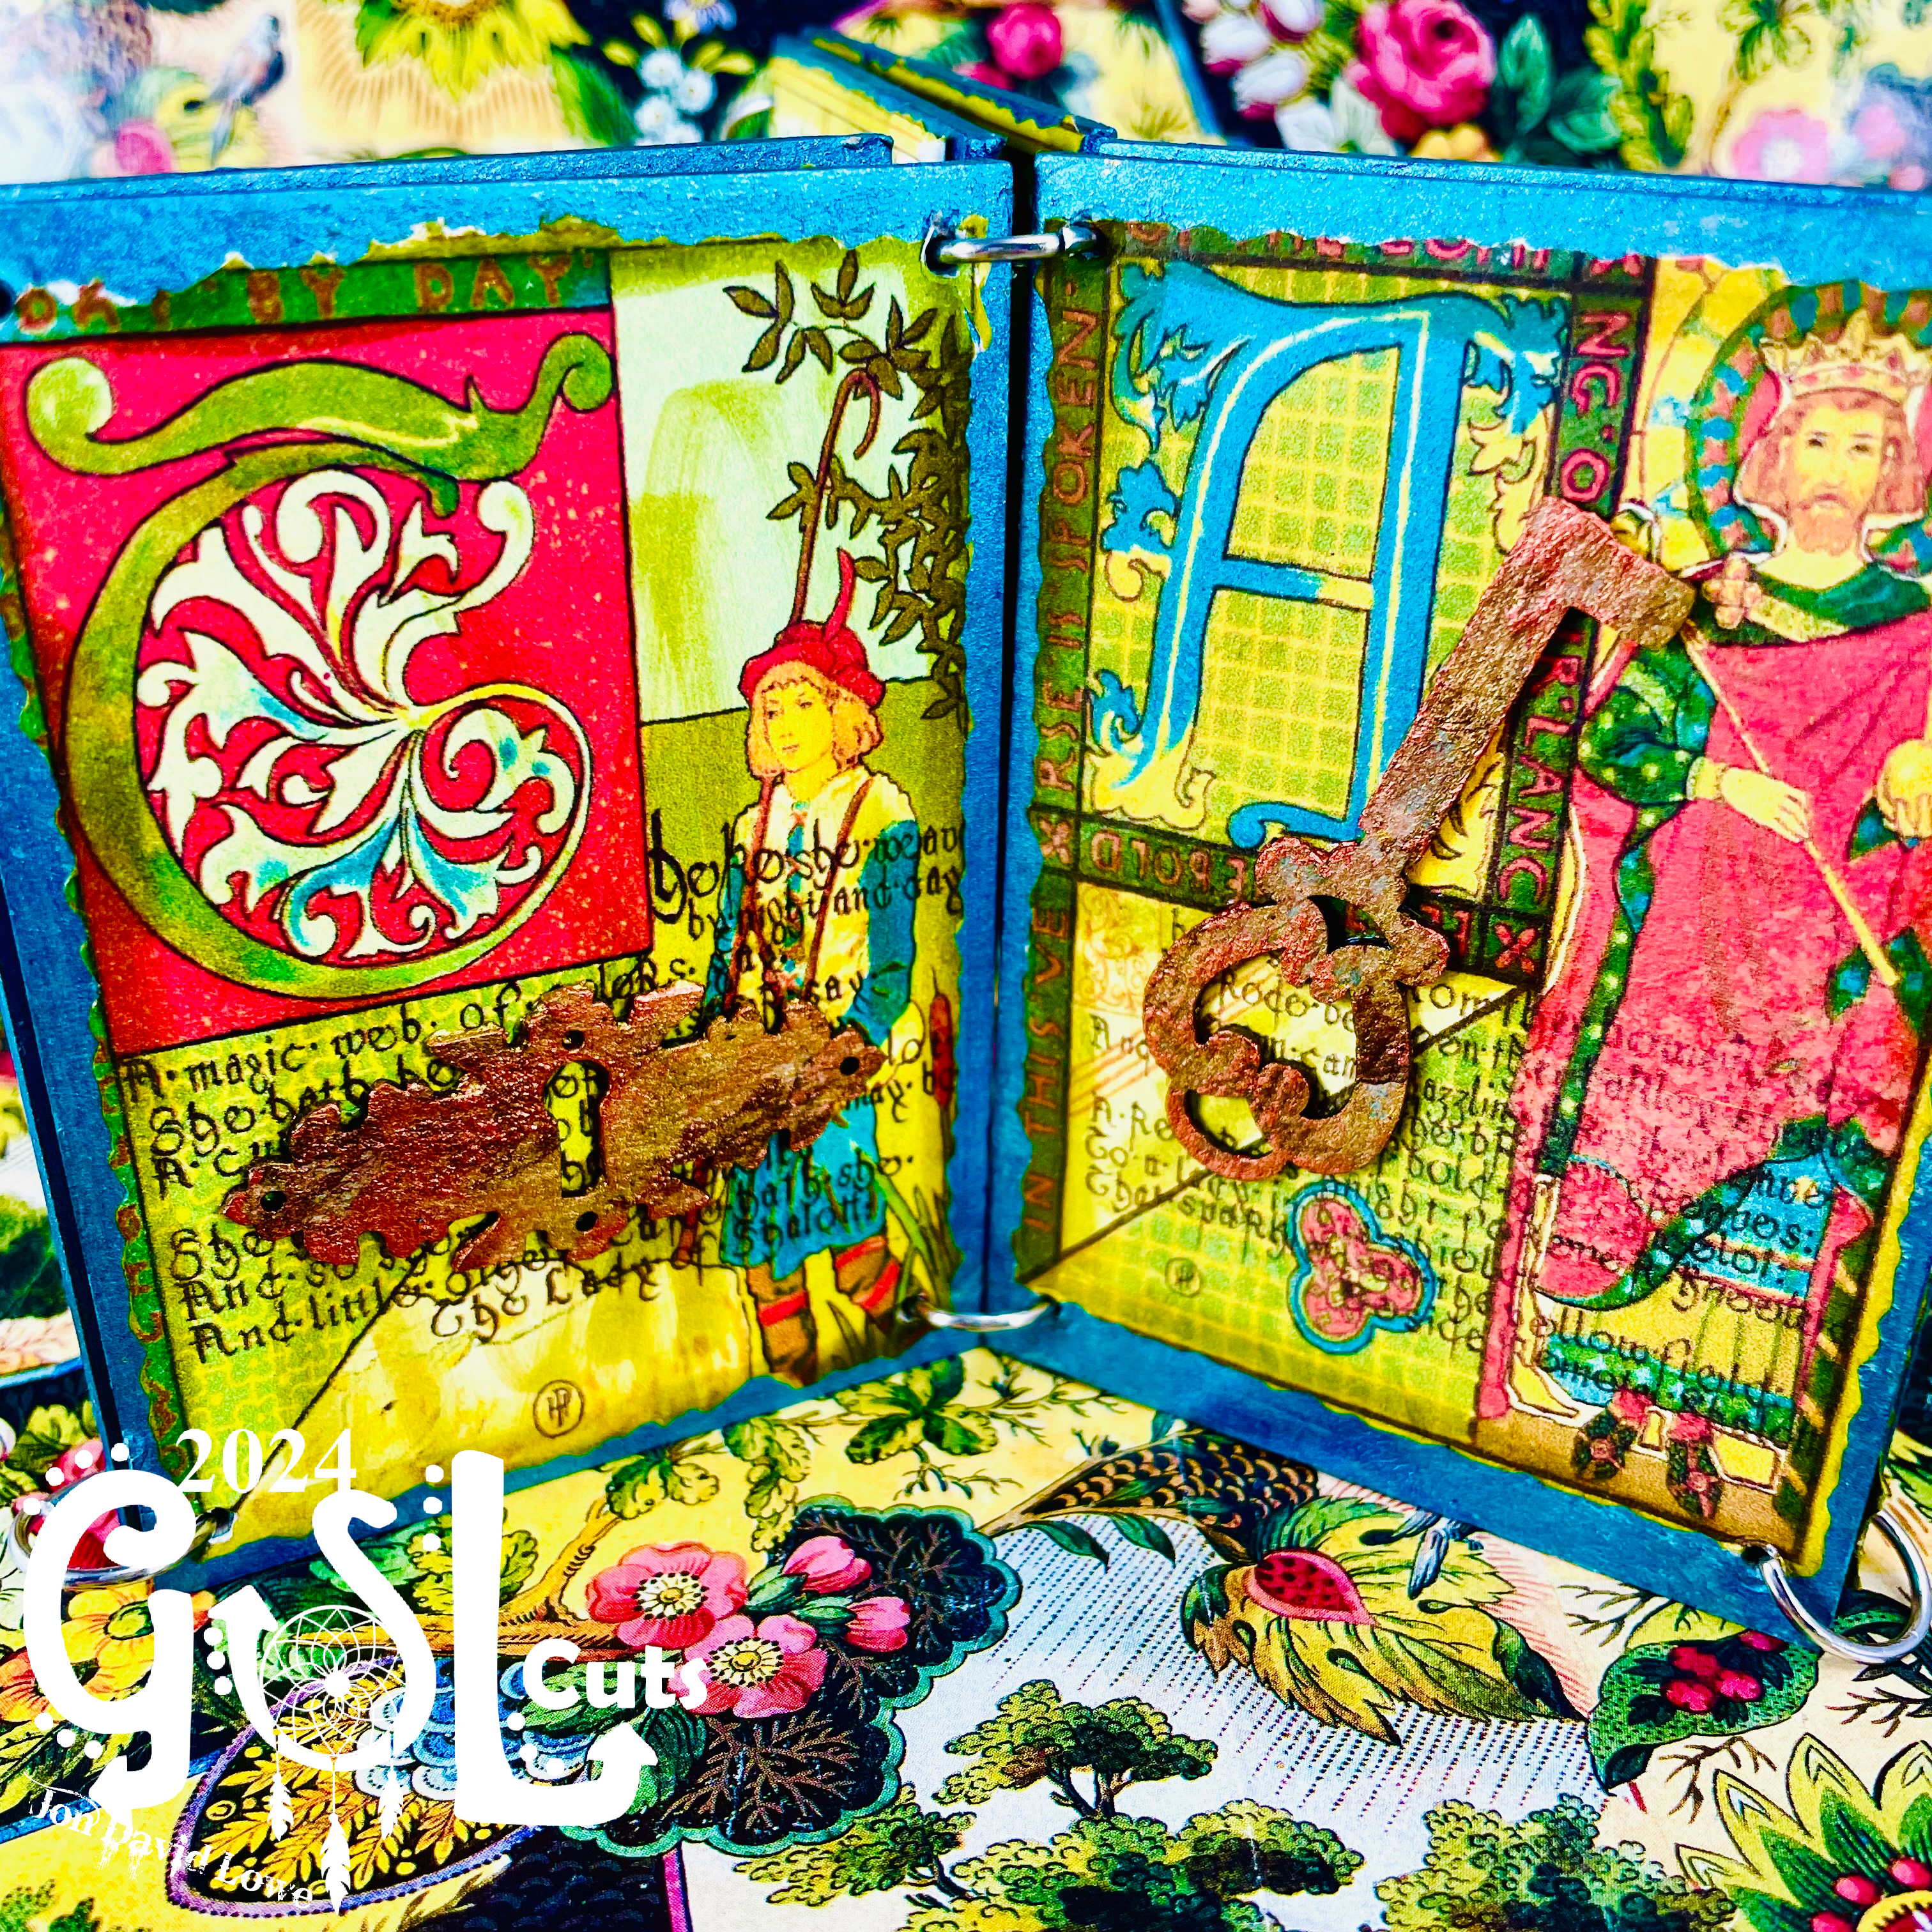
  7. Paint GSLC Keys & Plates Shape Set with Metallic and Brown Acrylic Paints.
  8. Use WeldBond Glue to Attach GSLC Keys & Plates Shape Set to Prepared GSLC Chunky ATC Blanks.
  9. Use a Hole Punch to put Holes in the Four Corners of the GSLC Chunky ATC Blanks.
  10. Use Two Needle Nose Pliers to Connect GSLC Chunky ATC Blanks Together with Steel Jump Rings.


Final Thoughts:

Quotes from “The Merry Adventures of Robin Hood”

“I live in a Land where the forests are big, and the rivers are wide and blue. The sky is as big asa forest and the birds are as merry as my friends, the men of Sherwood.”


“Here, in Sherwood, where the trees are so green and the flowers are so bright, we live outlives in the company of friends”

“When a man is in trouble, there is no greater joy than to see friend coming to help.”

“Every man deserves a second chance. Every man deserves chance to be merry and free.”

“To be a merry man, one must learnt dance with the shadows.”


Alfred Lord Tennyson’s poem “The Lady of Shalott” is a rather sad tale, without a happy ending. It seems like the sadder side of a magical kingdom. It tells the story of a young medieval woman mysteriously imprisoned on an island near Camelot. She must weave a colorful web and only watch the outside world through a mirror. If she looks at Camelot directly, she will be cursed.

It tells of unfulfilled dreams, entrapped in our own ivory towers.  If we only observe the world through our windows or reflected in our mirrors we will never know the fullness of the land of the living with all its passions and pains, its wins and losses, the calm and chaos, its  beauty and decay.

Where Howard Pyle saw these illustrations as failures I like their art nouveau appeal reminiscent of Mocha but more organic. We each have love hate with our creations. 
March is a month of changes, as children we would draw pictures of lions and lambs.  It is said that “March Come in like a lion and goes out like a lamb.”

It is indeed like a lion with its fierce winds roaring, the cold like long white teeth, icicles piercing through our skin: then the gentle softness of a billowing white cloud, as white and fluffy as fleece on an ewe, the sunny fresh aired days as innocent as a new born lamb.


Supplies:  GSLC Chunky ATC Blanks , GSLC Keys & Plates Shape Set , Printed Copies of Illustrations from The Lady Of Shallot, Turquoise Stencil Butter, Small Plastic Palette Knife, Fancy Cut Trimming Scissors, Green Brush Marker,  UHU GlueStick, Metallic and Brown Acrylic Paints, Paintbrush, WeldBond Glue

I cannot wait to see your interpretation of this project. Share it on the Gypsy Soul Laser Cuts Craft Group Page on Facebook. I would love to see what new creations you are working on!

Friday, August 17, 2018

Within My Heart

Hello!! Jennalee here today. This is one of those projects that had a mind of its own and couldn't be forced. Those are always my favorite after the fact. The ATC Shrine With Feet was the perfect home for this brave lady.


Begin by preparing your medal. Cut vintage photo into medal shape The one I used here I found in my stash and was already shaped this way. Heat Emboss photo using Vintage Beeswax. The Vintage Beeswax may make your photo a bit transparent. If so back photo with a scrap of gold paper from Tim Holtz's Metallic Kraft Paper Stash. Stitch around medal and add Dresden trim to the top edge. Adhere button.  


For the Shrine covering emboss aluminum tape in Botanical 3D Texture Fade from Sizzix. Color the aluminum tape using Alcohol Ink in Mushroom, Gun Metal, and Gold. Using a felt blending pad dab on colors until desired effect is achieved. Blend in Vintage Photo Distress Crayon.  


Apply aluminum tape to Shrine pieces. Making sure to adhere to the outside surfaces. The benefit of using the aluminum tape is it's self-adhesive and easy to trim using an Exacto knife. 


Cover inside surfaces of Shrine with a piece of scrapbook paper. 


Assemble Shrine with adhesive of choice. I love Distress Collage Medium for this step. 


Heat emboss a key and plate from the Keys and Plates set using Burnt Copper Leaves and drops of Patina Oxide. Cut key in half. 


Add detail to the front edge of Shrine. Lightly press Versamark embossing ink pad on edge. Heat emboss with Ancient Amber. 


Add brads to key plate and adhere to front bottom edge of Shrine. Plan placement of key and adhere to Shrine with foam squares. Apply sentiment from Tim Holtz's Clippings Stickers and adhere bird charm from Idea-ology. 


Finalize placement of all pieces and adhere your medal using foam dots. Stack foam dots 2 or 3 deep to get the depth desired. 


Although this project had a rough start I really enjoyed the process once I started trusting it. And I can say I am happy with how it turned out. I wish I knew this lady's story she looks like she has a brave heart. 

Thanks for stopping by and spending a few minutes with me today. I hope you have a great weekend!! I will be teaching a class on Saturday so I am excited to create, chat and eat some cake!! 
Happy Creating ~ Jennalee 


Thursday, July 26, 2018

Key to Your Soul Art Journal Page by Barbara Rankin

Hi everyone!  Today I'll be working in my art journal, and using Gypsy Soul Laser Cuts chipboard to add dimension without lots of bulk.  If you've ever wondered how to get some added dimension in your art journal, consider chipboard.  It is perfect for items like art journals and greeting cards, mini albums with thin spines, and of course, your mixed media canvas pieces.

I want to warn you that this post has lots of photos, but I believe a picture is worth a thousand words, so I hope it will be more helpful than a hinderance.


I started out with my 6"x9" Dylusions art journal and gave the pages a coat of Old Paper Distress Crackle Paint I had in my stash.  You can, of course, use regular crackle paste and color it with paint or just leave it natural.


Spread Modeling Paste through Pixels stencil with a spatula.  Let dry or use heat tool to speed drying time.


While the paste is drying, use gesso to prime chipboard pieces chosen from the Mixed Media Fragments 2 chipboard collection.  I cut some  pieces apart to piece together in the background.


Use small stamps or portions of larger stamps to make some texture on the Fragments with black archival ink.  This will not only add interest but also a bit of texture to the pieces.


Spray background with Color Bloom Glistening Waves, leaving some areas white.


Spray background with Color Bloom Lime Wedge.  Let dry.


Spray background with Color Bloom Tea Stain.  Let dry.


Spray background with Tattered Angels Frosty Nights.  Let dry.


Spray background with Color Bloom Iris.  Let dry.


Stamp damask background stamp with black archival ink.  Stamp off once before stamping onto page for a lighter image.


Prime two keys and two plates with black gesso and let dry.


Computer generate your phrase onto inexpensive printer paper and and spray it with a fixative to keep the inkjet ink from bleeding when we add more color.


Cut the phrase apart, then glue them to a piece of chipboard.  You can use cereal box chipboard from your kitchen, or you could glue several layers of cardstock together to get the added height.


Glue FragmentsKeys & Plates, and phrase pieces to journal pages, as shown.  I weighted them down while they dried.


Use a spatula or brush to spread some regular gel matte medium randomly over the background, concentrating around the fragments pieces, and then sprinkle on texture pebbles, filling in any open areas with the smaller texture sand.  Let dry,


Spray both pages the same as before.  It is really neat to see how the different pieces will take on the colors differently.  I started with the TA Frosty Nights, then CB Glistening Waves, CB Iris, CB Lime Wedge, and finally CB Tea Stain.  I dried each color layer before spraying the next color.


Next, I dry brushed Vintage Gold Metallique wax over some of the high spots on the page.


Then I added a small amount of Brushed Iron Metallique wax over the black gessoed chipboard pieces.  Next, I added the Bronze Age over them, and applied  it to the edge of the pages with my finger.


One last blast randomly with the CB Glistening Waves, and let dry.


The addition of all the sprays lightened the printed words, so I used a black Sharpie pen to go over the letters in the phrase.  It was easy and best of all, it made it look like it was hand-written rather than computer-generated.


I used a Pitt Black big brush pen to add some shading beneath some of the pieces to add dimension.


Next, I made splatters over the background by making a wash of white gesso + water and a fan brush.


I made dots with a bronze pearl paint pen to resemble brads or nail heads in the key plate holes.


Next, I added more Vintage Gold wax over the high spots.  They had gotten covered up some by the sprays, but that is why mixed media is so fun.  You can just keep adding layers and layers of the same stuff until you like the end result.  I also edged the pages with Black Soot distress ink and a blending tool.


And now, I have some close-ups of portions of the pages for you. 


Supplies Used:

GSL Mixed Media Fragments 2
GSL Keys & Plates Shape Set
White Gesso (Liquitex)
Black Gesso (Liquitex)
DecoArt Media Modeling Paste
Stencil Girl S509 Pixels Stencil (6x6)
Distress Crackle Paint (Old Paper) (or substitute any crackle paint)
Black Soot Distress Ink
Blending Tool
Dylusion 6"x9" art journal
Prima Color Bloom Spray Mists
  Glistening Waves
  Lime Wedge
  Tea Stain
  Iris
Prima Metallique Wax
  Vintage Gold
  Brushed Iron
  Bronze Age
  Mystic Turqouise
Tattered Angels Mists
  Frosty Nights
Viva Decor Bronze Pearl Paint Pen
Art-C 26885 San Serif Alphabets stamps & stencil set
Archival Black ink pad
Fast Grab Tacky Glue (Aleene's)
Golden Regular Gel (Matte)
Krylon Workable Fixatif
Black Sharpie pen
Pitt Black Big Brush Pen (Faber-Castell)

I hope you enjoyed today's project tutorial and maybe I've inspired you to get working on your art journal or other projects.  Art journaling is fun!  

Thanks so much for stopping by, and have a fun and crafty day!

Hugs,
Barbara