Showing posts with label Altoids Tin Book Cover. Show all posts

Thursday, February 11, 2021

Stencilled Mini Journal

 Hello everyone, you might remember that in my last post I showed how to use a chipboard element as a stencil.  So today I thought I would make a mini art journal and use some of the stencilled prints to decorate it.

To make the small journal, I am using the chipboard set called Altoids Book Cover C2F and some of the stencilled paper from my previous chipboard printing session.  In addition to the gel printing, I also used the chipboard stencil in two other ways - firstly with ink and a sponge:


Then with texture paste:

So I ended up with these prints in addition to my gel prints:


I cut down the top print down to fit both sides of the book cover leaving a little extra on the side.


I used PVA glue to adhere the pieces to my cover leaving a small gap in between so that my journal would lay flat and also close properly.


Here's how it looks on the outside with the paper overlapped on the spine.


For the inside, I repeated the process using a piece of watercolour paper already painted.


Then I took the texture paste print and cut a piece to fit on the spine with a little extra to wrap around to the front cover to make it more interesting.


Position the shaped side where you want it to be and glue that down first.  Once that is dry, glue the rest to the spine making sure that you can open and close the book.


I used wax to colour the edges of the book, but paint would also work.

I used watercolour paper (9.5 x 12.5 inch size) to cut 6 x 4 3/8 inch pages that I folded in half.


I cut 14 pages in total to make 7 signatures.  There are a number of ways to assemble the inside of the journal.  The signatures could be stitched together, or they could be held firmly in position as in the photo below and glued together, then glued to the spine.


But, since I wanted my pages to be removable, I used elastic cords to hold my pages in place. 


For this size book, these hair elastics are the perfect size!


Slide the pages through the elastics and the mini journal is ready to use!


The pages can be removed to work in them and returned to the journal when finished.


To finish off my journal I added another hair elastic to hold it closed and attached a tassel leftover from another project.

 It's a nice size to carry around or pop in a handbag or a pocket.  The pages are 6 x 4 3/8 inches and the journal will take at least 14 removable pages to work in. 

 I hope you liked this little tutorial, let me know in the comments!

Elle
Empire of the Cat

Project Recipe:

Altoids Book Cover C2F
PE126ES Seaweed Circle *coming soon*
PE129ES Oceanic *coming soon*
acrylic paints, texture paste, PVA, 
From stash: pre-painted watercolour paper, hair elastics, pre-made tassel, 

Wednesday, April 4, 2018

Frida Shrine "Book"

Hi everyone, Ann here today, sharing this Frida Kahlo Shrine "book" that I created
 to showcase some stamped images that I love.
It all begins with a Gypsy Soul Laser Cuts altoids tin book cover. This piece arrives in three, flat pieces. You can recycle a tin to use inside or find one in your local craft supply store. Being a wintergreen Altoids lover, I will be using one of the plentiful empty tins from my stash.
I know I will be using a stamped image on the cover of the "book" so I add a light coat of white paint to one side of a cover and allow it to dry. One thing I love about the Gypsy Soul Laser Cuts is that they are very dense chipboard, and they accept all kinds of medium very well, especially paint. I will be using paint to color the stamped image, so I make sure to clear emboss it after stamping. The stamp I am using is "Creation" by Sandra Evertson from RubberMoon. There are four portals in this series and they are all fabulous. I chose this one because I will be cutting a hole in the center to allow the interior to be seen when the shrine is in the closed position and I can easily cut out the shape of the opening that this portal has.
Although the chipboard is dense, it can still be cut using an Exacto knife. The best way to get a clean cut is to make your initial line and then go over it as many times as necessary until you have cut through. Be sure to use a sharp/new blade. It may also work with a steel rule die; but since I was working within this portal I felt that hand cutting would be best. The next step is painting the pieces. I use a combination of acrylic paints, the main turquoise color is Deco Art Americana acrylic paint in Laguna. All of the pieces are painted on both sides. The other colors used are from an artist set of acrylic paints. I mixed different colors to create the hues that I was looking for and painted the stamped image. 
While I have the paints out, I also paint the tin that will be glued inside. For this I use the same Deco Art Laguna acrylic, and paint the inside with a coat of black. while that is drying, I die cut the greenery pieces using the Tim Holtz Tropical dies by Sizzix.
The focal point of the shrine is "Alma" another Sandra Evertson stamp by RubberMoon. When I began the piece, I was not sure if she would be situated behind the greens or in front. For this reason, I initially cut a piece of watercolor paper to fit within the tin. I stamped and clear embossed the image, then using distress ink, colored around her. I ultimately decide to locate her in front of the greens. This requires fussy cutting the image once it is completely colored.
Since I am not using the lid on the tin, the spine width is a bit too wide. I measure the width that I want the spine to be, and cut it to that size. This allows the top to rest on the tin when it is in the closed position. To create the hinge for the shrine "book", I use washi tape. I cover the tape with a coat of paint so that it is not noticeable when the shrine is in the open position. I add a few die cut palm leaves to add interest on the inside of the spine, as well as additional camouflage for the hinge.
Now it is time to assemble the remaining pieces. I locate the tin so that it is centered within the opening on the front panel, for a clear view within, when the "book" is shut. I mark where the tin corners need to be and use a strong adhesive to attach the tin to the back plate. I allow this to dry overnight before adding any embellishments.
 Then I add die cut fronds around the outside edges of the tin, as well as some tropical flowers. All of these pieces were cut using the Tim Holtz Tropical thinlet dies.            
               
                                       
For the spine, I cut a piece of green card stock a bit smaller than the thickness of the assembled "book" and using the Tim Holtz Leafy embossing folder, created a textured strip. I apply glue only to the flat center piece of the "spine"and attach the strip. This will allow the hinged areas to work freely while the decorative strip remains in place. 
I cut a label from natural paper and use small alphabet stamps to stamp "FRIDA". I ink the edges of the label with Distress Ink in peeled paint and crushed olive. This is attached to the top of the front panel with foam adhesive and two small, layered flowers are adhered at either side. 
 I love the depth I was able to achieve using the Altoids Tin Book Cover, and especially like that it can be opened and admired from a different perspective as well.  
I hope you love this Frida Shrine.

Thanks so much for taking the time to stop by the blog,  
I hope that you are inspired to create something.
Be sure to share your Gypsy Soul creations with us on the Gypsy Soul Laser Cuts Craft Group Page on Facebook. We would love to see what you are up to!
~Ann

Gypsy Soul Laser Cuts used:

Saturday, May 20, 2017

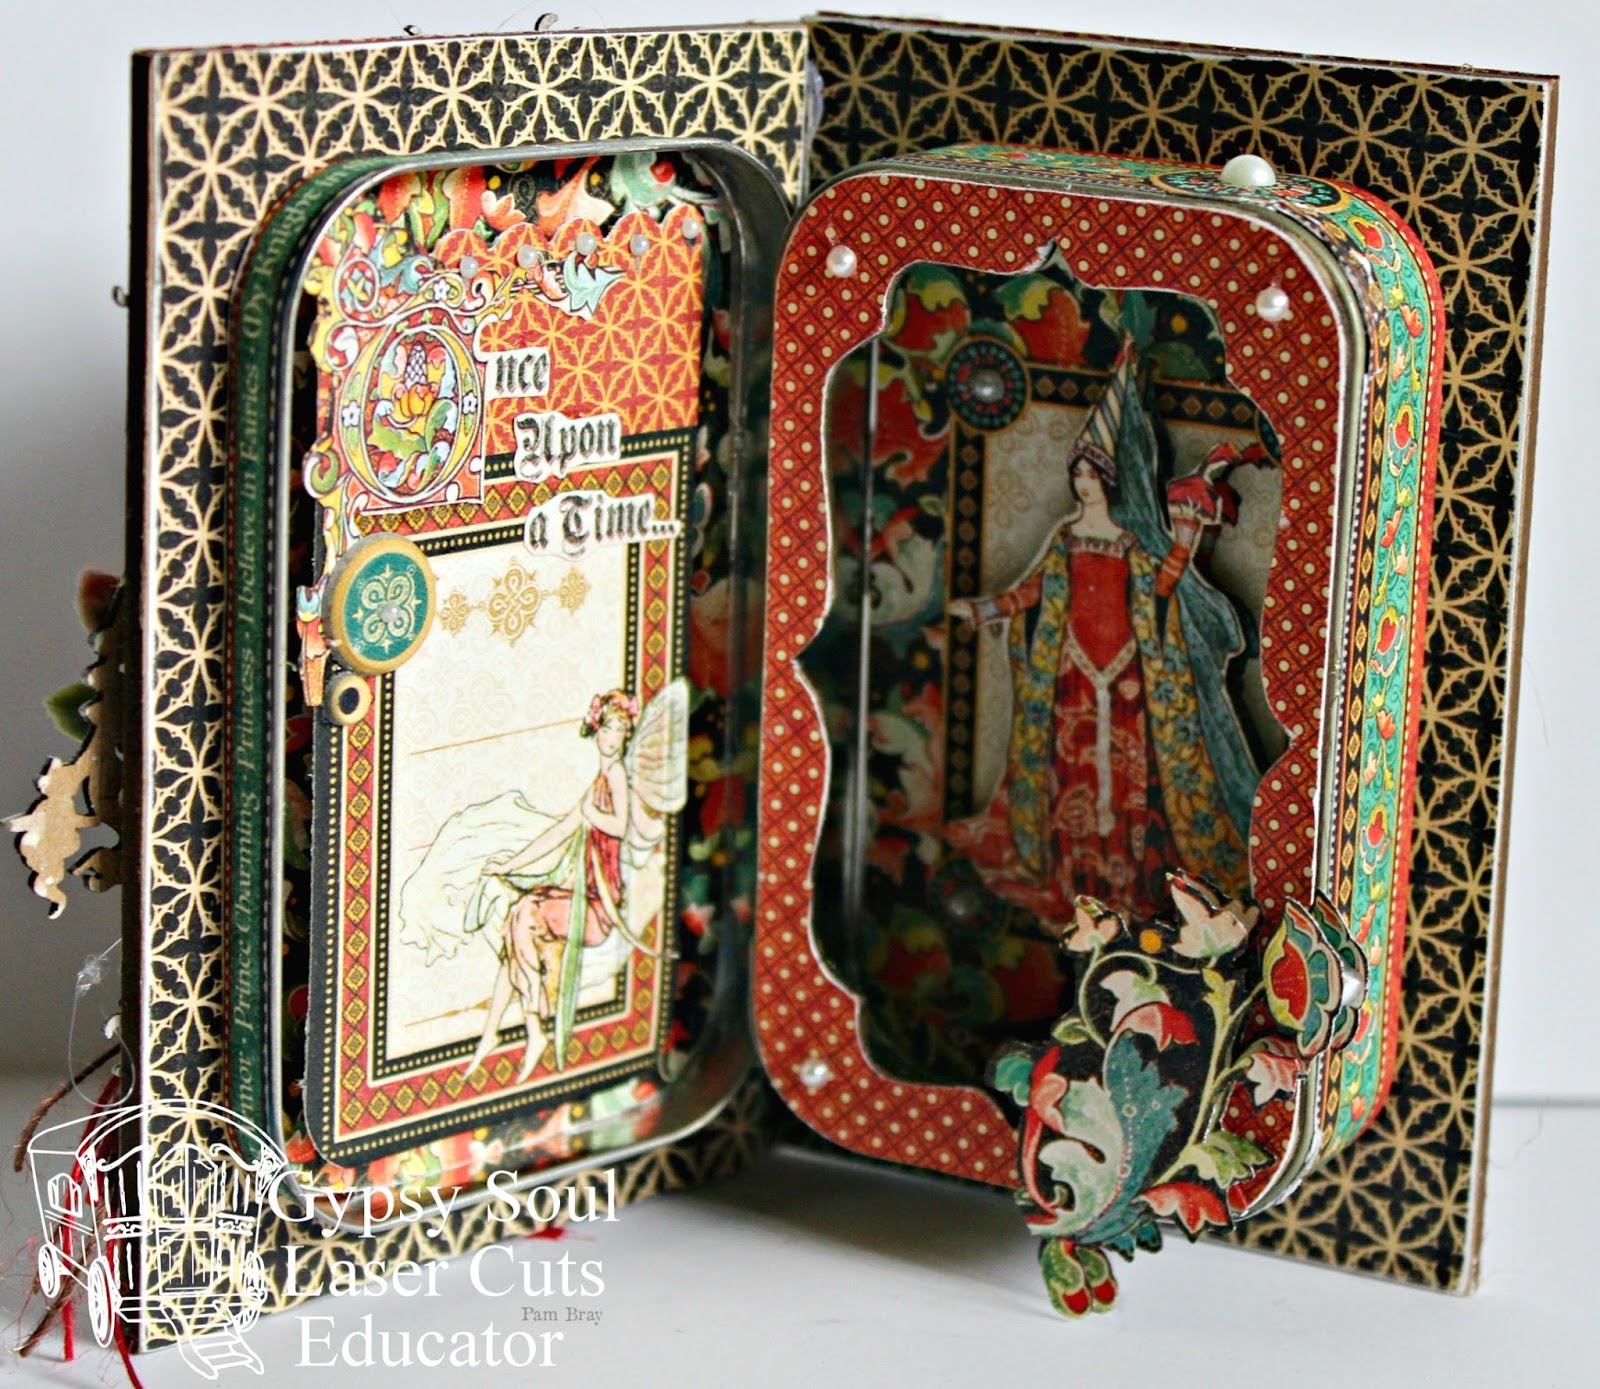
Enchanted Forest Altoids Tin by Pam Bray


Hi Pam here today on the Gypsy Soul Laser Cuts Blog sharing with you how to alter an Altoids Tin using some fabulous Gypsy Soul Laser Cuts Chipboard pieces made just for that.


Begin by covering the sides of an Altoids Tin with pattern paper.


Adhere pattern paper to inside covers of the Altoids Tin Book Cover. Adhere Altoids Tin to inside of back cover.


Decorate the inside of the Altoids Tin using pattern paper.


Cover the Altoids Insert Frames Scalloped with pattern paper; adhere to top of prepared Altoids Tin Book Cover. Add fussy cut pieces to front of the Altoids Insert Frames Scalloped.


Repeat with pattern paper to the inside of the Altoids Tin.


Add pocket tag to inside of Altoids Tin.


 Add a few white pearl gemstones to the inside and outside trim of Altoids Tin.


Paint Round Frame With Dragons with distress paint; dry. Add to top of chipboard piece; adhere to top of prepared Altoids Tin Book Cover. Add small flowers to top of Round Frame With Dragons.


Paint corners from the Wrought Iron Set with distress paint; dry. Adhere to front of prepared Altoids Tin Book Cover. Add small chipboard button with twine bow along with more small flowers.


I hope you start keeping your Altoids Tin and create a few upcycled pieces with them using Gypsy Soul Laser Cuts Supplies. Hugs Pam

Gypsy Soul Laser Cuts Supplies:

Other Supplies:
Graphic 45 Enchanted Forest Collection
Floral Picks
MayArts Ribbon: Red and Brown Twine
Distress Paint: Fired Brick and Antique Linen
Empty Altoids Tin
Small White Pearl Gemstones
Paint Brush
Scotch Quick Dry Adhesive