
Showing posts with label Texture Sheet Gears. Show all posts

Tuesday, November 14, 2017

Something Wicked by Susan

Hello crafty friends!  Today I want to share a steampunk-y shadow box made from Gypsy Soul Laser Cuts' ATC Shrine Box.


The first thing to do is wipe down the edges with a damp cloth to remove laser residue (if any).  Lay the pieces out and put a dab of glue on the edges that fit together.  I did one panel at a time and held in place for a few seconds to give the glue a chance to catch.  Let this dry completely before measuring for paper inserts.


I used a corner of the 12x12 Texture Sheet Gears for the inside back, embossing it with a red/black/brown powder mixture I made a few projects ago.


I wanted a dash of color so I cut off a piece of the Banner Border Strips, traced each pennant on a different scrap of paper, then painted the pennant with black gesso.  While that dried I cut the triangles and inked the edges.  They are all slightly larger than the actual chipboard piece and overlap nicely to cover the space between each triangle.

I use the Zig glue writers a lot, and this one came in handy to draw a line on the pennant edges and allow me to easily apply the papers.


Next I picked out a few gears and backgrounds from the Steampunk Shape Set and painted them with  metallic paints I have on hand.


Once everything was dry I assembled in a whirlwind and didn't stop to take photos.  *sigh*  In the next two photos you can see the hint of the texture gear sheet in the back.  I chose a plain paper (black with white dots) so attention wasn't diverted from the embossed texture gears.

The pennants are raised up on a layer or two of scrap chipboard for added dimension.  You can also see the metallic gears layered in the right front corner, on which a black cat is perched.


I used more plain paper for the inside walls and ended up using strips of straight black Dresden foil  to finish the inside corners.  Once the outside was covered I used a more ornate Dresden foil to finish the front frame.


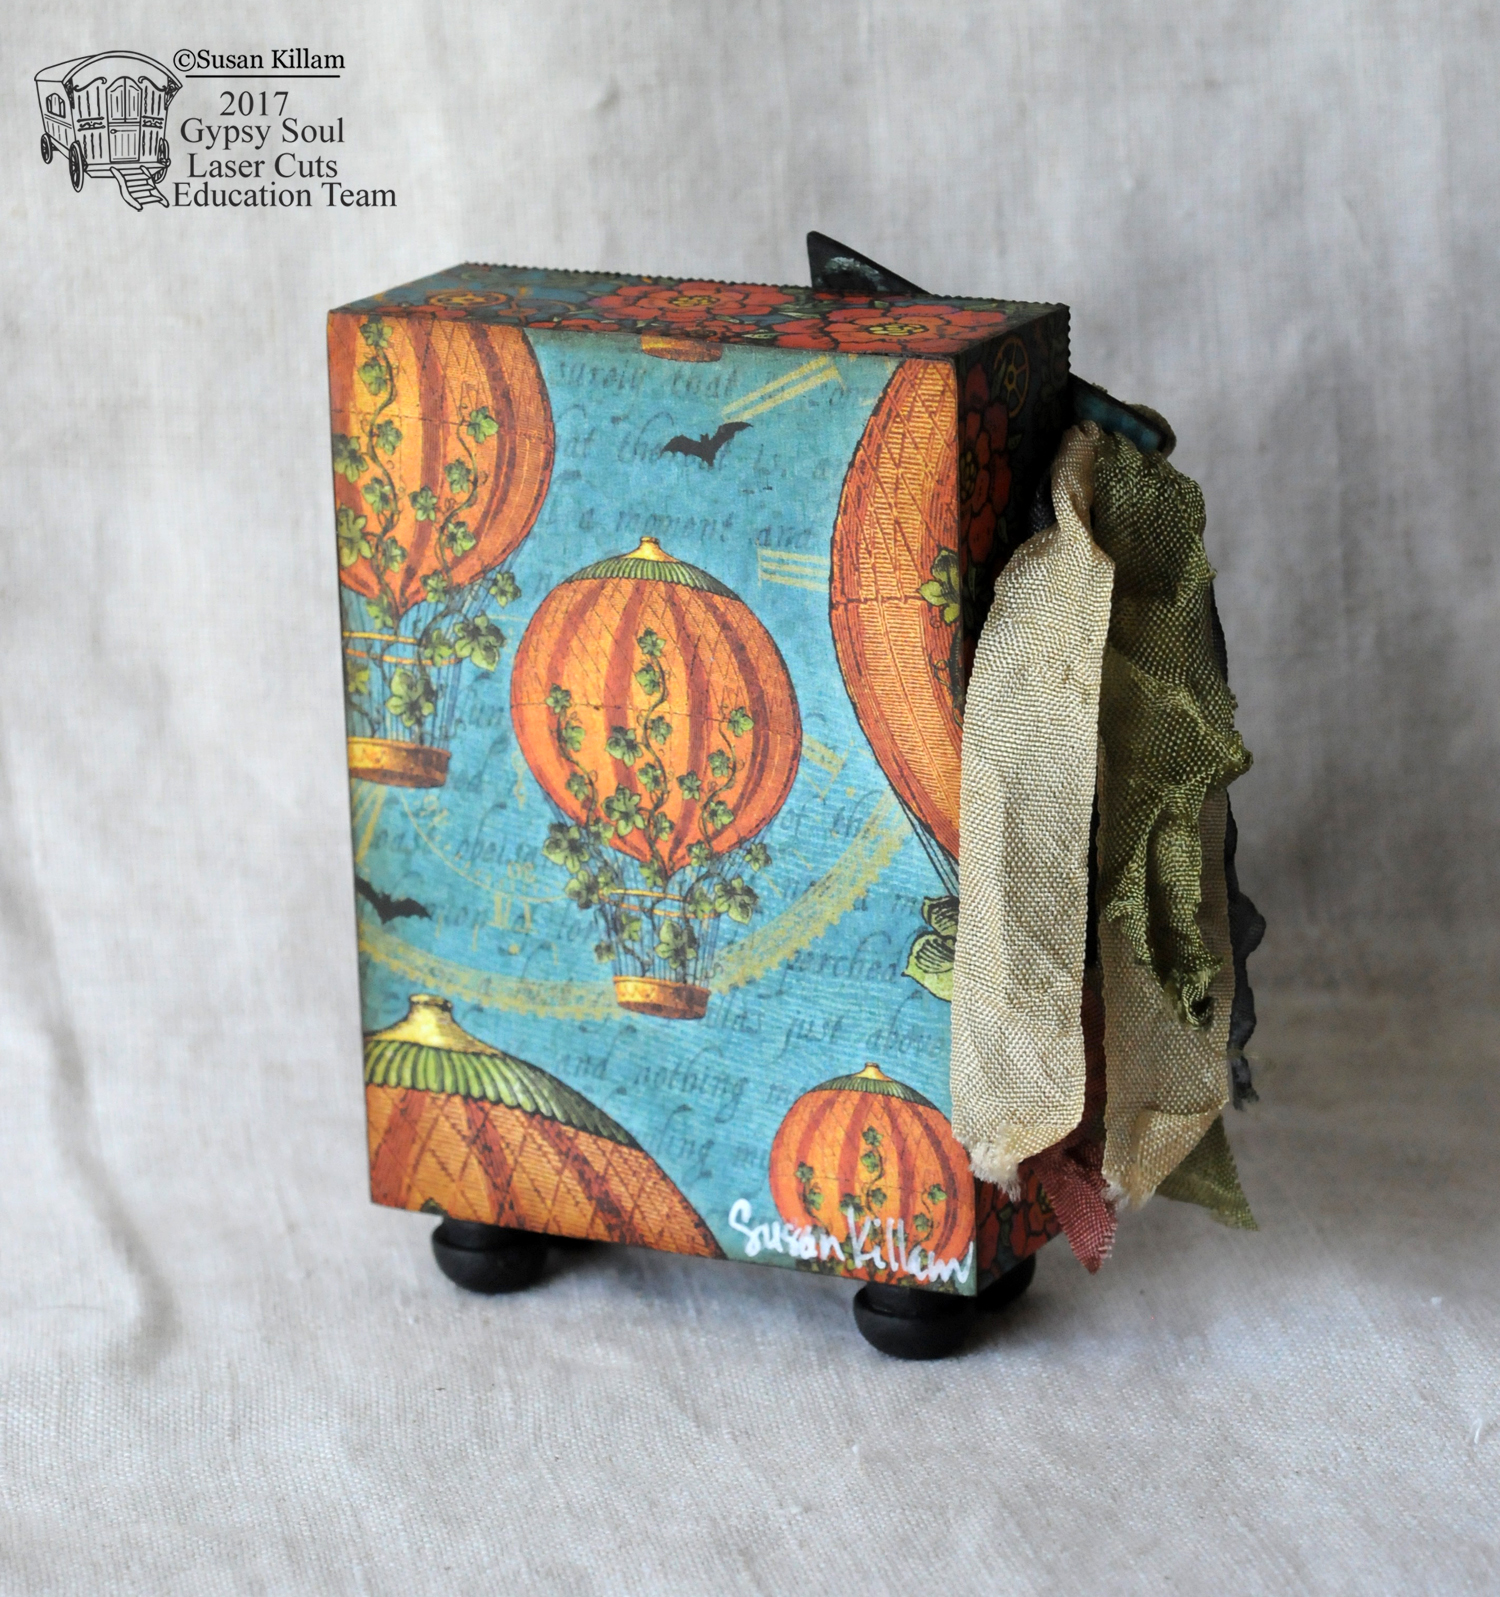
Here's a look at the back!

Thanks for visiting today!

Cheers ~ Susan

Gypsy Soul Laser Cuts Used

ATC Shrine Box BD12X
Texture Sheet Gears HR1
Steampunk Shape Set D33A
Banner Border Strips D34D

Other Supplies Used:
Graphic 45 Steampunk Spells
assorted acrylic paint
custom embossing powder
white glue
Zig writer glue
Brown ink for edges
Dresden foil
wood feet
assorted ribbon

Wednesday, June 15, 2016

Steampunk Debutante Tag with Guest Designer Kathy Clement

Steampunk Debutante Tag Tutorial for Gypsy Soul Laser Cuts

Hello, Friends! I'm thrilled to be guest designing for Gypsy Soul Laser Cuts again today! When I found fabulous Steampunk chippies in my goodie box from Gypsy Soul, I knew just what I wanted to do with them. I hope this Steampunk Debutante Tag tutorial will get your creative juices flowing, too. 
Steampunk Debutante Tag Folio by Kathy Clement for Gypsy Soul Lasercuts Product Graphic 45 Steampunk Debutante 02
 I love all the colors and dimension and whimsy on this heavy weight tag. The chipboard base is incredibly thick and strong...so much so that I decided to add a little waterfall folio to the reverse side.
 Steampunk Debutante Tag Folio by Kathy Clement for Gypsy Soul Lasercuts Product Graphic 45 Steampunk Debutante 06 
How fun is that? You can display this as home decor, and load your favorite photos and journaling on the back side.
It even has a pocket! This tag is loaded with gorgeous chippies and fun details. At first glance it may look more complicated than a project you'd like to tackle. But like the old saying, "Yard by yard, life is hard; inch by inch it's a cinch," following the easy steps in my Snapguide tutorial will break things down and make it easy!   Check out How to Create a Chipboard Steampunk Debutante Tag by Kathy Clement on Snapguide. Here are a few more photos to whet your appetite!
 Foam dimensionals are a girl's best friend, and they helped me add loads of depth and dimension to the design
 Steampunk Debutante Tag Folio by Kathy Clement for Gypsy Soul Lasercuts Product Graphic 45 Steampunk Debutante 01 
I love this Steampunk Gent and his funky top hat!
 Steampunk Debutante Tag Folio by Kathy Clement for Gypsy Soul Lasercuts Product Graphic 45 Steampunk Debutante 04 
This pocket watch is filled with beads, mini gears and one of the stickers from the collection. Steampunk Debutante Tag Folio by Kathy Clement for Gypsy Soul Lasercuts Product Graphic 45 Steampunk Debutante 05 

And look how cool the embossed gears are! The little metal clip on the side holds the folio on the reverse closed.
 Steampunk Debutante Tag Folio by Kathy Clement for Gypsy Soul Lasercuts Product Graphic 45 Steampunk Debutante 07 
You can easily fit between 19-20 4" x 4" photos on the back of this tag. Less if you add journaling for each photo. And you can always tuck more photos into the pocket. I hope you'll give this Steampunk Debutante Tag Folio a test drive. Here are links to the chippies I used in its creation:
Thanks for stopping by!

Cheerio,  kathy

Monday, April 18, 2016

Almost Three...Layout by Lynne


Hello there! Since my son's 24th birthday is the 17th of April, I decided to make a layout with one of my favourite photos from his childhood. I can't believe so much time has passed since this was taken....hmmm... funny, he's an adult now and I'm still 29-haha! Pretty soon my kids will be older than me (wink wink)
The outfit he was wearing was mostly dark green with some navy blue so I played that up on the chipboard accents. I dry embossed the heart then painted the heart and balloon with navy acrylic paint and then dabbed some dark green on top when the base was dry. I then rubbed on some gold pigment ink. I used the same process on the gear pieces, but painted them green and dabbed them with the navy blue before adding the ink.


I love that you can choose a wide variety of chipboard accents for your projects and then make them coordinate by finishing them with the same technique. They look like they were made as a set just for your project! Thanks so much for stopping by and I wish you a wonderfully creative and happy week!

Gypsy Soul Items Used
Hot Air Balloons Net Style
 Texture Sheet-Gears
Heart Words

Other Items Used
Donna Salazar Antiquities papers
Donna Salazar Mixed Media Ink-leather
Clearsnap gold ink
Cuttlebug embossing folder-gears

Thursday, January 28, 2016

Steampunk'd Dressform Hang Up

Hello and happy Thursday!  Barbara here again with another project using these fabulous Dressform Hang Ups from Gypsy Soul Laser Cuts.  If you recall, last week I shared a Shabby Chic Dressform Hang Ups.  Click here to see that post.  This week, I am going all out in Steampunk style.
Step 1:  Paint Dressform Hang Up with Titan Buff, then rust, and dry brush with burnt umber.  Glue hanger piece on top of dress form hanger to create dimension.

Step 2:  Trace bodice onto jeweled paper, cut out and adhere to Dressform Hang Up.

Step 3:  Use chipboard piece removed from Dressform Hang Up  trace and cut out embossed faux leather paper, adhere to piece.

Step 4:  Place faux leather piece over corset, trace lower edge and remove.


Step 5:  Once removed, cut corset apart, as shown.  Save bottom piece for another project.

Step 6:  Paint corset with Paynes Grey, dab with Translucent Yellow Oxide, and cover with Titanium White antiquing cream.  Remove some of the antiquing cream with damp baby wipe to give the appearance of a patinated metal.  Thread 22g copper wire through holes in corset.

Step 7:  Glue corset to bodice, then glue faux leather belt on top, as shown.
Step 8:  Cut patterned paper to 7" x 12".  Spritz with water and gently crumple the paper until soft.  Carefully tear up the center and roll the edges.  Very gently shape the paper and dry with heat tool.  It will become very stiff and hold its shape.
Step 9:  To make the underskirt, cut a piece of coordinating patterned paper to fit the opening.  Also trim a piece from the Texture Sheets Gears and paint with white gesso.

Step 10:  Paint Texture Sheets Gears with Paynes Grey, dab with Translucent Yellow Oxide, and cover with Titanium White antiquing cream.  Remove some of the antiquing cream with damp baby wipe to give the appearance of a patinated metal.  

Step 11:  Glue gears and print paper beneath the opening in the skirt.  Cut apart a few more individual gears from the Texture Sheets Gears,  color with antique gold paste wax, and adhere randomly over the bottom texture sheet, as shown.

Step 12:  Glue skirt to bodice, as shown.  Use a good, tacky glue and place a heavy object over it until the glue dries.
Step 13:  Cut chain link in half, add gold metallic ink and heat emboss with gold embossing powder. Adhere to skirt in a crisscross manner.  Add a metal charm and metal studs, as shown.

Step 14:  Add one individual gear that is colored with antique gold wax to the hanger, as shown.  

Gypsy Soul Laser Cuts Supplies used:
Dressform Hang Ups
Texture Sheets Gears
Chain Borders
Parisian Shape Set (corset)

Other supplies used:
12x12 scrapbook paper pad
Jeweled paper
Acrylic paint: Paynes Grey, Raw Sienna, Burnt Umber, Translucent Yellow Oxide, Rusty
Titanium White Antiquing Cream 
Gold Metallic ink pad
Antique Gold wax paste
Gold embossing powder
Metal jewelry embellishment

I have to tell you that I am having a blast making these!  I can see many uses for them, as I said before.  And you are not limited to making the skirts from paper.  How about scraps of fabric, netting,  tulle, ribbon, and so on.  And think of the embellishing possibilities.  You are limited only by your imagination!  So stop by Gypsy Soul Laser Cuts to see the wonderful selection of intricately cut chipboard you could use to make these your own!

Thanks for stopping by, and have a wonderful weekend!

Barbara