Showing posts with label Banner Borders Strips. Show all posts

Wednesday, July 24, 2024

Awkward Introvert Independence Day-A Peek-a-Boo Project

I have written about my introverted side before and my avoidance of crowded situations.  July for many in the United States about celebrating our Independent Day on July 4th. As an introvert I tend to stay away from the crowded parades and firework celebrations, but they are the inspiration for this artwork- well, sorta…


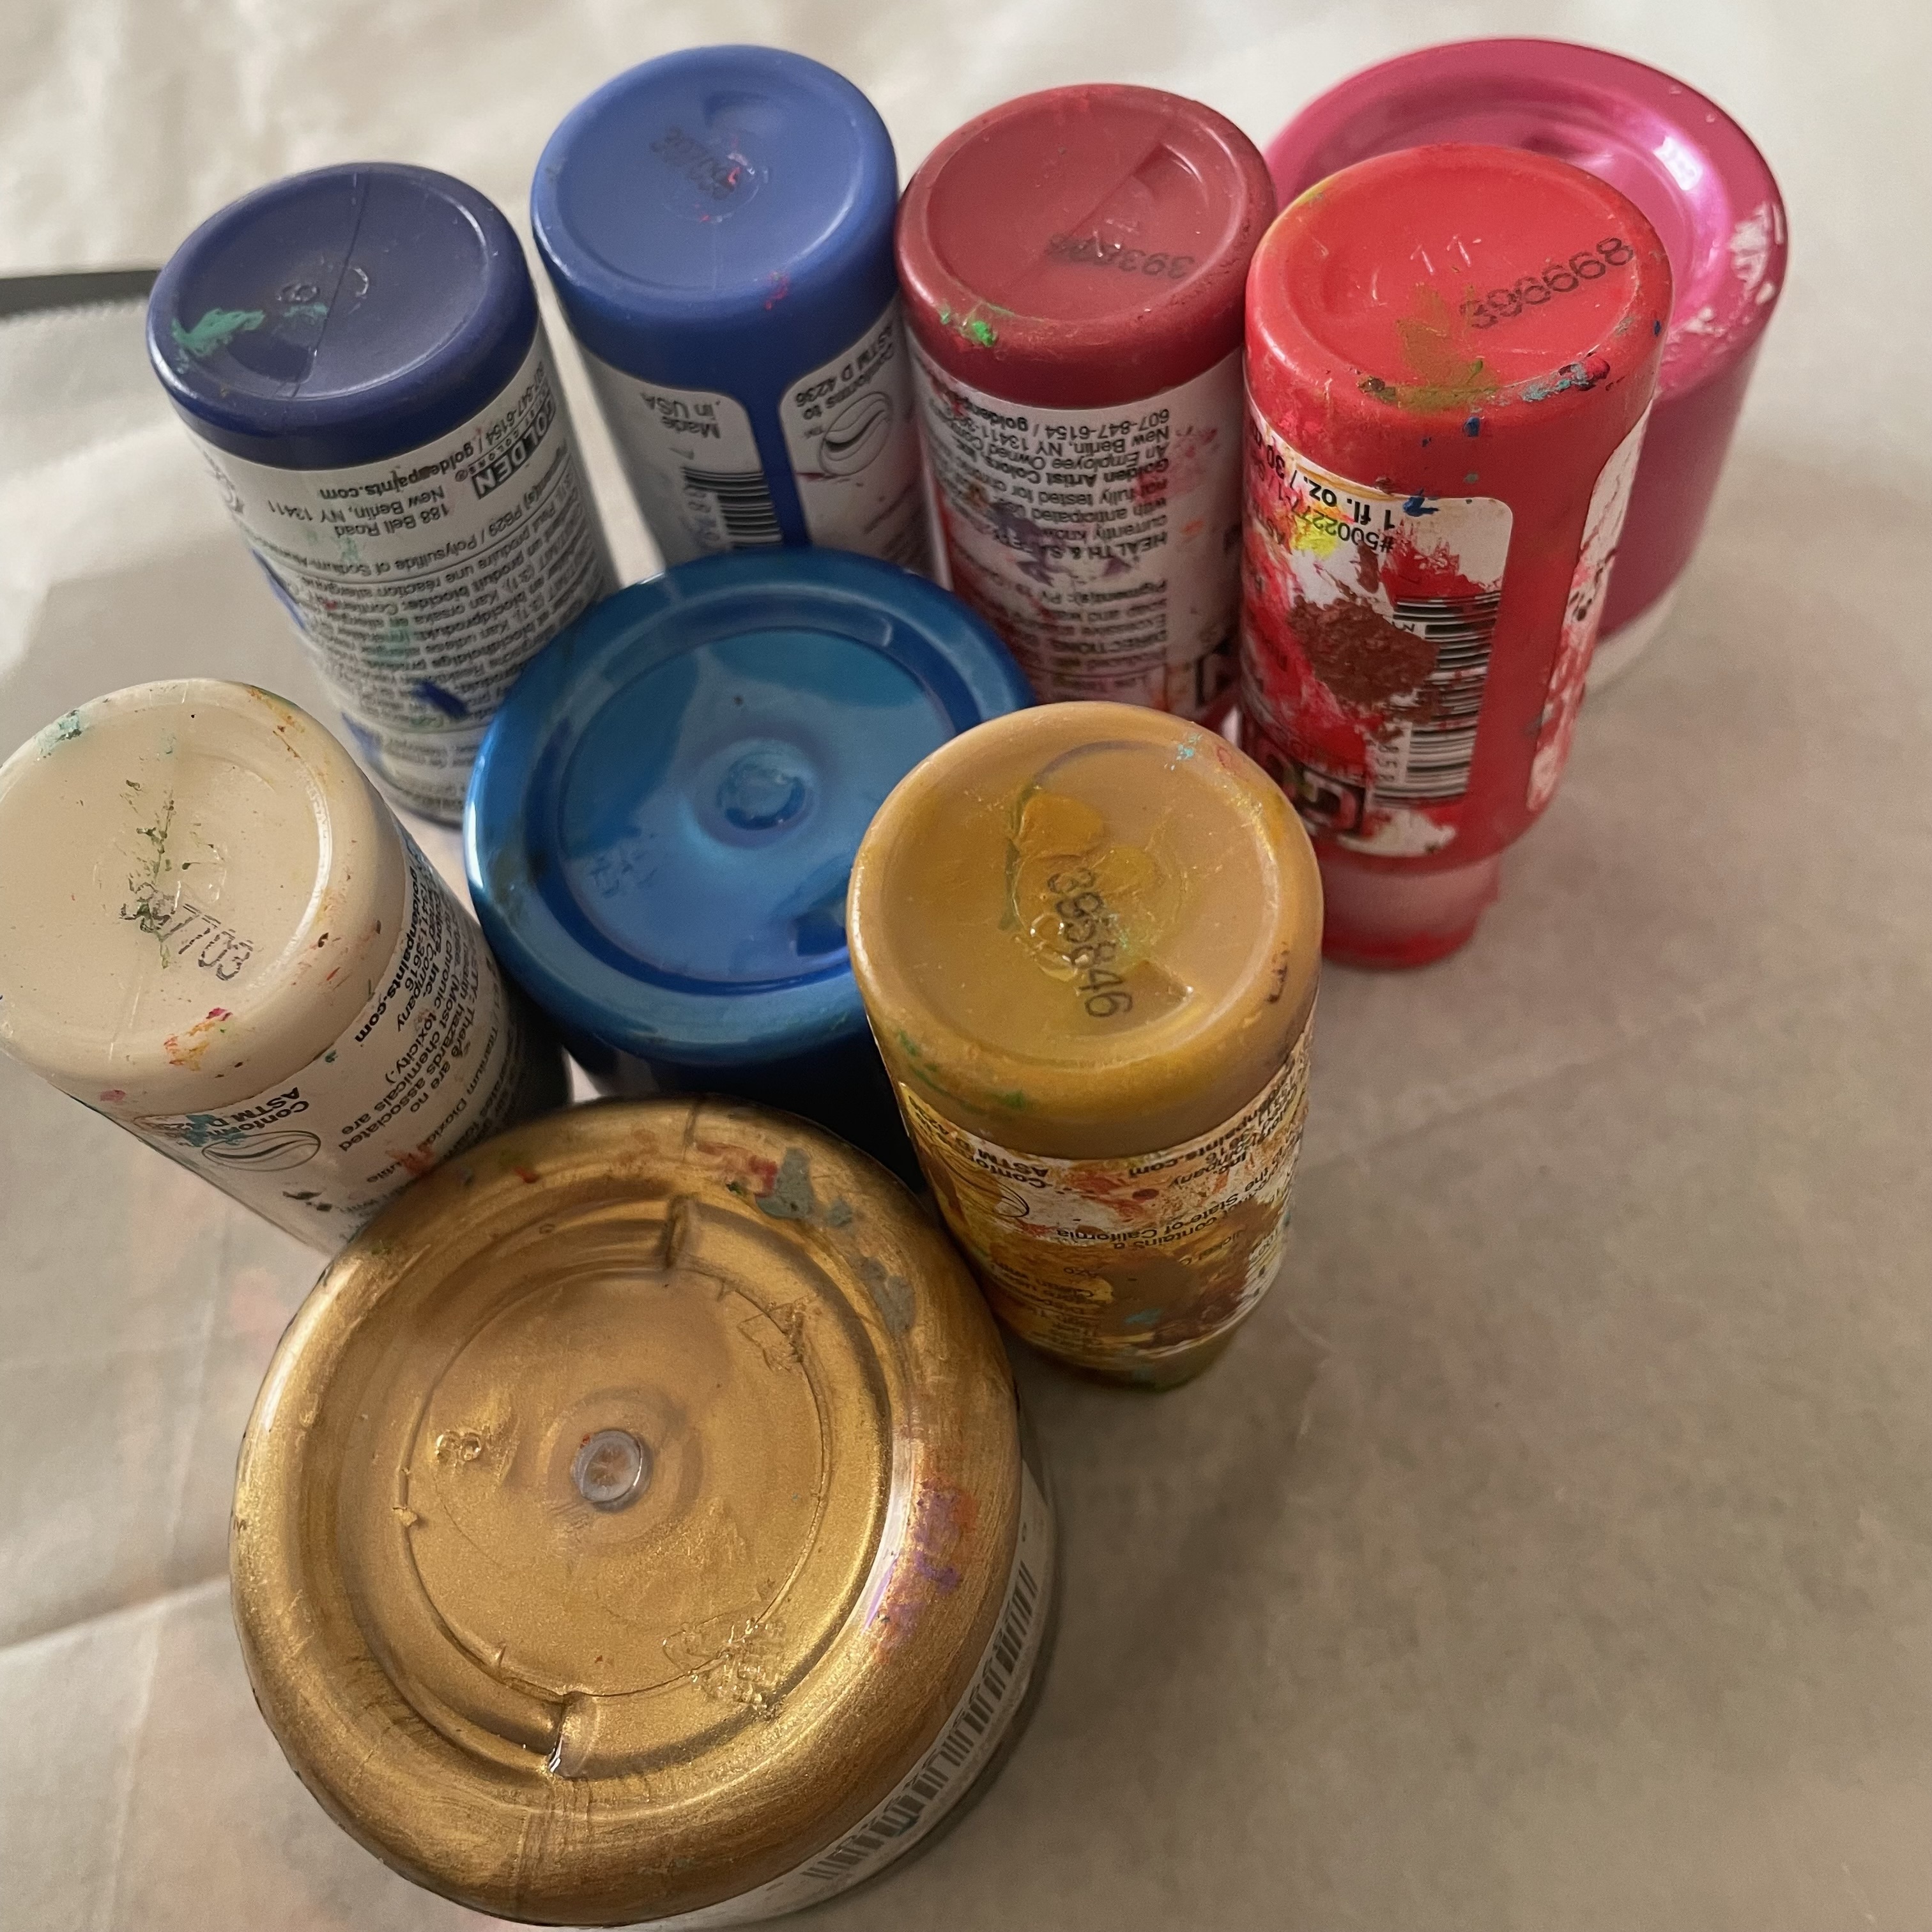
  1. Gather Supplies.
  2. Paint GSLC Star Medallions and GSLC Banner Border Strips Using Red, White, Blue, Gold, Yellow Acrylic Paints, Stencil Butter Blue and Red and a Paintbrush.
  3. Alternate Red, White, and Blue Paint on GSLC Banner Border Stars. Put a Dollop of Gold Paint on Circles Between Each Star.
  4. Paint Each of the GSLC Star Medallions a Primary Color of Red, White and Blue.
  5. Add  Shimmer with Metallic Paints and Stencil Butters.
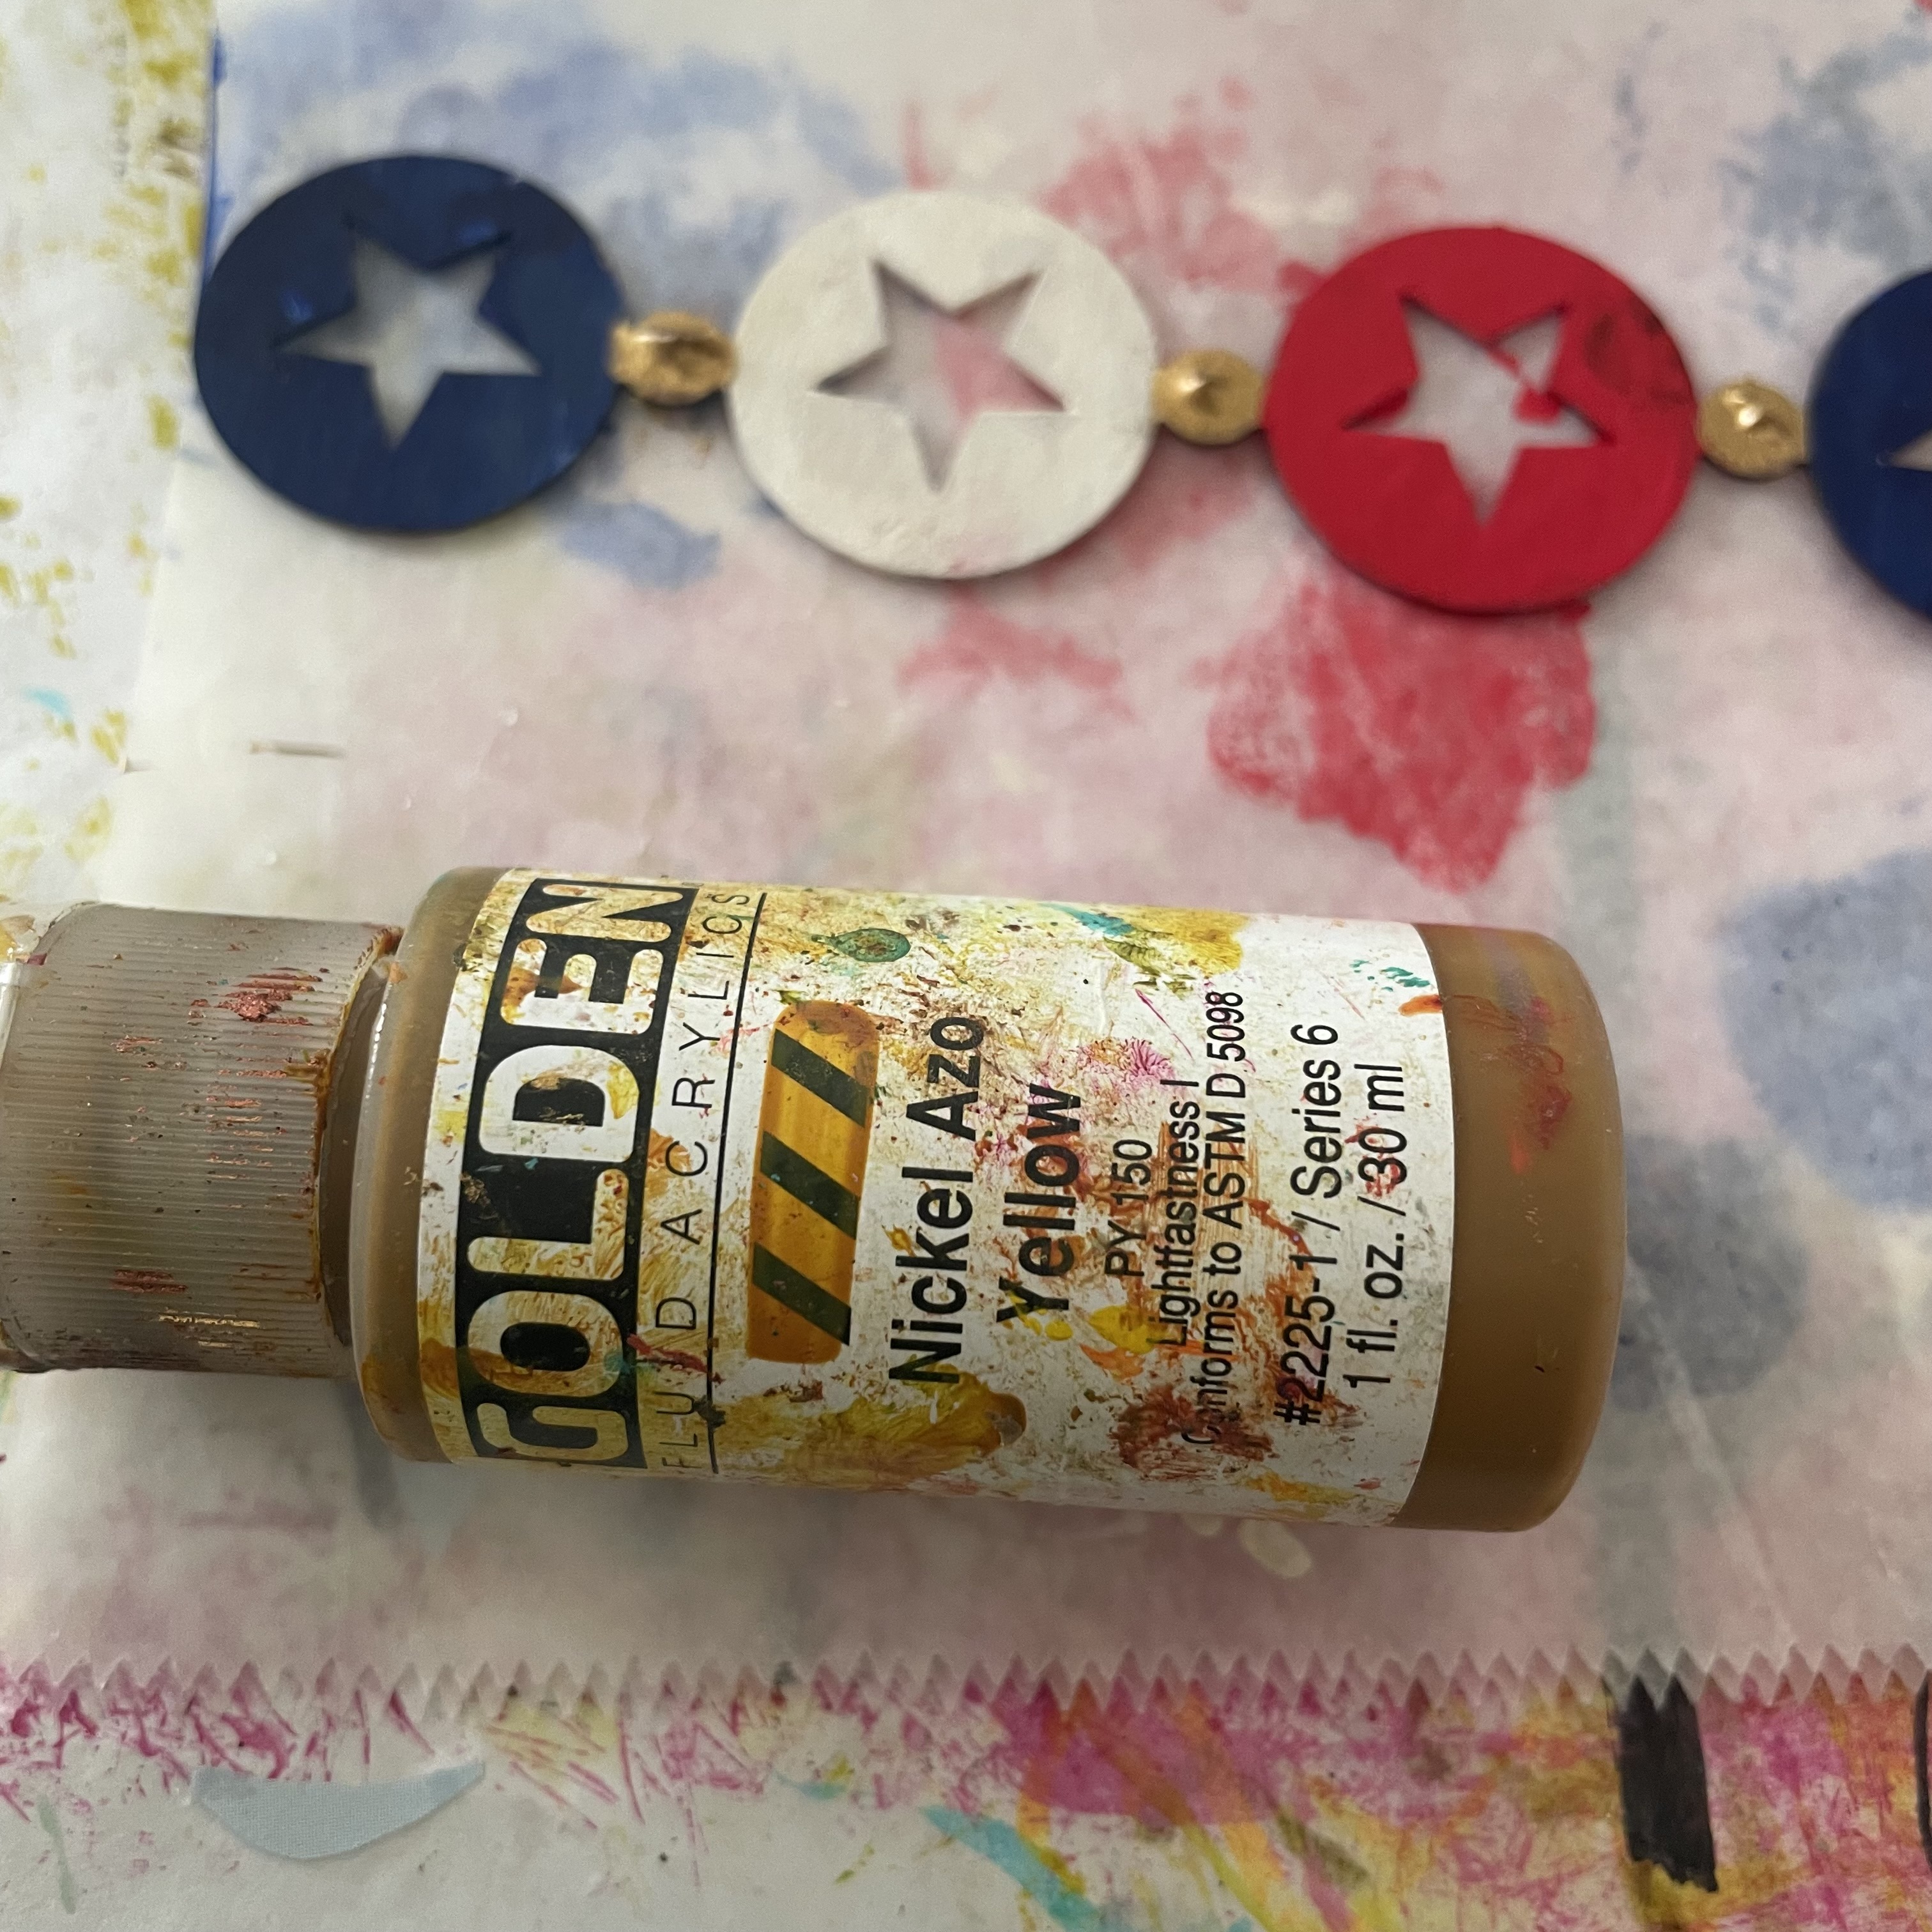
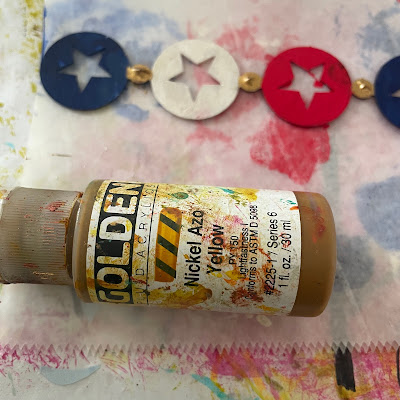
  6. To Add Patina Dry Brush with a Wash of Nice Azo Yellow.
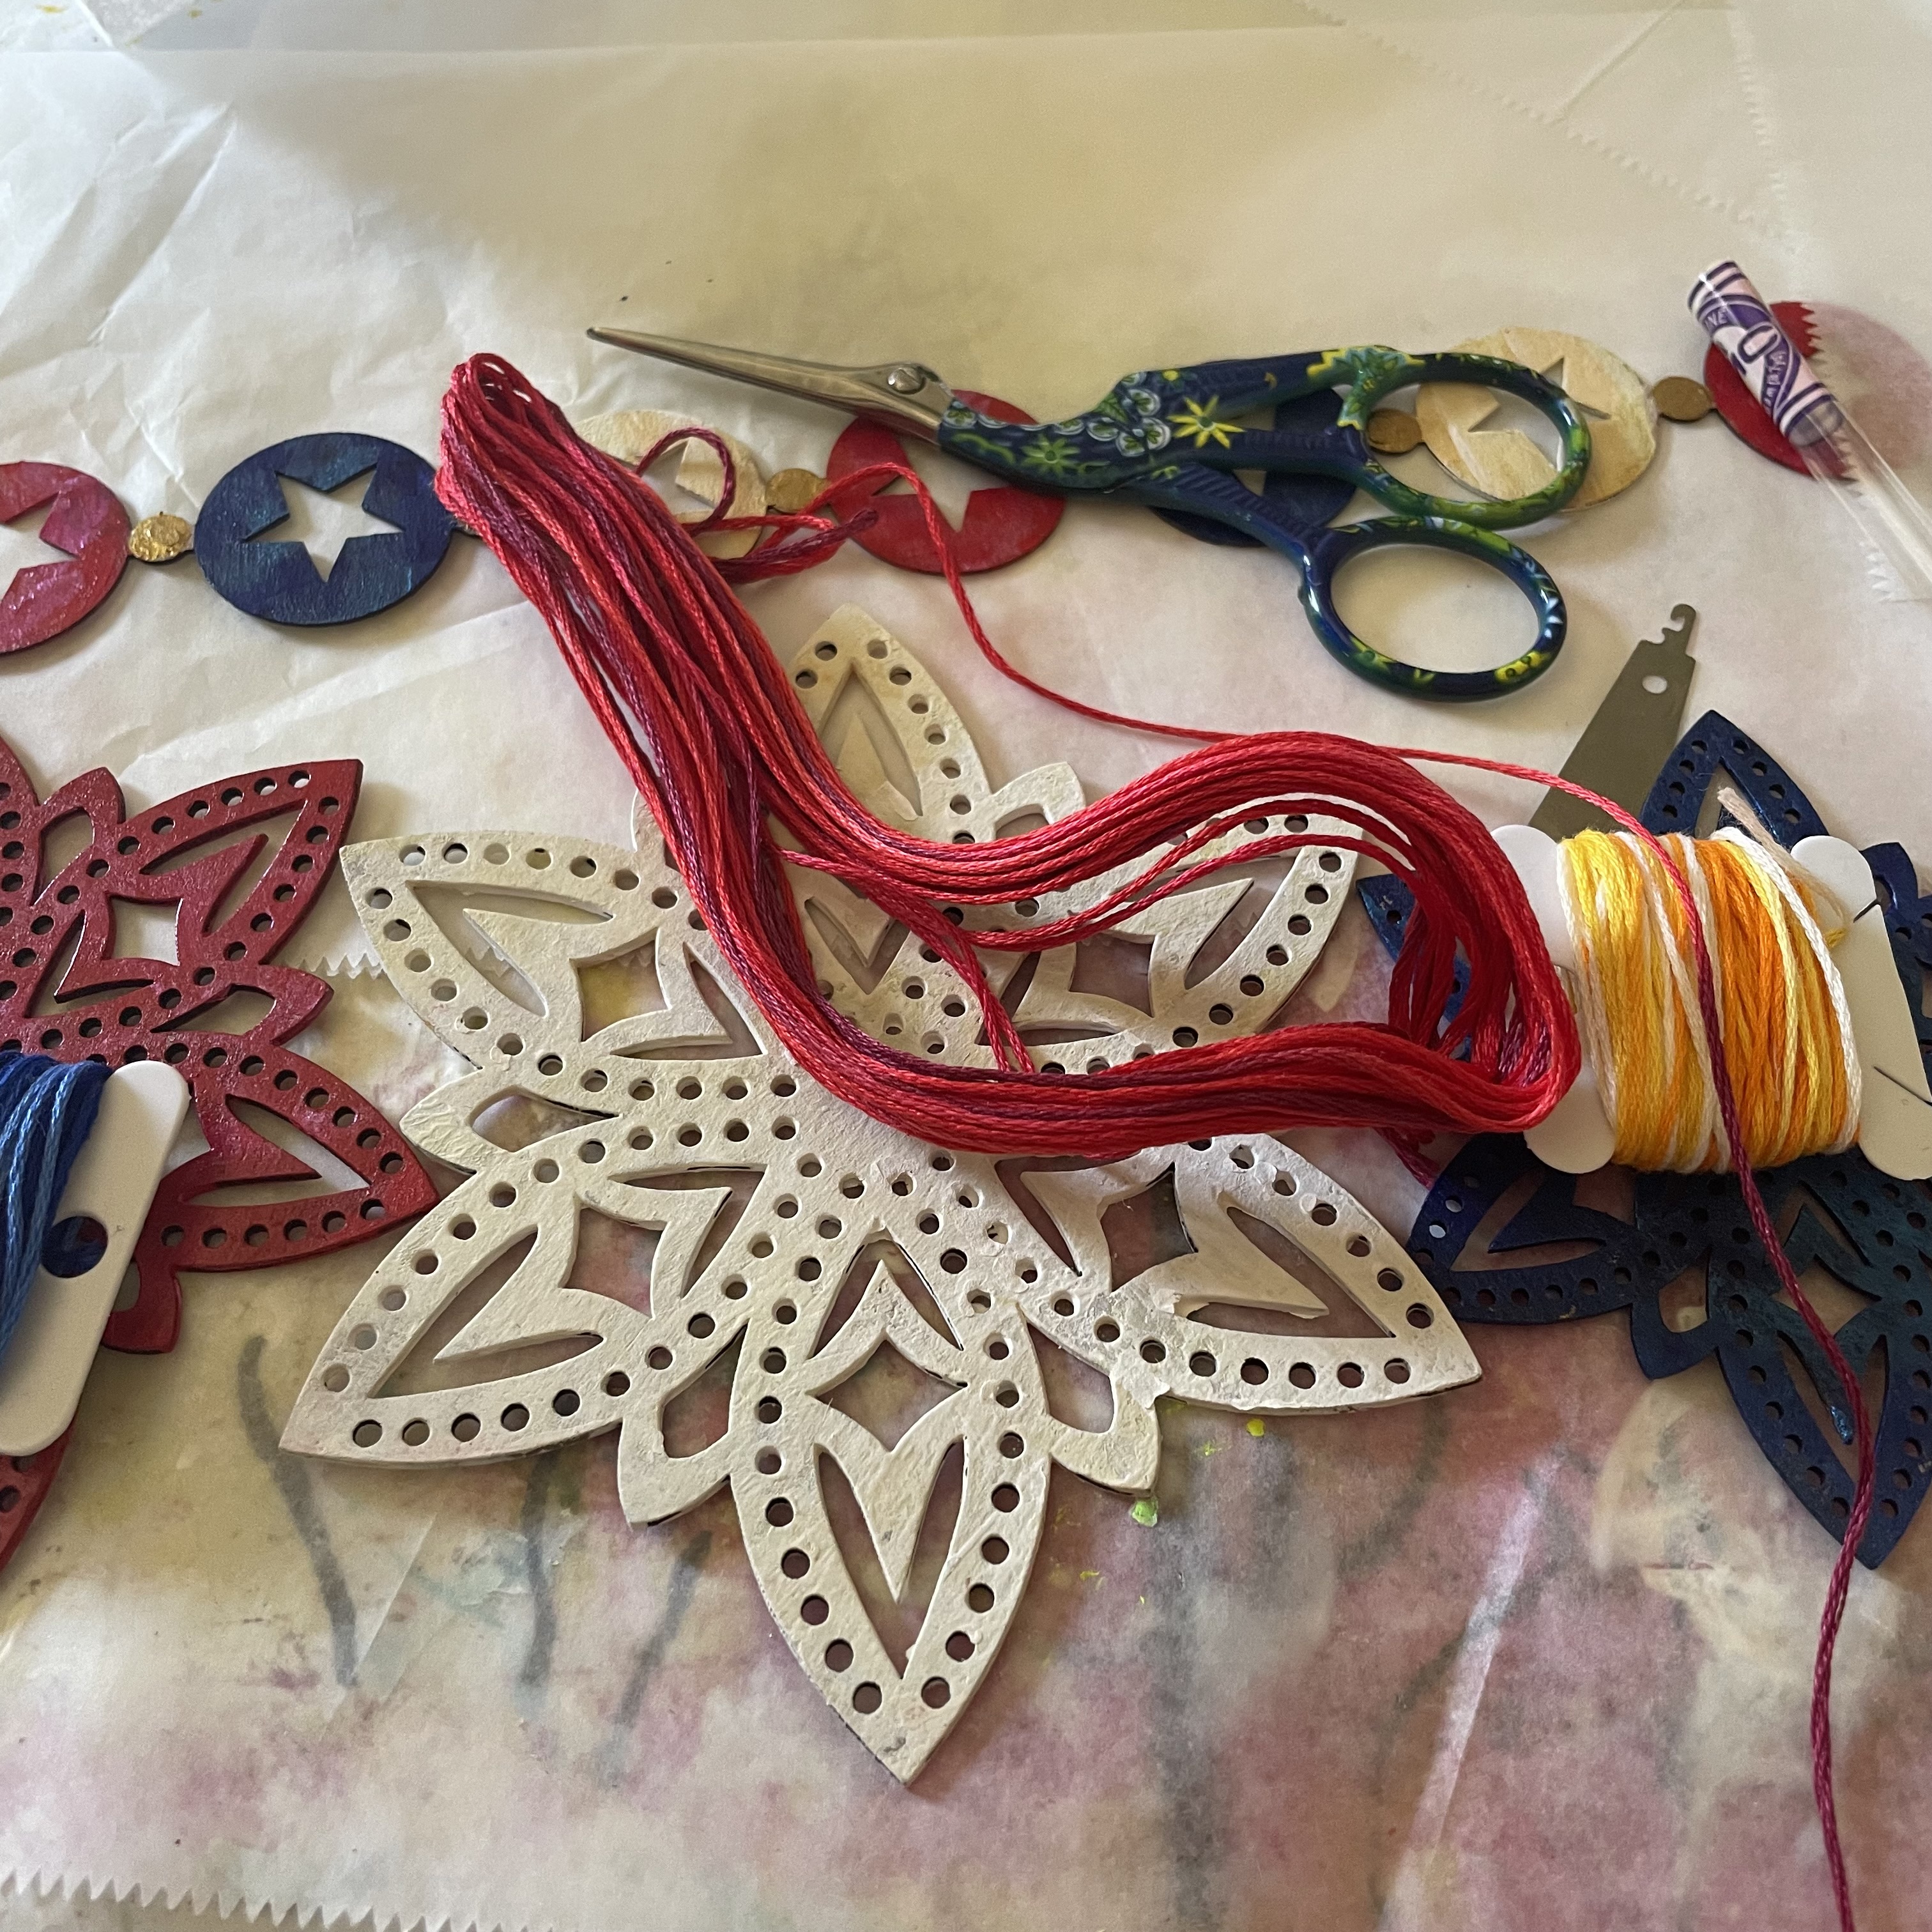
  7. Once Fully Dry use Embroidery Thread-TriColor Red, White, Blue and Needle to “Stitch” the GSLC Star Medallions.
  8. Use a Small Hole Punch to Put a Hole at the top of Each GSLC Star Medallions and Evenly Spaced on the GSLC Banner Border Stars.
  9. Use Embroidery Thread-TriColor Red, White, Blue and Needle to Connect the  GSLC Star Medallions to the GSLC Banner Border Stars.


Final Thoughts

Holidays for  the introverts of the world can be particularly challenging. In addition to uncomfortable conversations with strangers at the neighborhood cookout, the holidays can disrupt all the routines you've set up in your life to take care of yourself-the stay at home stare at walls and binge on Netflix days, leaving you with feelings of being trapped or unable to get the alone time necessary to recharge your introvert batteries.

So what an introvert to do if they are going to try and extrovert for the holiday:

  • Go to the picnic-but don’t stay for the day. 
  • Have a quiet get together at your home.
  • Watch the fireworks, parades online if you are so inclined for nostalgia reasons.
  • Take mini-holidays or staycations, it’s okay to pamper yourself.

It might be hard to believe that not everyone celebrates the good ole 4th of July. As Americans it doesn’t mean those people are not patriotic but maybe they're not into a day revolving around hot dogs, beer binging, and loud fireworks.

Other countries also have vibrant, diverse, fun -filled celebrations of their found freedoms around the world.

From the article: Independence Day Celebrations Around the World 

  • India has “Fifteenth of August Day”

Since India was freed from British rule in 1947, the Fifteenth of August has become a national holiday filled with flag-hoisting ceremonies, parades, and patriotic songs. Every year on this day, Indian skies become speckled with colorful flying kites of all shapes and sizes. When it comes to India's Independence Day cuisine, families and friends indulge in tri-color food dishes, which feature orange, white, and green - the colors of the national flag!

  • South Africa has "Freedom Day"

While South Africa declared its independence from Britain on May 31, 1910, the country celebrates a very special day in late April as "Freedom Day." Why? Well, on April 27, 1994, the first democratic, non-racial elections were held and Nelson Mandela was voted president.
This day marks the end of colonialism and apartheid, the restoration of human rights, and the liberation of South Africa and its people! While it's undoubtedly a day of mixed emotions, South Africans celebrate their unity and diversity with parties, inspirational speeches, and braais (barbecues).

  • Mexico has "Dia de la Independencia"

On September 15th. Many people think Mexico’s Independence Day was on Cinco de Mayo.Contrary to popular belief, Cinco de Mayo is not really Mexico's Independence Day. On the night of September 15th, Mexicans take to the streets and begin to memorialize the Grito de Dolores, the battle cry of the Mexican War of Independence.
For a full 24 hours, from the night of the 15th to the 16th, Mexico becomes one big party of parades, food, concerts, and fireworks. Traditionally, festivities start in Zocalo Square, Mexico City, where Mexico's president recites the cry of patriotism, and to which the enthusiastic crowd responds “Viva!"

  • France has "Bastille Day"

Each year, France commemorates the day when, in 1789, just under one thousand Parisians stormed the Bastille fortress to release prisoners and free the country from tyrannical oppression. This pivotal event catalyzed the French Revolution! Since 1880, July 14th has been deemed a public holiday called "Bastille Day”
On July 14th, the French wake up to a day of no work and all play. In Paris, the day kicks off with a military parade on the Champs Elysees and ends with fireworks over the Eiffel Tower. But don't worry - there's tons of partying in between! It's a France-wide tradition to attend a Firemen's Gala on Bastille Day. All throughout the country, fire stations open their doors to the public for a jolly good time of dancing and drinking!

  • Norway has “Syttende Mai” Day on May 17th

On Constitution Day, Norwegians wake up to the sound  of marching bands, the sights of parades and traditional "bunad" costumes, and the creamy sweetness of ice cream -a lot of ice cream. Commemorating the signing of the constitution in 1814, Constitution Day, or the "17th of May," is by far the country's biggest party.
Another yummy Constitution Day tradition, besides copious amounts of ice cream, is the "17th of May breakfast." Often a big happy potluck with friends and neighbors, this kick-off meal consists of favorites like fresh bread, eggs, smoked salmon - and lots of champagne, of course.


As noted in these holidays no matter where you are from or your country of origin there are reasons to celebrate your freedoms.


Supplies:  GSLC Star Medallions , GSLC Banner Border Strips, Red, White, Blue, Gold, Yellow Acrylic Paints, Stencil Butter Blue and Red, Paintbrush, Embroidery Thread-TriColor Red, White, Blue, Needle, Small Hole Punch, Scissors 

I cannot wait to see your interpretation of this project. Share it on the Gypsy Soul Laser Cuts Craft Group Page on Facebook. I would love to see what new creations you are working on!

Monday, February 11, 2019

Vintage Valentine

Hello and welcome to another week here at the GSLC Blog. This is Yolie with a last minute vintage Valentine using  Banner Border Strips and the Scribble Frame Hearts.


I prepared the laser cuts by cleaning off the soot with a damp cloth. Using tweezers, I pressed the Scribbled Frame Hearts directly onto the embossing ink pad and then sprinkled a generous amount of  Emerald Creek's Hammered Metal embossing powder. I did the same with the pendant  Scribble Frame Hearts but used the Charred Gold embossing powder. The banners are 12" in length and you can easily cut to fit your project with sharp scissors.

I distressed, inked and dogeared the paper. I added the filigree brads onto the grey pattern paper and then layered my pieces.


Here's a closer look at the amazing faux metal pieces. The Charred Gold has a bit of mercury glass finish. They both look fabulous.


I hope you enjoyed my vintage Valentine. Enjoy your week and make it a creative one!

Supply List:
Banner Border Strips Item D34D

Scribble Frame Hearts Item D23D
DCWV Vintage Stack
Beacon Power-Tac Glue
Emerald Creek Charred Gold Embossing Powder
Emerald Creek Hammered Metal Embossing Powder
Embossing Heat Gun
Embossing Ink
Black Cardstock
Black and Brown Ink
Filigree Brads
Black Mini Rhinestones 
Dauber
Mini Stapler
Black Jute

Tuesday, April 24, 2018

Curiosities ATC Faux Book Box

Hello crafty friends!  It's Susan today with a wee box of curiosities.


This is the ATC Faux Book Box, which is 3" x 4 1/2".   This is the first time I've used linen hinge tape  and I think it turned out pretty well (if I do say so myself).

Here are the pieces -- the faux book box is on the right and the spine and cover are on the left.  The little pieces are extras that I always keep around.  You never know how useful they can be!


Glue the sides on, leaving the left side for last.


I measured the inside wall papers by standing it up and making a pencil mark.  I cut the paper for  inside back wall by tracing the outside of the box and trimming it down to fit.  It's a fiddly process but it works.


Next I primed all the surfaces with black gesso.


Once dry I chose the paper for the inside cover.  I adhered the paper to the inside with mod podge before adding the hinge tape because I really didn't know how much bulk it would add, and I wanted the cover to close properly.


I cut two pieces of hinge tape and adhered to the outside of the spine. (The tape is sticky on one side - this photo shows the sticky side.)  I set the book on it's end and positioned the spine and cover pieces where I needed them and pressed the hinge tape down.  The right side is shorter to fit the box wall - you'll see why in later photos.


For the inside on the cover, I cut another piece of hinge tape the same length as the left one above.  I used a paper trimmer to cut it in half length-wise, then trimmed one to the same shorter length as the right side.  I carefully aligned the first piece and used a bone folder to stick the inside hinge tape to the outside hinge tape, moving the cover piece back and forth to ensure flexibility.


Here you can see I peeled the paper backing off the hinge tape and positioned it to match the outside.


I used the bone folder to stick the hinge tape together before letting it stick to the box.


I very carefully painted the hinge tape black.


The outside hinge tape, too, but not so carefully.


Instead of inking the paper edges, I used paint since I had extra.


I added the papers to the inside of the box with Mod Podge.


Even though I painted the edges, I decided to sand them for a more finished look.  Then I painted them again.  *sigh*


For the flying pig cage, I traced the solid cage on my paper and cut it out freehand.  I used a gold metallic paint for the cage front.  Once dry I glued them together with a glue pen and set a heavy object on it until dry.


I traced the banner bit with pencil and cut it out.  After priming, I glued them together and painted the edges black.


I had a leftover flourish from my last project and added it to the spine.


Thanks for your visit today!

Cheers,
Susan

Gypsy Soul Laser Cuts Used
ATC Size Faux Book Box #BD12T
2" Cage w/Solid Back #BB43A
Banner Border Strips - Assorted #D34D
Fantasy Frame & Flourishes #D52D

Other supplies used
G45 Old Curiosity Shoppe
Mod Podge
Liquitex gesso
Stickles
Piece from old braces (closure)
Glossy Accents

Tuesday, November 14, 2017

Something Wicked by Susan

Hello crafty friends!  Today I want to share a steampunk-y shadow box made from Gypsy Soul Laser Cuts' ATC Shrine Box.


The first thing to do is wipe down the edges with a damp cloth to remove laser residue (if any).  Lay the pieces out and put a dab of glue on the edges that fit together.  I did one panel at a time and held in place for a few seconds to give the glue a chance to catch.  Let this dry completely before measuring for paper inserts.


I used a corner of the 12x12 Texture Sheet Gears for the inside back, embossing it with a red/black/brown powder mixture I made a few projects ago.


I wanted a dash of color so I cut off a piece of the Banner Border Strips, traced each pennant on a different scrap of paper, then painted the pennant with black gesso.  While that dried I cut the triangles and inked the edges.  They are all slightly larger than the actual chipboard piece and overlap nicely to cover the space between each triangle.

I use the Zig glue writers a lot, and this one came in handy to draw a line on the pennant edges and allow me to easily apply the papers.


Next I picked out a few gears and backgrounds from the Steampunk Shape Set and painted them with  metallic paints I have on hand.


Once everything was dry I assembled in a whirlwind and didn't stop to take photos.  *sigh*  In the next two photos you can see the hint of the texture gear sheet in the back.  I chose a plain paper (black with white dots) so attention wasn't diverted from the embossed texture gears.

The pennants are raised up on a layer or two of scrap chipboard for added dimension.  You can also see the metallic gears layered in the right front corner, on which a black cat is perched.


I used more plain paper for the inside walls and ended up using strips of straight black Dresden foil  to finish the inside corners.  Once the outside was covered I used a more ornate Dresden foil to finish the front frame.


Here's a look at the back!


Thanks for visiting today!

Cheers ~ Susan

Gypsy Soul Laser Cuts Used

ATC Shrine Box BD12X
Texture Sheet Gears HR1
Steampunk Shape Set D33A
Banner Border Strips D34D

Other Supplies Used:
Graphic 45 Steampunk Spells
assorted acrylic paint
custom embossing powder
white glue
Zig writer glue
Brown ink for edges
Dresden foil
wood feet
assorted ribbon