Showing posts with label bamboo shape set. Show all posts

Monday, April 24, 2017

Explore-A Beijing layout by Lynne

Hello there! As some of you know, my son is away at university in China and  occasionally sends me photos which I'm always thrilled to scrap. This one was taken in the fall in Beijing when some friends went down there from Hong Kong to visit him.


I have gotten so many layouts out of the wonderful Oriental Shape Set, and of course the Bamboo is a perfect addition, especially since this photo contains a lot of greenery.

For the bamboo, I ran it through this embossing folder:


I then painted it a light sage green and dry-brushed a light taupe brown over that.


I then use this stamp to add Versamark ink and heat-embossed with clear embossing powder:


The pagoda was run through the same embossing folder as the bamboo; the surface is larger so more of the floral pattern showed up. I painted it a light taupe, then
added layers of embossing powder by stamping with Versamark; I used Artful Stamper black glossy, Donna Salazar's Mix'd Media in Jasmine, and Ranger Embossing Antiquities in California Stucco, in that order.


The paper had a subtle harlequin pattern which I echoed with the stencilling and with the diamonds cut from coordinating paper and hand-stitched with embroidery floss.


I love that chipboard pieces like these can be altered and adapted in so many ways. Thanks so much for stopping by, and have a wonderful and creative week!

GYPSY SOUL ITEMS USED
Bamboo Shape Set
Oriental Shape Set

OTHER ITEMS USED

Prima and FabScraps papers
Ranger, Donna Salazar and Artful Stamper embossing powders
Versamark ink
Prima clear stamp
Darice Embossing folder
Embroidery floss and large needle
Crafter's Workshop stencil
homemade texture paste

Sunday, June 5, 2016

Sea Inspired Wall Hanging with Gypsy Soul Laser Cuts, Grpahic 45, ColourArte, and a Snapguide Tutorial By Ginny

Hey there Peeps! Today I'm sharing  the best brand mashup ever.....Gypsy Soul, Graphic45, ColourArt. I created a sea inspired wall hanging with loads of layers and lots of dimension. There's also a Snapguide tutorial so you can make one too! 


Please enjoy this Snapguide Tutorial I've prepared.....


Check out How to Mixed Media Sea Collage Wall Hanging G45 GypsySoul by Ginny Nemchak on Snapguide.


Supplies

Petaloo Flowers
Ranger Distress Stickles~Dried Marigold, Frayed Burlap. Liquid Pearls~ Dark Chocolate. Archival Ink~Black.
StazOn -Orange Zest, Midnight Blue.
twine, cheesecloth, adhesive foam squares 
text stamp
Stencil
8 x 10 chipboard panel
Gesso
Mod Podge
Okay that's all for me...wishing all of you a happy and productive day with lots of time to be creative : ) G

Wednesday, September 16, 2015

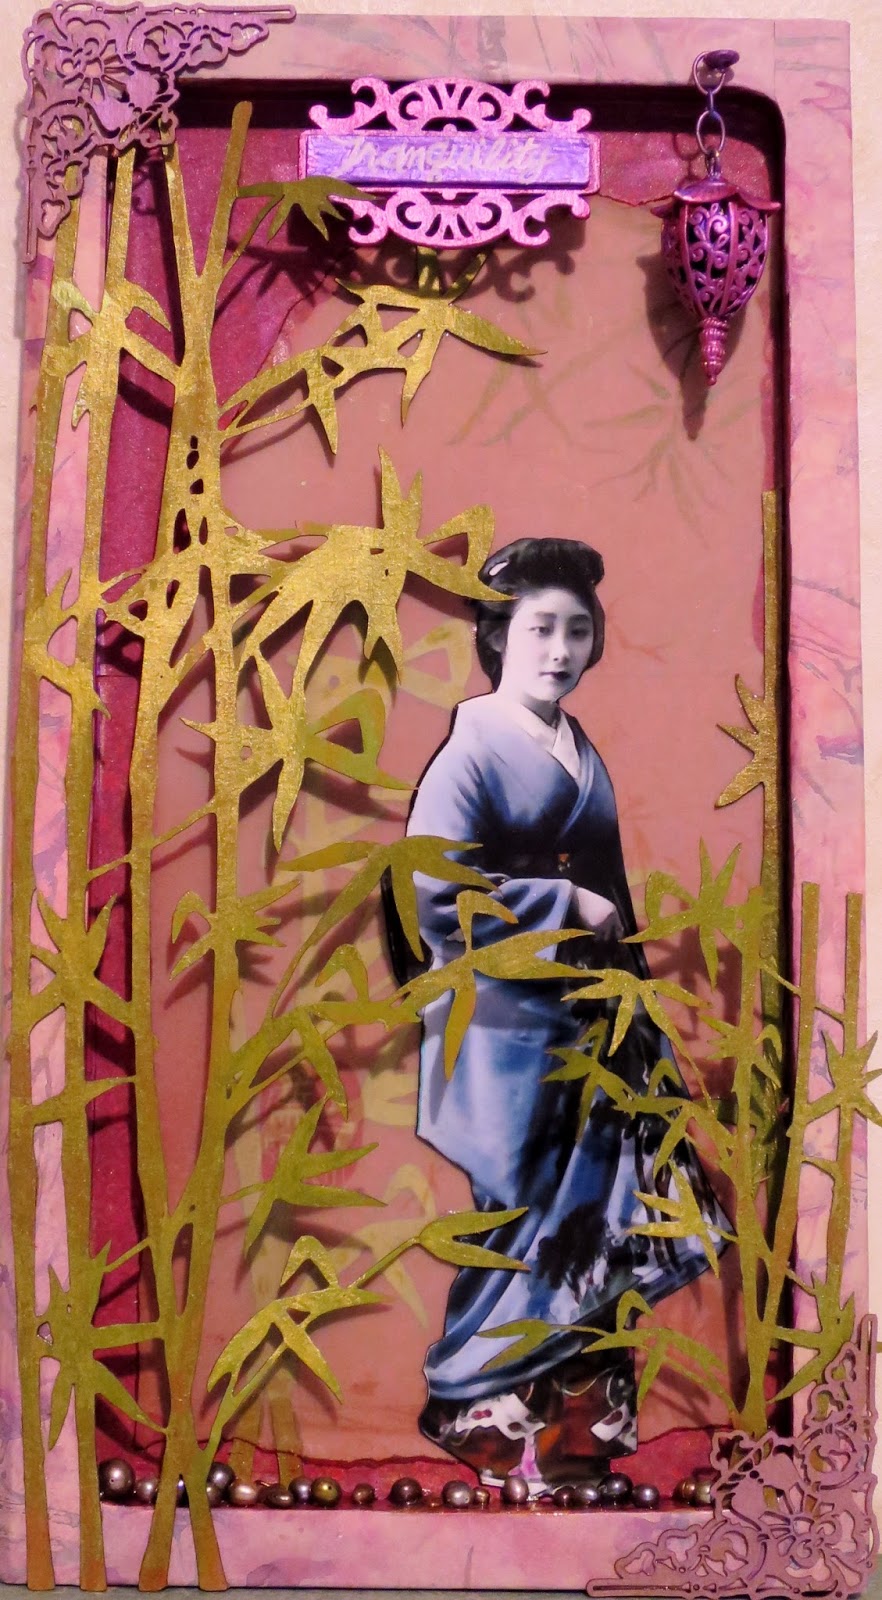
Tranquility with Guest Designer Jackie


Hello Everyone- Jackie here again, for another Wednesday guest designer appearance!Gina, thank you so much for inviting me!
I can't tell you just how much all of your wonderful comments and Facebook likes and Google+'s have meant with my last project for Gina's! Thank you,Thank you!!


"Tranquility"


When I saw the Bamboo Shape Set at Gina's, I ooohhed and

aaahhed and knew just what I was going to create. What I started with is a wood substrate (I think this was from a desk that held pens&pencils) that I gessoed and papered with vintage pages and scrapbook paper background. The reason for choosing this substrate was because I had layers in mind, and plus, I love to up-cycle!


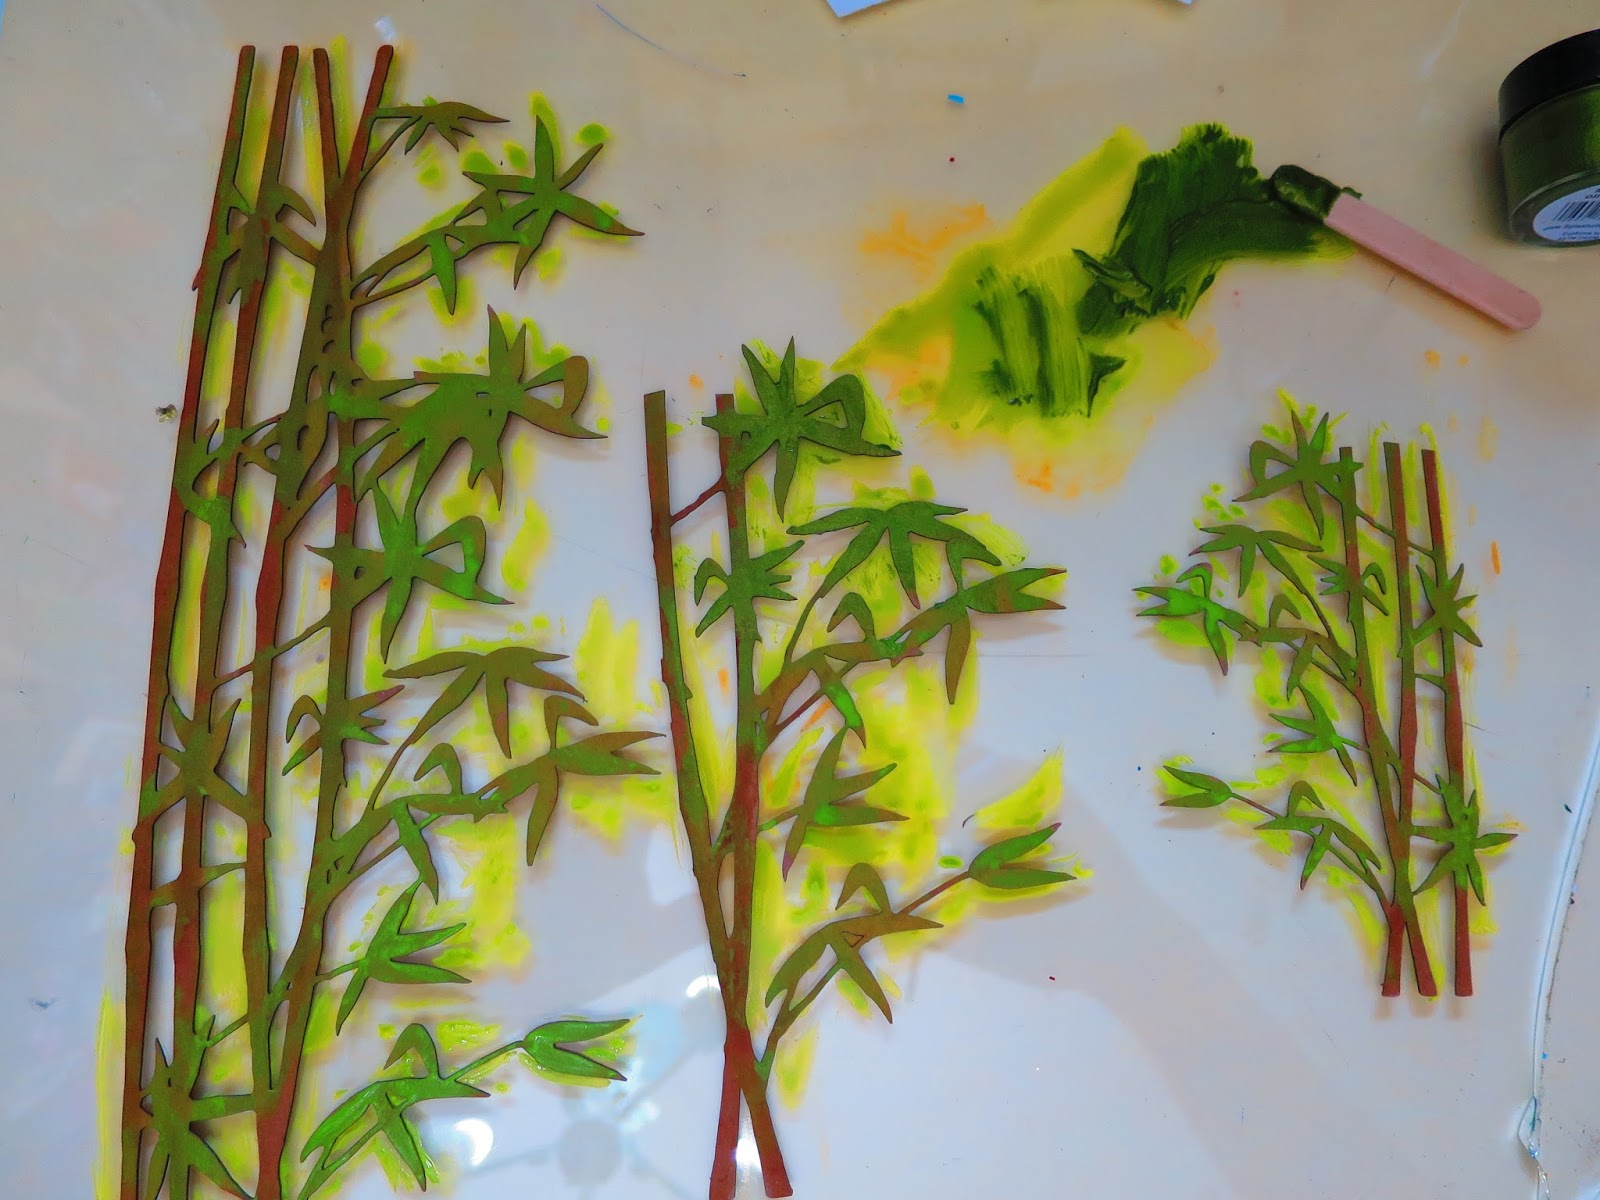
After giving the bamboo pieces color,I began by layering with velum paper and then more bamboo. These pieces above were one piece that I snipped in two.


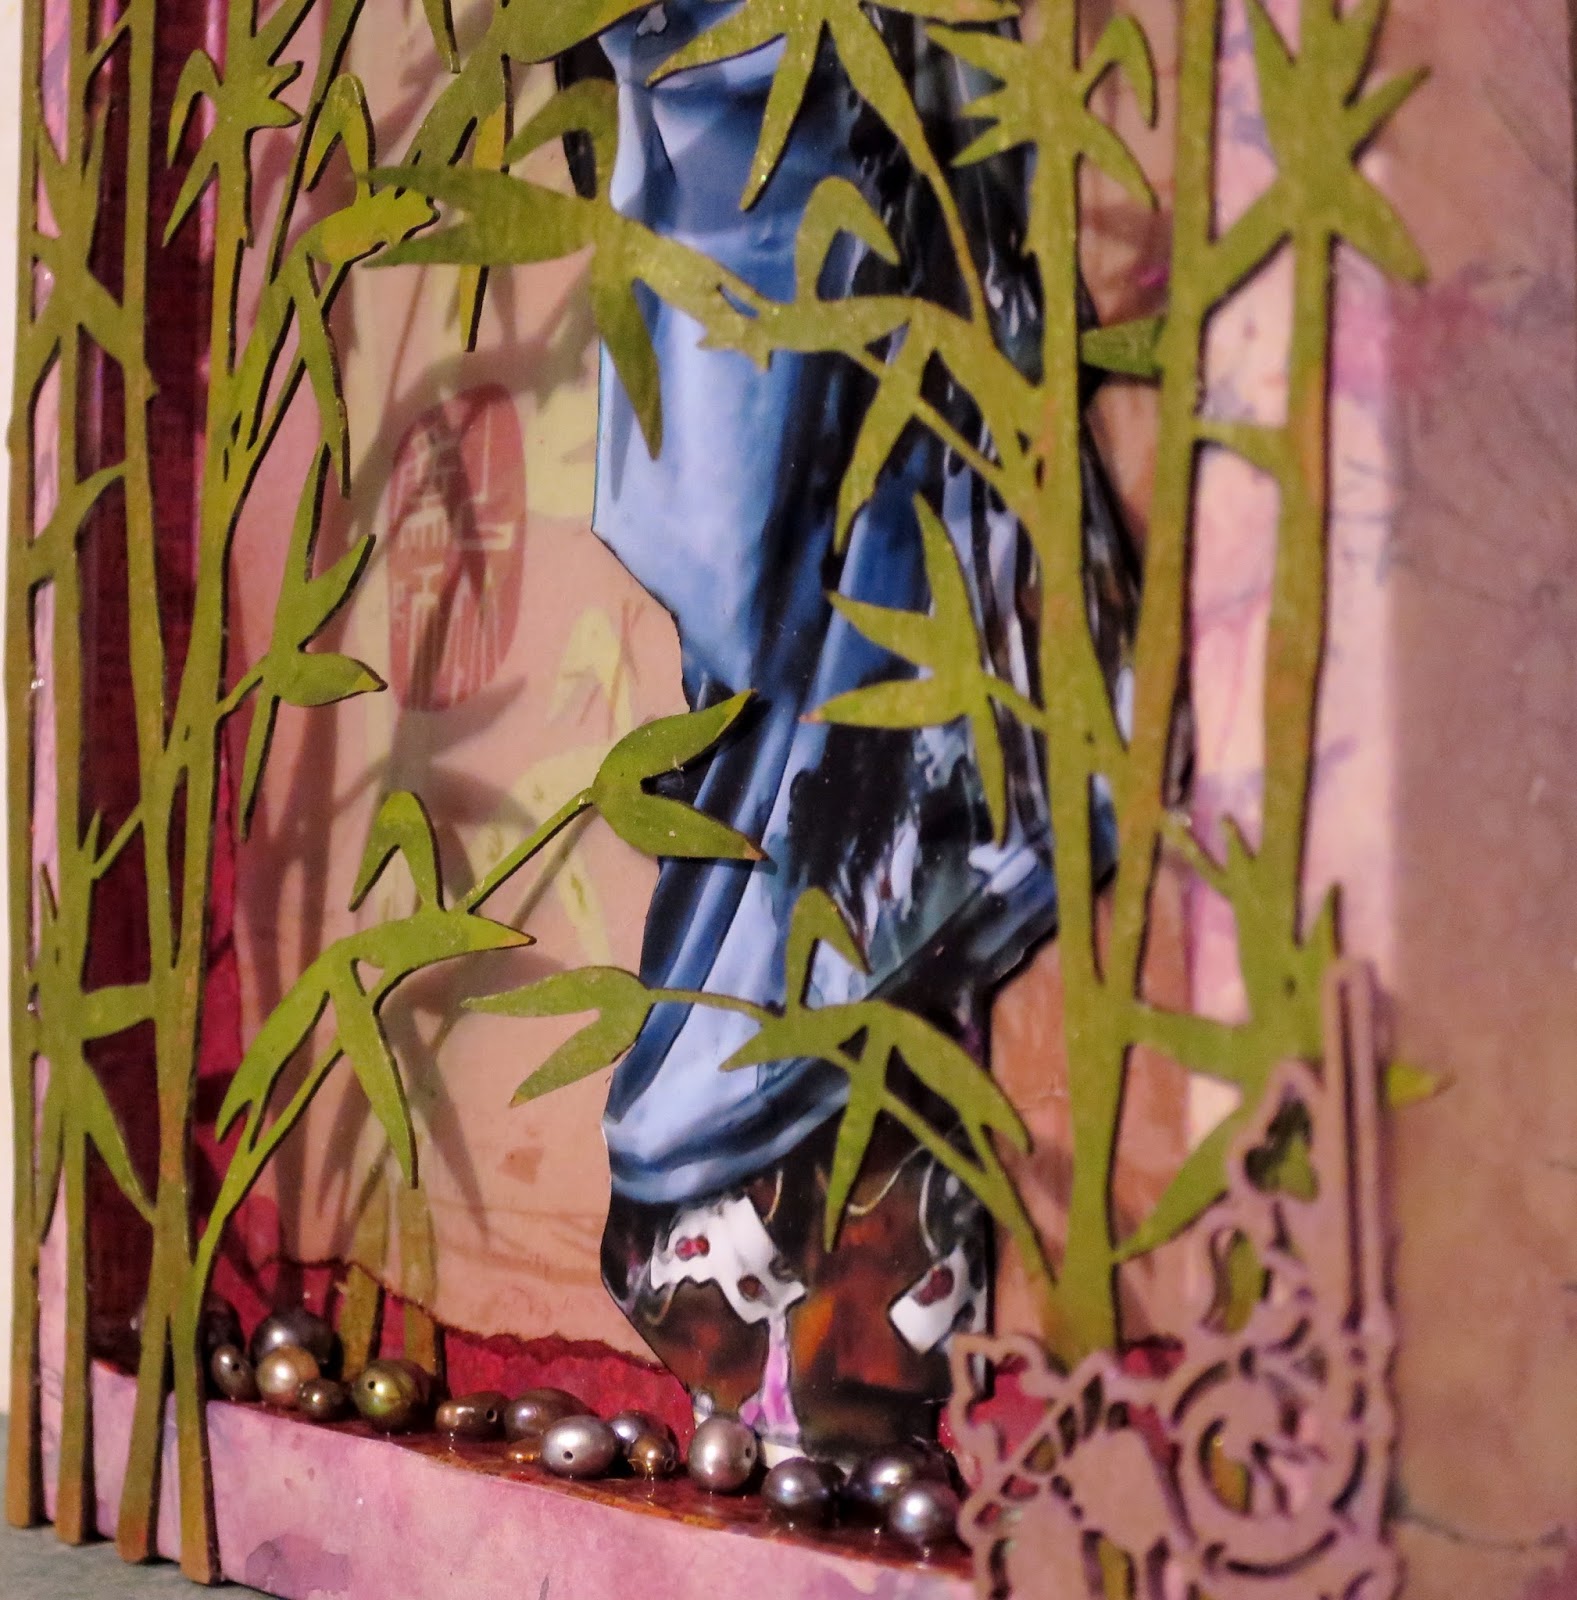
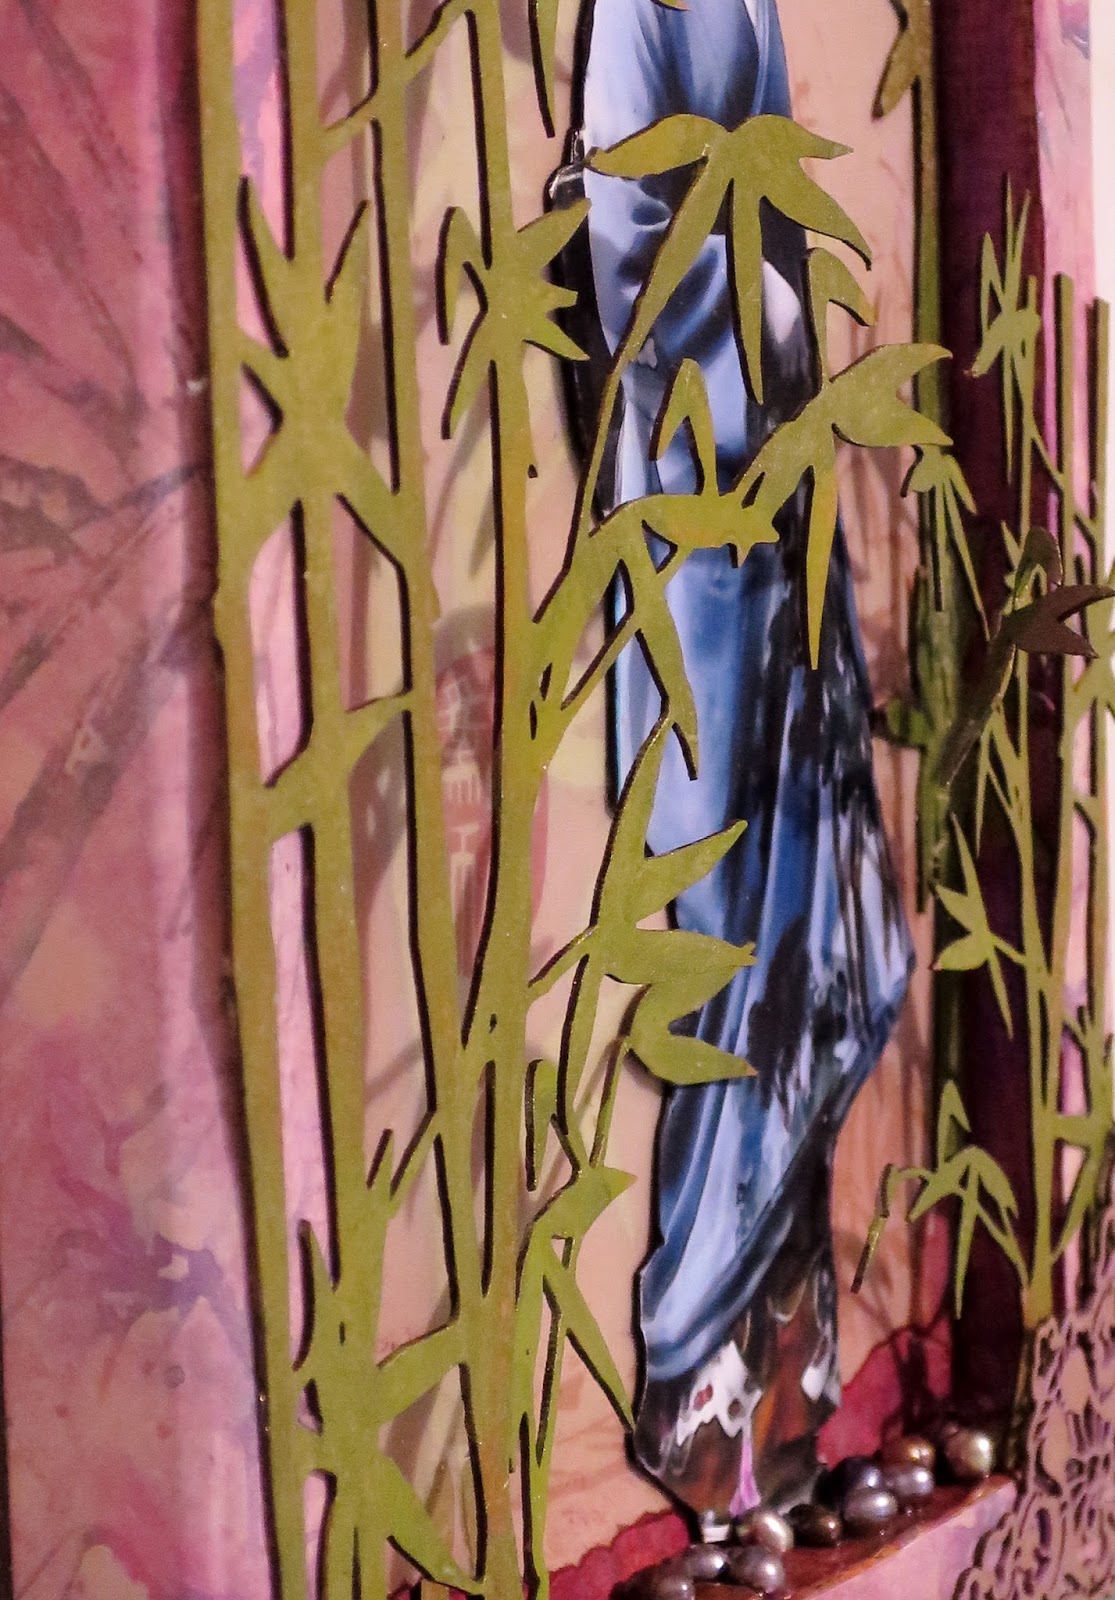
I hope you can see in the photos, the effect I was going for by gluing down some areas of the top bamboo against the background to give depth. 


For my title piece tranquility I used one of the Stackable Labels Shape Set.


This was attached by painting a wood stack and gluing it to the backside of the label.


 At some point, I decided I wasn't digging the vintage papers and covered them with scrapbook paper.


And for my final accents, I used a pair of corners from the Art Deco Corner Set which gave a nice finished and polished look. 


 I  really am pleased with how this turned out. Again, let me say just how beautiful and detailed the cuts are from Gina's Designs pieces! By now, you can tell that I am a fan!!


Gina's Design's Products used:


Bamboo Shape Set


Stackable Labels Set


Art Deco Corner Set


Other Products used:


DecoArt Media Fluid Acrylics


Colour Arte Paints


Thanks so much for the visit-see you next week!   Jackie


Wednesday, July 15, 2015

Art Journal Page with Guest Designer Tamiko McCurry


Hey Hey, Happy Wednesday!!  So glad you're taking a moment to check out Gina's blog!  My name is Tamiko and I am the guest host for the month of July!  Ya know, I am totally in awe of the plethora of talent that fills Gina's site!  Her Design Team is awesome and knowledgeable! Well on to my project!  I will be the first to tell you I am guilty of shopping with my eyes and wanting everything new and trendy!  Gina's store is a real call for an #enableralert.  Today's project is art journal page and I hope it makes you smile.


When I saw the Bamboo in Gina's store, I knew I had to have it before I even knew why! I was so glad it came in three nicely sized pieces.  I am using the large Dylusions journal, so that means my pages are 9x12 inches.  I only used one because I like to plan for the future. Yeah that's my story and I am sticking to it! Plus you never know when you need to make a card for a panda loving individual! (haha)  I took my bamboo piece and I covered it with gesso.  


Then I took my  page also covered in gesso and began to lay down some color with my Design Memory Craft Gelatos in various shades of blue.  I rubbed it in with my finger and pow.. I had a nicely colored sky!


Proceeded to add some brown and gold gelatos for a ground. To seal and blend my colors, I  activated them with matte medium.  Then I added my bamboo piece and adhered with my Helmar Premium Craft Glue.  After adding several browns and greens to my bamboo I decided I needed a moon and stars for my gorgeous sky.  As it all was coming together I went and drew my first panda on some card stock and adhered him to the page with glue.  While I usually put a quote or something on my pages, this time I chose not to.  What I felt was really missing was a little sparkle in the sky.  I quickly grabbed some Faber Castell Glass Beads Glitter Gel.  That was the sparkle I needed in the sky and on the ground to create the perfect little twinkle to my chipboard pieces!  Here are a few more photos.  


I hope you enjoyed  my project and thanks again for stopping by!  Don't forget to stop over at Gina's Designs Lasercuts YouTube Channel for additional inspiration and subscribe while you are there!!


Supplies From Gina's Store: