Showing posts with label snapguide. Show all posts

Monday, December 5, 2016

Silent Night Arch Top Reliquary Tutorial

Hello, Friends!  It's Kathy here with a lovely wintry project that you can enjoy all season.  Today I'm working with the wonderful Arch Top Reliquary, Snowflake Shape Set and Winter Shape set.


I love wintry blues and whites, especially when there's a little bit of sparkle involved.


Working with this arch top reliquary is really fun.  It goes together quickly but still has a great 3-D feel.


White feathers and silver skeleton leaves add to the wintry feel of this wintry project. Here are a few more photos for you to enjoy.


I've prepared a Snapguide Tutorial so you can make your own Arch Top Reliquary. You'll find a complete supply list there.  I hope you enjoy!

Check out How to Winter Reliquary Arch With Gypsy Soul Laser Cuts by Kathy Clement on Snapguide.


Thanks for stopping by!
Cheerio,
kathy

Product Links 

 Arch Top Reliquary 

Snowflake Shape Set

Monday, October 3, 2016

Queen Anne's Lace Wildflower Card

Hello, Friends!  It's Kathy here with my very first post as an official member of the Gypsy Soul Laser Cuts Design Team.  I've been filling in with guest spots all summer long, and was tickled pink when Gina asked me to become a regular part of the team.  I'm so looking forward to sharing a couple of tutorials with you each month!  Let's kick things off with a dreamy Queen Anne's Lace Wildflower card, shall we?

I have always loved Queen Anne's Lace!  Seeing it bloom along the roadside makes my heart happy!  So I was thrilled to find some in my DT box.  


Look how beautiful it is when paired up with Authentique's Harvest paper collection!


Altering the Queen Anne's Lace chippies was fun, quick and easy!  I used a combination of embossing enamels and Distress paints to make it come to life.


 I can't get over the detail in this chipboard!  I added lots of texture and dimension with layered papers, machine stitching, a shabby chic bow and buttons.


Since I had an extra piece of altered Queen Anne's Lace left over, I made a little bookmark to tuck into the pocket inside the card.

You'll find a Snapguide Tutorial at the end of this post .  It will guide you through the process I used to alter the chipboard. You will also find a complete supply list in the Snapguide.

I sure do love fall!

Thanks for stopping by!
Cheerio, kathy

GSL Products Used:


Check out How to Alter Chipboard Queen Anne's Lace by Kathy Clement on Snapguide.

Wednesday, June 22, 2016

Gift Wallet with Guest Designer Kathy Clement

Hello, Friends! I'm having such a good time guest designing for Gypsy Soul Laser Cuts this month! Today, I have a Steampunk Butterfly Gift Wallet tutorial to share with you.

I paired some fabulous GSL chippies up with Graphic 45 DIY papers and some elements from Botanicabella. Here's a supply list for your convenience.

Supply List for Steampunk Butterfly Gift Wallet Tutorial

  • GSL Butterfly of Gears
  • GSL Mixed Media Fragments 2
  • GSL Faux Metal Number Plates
  • Distress Paint: Ripe Persimmon, Spiced Marmalade, Carved Pumpkin, Dried Marigold, Rusty Hinge, Wild Honey
  • Stampendous Aged Black Embossing Enamel
  • Bronze Mica Flakes
  • Metal Gear pieces
  • Graphic 45 DIY paper roll (Curiosity Collage and Butterflies)
  • Graphic 45 Botanicabella Deluxe Collector's Edition
  • Graphic 45 Washi tape
  • Prima Gold Crackle Texture Paste
  • Tall Coin Envelopes
  • Small magnets
  • Manila tag

Check out How to Steampunk Chipboard Butterfly Embellishment by Kathy Clement on Snapguide.

 I trimmed down the Mixed Media Fragment squares to fit the height of my envelope, then used it as a stencil for my embossing paste. I then heat embossed the chippie with Aged Black Embossing Enamel. Once the paste on the envelope had dried, I glued the chipboard fragment down with Glossy Accents. I had to use a few hinge clips to hold it in place until it had dried. I threaded buttons and hot glued them in place. The faux metal number plate was tapped with paint, then glued in place.
 The wallet has a side flap opening. Here it is all opened up and decorated with elements from Graphic 45 Botanicabella. I kept everything on the inside "flat" so that the wallet could close with ease. The left side is a sleeve with a magnetic opening. It contains a decorated manila tag.  I cut one of the envelope sides off to create a slash pocket, then filled it with pretty postcards. This is a great place to write a personal greeting, mount photos on the reverse side of the post cards or tuck in a gift card. It's a really pretty little ensemble.

Thanks so much for joining me today. Please stop by my personal blog for more instructions and pictures! I hope you enjoyed this Steampunk Butterfly Gift Wallet Tutorial.  Now go get your craft on!

Cheerio, kathy

Saturday, April 4, 2015

Easter Greetings


Hello and good day to you all. Shanna here with some fun Easter decor using some amazing new chipboard from Gina's Designs Lasercuts. She just added tons of new pieces so head over HERE to check out the new stuff.


I created a quick Snapguide on how to alter the chipboard eggs. Check it out here!


I decided to play with the new Build a Layout Easter set and make an Easter shrine based on Nichola's fun tutorial she recently shared.


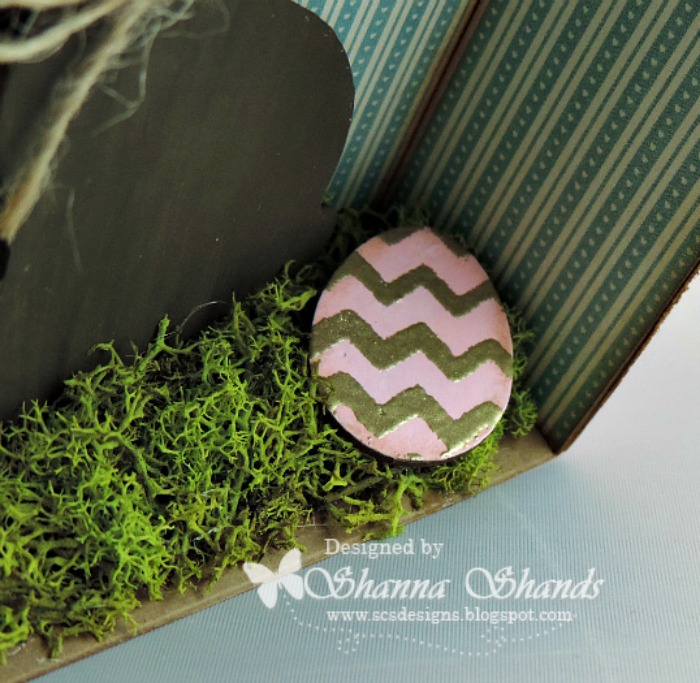
Altering the eggs was a very fun process, quick, and a simple way to jazz up your chipboard pieces. 


I loved popping them out giving them dimension to really fill in the shrine. 


Items Used: