Showing posts with label Tiny Matchbox Theatre. Show all posts

Monday, January 1, 2018

Snarky New Year!

Happy New Year from this party animal!
Hey Everyone,It's Jess.
If you made it until midnight, then you stayed up later than me.  I never make it until midnight.  I have a little project for you today that shows you that I really know how to party.
I used the Tiny Matchbox Theatre to make my party animal box.
 I covered the box with old book paper.
I used Dina Wakley Paints to add some pops of color.  The edges have some Distress Crayon in Hickory Smoke and Black Soot. 

The image inside is from Lisa's Altered Art and it is popped up using foam tape.  I added the little party hat and book.  There's some fun washi tape behind her just for visual interest.  

I hope you have an amazing 2018! 
Jess

Wednesday, June 21, 2017

The Cat's Meow Tiny Matchbox Theatre by Sandy Trefger


Hello everyone! Sandy here today with a quick, fun little project for Gypsy Soul Laser Cuts.  I love cats and have quite a few living here at my house. So I thought I'd use the GSL Tiny Matchbox Theatre chipboard kit to make a fun wall hanging that I'm calling the "Cat's Meow."  The matchbox is so easy to put together.  I've done a YouTube video on how I assembled mine, painted and patterned it with some Graphic 45 Raining Cats & Dogs.  This would make a great gift for any theme that you might have in mind.

Here's my tutorial video:

Supplies Used:
Thank you so much of checking out this post and my tutorial video.  Be sure to check out the Gypsy Soul Laser Cuts store and order several of these very inexpensive Tiny Matchbox Theatre Chipboard kits to have on hand when you need a quick project.  I'll be back here on the blog July 5th with another project.

Happy Crafting!
~Sandy

P.S. Check out my blog/website for more of my creations at: www.sandytrefger.blogspot.com


Tuesday, April 25, 2017

Pocket Circus by Susan Killam

Hi crafty folks!  On today's blog I have a pocket full of circus to share with you.  I used the Gypsy Soul Laser Cuts Tiny Matchbox Theatre.  It's 2 1/2" x 3" (6.35cm x 7.6cm)!


There are two sets in this photo to show how they arrive and how to fold at the score lines.


I painted the outside edges black.  I also painted the inside flaps since I knew they would be visible.  Next I used white craft glue to close all but the top.  I measured the inside aerialist panel to fit so I could slide that panel in from the top.


For a pull knob, I measured the center of the side panel (you *don't* want me to eyeball it...) and poked a hole.  You can sort of see the hole in this photo!  From the inside I threaded the knob base and left it in to attach the knob later.

In this photo you can also see the scrap chipboard I glued in to raise the aerialist panel to the center of the matchbox.


I inserted the layered aerialist panel and used a clamp and scrap chipboard to let the glue set.  After it set I used varying grits of sandpaper to even out the edges and give it a worn look.  The black paper is super fine and is great to sand away any extra glue, also.


Next I glued the matchbox sleeve and clamped to let the glue set.  You can see the finished matchbox theatre in the background.


I cut the outside paper and scored it to wrap around the bottom.  I couldn't bear to cut off the heads!


Here is the completed sleeve!  I inked the edges with brown ink and used gold Dresden trim to finish it off.  (The top and back of the sleeve were painted black.)


The inside has layered aerialists just hanging around.  If you click to enlarge the photo you can see the layering a bit better.


Thanks for visiting today!

Cheers,
Susan


GSL CUTS USED

Tiny Matchbox Theatre #C40D


OTHER SUPPLIES USED

Liquitex black acrylic paint
White craft glue
Vintage aerialist images
Ranger TH Gathered Twig ink
TH knob

Thursday, September 8, 2016

Tiny Matchbox Theatre

Hi everyone!  Barbara here today on the Gypsy Soul Laser Cuts blog.  Today I want to share this sweet  Tiny Matchbox Theatre, another new item from GSL.  Wait til you see what can be done with these little boxes.


These are the two pieces to make this cute little box.


I glued the two pieces together, but left the flap on the inner box unglued.


I covered the outer "box cover" with a piece of the flower print paper.  In order to allow this piece to slide easily over the "inner box", I left the chipboard bare on the inside.  Next, I chose my chippies to use on the cover ...


... and painted them with a beige chalk paint.


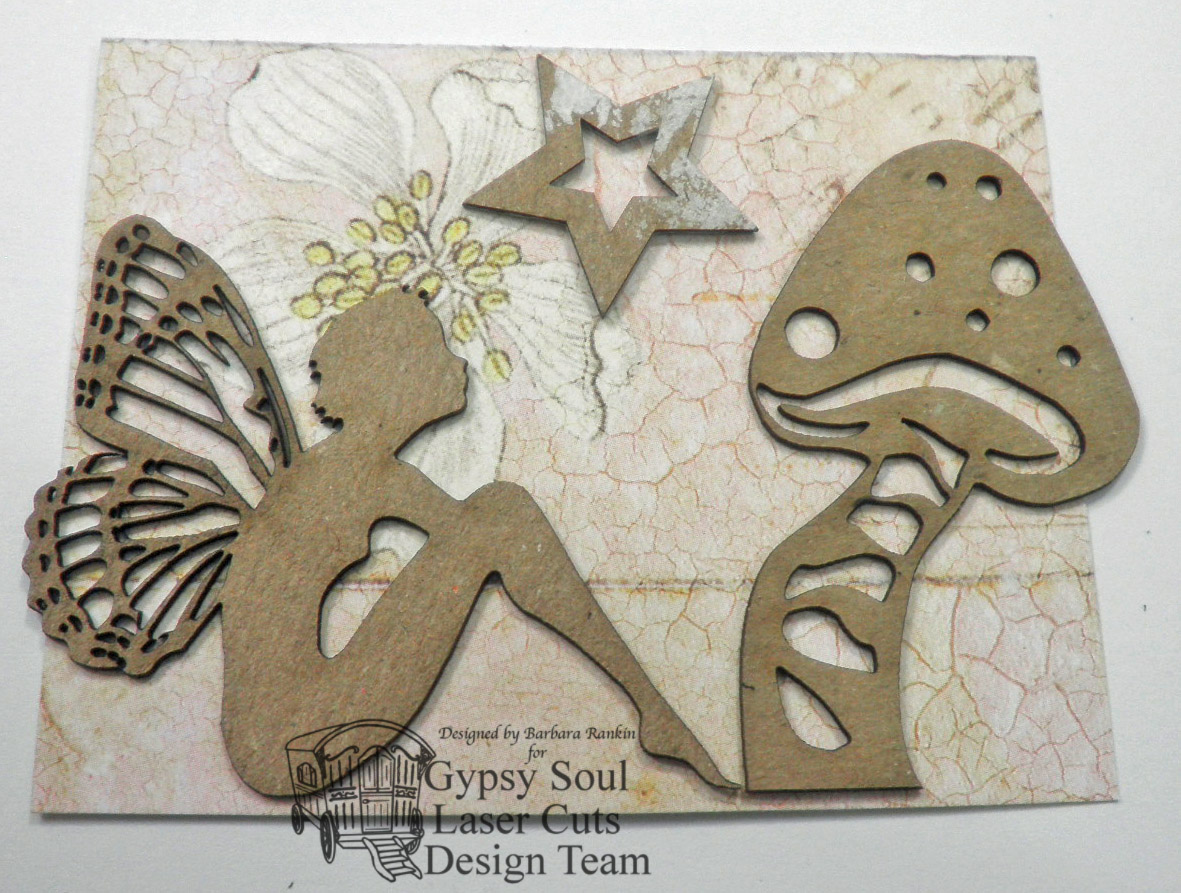
I next cut a piece of print paper to fit inside the inner box and chose my chippies to use on the inside. These pieces were also painted with the beige chalk paint.


I used Twinkling H20s to color all of my chipboard pieces.


I simply added some Platinum Stickles over the Victorian Corners, and Star Dust Stickles was added to the wings on both fairies. 


Waterfall Stickles was added over the water colors on the star, and more Star Dust Stickles was added over the mushroom top.


I painted the inner box with the beige chalk paint, then added some texture by dabbing some of the H20 water colors over the background.  


Next, I used a damp baby wipe to blend out some of the darker colors.  As you can see, I left the top flap open so I can insert my pieces when I get it put together.


Glue your pieces to the top of the outer box, as shown.


Glue the remaining pieces to the background paper for the inner box, as shown.  Trim off any excess chip board, as needed.


Slip the background paper inside the inner box and close it.  You can decide whether or not to glue the lid closed,  but if you choose not to, you can always open it and change out the background paper and chippies to suit any occasion.  Better yet, you could make multiple "cards" to keep inside the box.  That would be super fun!


At this point, you can also add more tiny embellishments, if you wish, like tiny flowers, bits of lace, glass glitter, beads, charms, the possibilities are  endless. 

Supplies used:

GSL Tiny Matchbox Theatre (coming soon)
GSL Garden Fairies Small
GSL Victorian Corners 1
GSL Celestial Shape Set (star)
GSL Mushrooms Shape Set

ColourArte Twinkling H20s  
Prima Fairy Belle 6x6 paper pad
Beige chalk paint
Glitter Glue (Star Dust, Platinum, Waterfall)

I hope you enjoyed this project today, and be sure to stop by the Gypsy Soul Laser Cuts shop to see more new and exciting chipboard available.

Thanks for stopping by, and have a wonderful, creative day!

Barbara