Showing posts with label House Jewelry Pieces. Show all posts

Saturday, March 6, 2021

Mini Movie Prop Display Case

Happy Saturday, everyone! I have a silly project to share today. I love using the GSL Bookcase 1 to 12 to display things and have been on a bit of a Holy Grail quest lately with some of my projects. I got to thinking about how fun some of the props they used in the movie are and wanted to make a few in miniature and this little display came to life.

The bookcase is very simple to assemble with tacky glue. I used rubber bands to hold everything in place while the glue dried.

A few coats of brown acrylic paint came next. So quick to finish and now it needs some props.

I started with shields, which are made from GSL House Jewelry Piece bases which were painted white. Sir Galahad's shield got one of the GSL Gothic Cross Miniatures painted red and King Arthur's sun symbol was hand drawn. 

I made a few research books for the shelves from GSL Miniature Book Blanks (coming soon). These make the perfect sized book for a miniature project and are so simple to use. I painted the edges white to represent book pages. 

The only thing needed to finish it off is a printed cover.

I also included a reference book on sparrows. The holy hand grenade is a large pearl bead studded with crystals and topped with toothpick ends painted gold.

This shelf includes polymer clay coconut shells coated in jute threads for Patsy to use to make horse hoof sounds for Arthur's imaginary horse. I also included a can of Spam made from a dollhouse brick and a miniature shrubbery.

The shields are on the second shelf, along with a resin bunny representing the rabbit of Caerbannog, a polymer clay witch nose and a dagger from a Clue game.

The bottom shelf contains prop barnyard animals for the french to catapult over the castle wall.

The final touch is a sign made from a GSL Stackable Label. This was a fun project that opens up many possibilities for many more movie prop displays! 

 Thanks for stopping by!

GSL Products Used

Bookcase 1 to 12

House Jewelry Pieces

Gothic Cross Miniatures

Stackable Labels Shape Set

Miniature Book Blanks (coming soon)

Other Supplies Used

Tacky glue

Acrylic paint

Printed images

Polymer clay

Tiny treasures


Saturday, January 18, 2020

The Rabbit of Caerbannog

Happy Saturday everyone! Connie here with a tribute to one of my favorite movies – Monty Python and the Holy Grail.  In the film, the Cave of Caerbannog is guarded by a bunny with nasty, big, pointy teeth and a vicious streak a mile wide. When King Arthur and his knights are attacked by the killer rabbit, he shouts for them to 'run away'! 
This project started with a GSL Bagatelle Box 3 by 4 inch which assembles easily with a bit of tacky glue. The exterior paper I chose for this project is from the fairy tale related Once Upon a Time stack by DCWV.

I couldn't resist setting the bunny in front of a medieval castle image framed with a neutral gray paper from Tim Holtz.

Other elements used in this project are from the GSL Stackable Labels Shape Set, House Jewelry Pieces and Gothic Cross Miniatures.

I painted the base of one of the Stackable Labels black and glued a printed Run Away image to the top layer.

For a knight's abandoned shield, I turned one of the house jewelry pieces upside down and painted it white, then added a red gothic cross. Something so simple makes me giggle.

For this little shrine's feet, I painted wood ball finials with black acrylic paint. A tip for painting them is to pop each one on a Q-tip. They are easy to hold while painting and you can hold them in a small container while the paint is drying. The rabbit is a plastic Schleich toy with a bit of blood red paint added to his mouth for effect.

To finish the piece, I set him on a carpet of thick grass colored felt and glued down a few bones I cut from one of those dollar store plastic skeletons.

Where's a holy hand grenade when you need one?
Thanks for stopping by!

Gypsy Soul Products Used

Other Products Used
Tacky glue
Acrylic paint
DCWV Once Upon a Time paper
Tim Holtz Idea-Ology paper
Castle image
Tacky glue
Acrylic paint
Felt scrap
Wood ball finials
Schleich rabbit
Plastic skeleton


Tuesday, March 19, 2019

Mice Like Candy, too.

Greetings! Lora here for the terrific Gypsy Soul Laser Cuts and Part Two of Mice Like Candy Too. Today I am going to do the do the four remaining tags.
In the picture below, you can see the top row is what I did a couple of weeks ago and the bottom row are the four I am going to chat about today.
Most of the elements are the same - the background color, candy jars, dots and flowers all help with cohesiveness and tie all the tags together, making them a set.
I began with cutting out all the bits and pieces I may (or may not) use. I wanted some different mice and these cute little fellows fit in with the look I was going for. (I darkened up their color so they would pop a bit more) I cut out a bunch of circles and various sweets and jars and played with the mix until I got layouts I liked....
I started gluing my layers on starting with what will be in the background-the circles.
With a little daub of glue at the bottom of the mouse, I attached him to where I wanted him on the jar and then glued the whole piece down and attached the number, adding dots after everything dried.
 Next, the ribbon was added and glitter was used for a sparkly bit of detail. The flower was glued on as the last thing.
Not a difficult project, but I think they are so cute. I decided that I did not want to make a banner of them as a friend of mine is having a little baby shower for her grand daughter and we are going to use them for place cards for the table. Now I have to make a 'few' more!
SUPPLIES:
Small Tag Set
Faux Metal Number Plates

Bo Bunny Double Dots Vintage Pink Punch and Cotton Candy
Bo Bunny Sweet Moments
Mouse Collage images came from Digital Antiques (Etsy)
Acrylic paint
Silk Flowers
Green silky ribbon

For the supplies I used on the Mice Like Candy set #1, click HERE
Thank you for stopping in!


Tuesday, March 5, 2019

Mice like Candy, too. A Mouse Tag Banner - Part One

Now if they can just figure out how to get the lids off the candy jars.........
Hello all, Lora here for Gypsy Soul Laser Cuts with a trio of tiny tags with even tinier mice on them.
Part one of two....first easy peasy tag making. Second, an easy peasy banner made out of the cute tags.


I chose the Small Tag Set and covered seven of the pieces, back and front with pretty pink paper.
 Here is a picture of me messing around with how I want the layout for the final banner...
You can see I settled on using bits of the House Jewelry Pieces and the Petal Corner Minis.
I also used the Faux Metal Number Plates in the picture below.
I also cut little background circles of the paper I used on the backs of the tags to keep a consistent theme running through them, and added some white dots a ribbon a little silk flower at the top. And a tiny little white mouse. So cute!
More on this process in the next installment of the Mouse Tag Banner!
Thank you for stopping by!

SUPPLIES:
Small Tag Set
House Jewelry Pieces
Petal Corner Minis
Faux Metal Number Plates

Additional supplies:
Bo Bunny Double Dot Vintage Pink Punch and Passion Fruit Scrapbook Paper
Bo Bunny Sweet Moments Scrapbook Paper
White Acrylic Paint
Silk Flowers
Teeny Tiny White Mice (from Alpha Stamps)


Sunday, July 15, 2018

Shabby Chic Church Christmas Greeting Card

Hello there friends and crafty peeps! I'm celebrating day 8 of our 12 Days of Christmas in July series on my channel and today is the day I get to share the project for Gypsy Soul! I really love how this card turned out. Maybe my favorite for this whole month of Christmas in July!

This dreamy color combination works so well with the gently altered chipboard.
I used the House Jewelry and finished it to resemble a sweet little country church.
The Doodle Set makes for fine floral flourishes when layered with pretty flowers and pine cones.
These chippies were finished simply with flat white acrylic paint then topped off with a bit of Stickles to add sparkle.

The leaf Medallion works in place of a doily and frames the arrangement with extra dimension.
 I've mixed in a few die cut paper pieces with the chippies to fill in this corner. A little faux snow is the perfect finishing detail.

Gypsy Soul Laser Cuts~Leaf Medallion, Doodle Set 1, House Jewelry.

Please enjoy this process video of how I created this card...
Wishing everyone a happy and productive day : ) Ginny

Saturday, February 3, 2018

A Day At The Circus House Pins

Happy Saturday everyone! I've been playing with the super versatile GSL House Jewelry Pieces. I considered using them as a focal point in a larger assemblage but kept coming back to the idea of turning them into actual jewelry and decided on a trio of quirky circus themed pins.


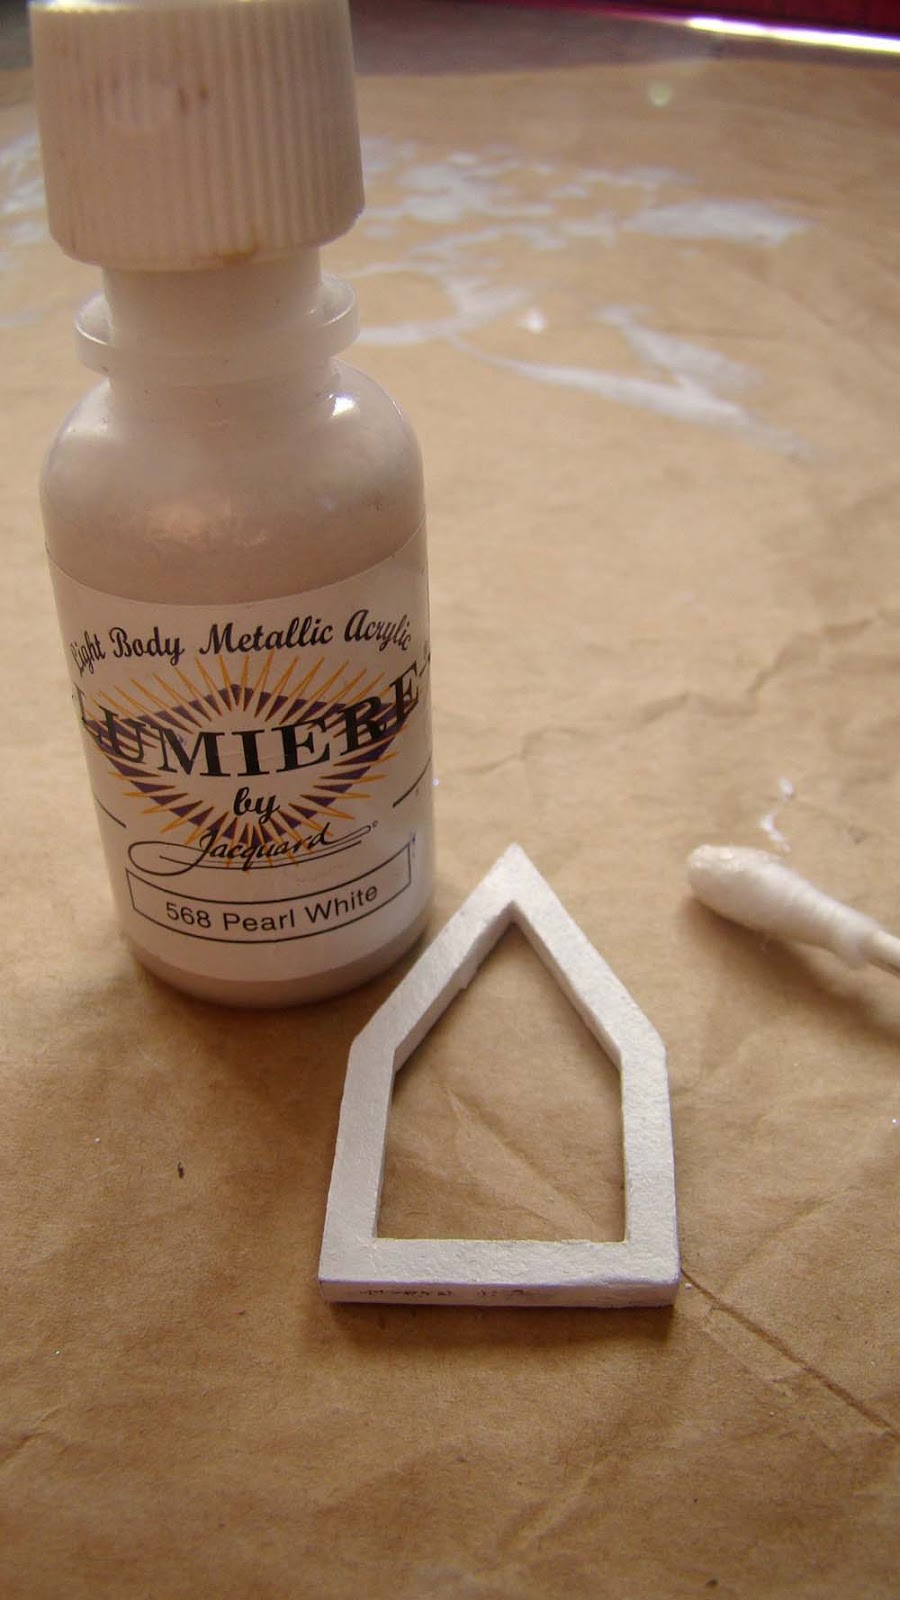
I love to play with tiny train figurines in my crafting and have a collection of HO (1:87) scale figures in my stash. I chose a little girl with her hand in the air and decided to give her a bunch of balloons to hold. I started with the 1.5 inch house. These little houses come in two pieces, a background piece and an overlay. They couldn't be easier to assemble!  I primed the front, sides and rear of the chipboard pieces with white acrylic paint as a base. For this one I used Lumiere Pearl White for the finished look.
 
I chose a scrap of sky paper as her background, and drew in a few balloon 'strings' using a microfine white pen.
 
After gluing the sky paper onto the base I adhered the overlay on top using tacky glue. The 'mylar' balloons were made by snipping the heads off of some pearlized ball head straight pins. I gave my tiny train girl a bit of grass to stand in using a felt scrap, then glued the balloons in place with a strong adhesive ( E6000). 
The only thing left to add was a small pin  back.She's pretty adorable. 


For my next pin, I used the 2.25 inch house and an HO scale ringmaster with his dancing bear.  I used Lumiere Pearl Turquoise paint for the frame and a cheerful striped background.
 
This piece got a  circus poster courtesy of the US Post Office. They featured a series of vintage circus poster stamps in their USPS Philatelic Stamp Catalog that were just charming.  I gave the bear a decorative mosaic tile to stand on.  The finishing touch was a small star sequin with a pin ball glued to the center.

After quick assembly, it's done.


My final pin was made from the smallest house which is just over an inch tall. For this one, I selected the Greatest Show on Earth roaring lion image (my favorite) and glued it onto an orange scrap of paper for the background. I used Lumiere Halo Pink-Gold paint for the frame and finished this one with a blue star sequin and pin ball.


Simple and cute!

I think they're going to live on my jeans jacket.  

Thanks for stopping by!

Gypsy Soul Laser Items Used
  
Other Items Used
Scrapboook paper scraps
Lumiere pearlescent paints
HO scale figures
Felt scrap
Ball head pins
Star sequins
Mosaic tile
Pin backs
Tacky glue
E6000 glue