Showing posts with label Coffin Box. Show all posts

Sunday, October 15, 2017

Haunted Dress Shop

Hey there Peeps. Ginny here to share a Halloween project created with some fabby chippies from Gypsy Soul Laser Cuts.
It's a haunted dress shop!!! How fun is that?
I'm using the frame to the Coffin Box to create a bit of a shadow box.

There's a glittery flourish layered over a fussy cut spiderweb.
Flowers with netting add a great texture.
The dress form has a spooky inspired outfit on all ready for a Halloween party.
I wiped down the chippies to prepare them for finishing.
 A little trick I've learned while cutting down paper to fit inside something is to add a bit of a folded tab so you can easily pull the paper out if you need to until you get the shape trimmed just right.
Painting the coffin box lid and flourish frame with a creamy acrylic in metallic black.
Now adding silvery embossing powder then heat setting.
Beginning the outfit with a striped patterned paper.
Using a doily patterned paper to create a skirt.

Two layers of doily topped off with a spiderwebby pattern on velum.
 Many layers of foam tape to secure the dress form in the coffin shadow box. This also adds nice dimension.

Last but not least....a haunted sign and fussy cut bat.

Gypsy Soul Laser Cuts~  6 Inch Coffin Box, Fantasy Frame and Flourishes, Vintage Seamstress Shapes Set.

Wishing everyone a happy and productive day : ) G

Tuesday, October 3, 2017

Coffin Box Trio with Susan

Hello crafty friends!  Is it Halloween yet?  Are you done with all these spookies and skellies?  Hopefully not since I have a little more for you today.  If you couldn't tell by now, spooky-themed projects are my year-'round fun.

Today I have a trio of Gypsy Soul Laser Cuts miniature coffin boxes.  Finished, they are 4 1/4" x 2 1/8" x 1 1/4", with two coffins per package.


The first thing was to bend up the edges, then glue.  I did one tab at a time and used clothes pins to secure while the glue worked it's magic.


 Next, I edged the coffin with brown ink and filled in the scored indentation with a brown pen.  I traced the top, bottom, and sides onto scrap paper, cut them out, and inked the edges.


You can use any glue for this step, but the trick I can share is to go slowly and glue one section at a time.  Make sure the paper is staying straight since it can be difficult (impossible!) to fix once you get around to the end.  I know this from experience... which is why there are only 3 coffin boxes out of 4.  ::grin::


Since I succeeded on the bat box, I continued with the other boxes.


These are fun!  I'm not sure how I'll use them yet.  For now they are a resting place for George to supervise my work.  


This design is also available in 7 1/2" long coffin box and a 6" long coffin box.  Happy crafting!

Cheers,
Susan

GYPSY SOUL LASER CUTS USED
Coffin Box Miniatures RB5


OTHER SUPPLIES USED
Graphic 45 Rare Oddities paper
Ranger Glue 'n Seal medium
Brown ink and pen

Monday, October 2, 2017

Dying to get out

Hi Gypsy Soul Fans,
I have a fun Halloween decor project for you today.
This project was so fast and simple to create, but the results are pretty creepy.
Cover your Coffin Box with your choice of paper.  I went with something that looks like weathered wood.
On the underside of the lid place another small piece of the same paper and cut through the chipboard using a craft knife.
Glue your skeleton to the top of the box so his head pops out of the hole. I cut an addition tiny hole so a hand could peep out.  Add brown ink to the edges of the coffin and the hole. Flick on black paint and wrap the box with chains.  Do not wrap them all the way around.  You want the back to remain flat so you can attach it to your frame.  
Paint a frame black and highlight with brass paint.  Glue your coffin to the center and cover the frame with moss. 
You're all done!


Save

Tuesday, October 6, 2015

Halloween Shadow Box

It's finally here! Halloween!!! I love working on Halloween projects and I had the best time creating this one. I used an old wooden shelf my daughter used to use to display her perfume on. I broke out a ton of chipboard for this one!


Once it was finished and I sat it down on the table, Jake laid right in front of it and spent some time checking it out. I think he likes it! The process video link is below! Click on over and see how I made this!


Gina's Designs:


Other products:


black gesso


ink sprays


chain


eye screws


flowers


seed beads


Glossy Accent


Fabritac 


Tuesday, September 1, 2015

September Challenge


Hello everyone and welcome
to September. Gina here to share a Halloween project for the monthly
challenge on our Facebook group. The challenge this month is a
Fall/Halloween/Thanksgiving inspired project. I decided to play with
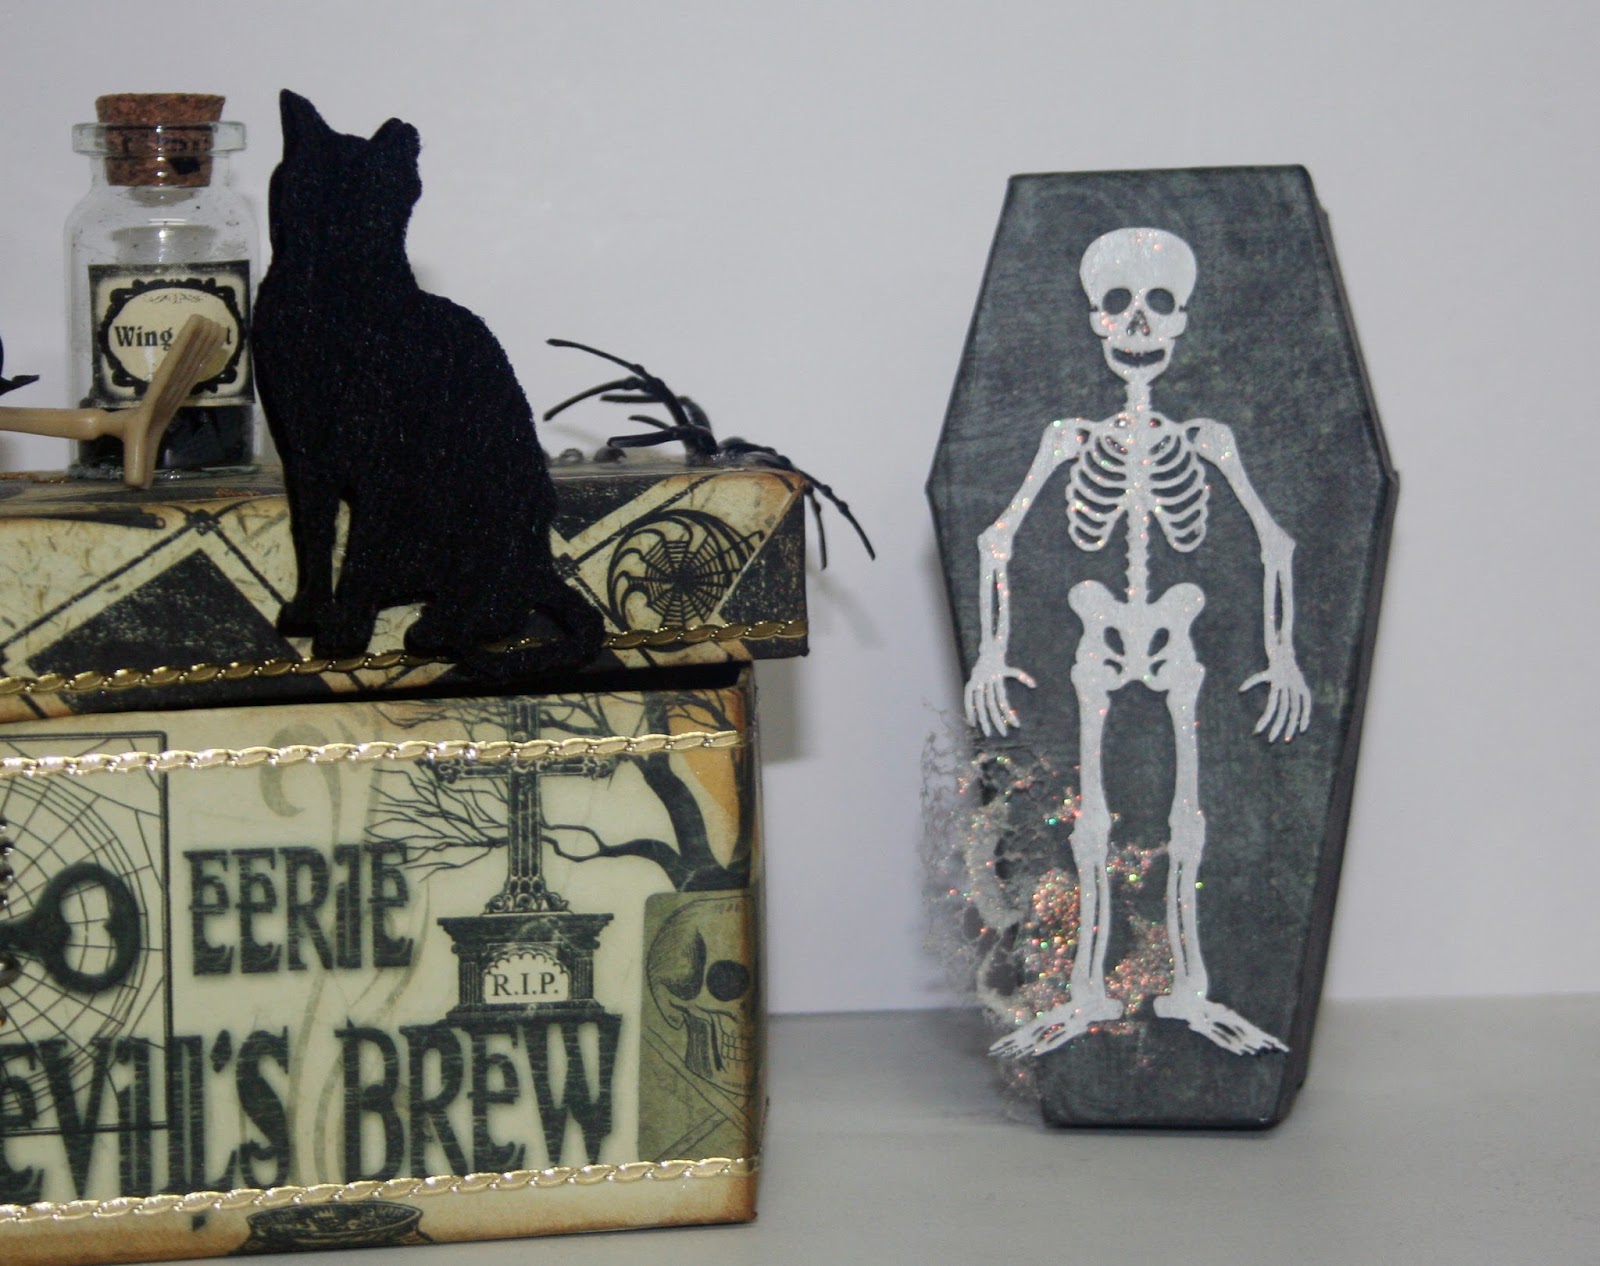
some of the new Coffin Boxes. These boxes are perfect for creating a
centerpiece, gift box or treat box.


I papered my box using the
Halloween line from Momenta. I applied the paper as I assembled the
box, making sure to allow for the folds. Once complete, I decorated
the box with bits and pieces from my stash. I printed the label for
my bottle and applied using glossy accents. I covered my cat with
felt for a furry look. I papered one of the mini coffins. To
decorate it, I painted the small skeleton from the Skeleton Set and
added a little Stickles. The other mini coffin I left bare.


Be sure to go over and
check out the Facebook group and join the challenge.


Gina's Designs Products
Used