Showing posts with label collage medium. Show all posts

Monday, February 4, 2019

You altered my heart


Hi Everyone,
Jess here today.

I was totally inspired by a class Tim Holtz just taught at the recent Creativation show(and he was inspired by Paula Cheney).  I wanted to create something similar to what I had seen done, but put my own twist on it.


Start by running the solid half of your Steampunk heart through your die cutting machine using a 3d embossing folder.  Spritz the chipboard on both sides before using the embossing folder so the chipboard really gets nice texture.
Using collage medium adhere college paper to the embossed half of the heart.  I did a thin layer on the heart and adhered the collage paper.  I applied another layer on top and really worked the paper in with my fingers so you could see the embossed texture.
Paint the gear side of the heart using Dina Wakley media paint in Umber.  Paint the gears using Dina Wakley Media paint(Gilt and Ancient) and Tim Holtz Distress Paint(Brushed Pewter).  Add metal gears on top of some of chipboard gears for dimension.  Add embossing powder and crackle texture paste randomly on the heart for even more visual interest.  When the crackle paste is dry rub in a bit of Gathered Twigs Distress Crayon.

Take one of your Extra Large Tagand cut about three inches off the bottom.  Cover the entire tag with patterned paper.  Add bits of ephemera and adhere them to your tag.  I used a mix of vintage and reproduction ephemera here.  I love to mix old and new.  The entire tag gets a coat of collage medium. 
Once the collage medium is dry smoosh Distress Oxide inks onto your craft sheet and tap the tag into the ink.  The ink will stay beaded up on the craft sheet and you get neat splotches of color.  When you have a bit of color on your tag spritz with water and allow to air dry. Do this step several times until you achieve the color you like.
   Use a stencil to add a bit of grit paste to the top corner.  

Then add random blobs of grit past on the sides of the tag.  Once the paste is dry, use the same Oxide inks to color the grit paste.  Add Distress Crayon in Black Soot to the edges of the tag.  Splatter the tag with white, black, and gold paint.  
Using foam tape adhere the heart of the tag.  Give the paper doll a layer of clear gesso and color in his suit using Distress Marker in Mowed Lawn. Add a resin flower to his suit.  Glue the ruler to the heart and using foam tape adhere the man so he appears to be sitting on the ruler.  
Use Chit chat stickers to create your sentiment.  
Color in the word token using Distress Crayon in Picket Fence and add a jump ring.  Take an old paint brush and add a jump ring to the top. Add the rings to a vintage laundry pin and stick the pin through the fabric at the top of the tag.  The fabric at the top of the tag is actually a piece of my clean up rag I use in the studio.  I just cut a piece off because I really liked the colors on it.  To complete my tag I took some gel pens and made marks all over the piece.


Happy Monday
Jess


Monday, December 17, 2018

Good tidings ATC ticket journal


Hi Everyone,
Jess here today with a fun ATC Ticket Journal.


I made one of these a few months back.  You can check out that post here.  When I was creating my spring themed journal all I could think about was how cute this would look done up for Christmas.
The basic steps are the same as the Spring journal.  Prep the journal by painting it.  Using collage medium, add Tim Holtz Christmas Collage paper randomly to each page.  

Once all of your collage paper is down add stamps using a permanent ink.  You can also use paint on your rubber stamps, just make sure you clean them off right away.  Once it's dried it will be on there forever.  The funky green branches you see here are a stamp.  Stamp in a green paint and then add red berries with the end of a paint brush.  

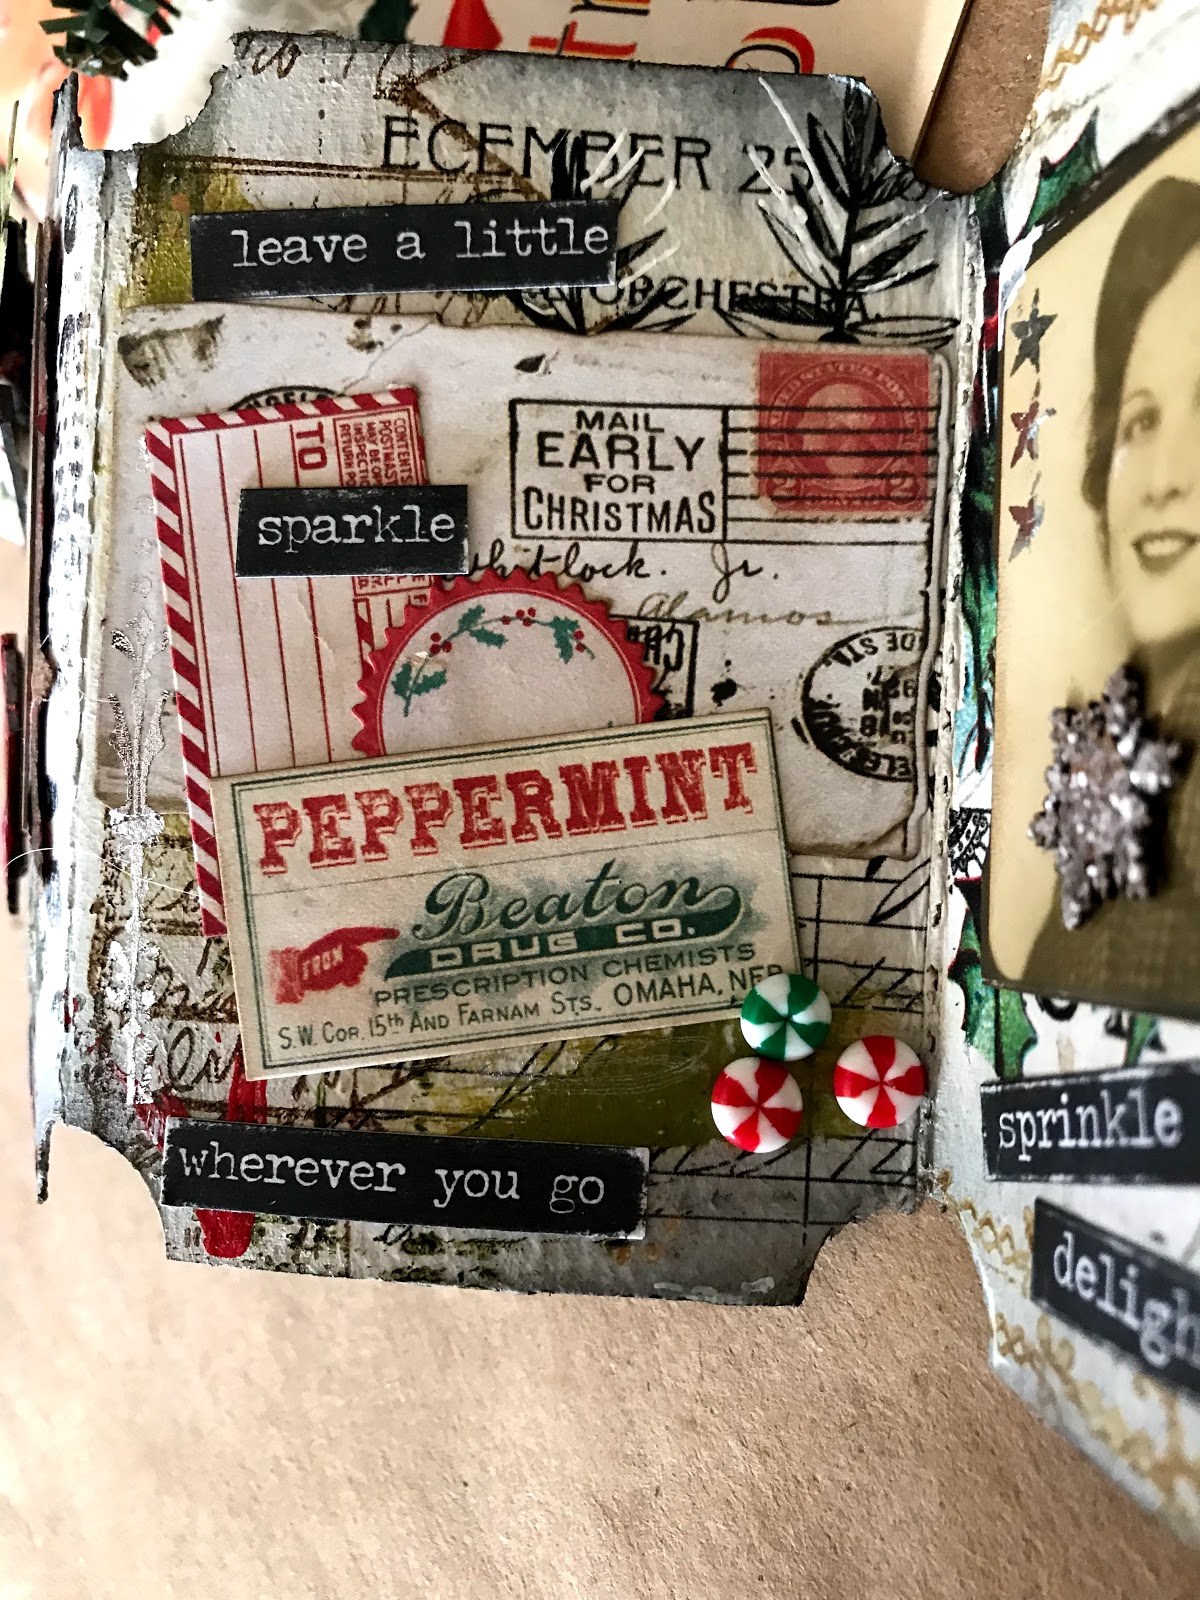
 These are all of the inside pages.  I put a photo on every other page and the opposite sides are just fun piles of ephemera.
Most of the photos got a little something to dress them up for the holidays.  
These little anter brads just crack me up.  
This guy's hat and scarf are from the Christmas Shape Set.  Both pieces were embossed.  
Her wintery broach is from the Snowflake shape set.  
Here are the rest of the pages.  This one has a little 3d stag sticker. 

Her santa hat is a brad.

The peppermints are made out of perler beads. 

I love the vintage Christmas seal on this page.  

The tree is from the Christmas Shape Set.  It was heat embossed.  

I did my cover last.  The ribbon is glued under the frame and it has an eyelet in it.  The buckle is attached with a brad that you can see on the backside of the page. 
The center of the poinsettia is the brad that is holding on the buckle.    
The buckle was a great way to hold this guy together since it's pretty chunky.  

I hope you enjoy this little book.  I had a blast making it.  Have a very Merry Christmas! I hope there is no coal in your stocking.


Monday, January 2, 2017

Snarky Clipboards by Jess Madaglia

Hi Everyone,
It's the new kid on the block! My name is Jess and I am so excited to share my first project with you.
I created some mini clipboards and they are super easy to make.

I started with my blank clipboard.  They come four to a package and you get the bases, the clips, and the clip cover.

I did a light messy layer of gesso on the base and clip cover.

Once my gesso was dry I started to layer on vintage papers.  I used a whole bunch of random bits.  I can't read dictation, but how perfect is this little bit for this project? I just ripped and layered until I covered the whole board.

I added some scraps of patterned paper, smudged on a bit of acrylic paint, and topped the whole thing off with a layer of collage medium.

Once the collage medium was dried I used Distress Crayons to grunge up the paper.

 The lovely lady was added and her quote.  I stuck these on with collage medium too.

While the collage medium dried I glued my clip to the clip cover.  I painted the clip cover, but decided that wasn't quite working.  Embossing powder was the answer to my problem.
A few scribbles were added around the lady and the quote.  Clipboard complete!


I made a second board using the same technique, but I added some stamps and washi tape to this one.

I hope you enjoyed my first project.  I can't wait to show you what I have up my sleeve for my next post.
Jess

Gypsy Soul Products Used:
mini clipboards

Other Products Used:
Acrylic Paint
Archival Ink-Jet Black
Collage medium
Distress Crayons
Embossing Powder
Gesso
Strong Adhesive
Various patterned papers and vintage papers
Washi Tape