Showing posts with label Paper Dolls. Show all posts

Friday, February 15, 2019

Engineer of Dreams

Hello!! Jennalee here today and I have a project with a bit of a surprise to it. Do you ever see a technique and are so enamored with it you can't wait to give it a try? While I was at Creativation 2019 I saw the most amazing project made by Paula Cheney where she made a shadowbox with a light up component. I knew that the new Fold-Up Rectangle Boxes coming soon from Gypsy Soul would make the perfect base with their precut window. As I started auditioning pieces the Compass jumped out at me and I knew it would be perfect in the background.


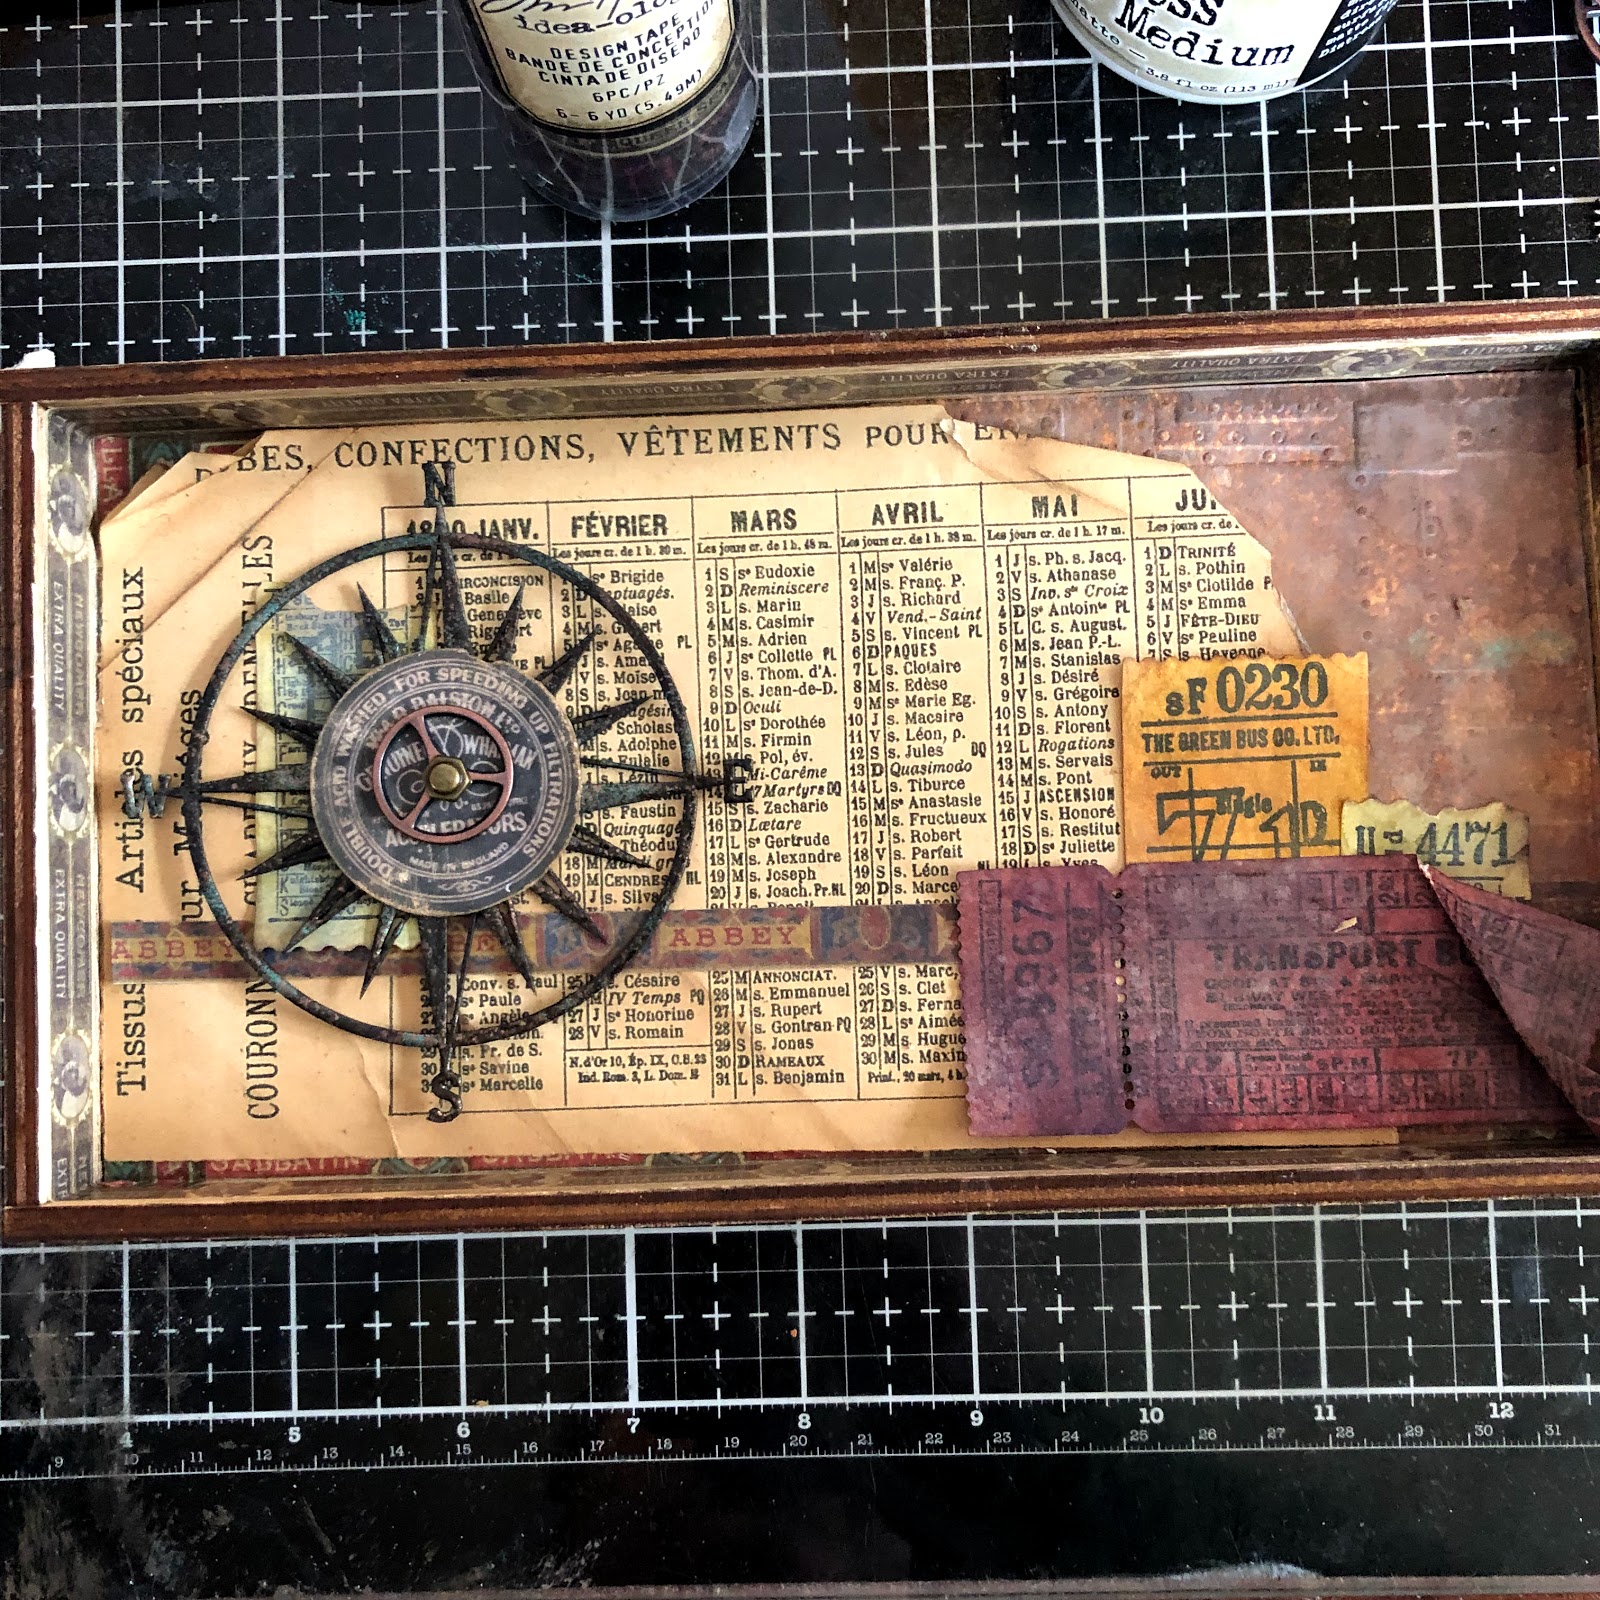
Using a Tim Holtz Vignette Tray as your base substrate begin building up your background. Run cigar band washi around the inner edges. On the right side of the tray adhere a rust background. On top of the rust background layer a copy of French ephemera. See below details for the compass and tickets. 


Heat emboss the Compass with Burnt Copper Leaves and a sprinkle of Patina Oxide. Adhere the Compass to your prepared background then layer with a piece of ephemera and a Sprocket Gear. 


Prepare 3 tickets die cut from Ticket Booth. Color and distress then add layered tickets to the lower right corner of the tray. 


The Fold-Up Box comes flat and is super easy to assemble using your favorite adhesive. In this picture it is still in its auditioning process. 


Once the box is assembled and glued cover the outside edges of the top with a rust background and paint the top edge Terracotta. 


Add a piece of foam inside the box and position rice lights. Anchor lights in place with T pins. 


Add a Clock Key to the right side of the Fold-Up Box. 


Prepare the photo for the window of your box. Tape a piece of Plain Collage Paper to a piece of plain copy paper. Open photo in chosen picture editor and edit to size. Insert paper into printer and print as normal. 


Here is the image I used from Graphics Fairy.


Sand and ink souvenir frame from Tim Holtz and adhere your printed Collage Paper to the back side of the frame. Then adhere to the top of the Fold-Up Box. 


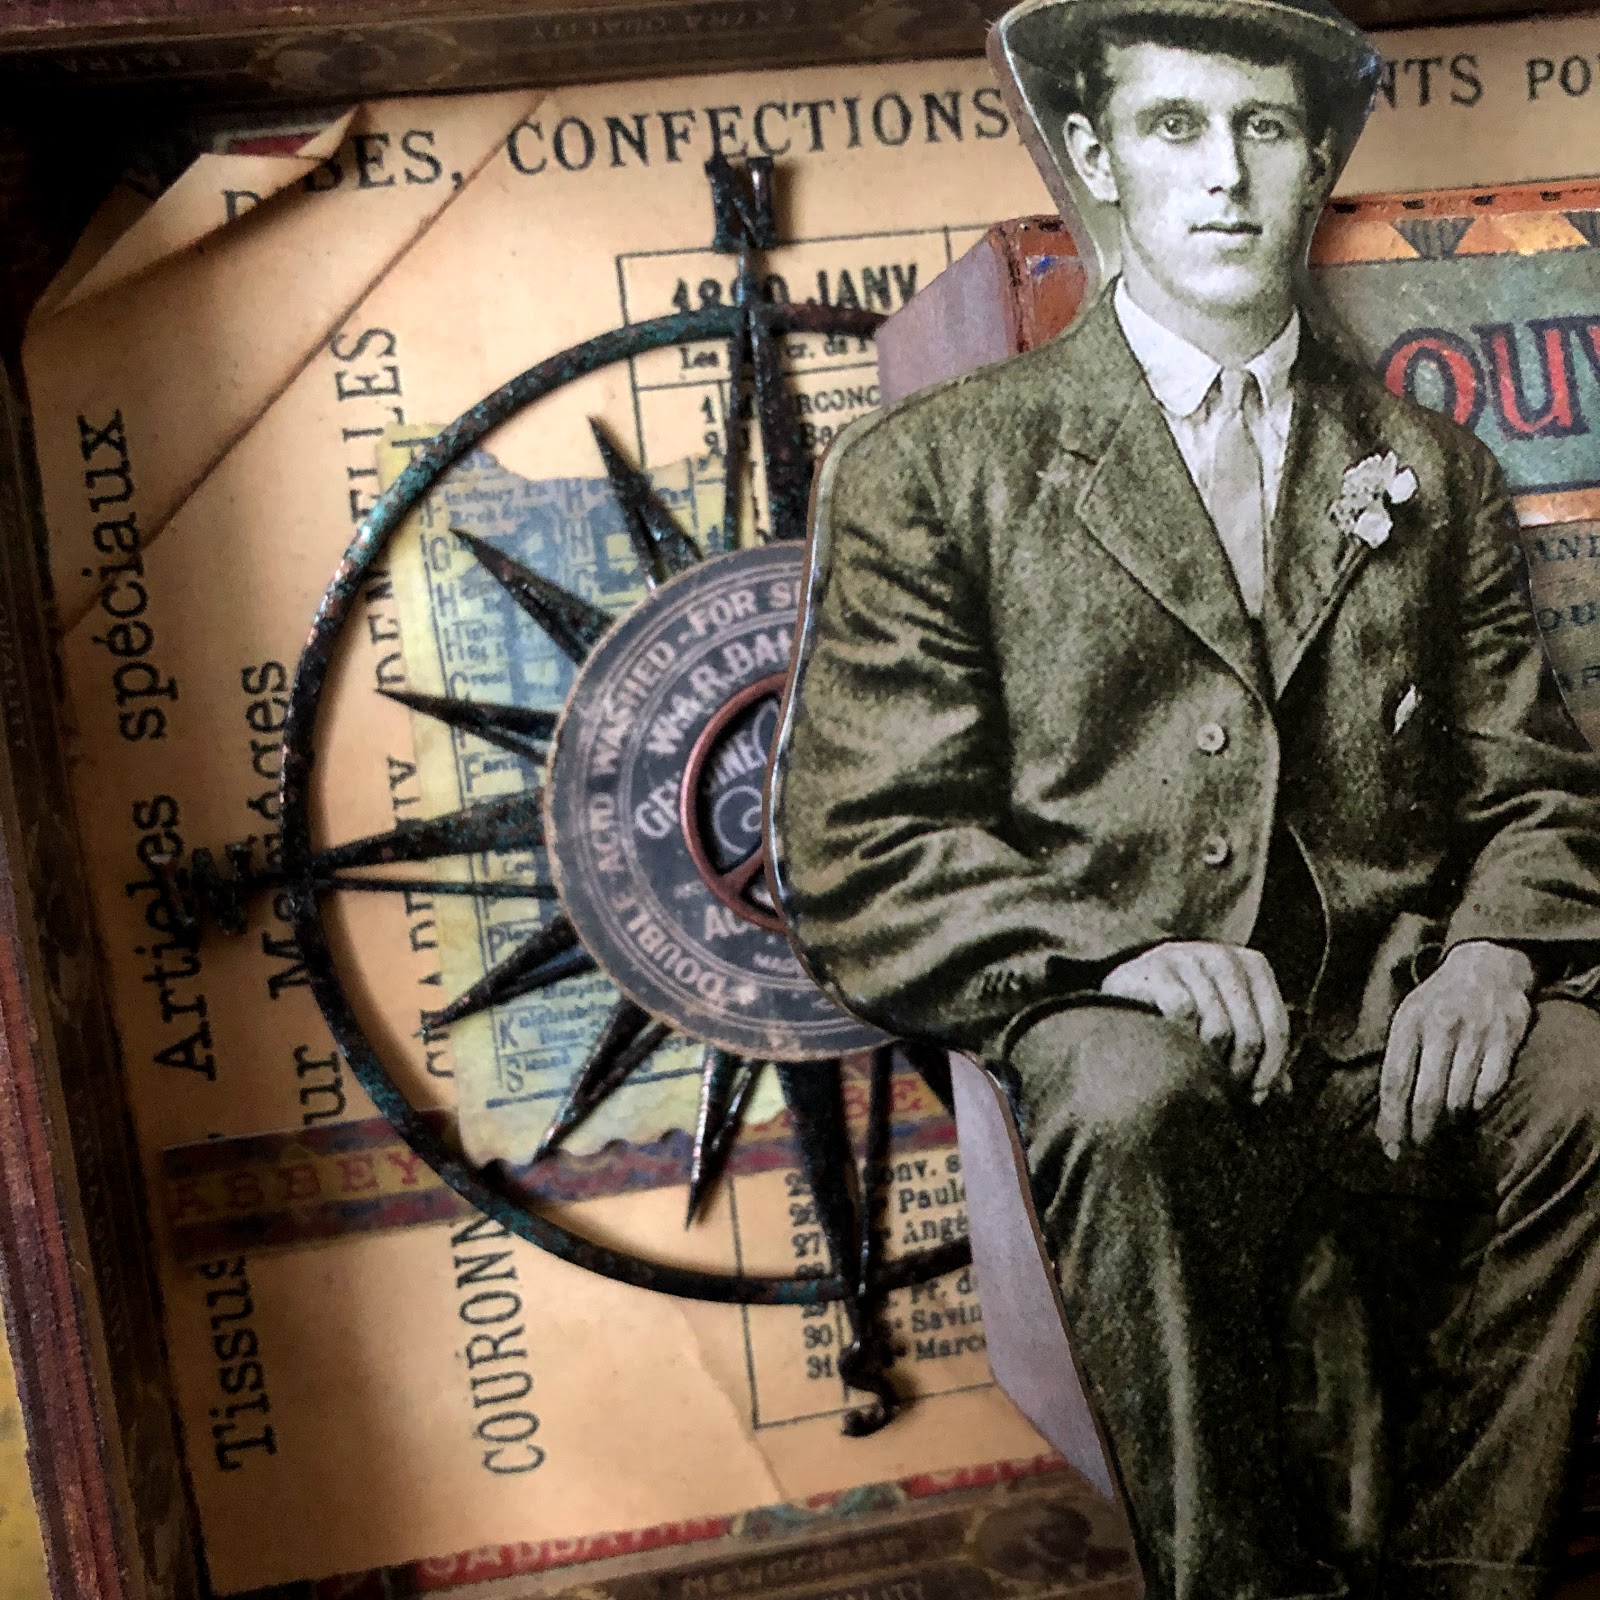
Adhere the Fold-Up Box to your vignette tray using foam squares. For the battery pack to the lights run the cord down the tray and over the edge. Attach battery pack to the back of the tray. Adhere a Baseboard Paper Doll to the left side of the frame. The Paperdoll will hide the wire running over the edge of the tray. 


Thanks so much for stopping by today. I hope you enjoyed this project as much as I did. My hubby is already looking for the perfect spot in his man cave for this piece. That is if I decide to share!! 
Happy Creating ~ Jennalee 


Friday, September 7, 2018

The Timekeepers

Hello!! It's Jennalee here today. I was recently cleaning up my studio and found my stash of Altoids Inserts Fairy Tale Frames leftover from a class I recently taught. When the thought occurred that they would be the perfect size for a small collaged magnet. My hubby's man cave is full of industrial stuff which means lots of metal so he'll have something to decorate those metal surfaces with now.


Begin by preparing base layers for the collage. Cut top layer of collage to size and distress using Distress Oxides in Old Paper and Vintage Photo. Tear and bend card in random areas for added interest. 


To add stability to the magnet cut a piece of heavier weight paper to size of frame. I used a piece of watercolor paper with a rust background. 


Prepare frames with  a faux rust finish. Paint a base layer of Raw Umber on all frame pieces. Then working one frame at a time and in sections paint a second layer of Raw Umber. While paint is still wet apply cinnamon powder to paint. Continue building layers of paint and cinnamon until desired texture and effect is achieved. Apply Metallique Wax in Vintage Gold and Opal Magic for added patina. 


Prepare gears from the Gears Shape Set by heat embossing with choice of embossing powders. I used Burnt Copper Leaves, Charred Gold, Rocky Road and Ancient Amber. I also used the faux rust on a few.  


Prepare clock hands from the Clock Hands Shape Set by heat embossing with gold powder. Once the hands have cooled off add depth by rubbing on and then buffing off Walnut Stain Distress Crayon 


Trace around edges of Paper Dolls with Brushed Corduroy Distress Marker. 


Figure out placement of Paper Doll and how to layer the gears in the background. I found it worked best to have one gear adhered to the background piece and the 2 remaining gears on each magnet to hang over the edge of the frame. 
Once gear placement is decided adhere Paper Doll to the frame then adhere frame to collage background. 


Finish off frame with added details of die cut numbers, Clippings stickers and attaching clock hands. 
Once all layers are dry apply a magnet to backside. 


As always thanks for stopping by. Wishing you a great weekend with a bit of creativity thrown in!! 
Happy Creating~ Jennalee