Hello everyone, I can hardly believe that we are nearing the end of November. When the pandemic hit, it seemed as though all of the months started blurring together, and before I knew it, six months had passed, then seven, etc... I've heard a lot about how people like to do daily journal entires for the month of December, helping them to stay focused on the joys of the season and allowing them to highlight and appreciate some of the important moments. I think this year, more than ever, this will be a valuable exercise. For this reason, I have created a December journal. Today, I am sharing the journal I made for "documenting December." I start with a die cut journal base made from the Eileen Hull Sizzix Journal die. I cover the die cut pieces with some of my favorite Tim Holtz holiday papers and use a bunch of Gypsy Soul Laser Cut chipboard pieces as embellishments inside. There are so many different Christmas and holiday chipboard pieces in the GSLC shop to choose from. This post will highlight some that I use in this journal.


On the cover, I add an
altoids tin topper 1 piece in each corner. I love how the design of these pieces plays off the paper pattern. For these pieces, I coat one side with Versamark embossing ink and then randomly sprinkle Distress embossing glaze in rustic wilderness onto the ink. The embossing powder melts when heated. To give it a grungy look, I sand off areas of the glaze, allowing the chipboard to show through. If you happen to add to much powder and are not happy with the shine, you can use a piece of steel wool to dull the finish. Its best to only add the embossing to one side of the piece, this will allow you to easily secure it to the cover with craft glue.

Inside the journal, the "signatures" are made from mixed media heavyweight paper and cut to size. Using a heavy weight paper will give me freedom to add different mediums to the pages. I stamp numbers into the corner of each page to correlate to the days of the month. I do not sew the signatures together, leaving them free to be removed. This will allow me the flexibility to journal, paint, stamp or draw onto the page without worrying about dirtying up any other pages. When I complete that day and it is completely dry, I can simply slip it back into place. I add some additional vellum sheets to the signatures for interest.

I use one of these vellum pages to showcase the GSLC
believe Santa. After carefully removing the piece from the surround, I paint the chipboard with black soot Distress paint. Once the paint is completely dry, I use a silver leaf metallic paint pen along the outermost edge to highlight the figure and deer in the night sky. I attach the upper portions of some house die cuts along the bottom edge so that Santa can soar above the rooftops.
The
Christmas shape set contains so many fun pieces that are perfect for embellishing the journal pages. I use various colors of Distress paint to add details to the pieces. Festive holiday lights stretch across the top of one of the pages. Each painted bulb is glued to the page and then I add the "wire" by drawing a curvy line between the bulbs so that they appear as if they are a string of lights, all connected to each other.
The stockings from the
Christmas shape set can be decorated to look any way you chose. I opt for a simple approach by only painting the bottom portions with candied apple Distress paint. A very fine burlap string allows the three stockings to be "hung" across the page. You can also add stamped images or a monogram to really personalize the look.

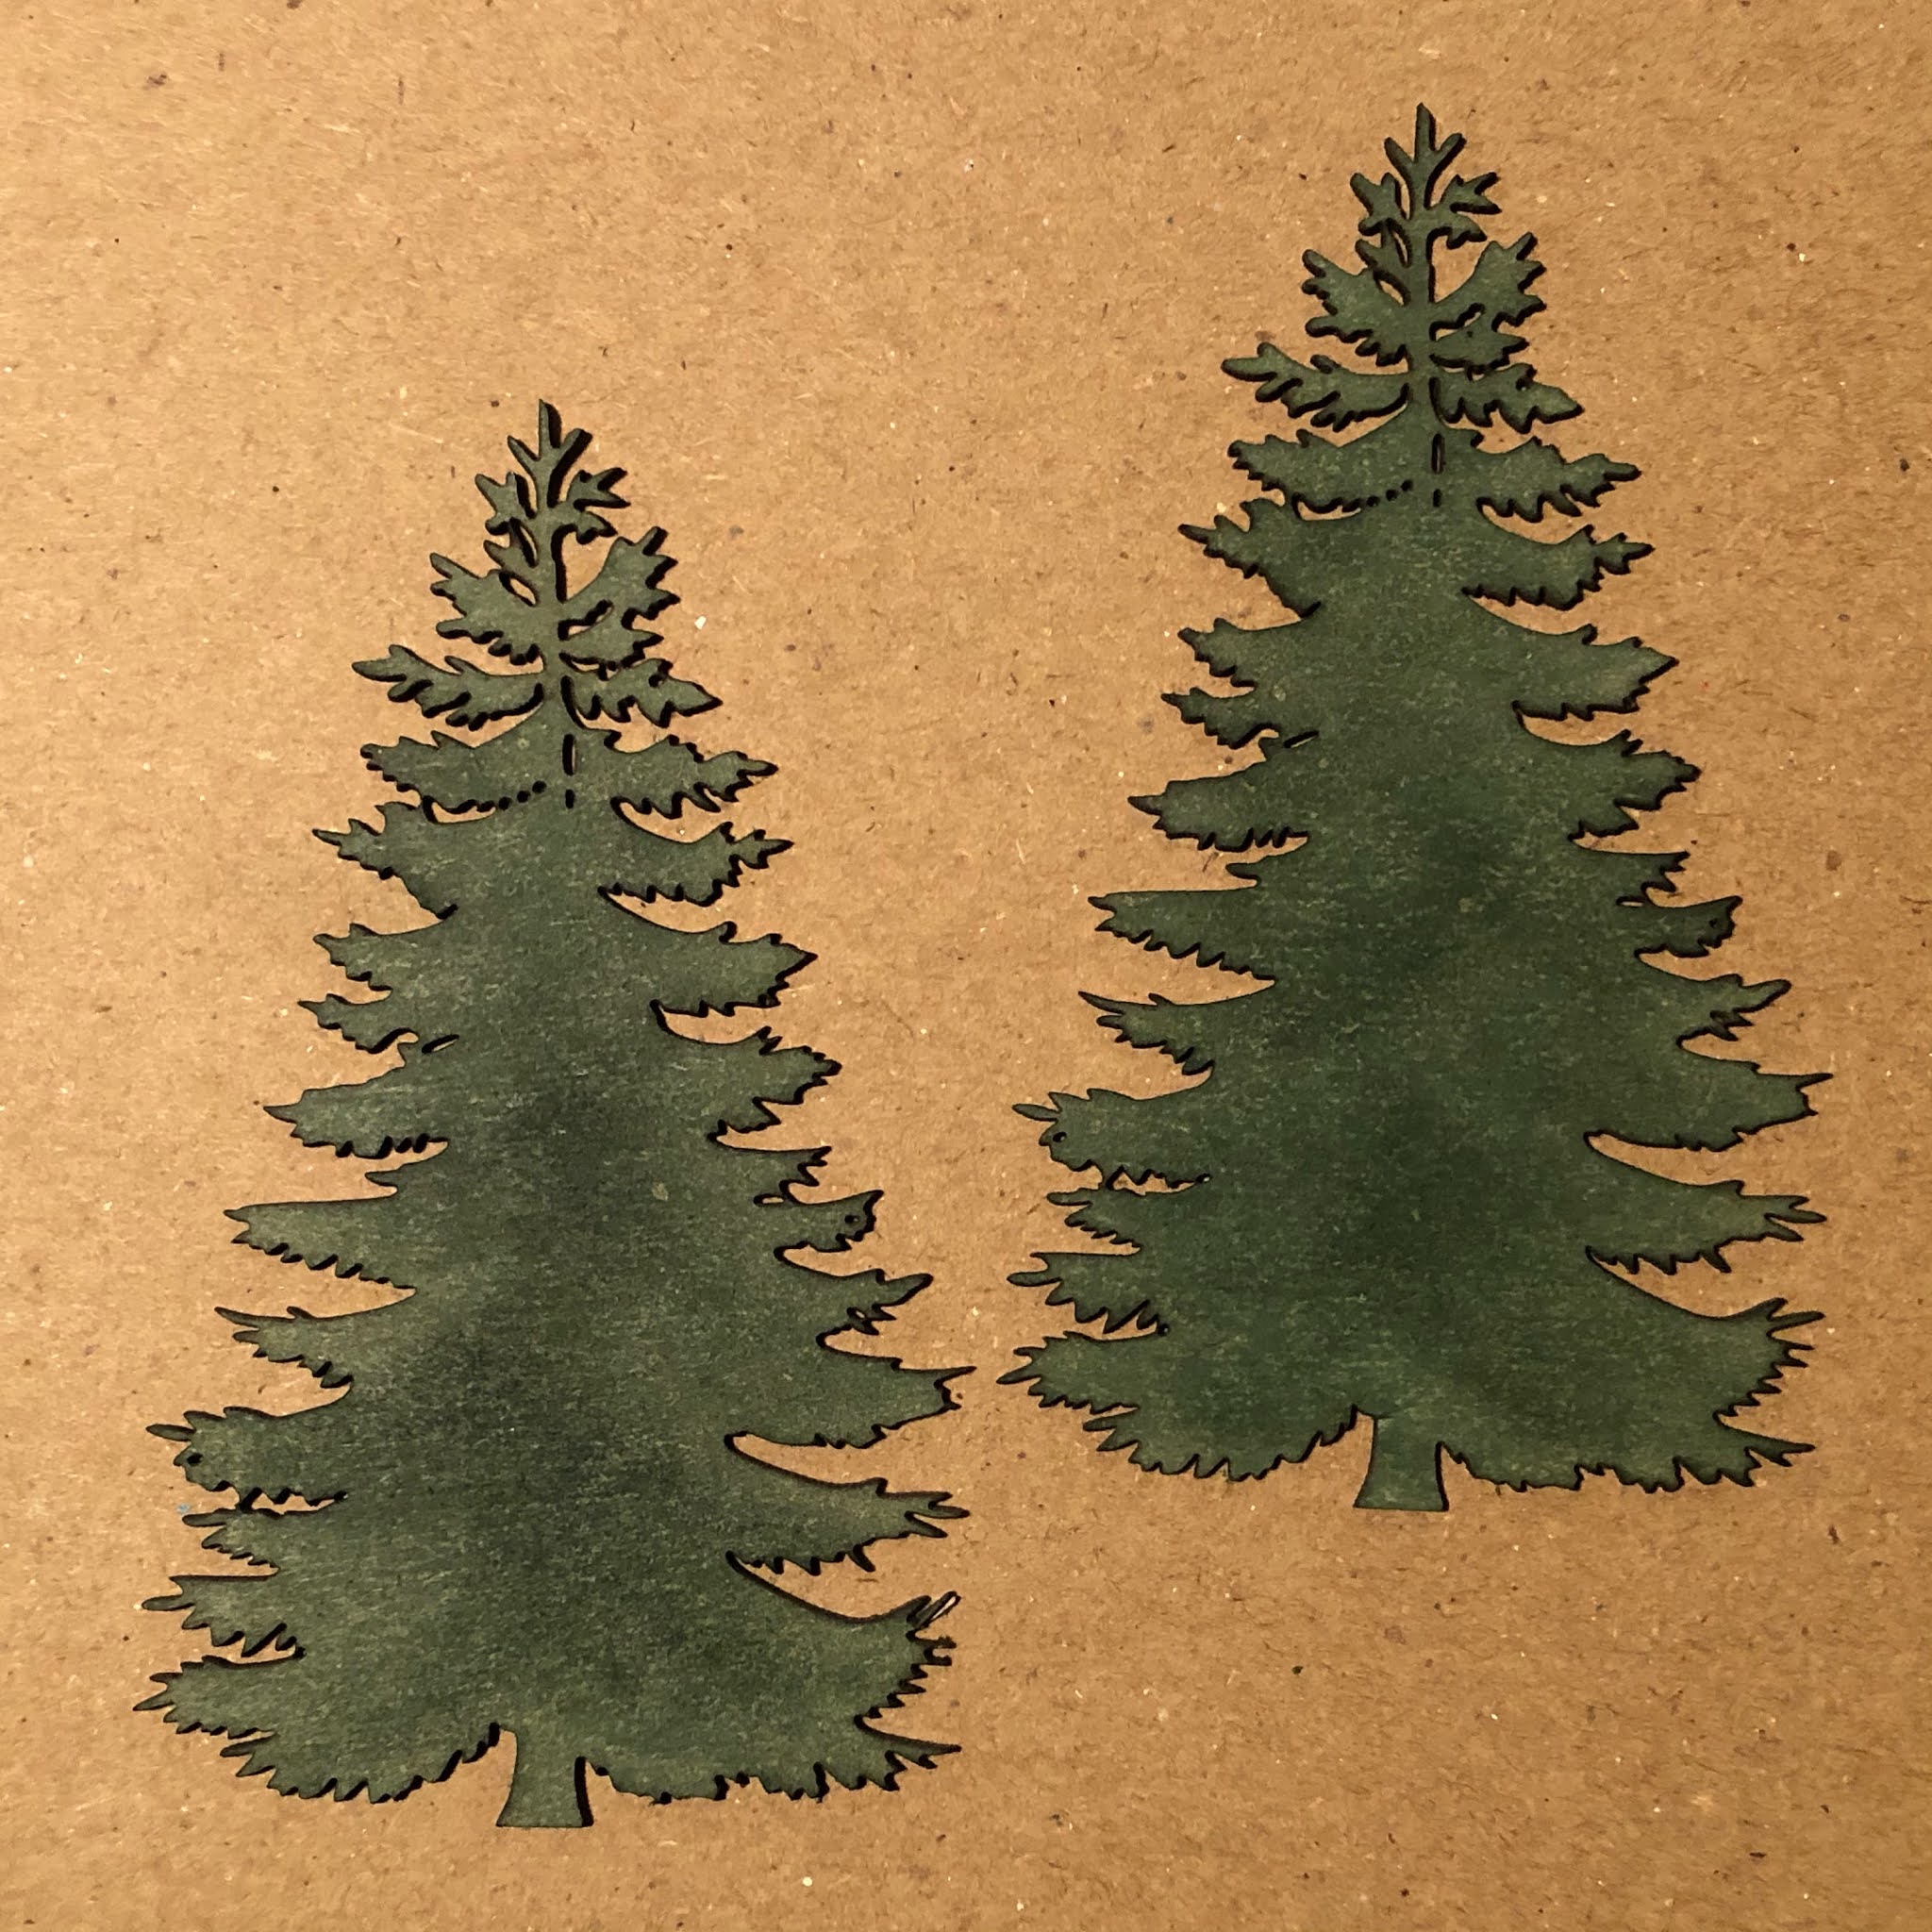
I prepare a number of extra pieces that will be incorporated as I fill the journal. The smallest trees from the
pine tree shape set are some of these pieces. I think it will be fun to add one when documenting the day we select our Christmas tree, as well as when we decorate our tree. These pieces are prepared by painting them with a coat of rustic wilderness Distress ink. If the weather is snowy on the day we pick out the tree, I may add a bit of grit paste to the branches or maybe even sprinkle some blizzard embossing powder onto the tips of the pines. The best part of having prepared pieces is the ease with which they can be added when the time is right. With December being such a busy month, being prepared will allow more time for other things as well as make it easier to create fantastic pages in minutes.
I intentionally leave many of the journal pages unadorned. This allows me the freedom to add notes, artwork, stamps, or even tags where I want. The GSLC
small tag set is the perfect size to add into the journal. The set comes with ten (10) small tags. I make up a handful to coordinate with my journal. On one side of the tags, I attach a piece of holiday paper with collage medium. The edges of the paper are trimmed to fit the tag. I punch a hole in the decorative paper at the location of the existing hole in the tag, and insert a 3/16" colored eyelet. The reverse side of each tag is simply inked to allow for the addition of notes or a picture. These will definitely come in handy when I begin documenting December.
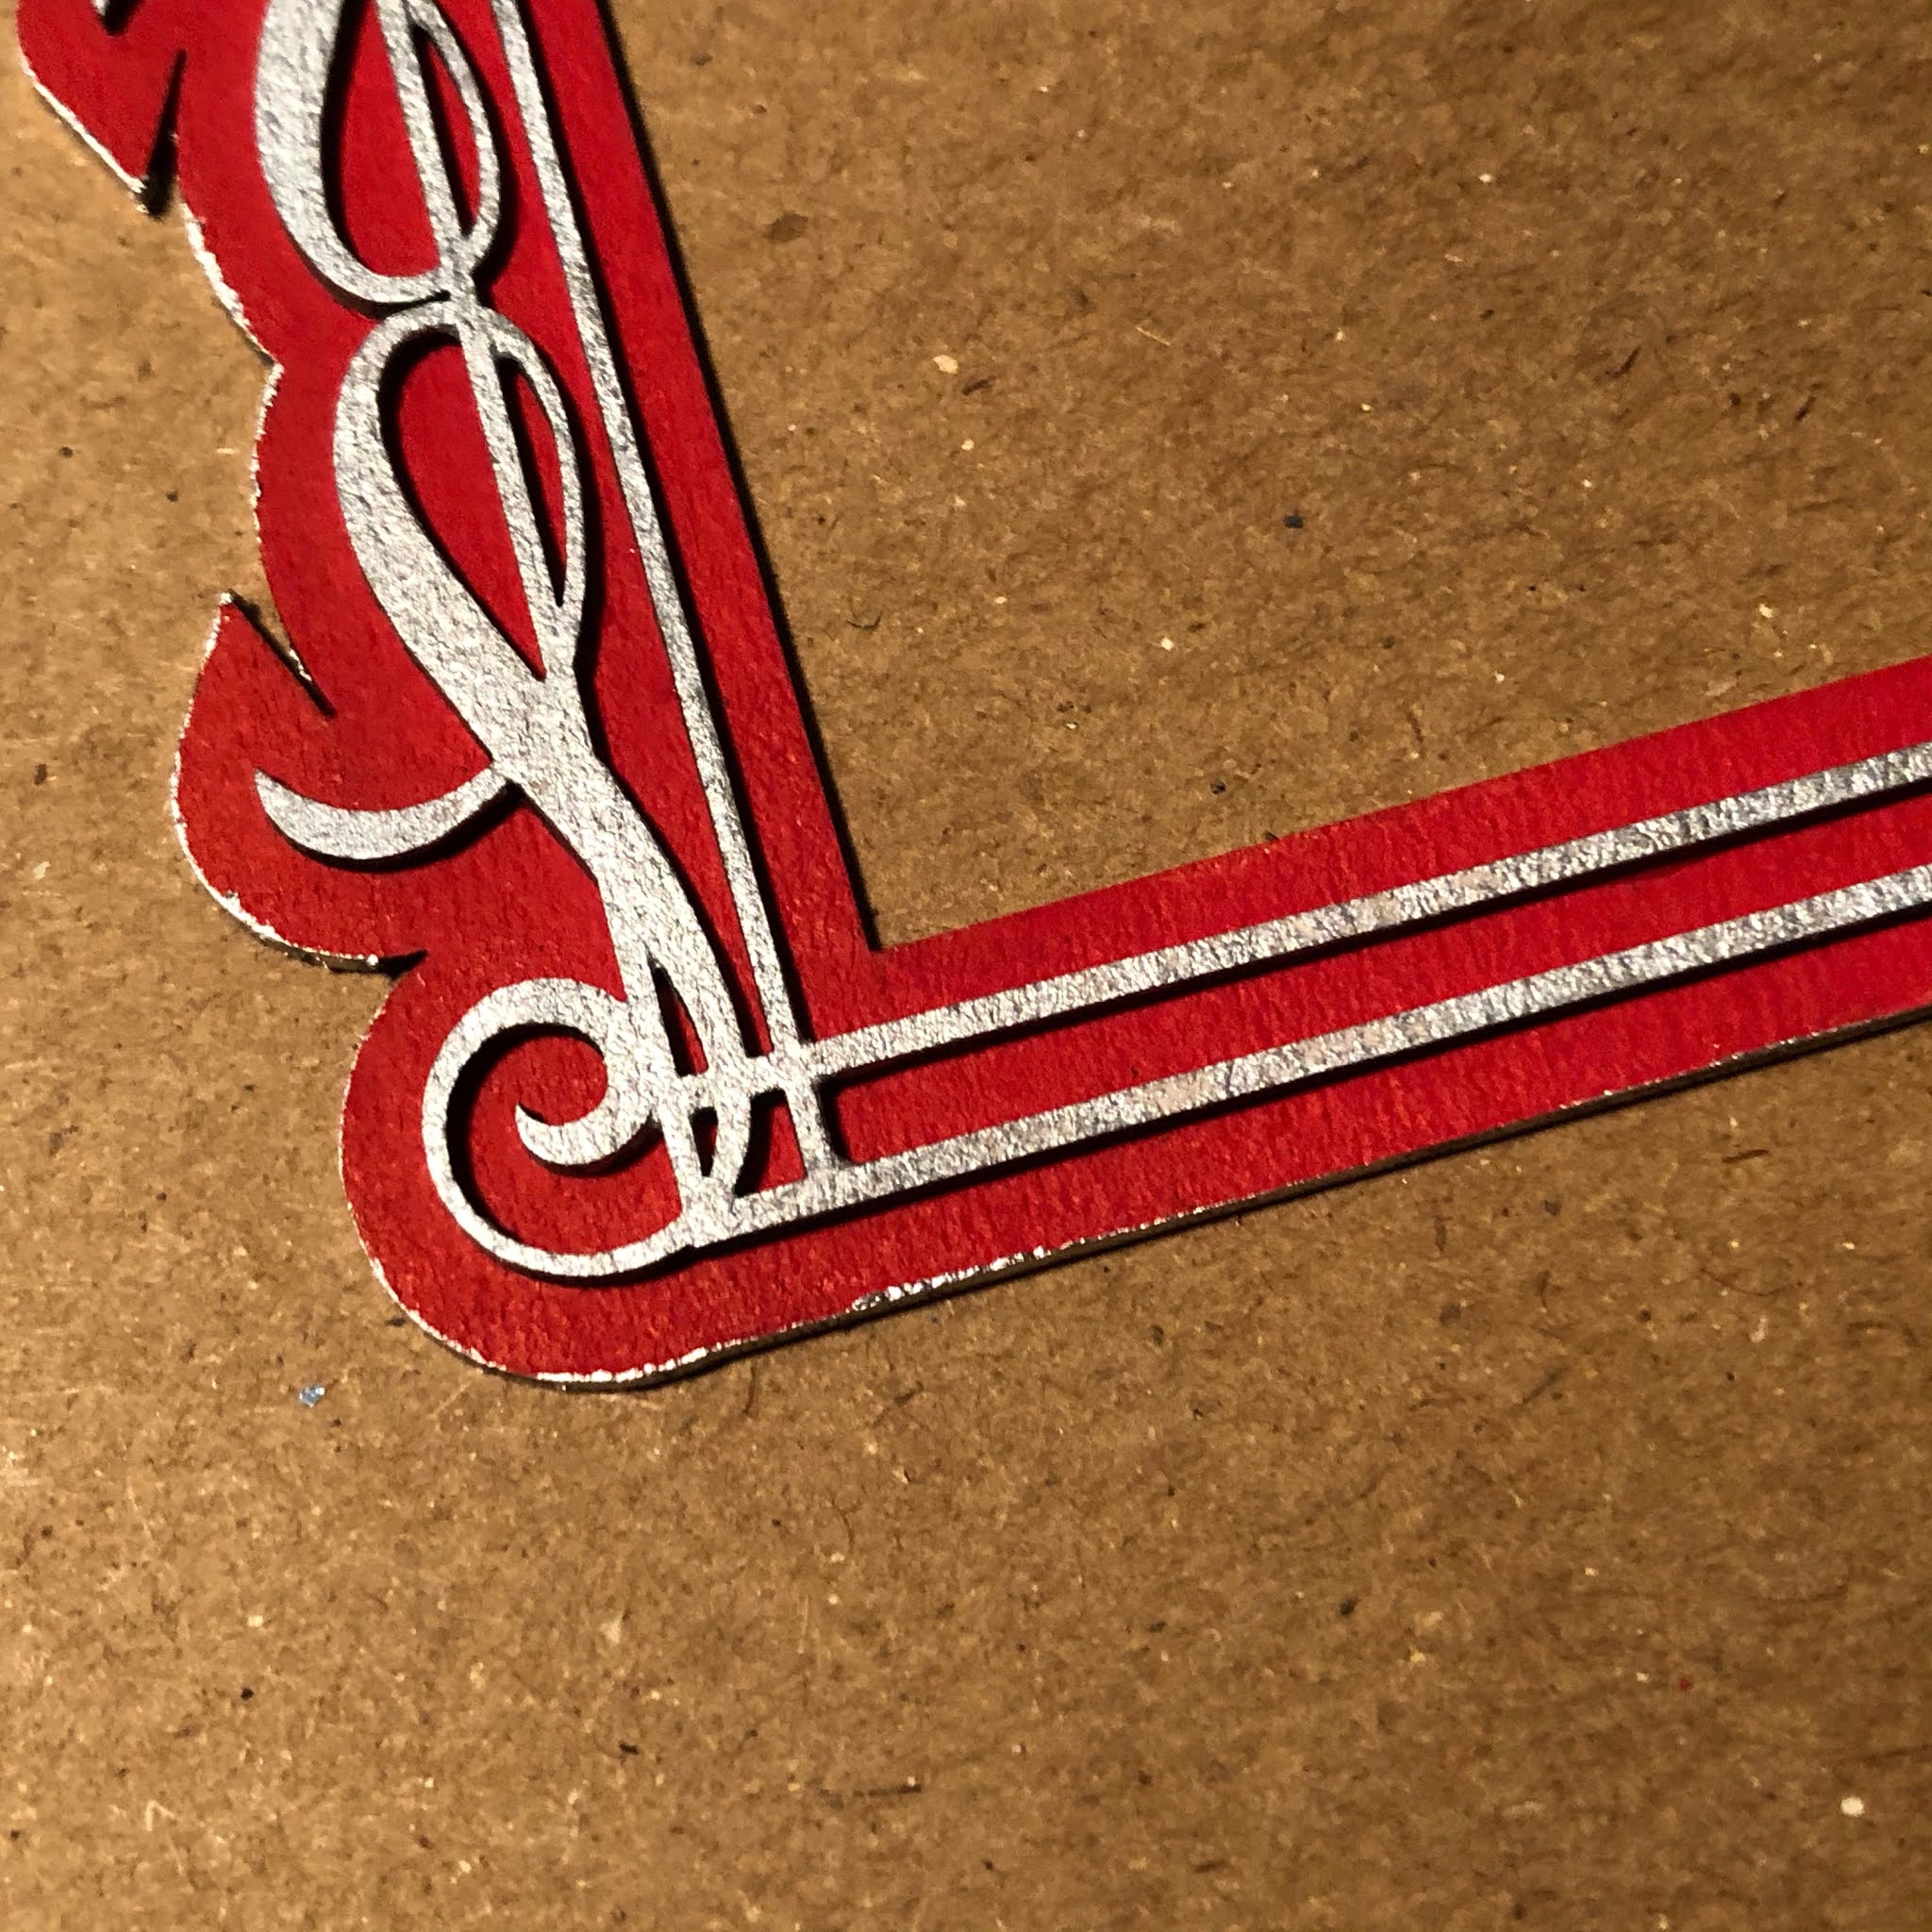
Another piece that I have painted and am keeping handy is the
layered frame carlon. This can frame up a nice saying or image, or maybe even a mini Santa pic!
Maybe you are inspired to create your own December journal; Gypsy Soul Laser Cuts has a wide variety of pieces that would work perfectly for adding special touches to your pages. I know that I am looking forward to documenting December and being able to appreciate the little things each and every day.
Thank you so much for stopping by the blog today, I truly appreciate it. If you live in the United States, or celebrate Thanksgiving, I wish you and yours a day filled with gratitude and love. I will be back in December with my last Gypsy Soul Laser Cuts project of the year.
Be safe and take care,
Ann
xxx
Gypsy Soul Laser Cuts used:
Altoids tin topper 1
Believe Santa
Christmas shape set
Layered frame Carlon
Pine tree shape set
Small tag set

 Today, I am sharing the journal I made for "documenting December." I start with a die cut journal base made from the Eileen Hull Sizzix Journal die. I cover the die cut pieces with some of my favorite Tim Holtz holiday papers and use a bunch of Gypsy Soul Laser Cut chipboard pieces as embellishments inside. There are so many different Christmas and holiday chipboard pieces in the GSLC shop to choose from. This post will highlight some that I use in this journal.