Some Projects Manifest themselves such is the case with these. I was looking through my stash GSLC chippies and chose. few of my favorite ones to combine in these creations.
There is a word circling in some artist’s communities-farrago - It is defined in the dictionary as a pile of odds and ends or random assortment of stuff; a motley assortment of things; a hodgepodge; a mismatch. I simply called it eclectic. Other artistic communities have Frugal Friday Postings. Growing up poor and in the country; with parents who lived through the depression I am acutely aware of its meaning...no dictionary necessary. They are the inspiration for this artwork.


- Gather Supplies.

- Cover GSLC Fern Fronds with Pale Green and Quinacridone Nickel AZO Gold, Green Gold, Radiant Yellow and Color Shift Green Acrylic Paints Randomly with a Paintbrush.

- Apply Pearlescent Glitter while Wet so Paste acts Like an Adhesive. Allow to Dry Fully.

- Use Variety Of Acrylic Paints to Paint GSLC Peacock Feather Shapes.

- Rub Randomly With UHU GlueStick and Apply Pearlescent Glitter.

- Color Hearts with Red FolkArt Design Cream, Scarlet Embossing Powder and Rust Powder.

- Cure With a Heating Tool.
- Use Green Markers and White and Pale Tan Acrylic Paint to Paint GSLC Queen Anne’s Lace.

- Use UHU GlueStick to Assemble Adornments.


- Dry Fully Pressed and Weighted.
- I Wanted to Give the Adornments and Place of Their Own and Bought Some Cheap Wooden Frames-$1.00 at Michaels.

- Use Cardboard from Inside of Frame to Cut Pieces of Natural Felt.

- Attach Felt to Cardboard Using Double Sided Tape.

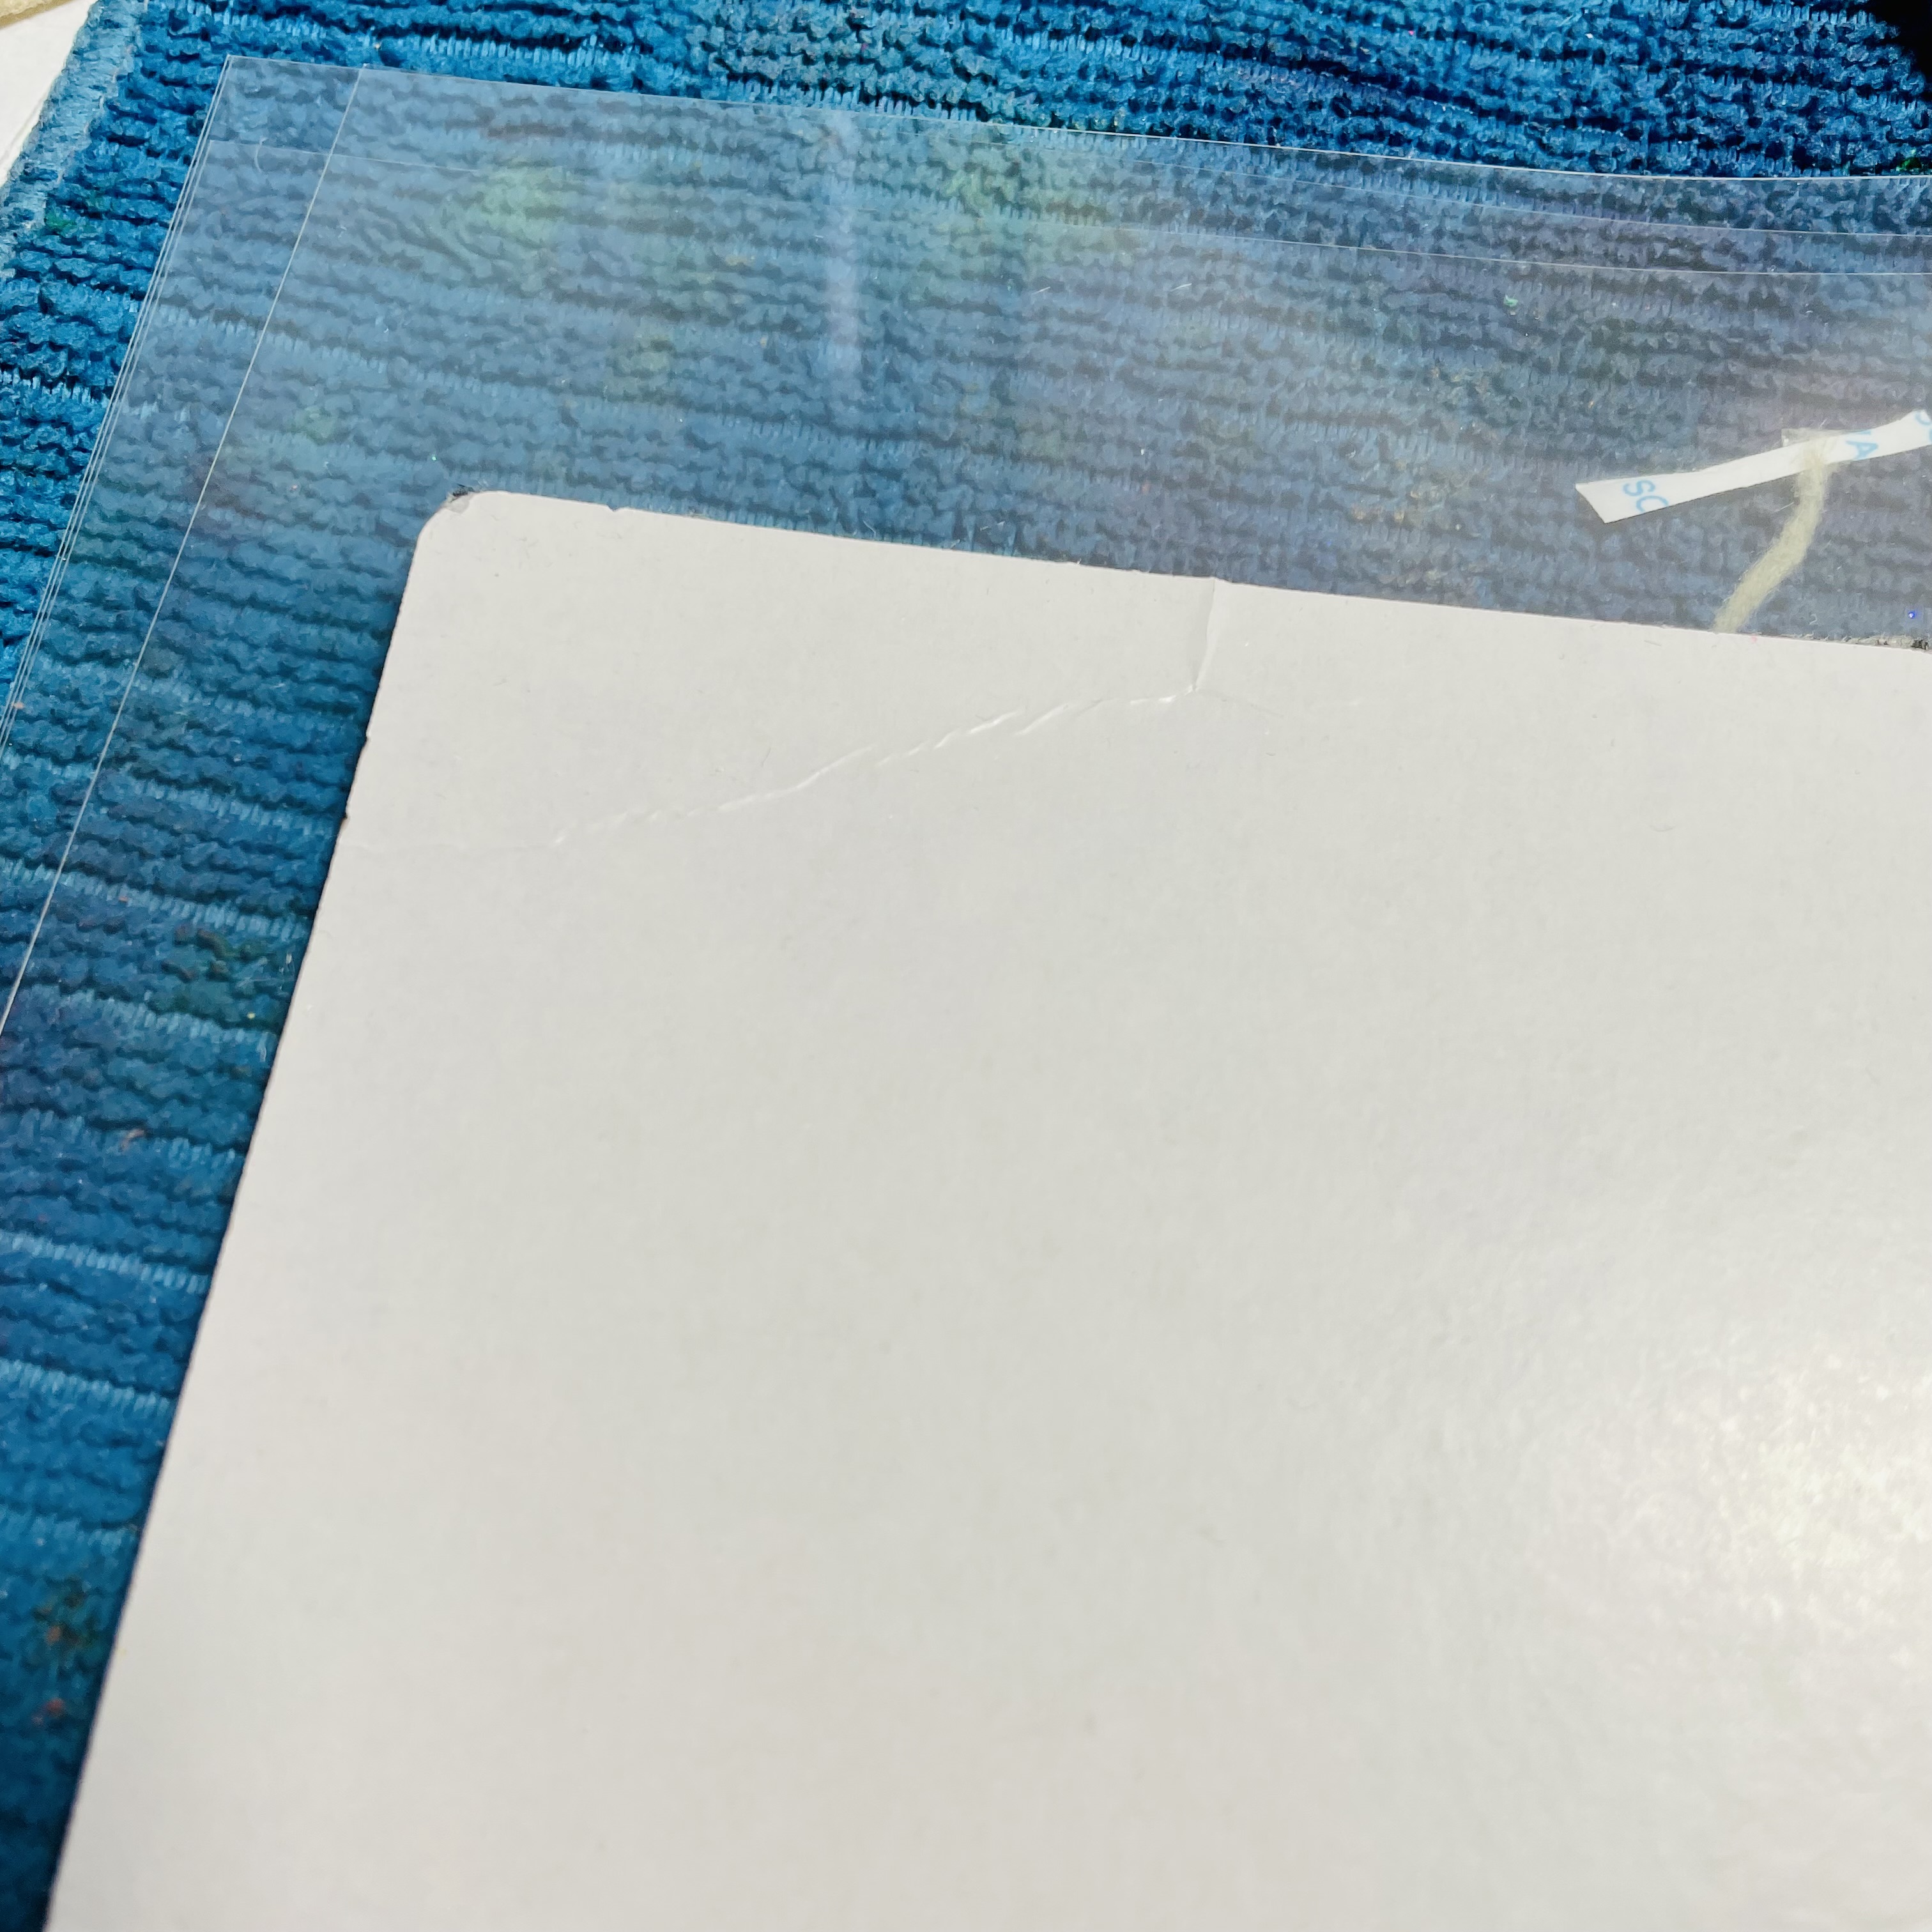
- Use Another Cardboard Piece to cut out Transparency Film to Use Inside Frame. These Cheap Frames Came with None.

- Attach Assemblage to Felted Cardboard Using a Needed and decorative Thread.

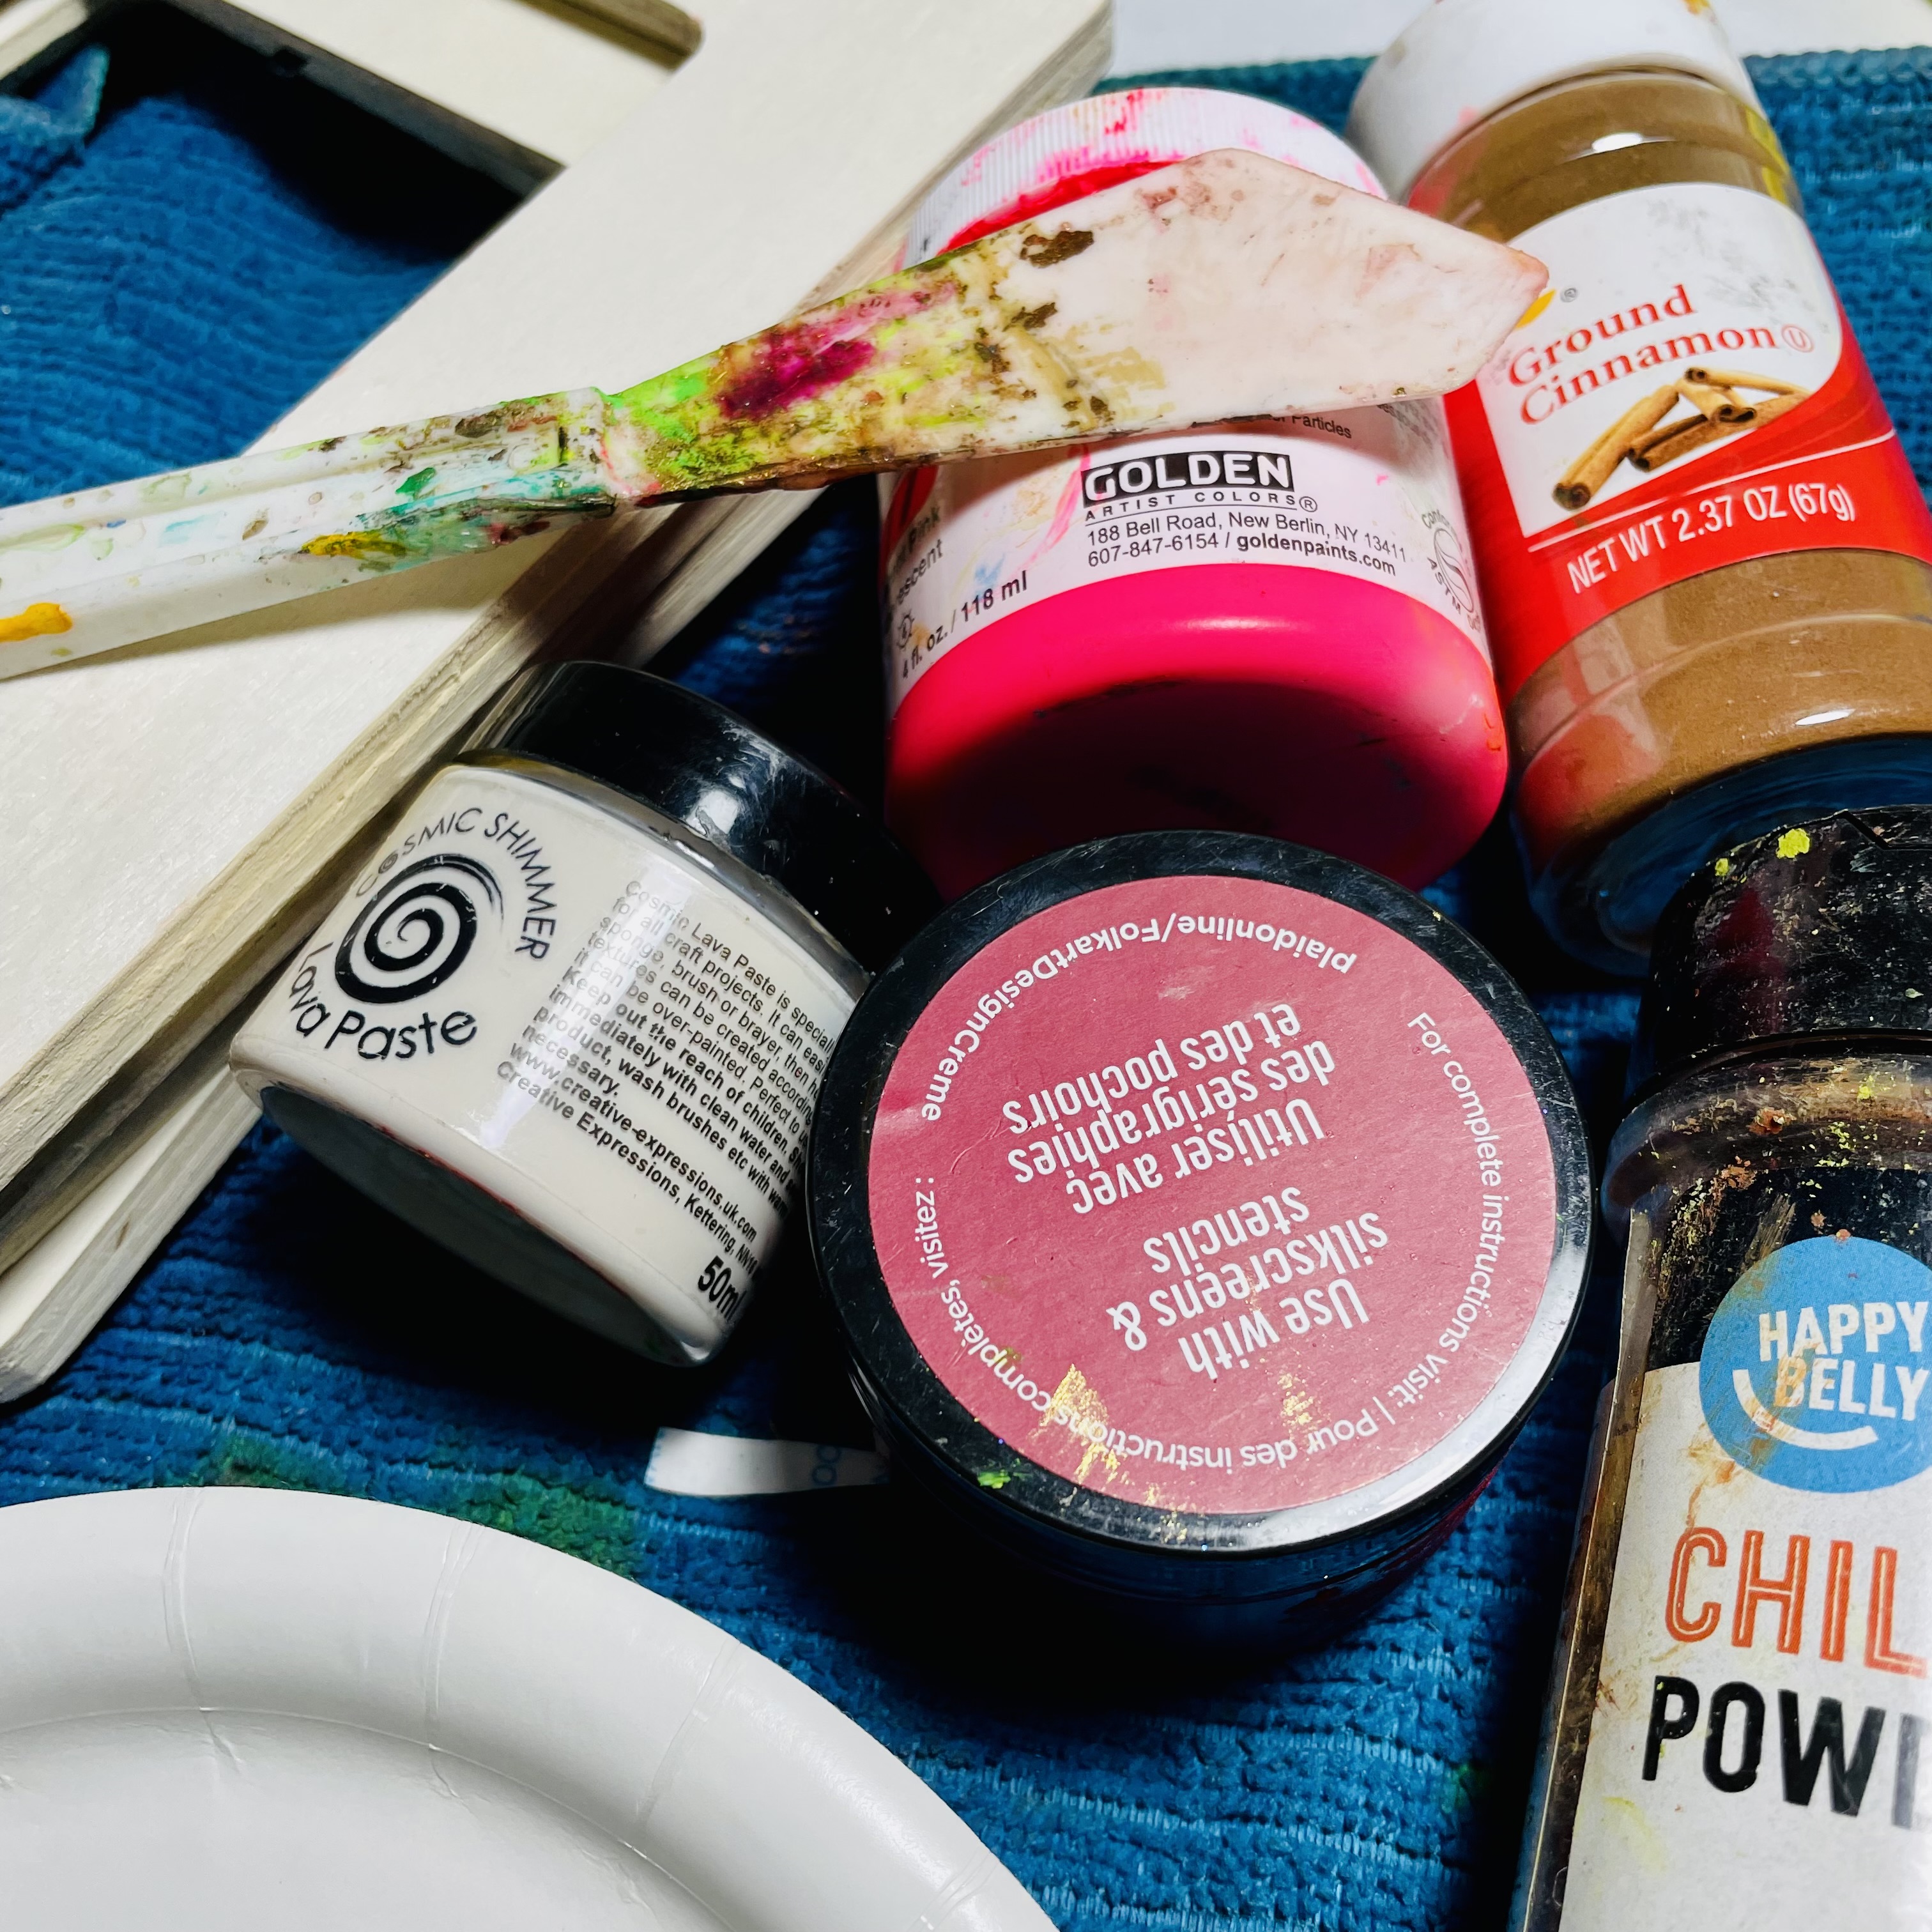
- Make a Slurry of Lava Paste and Red Acrylic Paints.

- Spread and Cover Wooden Frames, Sprinkling Randomly with Cinnamon While Still Wet For a Rusted Organic Look.

- Cure with a Heating Tool.
- Add Highlights With Other Acrylic Paints.

- Trace Frame on Scrap Papers to Seal in Back of Frame. Looks Tidy and Professional.

- I added Blue Stitching to the Corners of Prepared Adornments for interest and to Highlight the Peacock Eyes the Feather.

- Assemble Your Frames and Seal in Back Portion and Add Mechanics for Hanging if so Desired.

Final Thoughts:
Throughout the Victorian era pressed flowers were important. For the Victorian woman, it was an enjoyable pastime. Flowers were often combined with ribbons to create pretty pictures, whilst a flower was often slipped between the pages of a book, to preserve the memory of a special day.





Ferns are some of the oldest plant on our planet, dating bak 400 million years. They can survive in a variety of climates. They do not reproduce from seed but rather from spores that grow from the bottom side of lives upon reaching maturity. Ferns may symbolize spiritual protection, or used to bring about wealth, fortune, and luck. In Victorian England, the fern was a symbol of magic, fascination, confidence, and shelter. Ferns could be used to pass messages from a secret admirer. They are said to be symbols of longevity, rebirth and renewal. Fiddleheads, the coiled tips of young Ostrich Ferns, are a springtime delicacy enjoyed by some in the Northeastern U.S. Be sure to go with someone acquainted with harvesting these springtime treats as many fern species are toxic to humans.


Growing up in the country, my momma would always say Queen Anne’s Lace was also known and wild carrots. It turns out she is partially true as it is from the Daucus Genus that include all the carrots consumed for food today.It belongs more closely to the family that includes celery, dill, and many other edible herbs.Most Queen Anne’s Lace is pure white with a darker center to each flower. White: Cleanliness, freshness, new beginnings, healing, innocence, and purity. There is a pink variety too, that symbolizes-Joyfulness, playfulness, youth, fun, celebration, platonic love, and sweetness. My momma loved “coloring” the delicate white flowers that grew will along the country roads of my childhood.


In ancient time, peacocks were to thought to have magical power e would put the newly cut stems in red and blue food coloring water and magically overnight they would become pastel pink and blue by morning time. A magical memory of my childhood.
In Ancient Times, the peacock was thought to have magical powers against evil spirits. Peacock feathers may symbolize, open-mindedness, protection, uniqueness, creative productivity, good luck, renewal and self-realization. In Victorian Times, There was an Art Nouveau’s Obsession with Peacocks and their feathers.

Celtic Hearts are meant to symbolize the everlasting love between two people. The Celtic heart is warm and wide, a place where love and peace abide goes one Irish Saying.

Supplies: GSLC Celtic Hearts, GSLC Fern Fronds, GSLC Peacock Feathers Shape Set, GSLC Queen Anne's Lace, Pearlescent Glitter, Acrylic Paints, Fan Paintbrush, Red FolkArt Design Cream, Scarlet Embossing Powder, Rust Powder, Heating Tool, Variety Of Green Markers, White and Pale Tan, Acrylic Paint, UHU GlueStick
I cannot wait to see your interpretation of this project. Share it on the Gypsy Soul Laser Cuts Craft Group Page on Facebook. I would love to see what new creations you are working on!