Showing posts with label Christmas Countdown Tree. Show all posts

Sunday, December 11, 2016

A Count Down to Christmas - Mini Shaker Ornaments and a Tree!

Hi and thanks so much for stopping by to see what's new on the GSLC blog today.  Christmas is coming up fast so I have two fun and quick projects that you can make with your kids or your friends to put a little fun into the season.


My first project is this fun set of shaker ornaments.  I used the Double Sided Ornaments to make them and each set has these cute acrylic domes to cover the tops so they were really fun to create with.  Keep reading for a quick step by step tutorial to make them for your family tree this year!

Start by painting all the frames white with chalkboard paint.  This is a good one because there is less water in it and it doesn't warp the chipboard.  Let them dry.

Create cute scenes on each of the chipboard circles and also on the clear fronts.  You can make them see through and you can pop them up with 3D Foam squares to make them more 3D under the dome.

Any kind of stickers are great to use ... just be sure that you sand around the edges to make sure
that the circle will fit back into the frame.  Add extra snow for the shakers before you glue them.

Here is another one. I should have made this cute little guy a hat. He looks a bit chilly!

After you finish the circles, glue them between the two ornaments with adhesive and clothespin them until they dry.  If you use quick dry adhesive it will go really quickly.


Add ribbon bows to each of the tops and also a little ribbon to hang it on the tree.  This was so fun!!


And I had more paper and stickers so I got to work on this advent tree too.  For this one I covered the front and back of the tree with Doodlebug paper and let it dry.  I also covered the bottom base with 
paper and then when it was dry I cut the slits in it to glue in the tree.  Then I glued it together and let it all dry really good.  Chalking around the edges finished it up and gave it more depth.


For the front piece I glued a piece of tan corrugated paper to give it some more texture.  For the letters and the numbers I inked them in red ink and then embossed all of it with red glittery embossing powder from Stampendous.  This is a really fast and easy technique to add color and texture to the chipboard pieces.  And then I added a bit of snow and glitter and a few of the snowman stickers peeking out of the top and sides. 


The kit comes complete with the tree, stands for the base and front and 13 squares and numbers to make sure you have the perfect numbers of days until Santa comes to you house.  It's a wonderful
project and can be used for years to come.  

Here is a quick supply list for you:
Ornament Double Sided (Contact Store)
Countdown Tree (Contact Store)
Doodlebug Christmas papers and stickers
3D foam squares
tiny clothespins, white paint, red ink, green ink, red embossing powder,
green embossing powder, green ink, scissors, paper trimmer, heat tool.

I hope you liked my projects I shared and be sure and come see more ideas from our DT.

Teresa Horner

Thursday, December 8, 2016

Mixed Media Christmas Countdown Tree by Barbara Rankin

Hey everyone!  So, how's your Christmas crafting coming along?  You may have noticed that the design team has fallen in love with these Christmas Countdown Trees from Gypsy Soul Laser Cuts, so I am going to share yet another variation to help inspire you.


Tree Front
Tree Back with box to hold number tags

On the back side of script paper, trace the tree.


On a second piece of script paper, reverse the tree, not the paper, so you can continue to trace on the back side of the paper.  The tree is not symetrical, so this is important.


Cut out both pieces of paper and adhere to both sides of the tree, matching up the edges.  You may notice that I have not covered up the notches at the bottom so they will fit inside the notch holes in the stand.  Use a sanding block to remove any excess paper, and an emery board to get into the smaller areas.


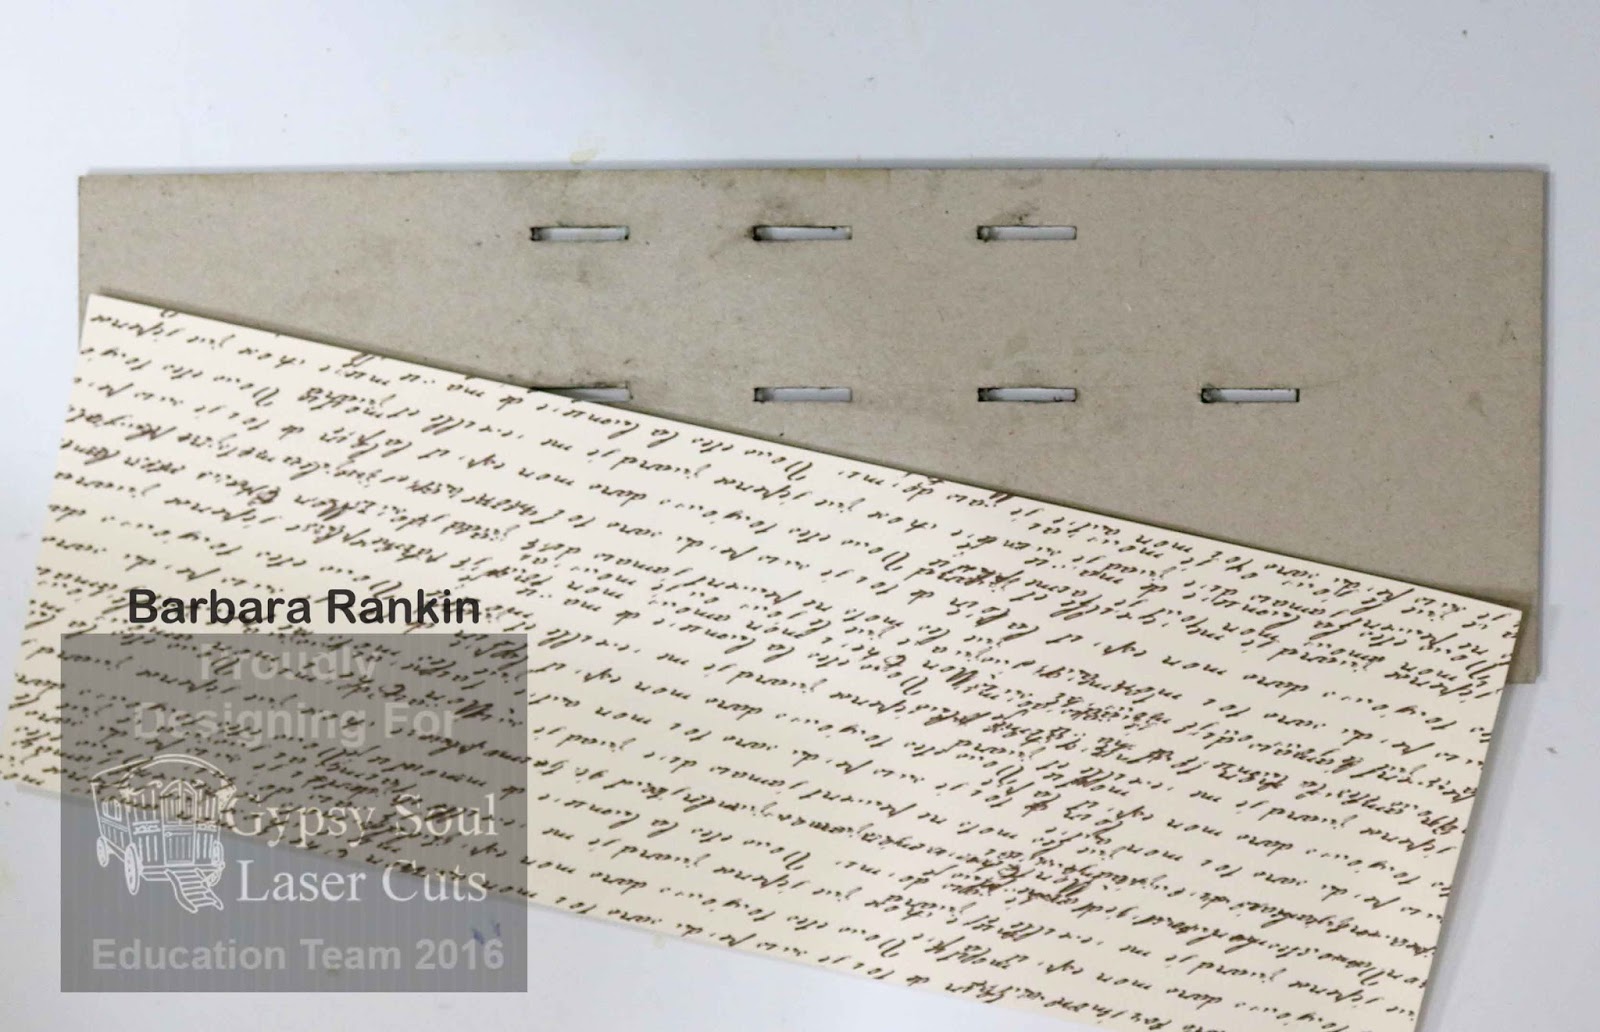
For the stand, cut two pieces of script paper 4" x 11-1/2".  Adhere top piece first, and cut out notches, as shown.


Adhere second piece to the bottom, which will cover the notches and notch holes for a finished look.


Cover both sides of the small rectangular notched piece, leaving the notches uncovered.  Cover these two small rectangular pieces that fit along the sides of the notched piece.


Seal paper with matte medium on both sides of tree, the small rectangular notched piece and sides, and the stand.


Spread modeling paste through stencil on both sides of tree, small rectangular notched piece, and the top of the stand.


I used Tattered Angels sprays to cover all the chipboard pieces that have been covered with paper.  I used a heat gun to dry the paper between colors.  Continue adding colors until you like the result.


Edge all pieces with a gold gilding paste and highlight stenciled areas on the tree.


Edge the stand and small rectangular notched piece and sides, as shown.


Stand and box parts


Assemble the tree into the stand and add the "box" piece using the small rectangular notched piece with the two sides to the reverse side of the tree.  

Front of tree


Back of tree with "box"
Glue a piece of gold tinsel around tree and clamp until glue dries.


Paint the numbers and words with white gesso.


Spray numbers and words with one of the Tattered Angels colors.  I used the purplish color.  Let dry.


The quickest way to cover all of the little number tags is to run a piece of print paper through a Xyron.


Remove the backing paper and lay each tag on top of the sticky side.  Cut apart with a craft knife, and  punch your holes before covering the other side.


Repeat this step for the back of the tags, and punch the holes again.


Back side of tags
Add gold gilding paste to letters and words, and around the tag edges.  Adhere the numbers to the center of each tag front.  (See Figure 1 below)


Mix some of the green mist with white paint and sponge the color onto a sheet of snowflake shapes.  Repeat this for the other side in case some of the snowflakes extend past the tree and will be seen.


Let that dry, then spray both sides with a pearl mist.  When that is dry, separate the snowflakes from the sheet.


Begin adding the embellishments.  First, determine where you plan to place the words and number tags.  To make the words show up better, I used Silver gilding paste on them, and adhered "Days Until" to the tree, as shown.  Use the tags to mark placement for hooks.   I used a paper piercer to make tiny holes, but did not go all the way through the chipboard.


Figure 1

I cut two tiny screw eyes apart, as shown, to make a hook for hanging the tags.


I gently screwed the hooks into the chipboard, and kept my finger behind the screw to feel if it was going to go through.  It did not, so these were just the right size.

Hooks for hanging tags

Embellish with snowflakes, flowers, leaves, berries, and lastly, adhere the word "Christmas" to the front edge of the stand, and place your remaining number tags in the box for storing.


Supplies used:

GSL Christmas Countdown Tree Kit  (Coming Soon - Contact Store)
GSL Snowflake Shape Set
Acrylic paints
Tattered Angels Mists
Gold and Silver gilding paste
Floral embellishments
Gold tinsel ribbon
Stencil
Molding Paste
Matte Medium
Assorted brushes
Sponge dabber

Have a super crafty day, and thanks for stopping by.

Barbara