Showing posts with label #Scor-tape. Show all posts

Wednesday, August 5, 2020

Glad Titings Gatefold Album

This is a Susan Winget design from a few years ago and a Gypsy Soul Laser Cuts 10 x 10 Gatefold Album.


This is a really big folio. I could have easily added more flips!


This is the first opening. 


There's a waterfall when the left panel is flipped and a beautiful peaceful green panel to the right.


There are ten flips in the waterfall which allows for 20 pictures or journaling.


There's a waterfall when the right panel is flipped and a beautiful peaceful green panel to the left.


There are ten flips in the waterfall which allows for 20 pictures or journaling.


This is the back of the Christmas Basket flip. There's an accordian booklet for pictures or journaling.


This is the top flip when the Christmas Basket panel is flipped down.


This is a close up of this added flip. It's hinged at the bottom and folds down.


The fold down flip has a 5" x 5 "envelope to store momentos or for journaling.


The last flip looks like this.


Two pockets with tags.


The cardinal has an accordian booklet for more pictures or journaling.


Friday, February 28, 2020

Bloom Box With a Drawer


Who doesn't love a pretty little box?


This little box is made with the Gypsy Soul Laser Cuts Hidden Drawer Book Box and is 4.25 x 6.25 x 1.75.  General instructions on the website call for wiping the edges of the laser cuts, but I always start my class reiterating that point and laying out all of the pieces.


Step 1: Find the drawer pieces.  It's helpful to me to write on the pieces to identify where they go.  (The piece on the bottom of this picture is set aside to use later.)  I inked all the edges with a Sharpie.


(All the pieces of paper are cut and labeled for my classes.) 


This is the Graphic 45 paper line "Bloom".


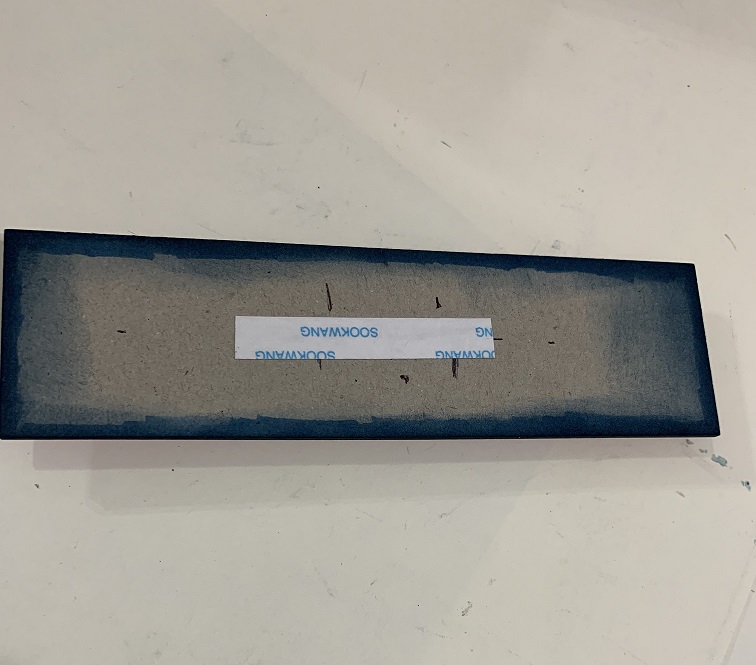
Step 2: Find the blue cardstock printed paper and ink the edges:


Step 3: Use Scor-tape on the back of the pieces because it holds really well and can be unglued with Un-du if necessary.


Step 4: Put the drawer together with liquid glue and the inside looks like this:


Step 5: Ink the edges of the pieces of cardstock labeled box outside and adhere like this:


This is a better view of the drawer:


Step 6: Find the pieces of the box:


Step 7: There is an overhang which is inked with the Sharpie:


Step 8: Ink the flowered papers and the box looks like this:


Step 9: Back to the piece that was set aside.  The pink printed paper is adhered to one side.  The handle is used to mark where the brads go. I used a Crop-o-Dile to punch the holes.  The brads are put through the holes, the prongs are spead open and I use a piece of Scor-Tape to keep the brads from rubbing on the paper.

This is how the front looks:


This is how the front looks with the pink paper:


Step 10: There is a blue piece that is adhered on the other side of this piece:


Step 11: Scor-tape is adhered to the font of the box:


Step 12: The back of the panel is adhered to the box - it's flush with the worksurface:


This is how the back of the panel looks fom the backside of the box:


This is the finished box:


 Step 13: Pop up a chipboard piece from the paper line for the top of the box and add some small flowers:


Step 14: Use the Gypsy Soul Laser Cuts Small Staggerd Tags, leftover paper and chipboard pieces to cover them and a small piece of ribbon to tie them together.


Friday, February 14, 2020

Button Tree


Pinterest has thousand of pictures of beautiful trees (and other objects) made of antique costume jewelry. I've wanted to make one, but haven't found just the right pieces (for a reasonable price).  I was really excited to find tiny buttons when cleaning my studio and thought they might be a good substitute for the jewelry.

I used the medium size leafy trees: 


This is the larger tree:


Step 1: colored the tree trunk and branches with Copic E25 and the leaves with Copic G07, 

Step 2: used liquid glue to adhere the tree to a piece 43/4 x 4/34 ivory cardstock and to adhere the buttons to the tree,

Step 3: colored the edges of a 5x5 canvas and the outline of the tree with Tim Holtz Distress Ink Wild Honey,

Step 4: taped the ivory cardstock on top of the canvas,

Step 5: then taped that piece onto a 6 1/2 x 6 1/2 black frame from Hobby Lobby. 


This was an easy, fun project and I love the final piece!


Thursday, January 16, 2020

Fasion Forward Flip Fold Album


Graphic 45 is my favorite paper, I love art deco, and I love Gypsy Soul Laser Cuts. When  I was invited to be part of the GSL design team and Graphic 45 issued "Fashion Forward", it was like the stars had aligned! This album is a GSL 6x9 Flip Fold Album.

I made a jacket for the album and used the GSL Deco Lattice as an emblishment.


This is the cover of the album, and highlights another thing that I love - the beautiful affirmations that "You are Loved" and "You are Enough".


I always include a "title page" in case the album is a gift. This G45 embellishment is not glued at the top so a picture or sentiment can slip down in the opening.


This album is actually a gift within a gift. These embellishments are adhered with a repositionable tape runner and can be detached to be used as a stand-alone gift or embellishment for a card or another album.  The base is a Graphic 45 policy envelope (it can also be a coin envelope or just a retangle of cardstock). Pieces of G45 paper are popped up. I used Gilders Paste on the GSL Postage Stamp which is also popped up, and a G45 sticker is on top of that. A gift card fits inside the envelope.


This beautiful lady is open on the side to slip in journaling.


The next flip looks like this:


A closer look at the far left shows journaling cards that are slipped into a trianglular pocket embellished with a GSL Art Deco Corner. The journaling cards can be sent as a card to someone special - the backs are as beautiful as the fronts.


The far right:


To the left and right of the center are 5"x5" cards made from other parts of the paper collection. They are slipped into mailing envelopes.


The next flip uncovers this panel:


And when it's flipped up, the entire album looks like this:


The middle panel is two envelopes for the large journaling cards, and the top and bottom panels are envelopes with blank ivory cards with gold edges.


Would you keep it or give it as a gift?


Supplies :  GSL 6x9 Flip Fold Album, GSL Deo Lattice Panel 1, GSL Art Deco Corners, GSL Postage Stamp Cuts, Graphic 45 Fashion Forward, Rich Gold Gilders Paste, Gold Deco Color Marker, Scor-Tape, Art Glitter Glue