Greetings! Lora here for the terrific Gypsy Soul Laser Cuts and Part Two of Mice Like Candy Too. Today I am going to do the do the four remaining tags.
In the picture below, you can see the top row is what I did a couple of weeks ago and the bottom row are the four I am going to chat about today.
Most of the elements are the same - the background color, candy jars, dots and flowers all help with cohesiveness and tie all the tags together, making them a set.
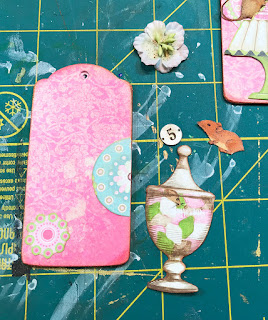
I began with cutting out all the bits and pieces I may (or may not) use. I wanted some different mice and these cute little fellows fit in with the look I was going for. (I darkened up their color so they would pop a bit more) I cut out a bunch of circles and various sweets and jars and played with the mix until I got layouts I liked....
I started gluing my layers on starting with what will be in the background-the circles.
With a little daub of glue at the bottom of the mouse, I attached him to where I wanted him on the jar and then glued the whole piece down and attached the number, adding dots after everything dried.
Next, the ribbon was added and glitter was used for a sparkly bit of detail. The flower was glued on as the last thing.
Not a difficult project, but I think they are so cute. I decided that I did not want to make a banner of them as a friend of mine is having a little baby shower for her grand daughter and we are going to use them for place cards for the table. Now I have to make a 'few' more!
SUPPLIES:
Small Tag Set
Faux Metal Number Plates
Bo Bunny Double Dots Vintage Pink Punch and Cotton Candy
Bo Bunny Sweet Moments
Mouse Collage images came from Digital Antiques (Etsy)
Acrylic paint
Silk Flowers
Green silky ribbon
For the supplies I used on the Mice Like Candy set #1, click HERE
Thank you for stopping in!


This is such a stunning project! So playful and pretty. I love your bold choices of colors and content...
ReplyDelete